Go Back
Halloween Icebox Cake

Deliciously Easy Halloween Icebox Cake for Spooky Celebrations

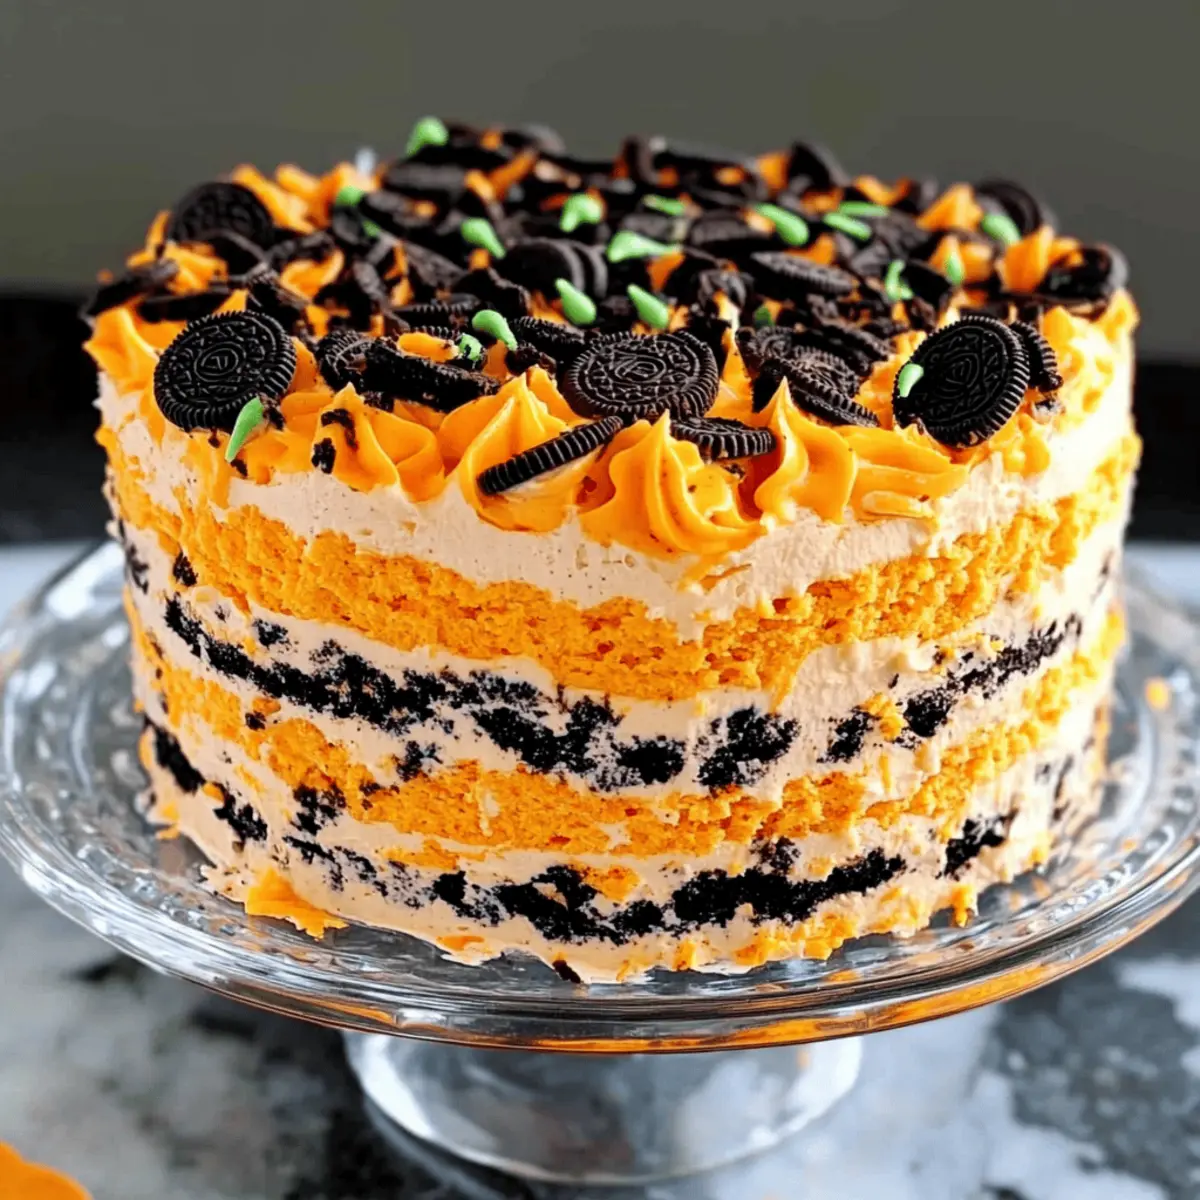
This Halloween Icebox Cake is a no-bake dessert featuring layers of whipped cream and Oreo cookies, perfect for spooky celebrations.
Prep Time 30 minutes
Chilling Time 6 hours
Total Time 6 hours 30 minutes
Servings: 12 slices
Course: Dessert
Cuisine: American
Calories: 350

Ingredients
  

For the Whipped Cream
  • 2 cups heavy whipping cream Use dairy-free alternatives for a non-dairy version.
  • 1 teaspoon vanilla extract Substitutable with almond extract or omit for a simpler taste.
  • ¾ cup powdered sugar Use granulated sugar if powdered sugar is unavailable.
  • 1 teaspoon orange gel food coloring Use natural coloring alternatives for a less vibrant option.
For the Cookies
  • 24 cookies Oreo cookies Substitute with gluten-free cookies for a gluten-free version.
For the Decoration
  • ½ cup orange icing Used to add a festive touch to the top of the cake.
  • ½ cup sprinkles Perfect for adding a fun Halloween flair!

Equipment

  • 9-inch springform pan
  • mixing bowl
  • electric mixer
  • spatula
  • offset spatula

Method
 

Step-by-Step Instructions
  1. Prepare the pan by lining the bottom and sides of a 9-inch springform pan with plastic wrap or parchment paper.
  2. Whip the cream, combining heavy whipping cream, vanilla extract, and powdered sugar until stiff peaks form.
  3. Divide the whipped cream into three bowls and add orange gel food coloring to create various shades.
  4. Start assembling with a layer of Oreo cookies at the bottom of the prepared pan.
  5. Spread one-third of the darkest shade of whipped cream over the Oreo cookie layer.
  6. Place another layer of Oreo cookies on top and add a layer of the second-lightest orange whipped cream.
  7. For the final touch, add one last layer of Oreo cookies and top with the remaining whipped cream.
  8. Chill the cake covered with plastic wrap in the refrigerator for at least 6 hours.
  9. Decorate the cake with orange icing and sprinkles before serving.

Notes

For best flavor, serve the cake within the first day. Customize the color shades for a festive appearance.