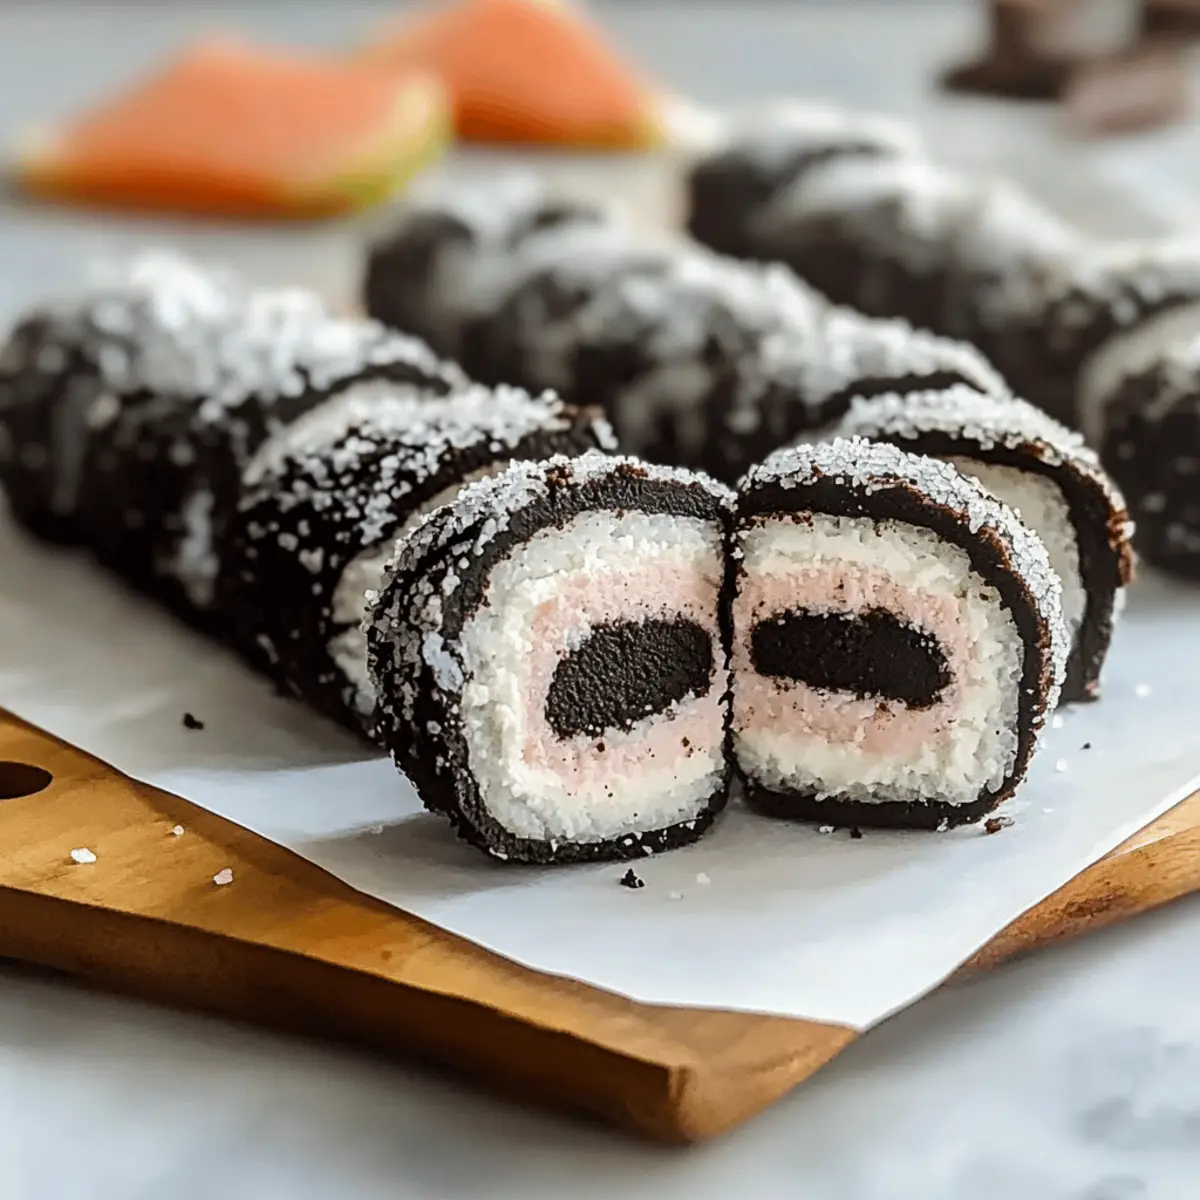
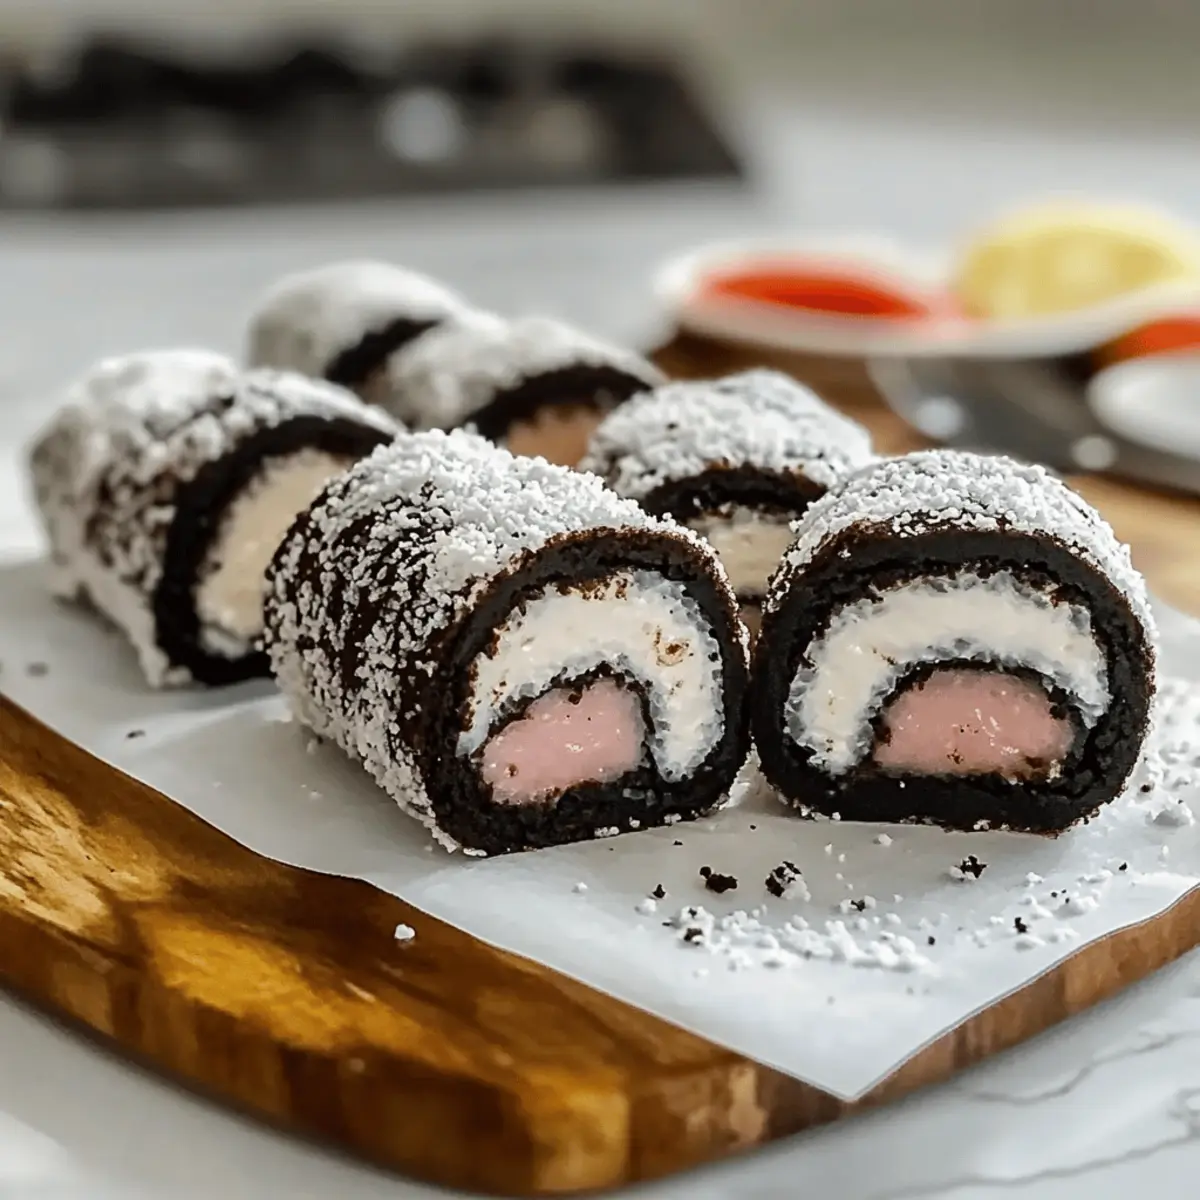
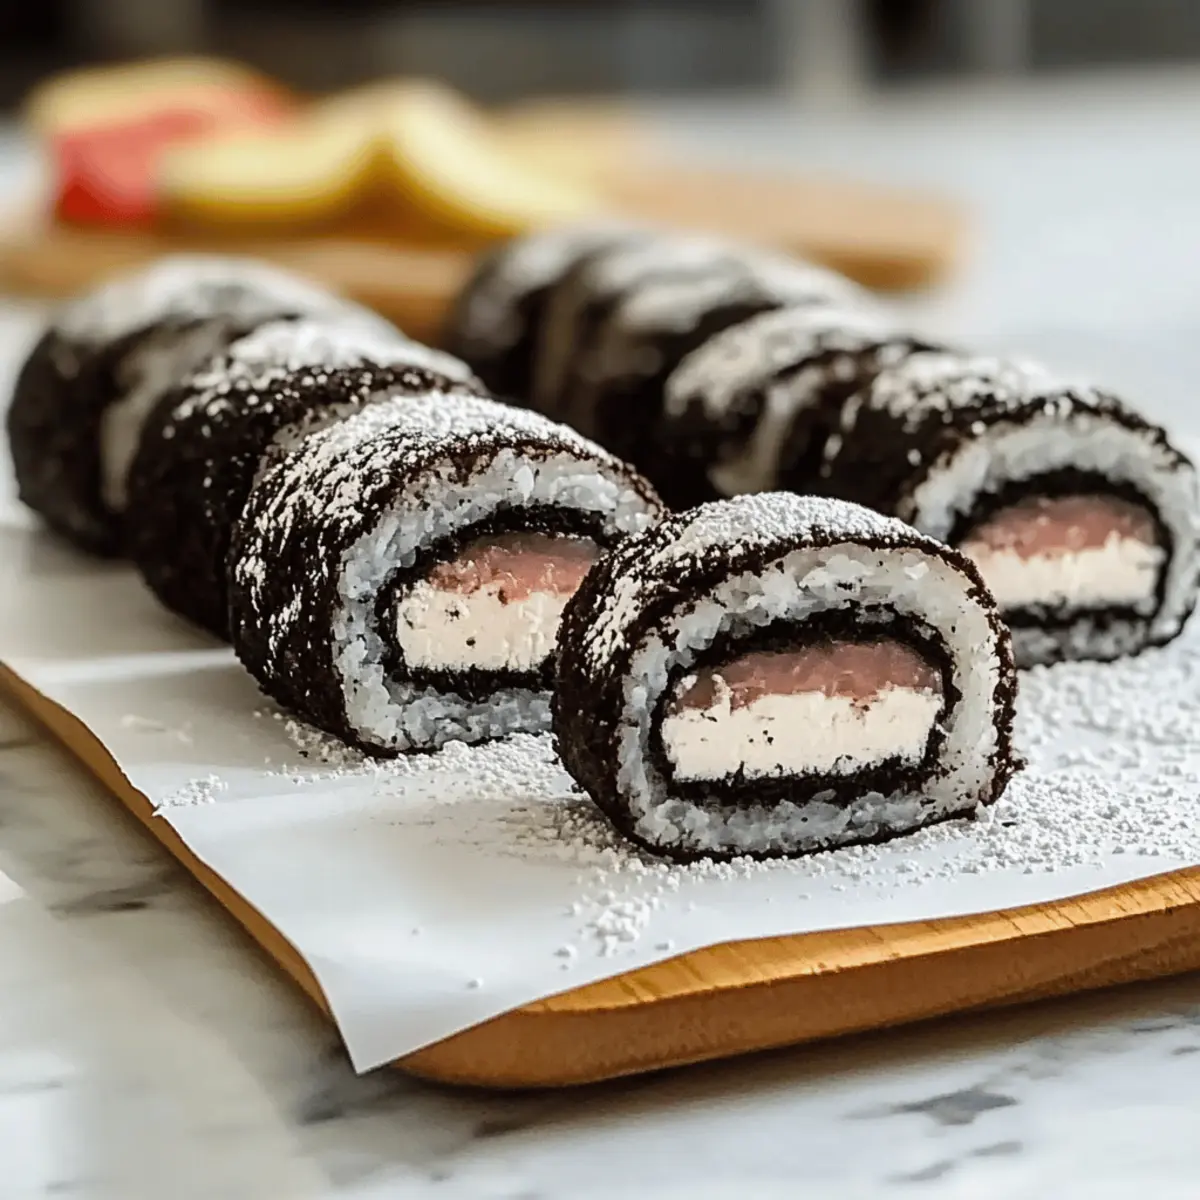
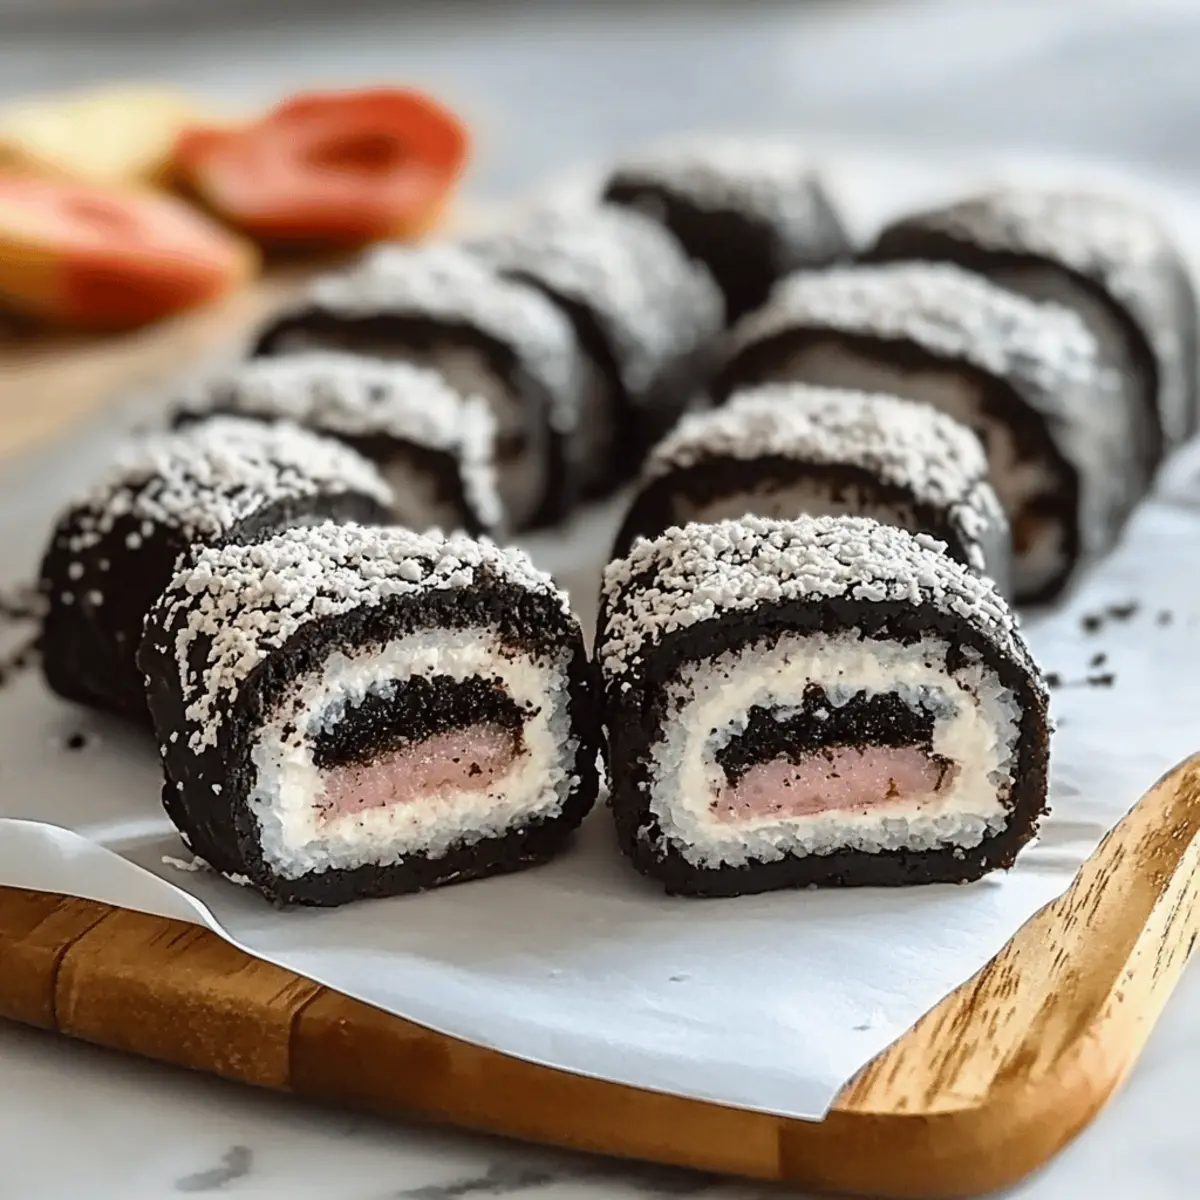
As I stood in my kitchen, staring at a pack of Oreos, an unexpected flash of inspiration hit me—why not turn these beloved cookies into something entirely new? Enter my Oreo Sushi, a fun twist on the classic dessert that marries the familiar taste of Oreos with a sushi-like presentation. This quick and easy two-ingredient recipe not only satisfies those sweet cravings but also sparks joy in both kids and adults alike. Plus, you can personalize it by experimenting with different Oreo flavors or even sneaking in fresh fruits! Ready to roll up something delightfully different? Let’s dive into this irresistible treat that promises to make dessert time a whole lot more exciting.

Why is Oreo Sushi a Must-Try?
Simplicity: This Oreo Sushi requires just two ingredients—Oreo cookies and milk—making it an effortless dessert option that’s perfect for busy days.
Endless Variations: Customize your creation by using different Oreo flavors or adding fresh fruits like strawberries for a refreshing twist.
Crowd-Pleaser: Whether for parties or family gatherings, this fun treat is sure to impress both kids and adults alike, providing an exciting visual appeal on any dessert table.
Quick and Fun: Preparation takes only a few minutes, making it an excellent choice for spontaneous sweet cravings or as a delightful activity to share with the kids.
Perfect for Sharing: Slice it up and serve with chocolate sauce or whipped cream for an even more indulgent experience—great for sharing and enjoying together!
Try this unique dessert today and see why Oreo Sushi is a hit among everyone!
Oreo Sushi Ingredients
For the Base
• Oreo Cookies – Provides sweetness and structure; try different Oreo flavors for added fun.
• Milk – Binds the crushed cookies into a dough-like consistency; adjust for thickness as desired.
For Additional Variations
• Fresh Fruits – Incorporate strawberries or bananas for a fresh twist and added flavor.
• Toppings – Decorate with melted chocolate, caramel, or crushed nuts for extra indulgence.
Dive into this delicious and playful Oreo Sushi recipe—it’s a delightful way to bring joy to any occasion!
Step‑by‑Step Instructions for Oreo Sushi
Step 1: Prepare the Oreos
Start by twisting apart each Oreo cookie to separate the cream filling from the chocolate cookies. Place the cream filling in a bowl to keep it separate. Put the cookies into a zip-top bag, sealing it tightly. This will prepare your ingredients for making delicious Oreo Sushi.
Step 2: Crush the Cookies
Using a rolling pin, crush the cookies in the bag until they become fine crumbs, which should take around 2-3 minutes. Once crushed, transfer the cookie crumbs to a bowl. Gradually mix in milk, stirring until you achieve a thick paste that holds together well. This forms the base for your Oreo Sushi.
Step 3: Assemble the Roll
Lay out a piece of plastic wrap on a clean, flat surface. Spread the cookie paste evenly over the wrap, pressing it down to form a rectangle. Then, take the cream filling and evenly distribute it over the cookie paste. Ensure it’s well-covered to maximize flavor in your Oreo Sushi.
Step 4: Roll and Slice
Using the edges of the plastic wrap, begin to roll the mixture tightly into a log shape. Continue rolling until it’s fully encased in the wrap, forming a firm log. Once rolled, slice the log into bite-sized pieces, resembling sushi rolls. This presentation will make your Oreo Sushi even more appealing!
Step 5: Serve
Arrange the sliced pieces of Oreo Sushi on a plate. For extra indulgence, consider serving them with dipping sauces like chocolate sauce or whipped cream. This fun and delicious treat is sure to be a hit, whether for a party or a sweet snack at home!

How to Store and Freeze Oreo Sushi
Fridge: Store your Oreo Sushi in an airtight container for up to 3 days to maintain freshness and prevent drying out.
Freezer: To enjoy a chilled treat, you can freeze the rolled log of Oreo Sushi for up to 2 weeks. Wrap it tightly in plastic wrap before placing it in an airtight container.
Thawing: When ready to enjoy, thaw the frozen Oreo Sushi in the fridge for a few hours prior to slicing, which will make the pieces easier to cut and serve.
Serve Chilled: For the best taste, enjoy your Oreo Sushi chilled; this enhances the flavor and makes every bite feel refreshing!
Oreo Sushi Variations & Substitutions
Feel free to get creative and customize your Oreo Sushi with these fun and delicious twists!
-
Fruit-Filled: Add fresh fruit slices like strawberries or bananas rolled inside for a burst of sweetness and texture. The fruity freshness complements the rich chocolate perfectly.
-
Flavor Adventure: Swap in different Oreo flavors such as mint or peanut butter for a unique spin on dessert. Each flavor adds a new layer of delight, ensuring you never get bored!
-
Decadent Dips: Dip the sliced pieces in melted chocolate, caramel, or peanut butter for a luxurious treat. This extra indulgence takes your Oreo Sushi to the next level of deliciousness.
-
Nutty Crunch: Sprinkle crushed nuts or toasted coconut on top for added texture and crunch. This simple addition provides a delightful contrast to the soft, creamy filling.
-
Frozen Treat: Freeze your Oreo Sushi rolls for a cool, refreshing snack on hot days. It’s like enjoying an ice cream roll, perfect for cooling off during summer!
-
Whipped Delight: Serve with a dollop of whipped cream or a swirl of frosting for extra fluffiness. This enhances the visual appeal and adds a light, airy touch.
-
Savory Twist: Consider adding a hint of cream cheese for a tangy contrast. Just spread a thin layer on the cookie paste before rolling for a unique savory-sweet experience.
-
Special Occasion Touch: Decorate with colorful sprinkles or edible glitter for festive occasions. It’s an excellent way to make your dessert table sparkle and catch everyone’s eye!
Now that you have some great ideas, why not experiment with these variations in your next batch of Oreo Sushi? It’s a fun way to bring your personal touch to a beloved treat!
Make Ahead Options
Oreo Sushi is a fantastic dessert to prepare in advance, saving you precious time on busy days! You can crush the Oreo cookies and mix them with milk up to 24 hours ahead of time, storing the cookie paste in an airtight container in the refrigerator to maintain its freshness. It’s ideal to assemble the roll just before serving; however, if you need to prepare ahead, you can roll the mixture into a log and refrigerate it for up to 3 days. Just remember to slice the log into pieces just before serving to keep the edges from drying out. This way, you’ll enjoy delectable Oreo Sushi that’s just as delicious as if it were made fresh!
What to Serve with Oreo Sushi?
Indulging in Oreo Sushi is a delightful experience, and pairing it with the right sides can elevate your dessert game to new heights.
-
Whipped Cream: The light and airy texture of whipped cream offers a creamy contrast that complements the crunchy Oreo layers beautifully. It’s a classic pairing that everyone loves.
-
Fruit Salad: A vibrant fruit salad filled with fresh strawberries, bananas, and kiwi adds a refreshing sweetness and color, balancing the richness of the Oreo Sushi.
-
Chocolate Sauce: Drizzling chocolate sauce over each slice not only enhances the flavor but also gives a decadently rich finish that will satisfy every sweet tooth.
-
Coconut Flakes: Sprinkling toasted coconut flakes adds a tropical twist and delightful crunch that enhances the overall texture, making each bite even more enjoyable.
-
Gummy Bears: For a playful touch, serve gummy bears alongside your Oreo Sushi. Their burst of fruity flavors provides a fun contrast that kids (and adults!) will love.
-
Matcha Green Tea: This subtly bitter drink serves as a perfect palate cleanser, cutting through the sweetness of the dessert while adding a sophisticated element to your meal.
These delightful pairings will ensure your Oreo Sushi is the star of the show!
Expert Tips for Perfecting Oreo Sushi
-
Keep It Tight: When rolling the mixture, ensure the log is tightly formed to prevent it from unrolling during slicing.
-
Chill for Firmness: Refrigerate the roll for about 30 minutes before slicing for a firmer texture, making it easier to cut nice clean pieces.
-
Milk Measurement: Avoid adding too much milk; start with a small amount and increase as needed to achieve a thick, non-sticky consistency for your Oreo Sushi.
-
Creative Add-Ins: Don’t hesitate to experiment with seasonal Oreo flavors or fresh fruits to elevate your dessert; get creative with flavors and textures!
-
Slicing Technique: Use a sharp knife and a gentle sawing motion to slice the roll cleanly—this prevents squishing and helps maintain a sushi-like appearance.

Oreo Sushi Recipe FAQs
What type of Oreos should I use for Oreo Sushi?
Absolutely! You can use any type of Oreo—classic, double-stuffed, or even seasonal flavors like pumpkin spice or peppermint. I often experiment with different varieties to keep things exciting. Just remember, the cookie should be crunchy enough to provide a good texture in your sushi.
How long can I store Oreo Sushi in the refrigerator?
Oreo Sushi is best enjoyed fresh, but you can keep it in an airtight container in the refrigerator for up to 3 days. To maintain the best texture, avoid letting it sit out too long, as it may become mushy.
Can I freeze Oreo Sushi for later?
Yes, you can freeze it! Wrap the rolled log tightly in plastic wrap and place it in an airtight container. It can last for up to 2 weeks in the freezer. When ready to enjoy, allow it to thaw in the refrigerator for several hours before slicing. This keeps it nice and firm for easy serving!
What should I do if my cookie mixture is too sticky?
If your Oreo mixture is too sticky, it likely means you’ve added too much milk. Start by adding a small amount of milk and gradually mix until you reach a paste consistency that holds together without being overly wet. If you’ve added too much already, try mixing in more crushed Oreos to balance it out.
Are there any dietary considerations for Oreo Sushi?
Great question! Since Oreo cookies contain gluten and dairy, it’s important to be aware of any allergies. For a gluten-free version, look for gluten-free cookie alternatives. Additionally, if serving to children, keep in mind the sugar content and consider moderation—maybe even offer fruits as healthy add-ins!

Oreo Sushi: A Fun, Sweet Twist on Traditional Treats
Ingredients
Equipment
Method
- Start by twisting apart each Oreo cookie to separate the cream filling from the chocolate cookies. Place the cream filling in a bowl to keep it separate. Put the cookies into a zip-top bag, sealing it tightly.
- Using a rolling pin, crush the cookies in the bag until they become fine crumbs, which should take around 2-3 minutes. Once crushed, transfer the cookie crumbs to a bowl. Gradually mix in milk, stirring until you achieve a thick paste that holds together well.
- Lay out a piece of plastic wrap on a clean, flat surface. Spread the cookie paste evenly over the wrap, pressing it down to form a rectangle. Then, take the cream filling and evenly distribute it over the cookie paste.
- Using the edges of the plastic wrap, begin to roll the mixture tightly into a log shape. Continue rolling until it's fully encased in the wrap, forming a firm log. Once rolled, slice the log into bite-sized pieces.
- Arrange the sliced pieces of Oreo Sushi on a plate. For extra indulgence, consider serving them with dipping sauces like chocolate sauce or whipped cream.

