

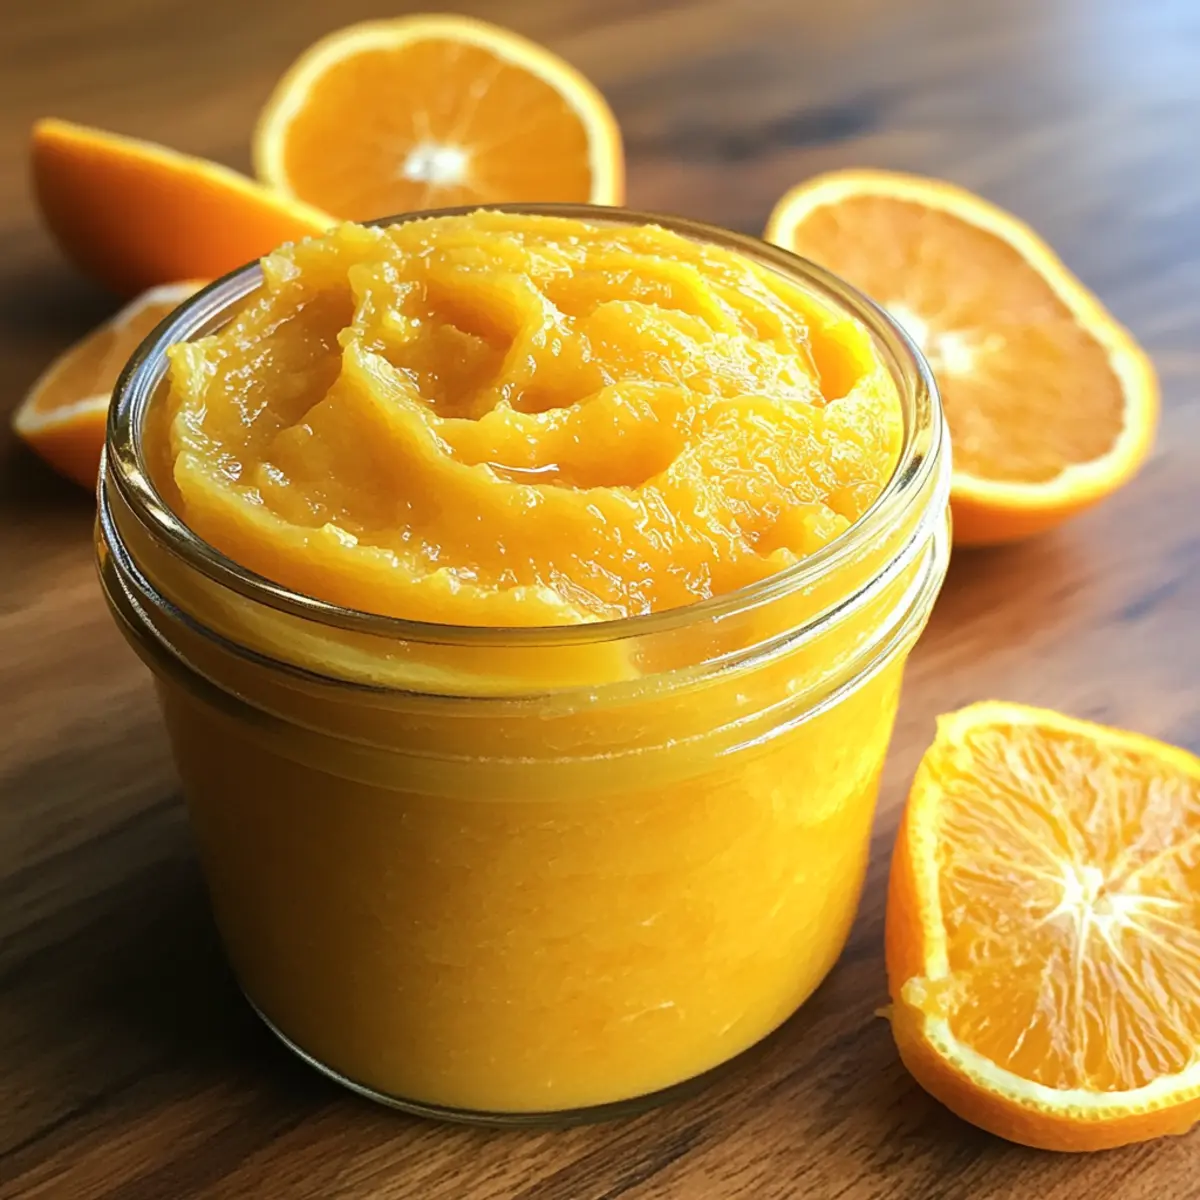
Walking through a sun-drenched orchard, the scent of ripe oranges fills the air, and I’m instantly inspired to create something special. That’s how this creamy vegan orange curd came to life—a zesty, eggless delight perfect for brightening up your favorite dishes. With its luscious texture and vibrant citrus flavor, this homemade orange curd is the ideal addition to toast, pancakes, or even as a luscious filling for desserts. Plus, it’s incredibly quick to make, ensuring that you’ll have a free moment to savor that refreshing taste without spending hours in the kitchen. Who doesn’t need a little sunshine in their meals? Ready to transform your breakfast or dessert routine with this irresistible vegan spread? Let’s dive in!
Why is Homemade Orange Curd a Must-Try?
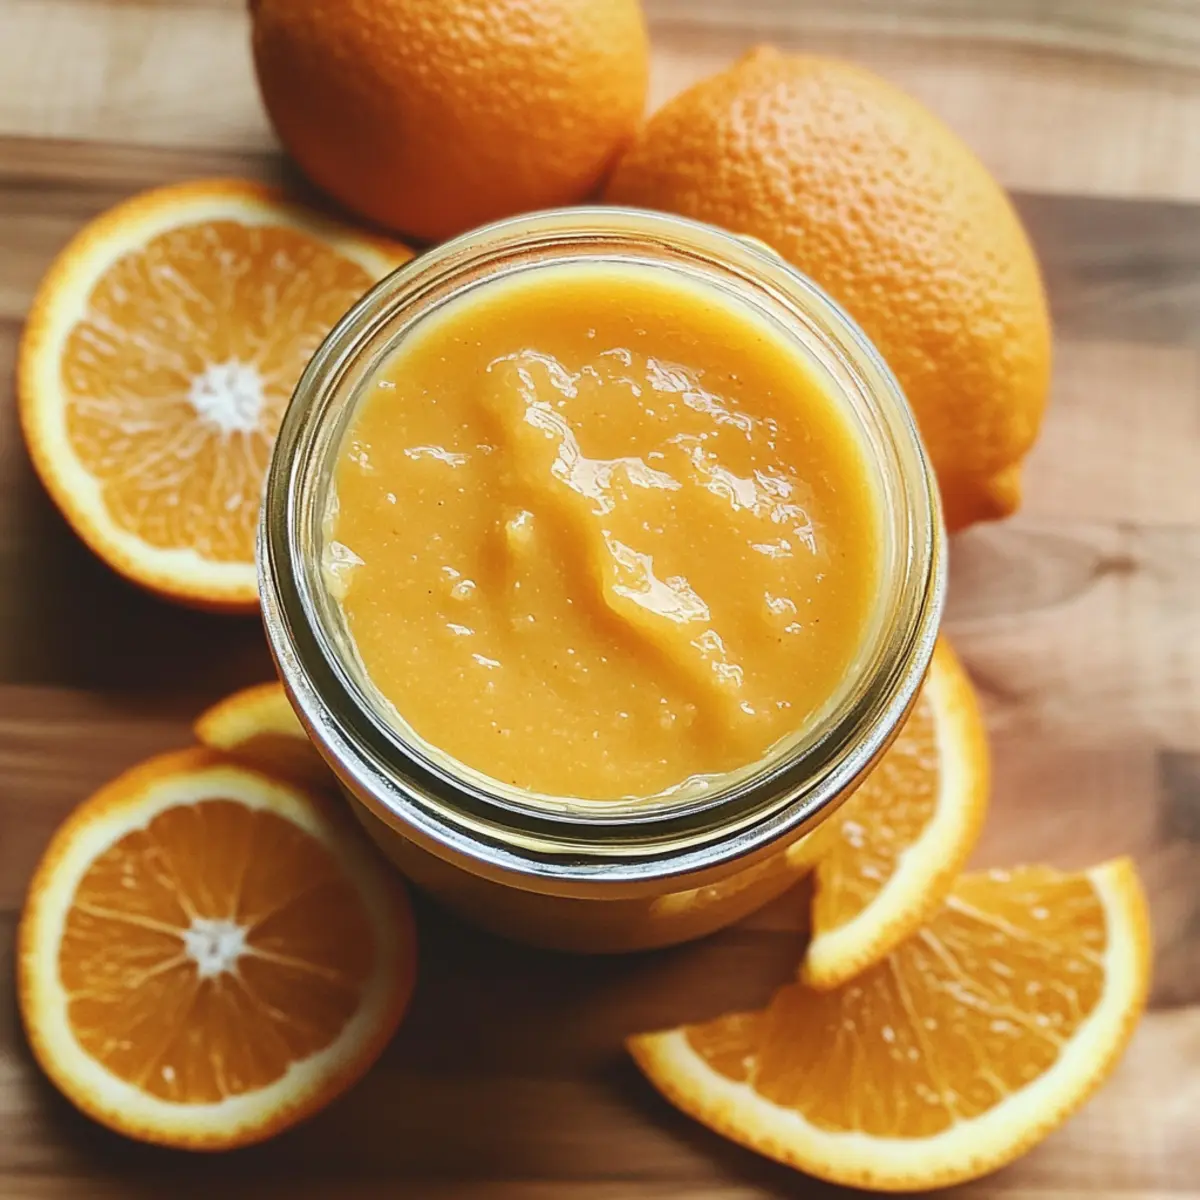
Bright, Vibrant Flavor: This creamy vegan orange curd delivers a delightful burst of citrus, transforming simple dishes into sensational treats.
Quick and Easy: Making it at home takes just minutes, allowing you to enjoy a fresh, homemade spread without the hassle.
Versatile Delight: Use it as a filling for pastries, or spread it on toast and pancakes for a zesty breakfast!
Perfect for Everyone: Even those avoiding eggs and dairy can indulge in this luscious treat, making it a hit for all diets.
Make Ahead: Store it in the fridge for up to a week, so you’re always prepared for a quick and tasty addition to your meals. If you love desserts, you might also enjoy adding a dollop to Grandmas Homemade Bake.
Homemade Orange Curd Ingredients
For the Curd
- Orange Zest – Adds aromatic citrus flavor; using organic or unwaxed oranges improves the taste.
- Fresh Orange Juice – Provides the main flavor and sweetness; always opt for freshly squeezed juice for the best results.
- Cane Sugar – Balances the tartness; you can substitute it with raw or golden caster sugar if desired.
- Non-Dairy Milk – Contributes creaminess; unsweetened soy, almond, or oat milk works wonderfully.
- Cornstarch – Acts as a thickener; arrowroot starch can be used as a substitute.
- Sea Salt – Elevates the overall flavor and helps balance the sweetness.
- Vegan Butter – Adds richness and creaminess; for a different texture, you can use coconut cream or thick coconut milk, noting it may affect firmness.
Final Touch
- Optional Flavor Variations – Swap in lemons or limes for a unique citrus twist, or mix tangerines for diverse flavor profiles in your homemade orange curd!
Step‑by‑Step Instructions for Homemade Orange Curd
Step 1: Prepare Oranges
Start by cleaning the oranges. Soak them in a vinegar-water solution for about 10 minutes to remove any impurities. Rinse them well under cold water. Next, zest the oranges carefully, avoiding the bitter white pith, and then juice them, straining out any seeds to ensure a smooth texture in your homemade orange curd.
Step 2: Flavor Sugar
In a medium saucepan, combine the cane sugar and the freshly grated orange zest. Rub the zest into the sugar with your fingers for a couple of minutes to release the aromatic oils, creating a fragrant blend. This step enhances the citrus flavor, making your orange curd rich and flavorful right from the start.
Step 3: Whisk Ingredients
Add the strained orange juice, non-dairy milk, cornstarch, and a pinch of sea salt to the sugar-zest mixture. Using a whisk, blend everything together until the mixture is smooth and free of lumps. This will be the base of your creamy homemade orange curd, so ensure all ingredients are well incorporated before cooking.
Step 4: Cook Mixture
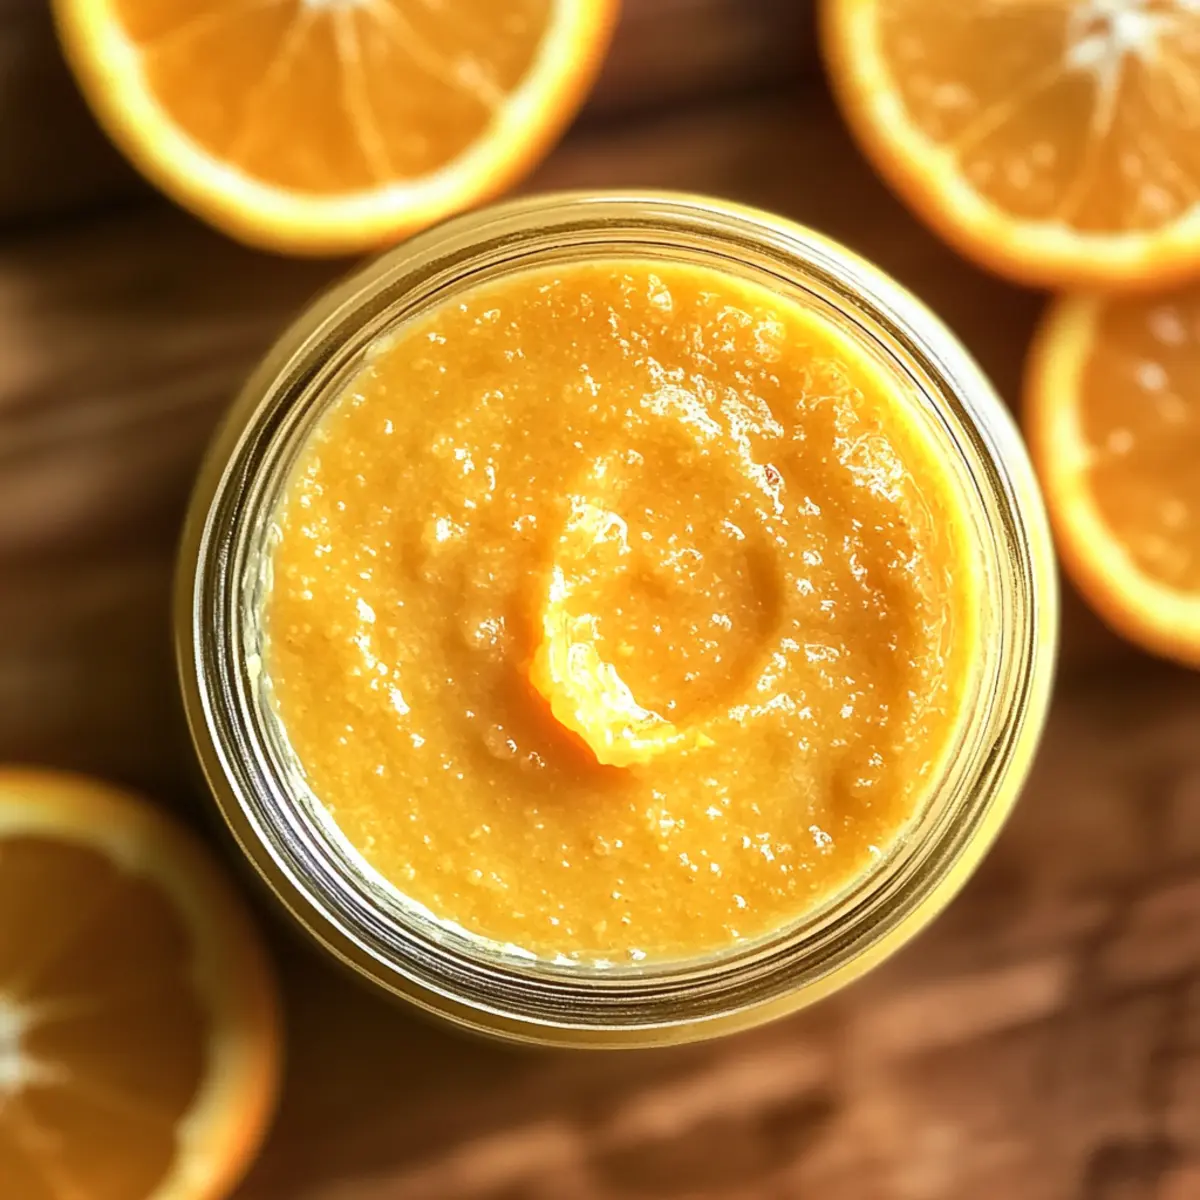
Place the saucepan over medium heat and cook the mixture while continuously whisking. Keep stirring for about 8–10 minutes until it thickens and coats the back of the spatula. You’ll notice it transforming into a luscious curd with a vibrant orange hue. Be attentive to avoid any sticking, ensuring a silky consistency.
Step 5: Sift and Combine
Once thickened, remove the saucepan from heat. Pour the mixture through a fine mesh sieve into a clean bowl to remove any lumps or zest pieces. Immediately add the cold vegan butter, whisking until melted and fully combined. This step ensures your homemade orange curd is incredibly smooth and creamy.
Step 6: Chill
Cover the orange curd with plastic wrap, pressing it directly onto the surface to prevent a skin from forming. Allow it to cool at room temperature for about 10-15 minutes. Then, transfer the bowl to the refrigerator and chill for at least an hour before using, so it thickens up beautifully, enhancing the flavor and texture.
What to Serve with Creamy Vegan Orange Curd
Brighten your meals with complementary flavors and textures that enhance the freshness of this zesty orange curd.
-
Lightly Toasted Sourdough: The tangy notes of sourdough elevate the brightness of the orange curd, creating a delightful breakfast treat. Each bite offers a satisfying crunch and soft, chewy interior.
-
Vegan Pancakes: Fluffy and warm, these pancakes are the perfect canvas for your homemade orange curd. Drizzle it on top for a burst of citrus that transforms a simple breakfast into a special occasion.
-
Coconut Yogurt Parfait: Layer creamy coconut yogurt with fresh fruit and a dollop of orange curd for a refreshing, tropical-inspired dessert. The creamy texture balances perfectly with the bright, zesty curd.
-
Almond Butter Toast: Spread almond butter on whole-grain toast and top with orange curd for a satisfying combination of nutty and citrusy flavors. This delightful snack is hearty and energizing.
-
Chilled Berry Salad: A medley of sweet, juicy berries tossed with a hint of mint complements the tartness of the orange curd. It makes for a refreshing side, adding a splash of color to your table.
-
Sparkling Water with Lemon: The effervescence of sparkling water, with a squeeze of lemon, serves as a light, refreshing drink to wash down the richness of the orange curd. It’s perfect for cleansing the palate!
-
Chocolate Vegan Cake: Serve this luscious orange curd as a decadent filling for a rich chocolate vegan cake. The citrus punch brightens the chocolate, creating a beautiful balance of flavors.
-
Homemade Granola: Top your favorite granola with a spoonful of orange curd for a delightful breakfast or snack. The crunchy texture offers a satisfying contrast to the creamy spread.
Expert Tips for Homemade Orange Curd
• Choose Quality Fruit: Select organic oranges to ensure a robust and vibrant flavor. Avoiding pesticides enhances both the taste and health benefits of your homemade orange curd.
• Proper Zesting: Only zest the colorful outer skin of the oranges, steering clear of the bitter white pith underneath. This helps keep your curd deliciously sweet and aromatic.
• Constant Stirring: Stir continuously while cooking to prevent curd from sticking to the pan. This simple step ensures a smooth and creamy texture for your orange curd.
• Cooling Time: Allow the curd to cool completely before refrigerating. This helps achieve the ideal thickness—giving you that luscious, spreadable consistency you desire.
• Reheat for Softness: If your homemade orange curd becomes too firm, gently reheat it before use. This will restore its creamy texture, making it perfect for drizzling or spreading.
Homemade Orange Curd Variations
Feel free to let your creativity shine as you enhance this orange curd, adding delightful twists to make it uniquely yours!
- Citrus Swap: Use lemons or limes to create a tangy twist. This adaptation brings a refreshing zing that complements various dishes.
- Tropical Fusion: Add a splash of pineapple juice for a tropical flair. Blending sweet and tangy makes for a deliciously unique curd experience!
- Herb Infusion: Mix in fresh basil or mint for an aromatic bouquet. The unexpected herbal notes can elevate your desserts in a wonderfully fresh way.
- Spiced Delight: Incorporate a dash of cinnamon or nutmeg for warm undertones. The spices create a cozy vibe perfect for fall or holiday treats.
- Chocolate Twist: For a rich contrast, fold in melted dark chocolate. This indulgent mix pairs wonderfully with pastries and adds a touch of decadence.
- Nutty Creaminess: Substitute vegan butter with cashew cream for a nuttier flavor. This variation enhances richness and the spreadability of your curd.
- Berry Burst: Swirl in a handful of blended berries, like raspberries or strawberries, before chilling. Their natural sweetness and color create a stunning presentation.
You might also enjoy spreading this luscious curd on Homemade Bread Sunflower or layering it between the chocolate oats of Grandmas Homemade Bake. Mix, match, and let your taste buds guide you to your perfect version!
How to Store and Freeze Homemade Orange Curd
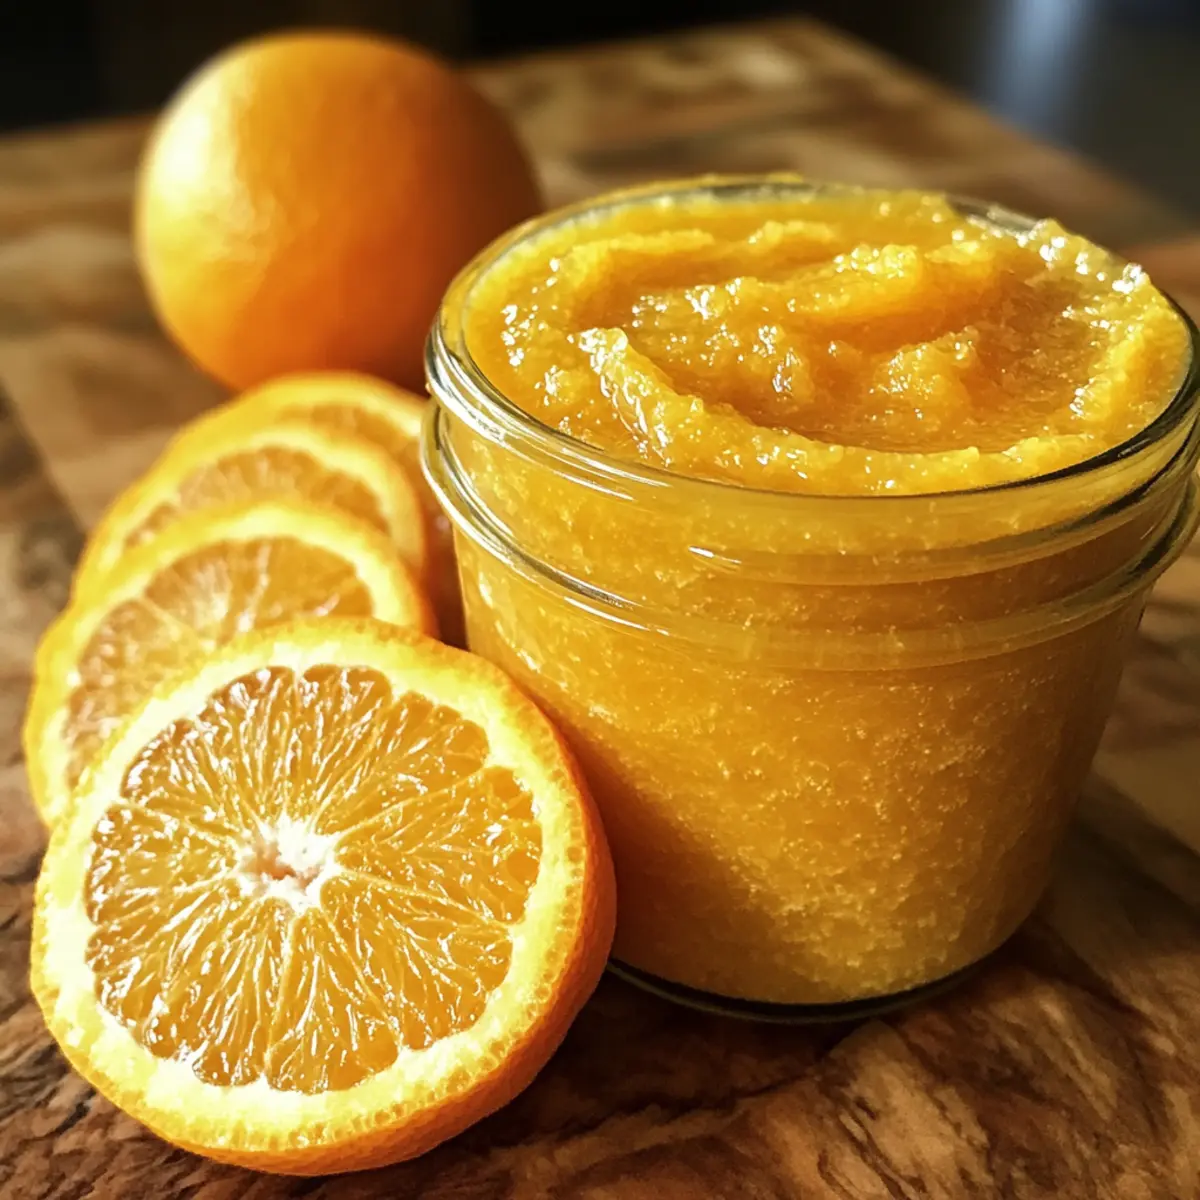
Fridge: Store your homemade orange curd in an airtight jar, and it will keep fresh for up to 7 days. Always make sure the lid is tightly sealed to maintain its creamy texture.
Freezer: For longer storage, freeze orange curd in an airtight container, where it can last for up to 3 months. Ensure you leave some space at the top for expansion.
Thawing: When ready to use, thaw the frozen orange curd in the refrigerator overnight. Gently reheat to restore its smooth consistency before serving.
Serving: If the curd thickens too much after refrigeration, simply whisk in a little non-dairy milk to achieve your desired creamy texture before using it in delightful desserts or spreads.
Make Ahead Options
These creamy vegan orange curd preparations are a dream for busy home cooks! You can whip up the entire orange curd recipe up to 3 days in advance, ensuring you have a delightful, homemade spread ready for breakfast or desserts. Simply follow the cooking instructions and allow the curd to cool completely before transferring it to an airtight container for refrigeration. To maintain its luscious texture, press plastic wrap directly onto the surface before sealing; this prevents any unsightly skin formation. When you’re ready to use, just give it a gentle stir or reheat slightly for that perfect spreadable consistency. With this make ahead tip, you’ll always have a zesty treat at your fingertips!
Homemade Orange Curd Recipe FAQs
What type of oranges should I use for the best flavor?
Absolutely! I recommend using organic or unwaxed oranges for your homemade orange curd. This ensures you’re getting the most vibrant flavor from the zesty skin without the worry of harmful pesticides or wax coatings. The fresher and more fragrant the oranges, the better your curd will taste!
How long can I store homemade orange curd in the fridge?
Your homemade orange curd will stay fresh for up to 7 days when stored in an airtight jar in the refrigerator. Just make sure to keep the lid tightly sealed to maintain its creamy texture and prevent any odors from affecting it.
Can I freeze homemade orange curd for later use?
Absolutely! To freeze your homemade orange curd, simply transfer it into an airtight container, leaving some space at the top for expansion during freezing. It can last for up to 3 months in the freezer. When you’re ready to use it, thaw it overnight in the refrigerator and gently reheat to restore its lovely creamy consistency.
What if my orange curd is too thick after refrigerating?
No worries! If your curd thickens more than you’d like after chilling, just whisk in a little non-dairy milk until you reach your desired creamy texture. This easy fix will help you achieve the perfect spreadable consistency for your favorite dishes.
Can my pets eat homemade orange curd?
It’s best to avoid giving your pets orange curd, especially if it contains sugar and other ingredients like salt or vegan butter. The citric acidity can upset their stomachs. Always consult your vet before introducing new foods to your pet’s diet.
What if I have a nut allergy?
If you or someone you’re serving has a nut allergy, you can substitute the non-dairy milk with oat milk or another nut-free alternative such as rice milk. Just be sure to check the labels to ensure they’re allergy-friendly!
Creamy Homemade Orange Curd: A Zesty Vegan Delight
Ingredients
Equipment
Method
- Start by cleaning the oranges. Soak them in a vinegar-water solution for about 10 minutes to remove impurities, then rinse well. Zest the oranges carefully and juice them, straining out seeds for a smooth texture.
- In a medium saucepan, combine cane sugar and freshly grated orange zest, rubbing zest into sugar to release aromatic oils, creating a fragrant blend.
- Add the strained orange juice, non-dairy milk, cornstarch, and a pinch of sea salt to the sugar-zest mixture. Whisk everything together until smooth.
- Place the saucepan over medium heat and cook while continuously whisking for about 8-10 minutes until thickened.
- Remove from heat, pour mixture through a fine mesh sieve into a bowl, and add cold vegan butter, whisking until melted and combined.
- Cover with plastic wrap pressed on the surface to prevent skin formation and let cool for 10-15 minutes, then refrigerate for at least an hour.