

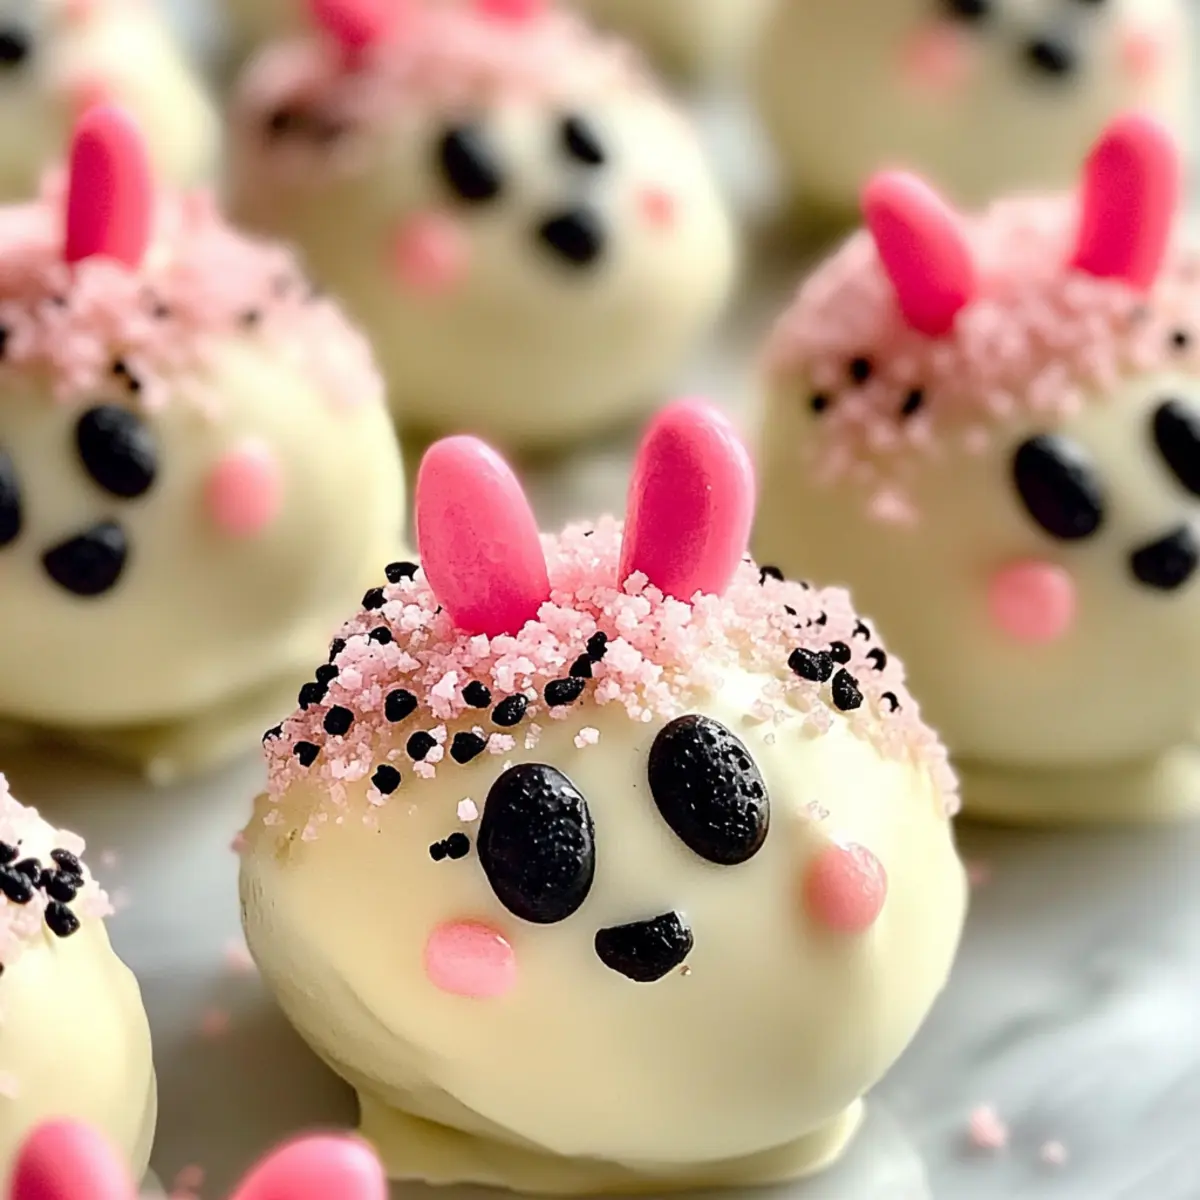
As I stood in my kitchen, the delightful aroma of melting chocolate filled the air, instantly transporting me to the carefree days of my childhood. It’s during these moments that my favorite family traditions come alive, like making Bunny Oreo Balls for our Easter celebrations. These adorable no-bake truffles combine a creamy Oreo and cream cheese filling with a fun chocolate shell, making them a truly delightful treat for both kids and adults alike. Not only are they festive and easy to whip up, but they also bring a playful touch to any gathering. Whether you’re hosting a springtime party or simply looking for a fun activity with your little ones, these Bunny Oreo Balls are sure to spread smiles all around. Ready to hop into the kitchen and create some sweet memories together? Let’s get started!
Why are Bunny Oreo Balls irresistible?
Uniquely Fun: These Bunny Oreo Balls add an adorable twist to your dessert table that’s perfect for festivities and spring gatherings.
No Baking Required: Save time with this easy no-bake recipe, making it ideal for busy parents or anyone looking to whip up a quick treat.
Kid-Friendly Fun: Involve the little ones in the kitchen! Rolling the truffles and decorating them offers a delightful bonding experience.
Decadent Flavors: With the rich combination of Oreo and cream cheese, each bite is a creamy, chocolatey delight that charms both kids and adults.
Versatile Decor: Switch up your colors and toppings to create variations for different holidays, turning this treat into a year-round favorite.
Shareable Smiles: Perfect for gatherings, these Bunny Oreo Balls are sure to impress your guests with their cute presentation and delicious taste. Want more delightful recipes? Check out these Spaghetti Homemade Meatballs for a fantastic family dinner!
Bunny Oreo Balls Ingredients
• Base for Sweetness and Flavor
Oreo Cookies – Crunch them finely to create the delicious base for your Bunny Oreo Balls.
• Rich Binding Agent
Cream Cheese – Soften to room temperature for easier mixing and a smooth filling.
• Decadent Coating
White Chocolate or Candy Melts – Choose your favorite for a sweet, crunchy outer shell; various colors add a festive touch.
• Fun Bunny Ears
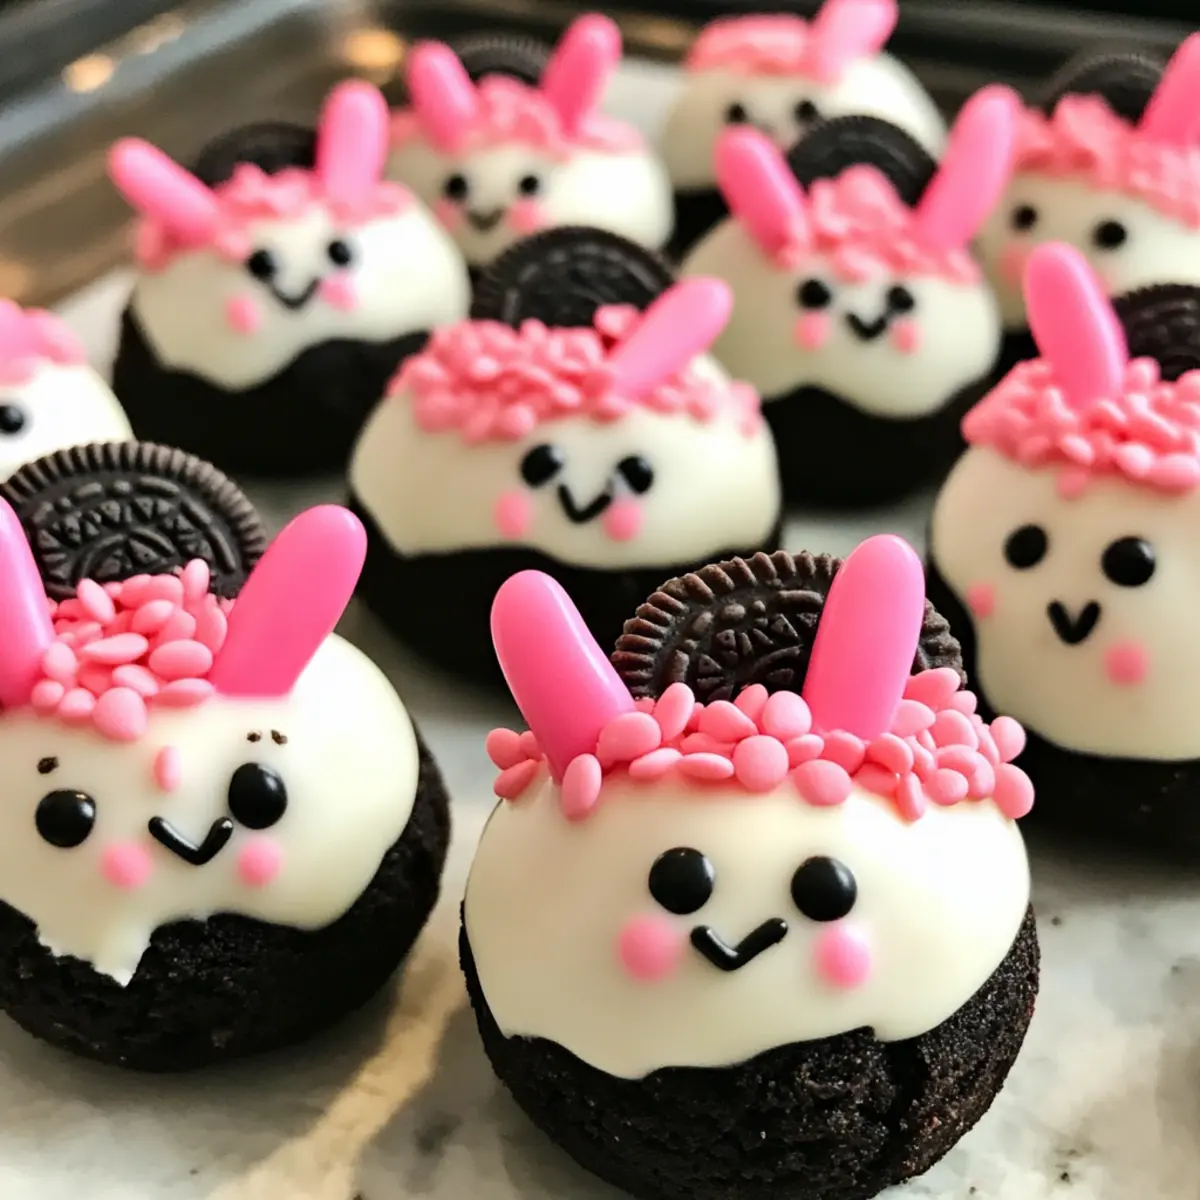
Mini Marshmallows – Use them as bunny ears; cut diagonally and dip in pink sugar for a vibrant decoration.
• Facial Features
Pink and Black Candy Melts – Melt and pipe to create the playful expressions on your Bunny Oreo Balls.
• Decorative Touch
Pink Sugar Sprinkles – Sprinkle them on bunny ears to enhance their cuteness and visual appeal.
Now that you have everything ready, hop to the kitchen and create these delightful Bunny Oreo Balls!
Step‑by‑Step Instructions for Bunny Oreo Balls
Step 1: Prepare the Mixture
Begin by finely crushing the Oreo cookies in a food processor until they resemble a fine crumb texture. Transfer the crumbs into a mixing bowl and add softened cream cheese. Using a spatula or your hands, mix the ingredients thoroughly until a dough-like consistency forms, ensuring no lumps remain. This rich mixture will form the delightful filling for your Bunny Oreo Balls.
Step 2: Shape Balls
Once the mixture is ready, take about one tablespoon of the Oreo-cream cheese mixture and roll it into a 1-inch ball using your palms. Continue forming balls and place each one on a parchment-lined baking sheet to prevent sticking. Once all the balls are shaped, cover them with plastic wrap and refrigerate for 30 minutes to make them firm and easier to dip later.
Step 3: Coat with Chocolate
While the truffles chill, melt the white chocolate or candy melts. Place the chocolate in a microwave-safe bowl and heat in 20-second intervals, stirring in between, until completely smooth. Remove the chilled Bunny Oreo Balls from the refrigerator and dip each one into the melted chocolate, making sure they are fully coated. Allow any excess chocolate to drip off before placing them back on the lined baking sheet.
Step 4: Decorate
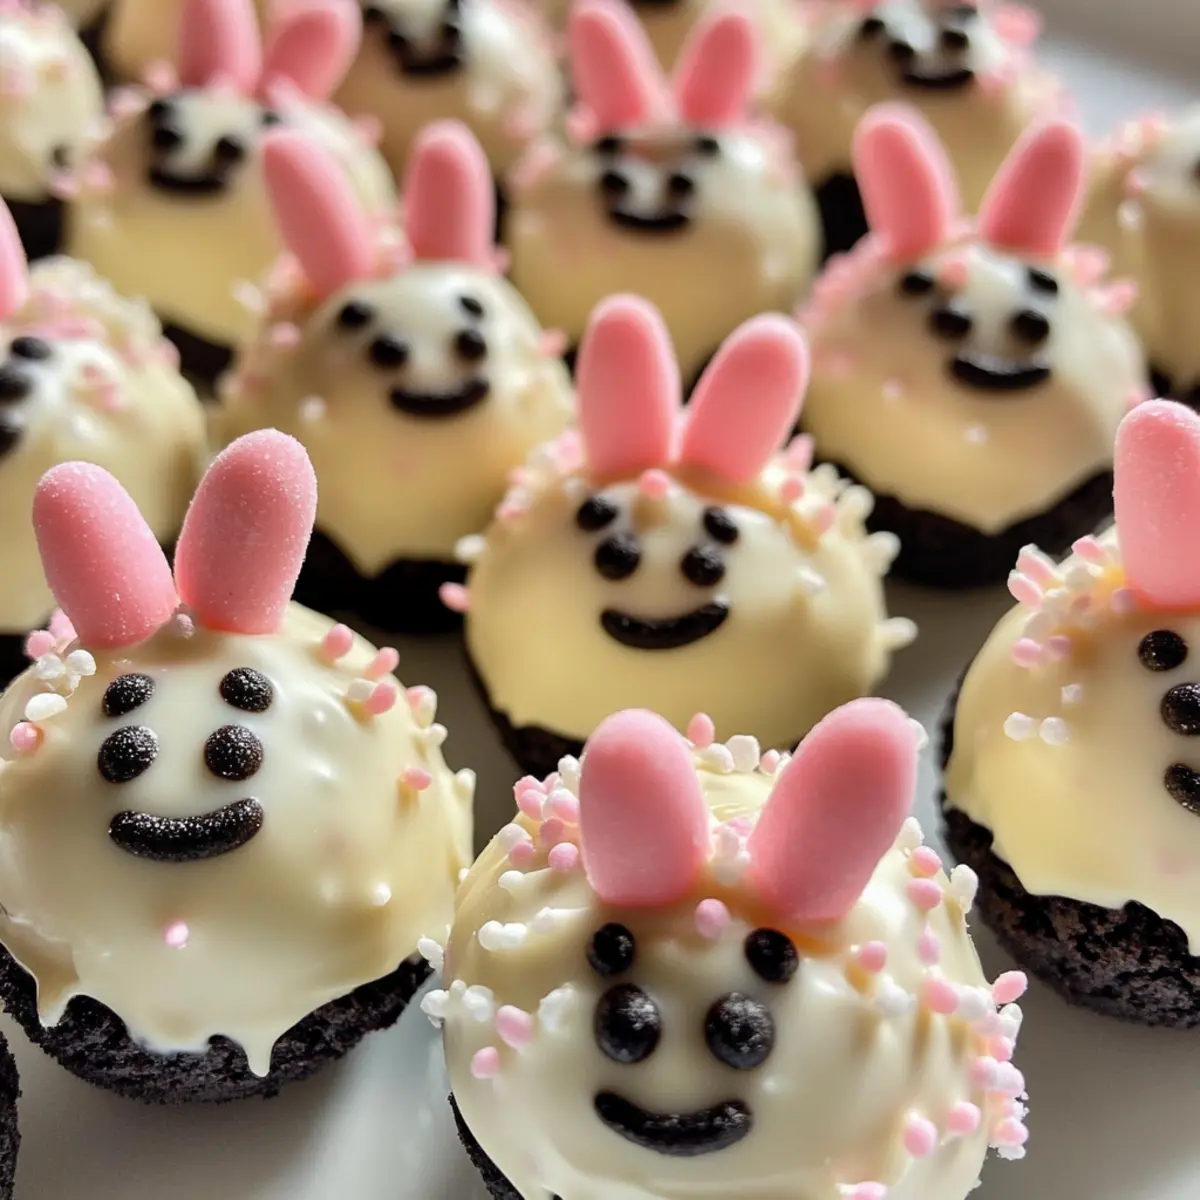
While the chocolate coating is still wet, attach the mini marshmallow pieces cut diagonally to create bunny ears. Gently press them into the top of each Oreo ball to secure them. Using the melted pink and black candy melts, pipe small facial features onto each Bunny Oreo Ball or use an edible food marker to add eyes, bringing these adorable treats to life.
Step 5: Set and Serve
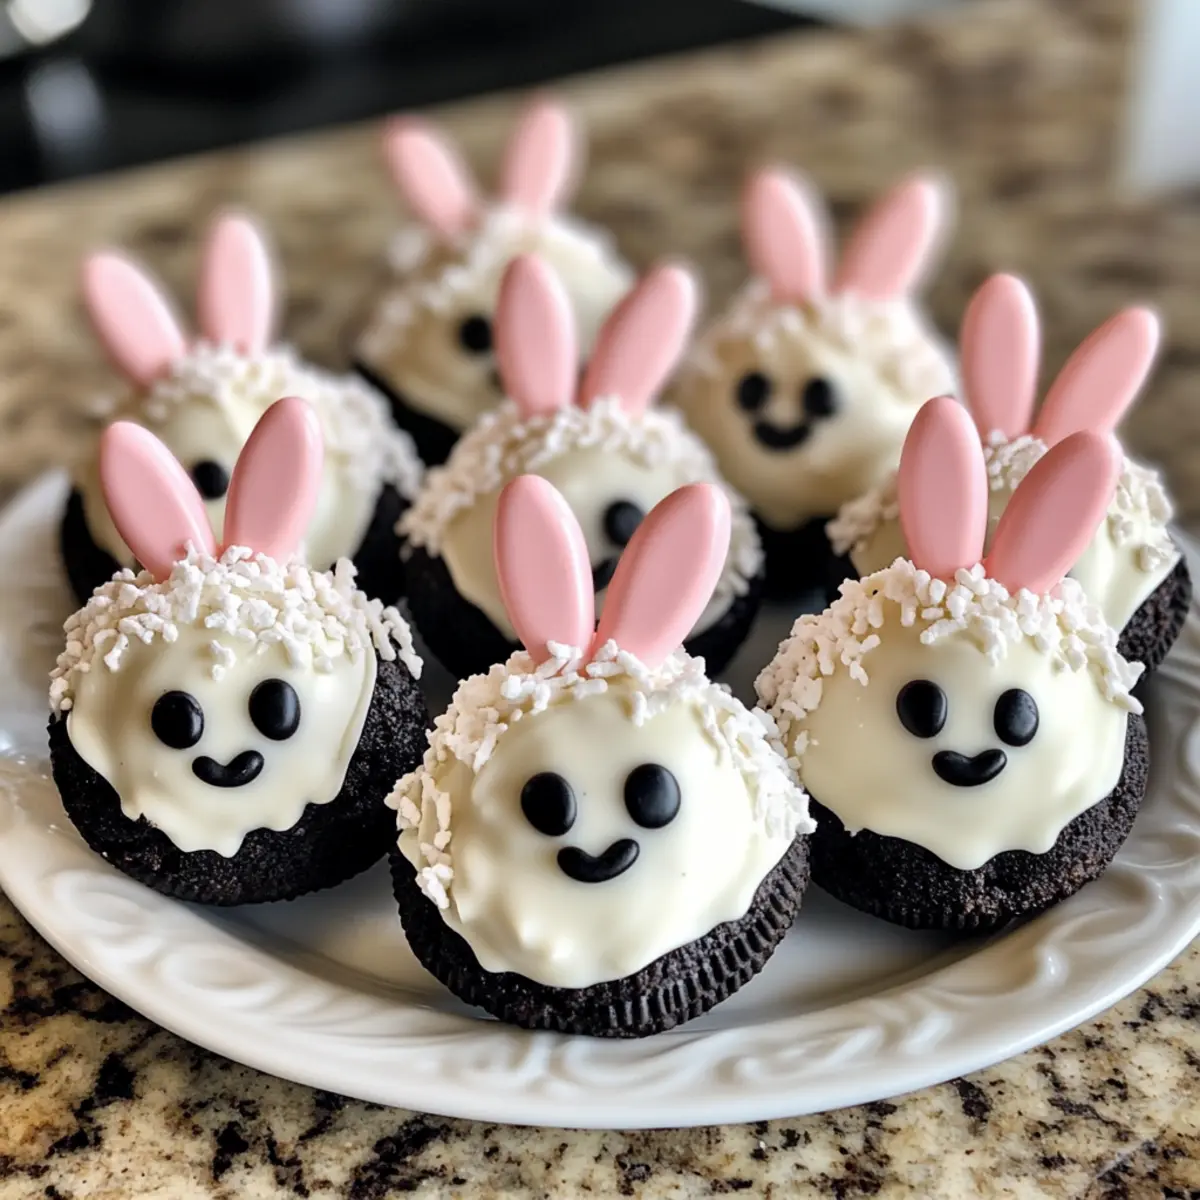
Let the decorations set completely at room temperature or refrigerate for about 15 minutes to harden the chocolate and decorations. After they’ve set, store your Bunny Oreo Balls in an airtight container in the refrigerator. They will remain fresh and delightful for up to five days, making them the perfect festive treat for Easter celebrations or any cheerful occasion.
How to Store and Freeze Bunny Oreo Balls
Fridge: Store Bunny Oreo Balls in an airtight container for up to 5 days. This keeps them fresh and maintains their delightful texture.
Freezer: If you want to make these treats in advance, Bunny Oreo Balls can be frozen for up to 2 months. Just place them in a single layer in a freezer-safe container.
Thawing: To enjoy, simply transfer them to the fridge the night before serving to thaw slowly while maintaining their creamy filling.
Reheating: There’s no need to reheat Bunny Oreo Balls; serve them chilled straight from the fridge or after thawing for the best taste!
Make Ahead Options
These Bunny Oreo Balls are perfect for meal prep enthusiasts! You can prepare the Oreo and cream cheese mixture up to 24 hours in advance, simply cover it tightly in plastic wrap and refrigerate, ensuring it maintains its rich flavor and creamy texture. Additionally, once you shape the balls, they can be refrigerated for an extra 30 minutes prior to coating. For the best quality, dip them in chocolate and add decorations the day you plan to serve them, allowing that fresh chocolate crunch to shine through. With these make-ahead strategies, you can manage your time efficiently while still delivering a delightful and festive dessert!
Bunny Oreo Balls: Exploring Customization Options
Let’s get creative and make these delightful Bunny Oreo Balls even more special with your own unique twists!
- Flavor Swap: Substitute Mint Oreo cookies for a refreshing twist. The bright taste pairs wonderfully with chocolate coatings.
- Dairy-Free Delight: Use vegan cream cheese and dark chocolate or dairy-free candy melts. Perfect for those with dietary restrictions!
- Fun Toppings: Try adding colored coconut flakes to the chocolate coating for some texture. The bright colors will remind you of springtime fun.
- Nutty Crunch: Add chopped nuts like almonds or walnuts into the filling. It enhances the crunch factor, adding a delightful surprise in each bite!
- Seasonal Decor: Change the bunny designs with different colored melts for various holidays. Imagine red and green for Christmas or pastel colors for a spring celebration!
- Mini Truffles: Shape the mixture into smaller balls for bite-sized treats. They’ll be perfect for sharing during festive gatherings!
- Spicy Sweet: Add a hint of cinnamon or nutmeg to the cream cheese mixture for warmth and added depth of flavor. It makes for a cozy, nostalgic touch.
Remember, these Bunny Oreo Balls are just a canvas for your creativity! If you’re interested in other unique family-friendly recipes to complement your festivities, you might also love these Spaghetti Homemade Meatballs that are sure to please everyone at the table!
What to Serve with Bunny Oreo Balls
A charming treat deserves a delightful spread to accompany it, creating the perfect gathering experience.
-
Fluffy Vanilla Cupcakes: Light and airy, these cupcakes serve as a sweet contrast to the rich cookie truffles. Their simplicity makes them a crowd-pleaser.
-
Light Fruit Salad: A vibrant mix of seasonal fruits not only adds color but also a refreshing balance to the sweetness of the Bunny Oreo Balls. Each bite of juicy fruit cleanses the palate.
-
Minty Chocolate Milkshakes: Indulgent yet refreshing, a chocolate milkshake infused with mint complements the creamy flavors of the treats perfectly, offering a whimsical twist.
-
Chocolate-Dipped Strawberries: Sweet, juicy strawberries enrobed in chocolate echo the dessert’s fun theme while adding a fresh, fruity element. Their vibrant color adds an inviting touch to your table.
-
Mini Carrot Cake Bites: These bite-sized treats echo the Easter theme and provide a nice spiced flavor profile that pairs beautifully with the sweetness of Bunny Oreo Balls.
-
Sparkling Lemonade: Bright and bubbly, this drink provides a refreshing contrast to the richness of the truffles, making it a perfect celebratory pairing.
-
Coconut Macaroons: With a chewy texture and divine coconut flavor, these treats mirror the festive theme while offering a delightful contrast to the Oreo’s crunch.
-
Classic Vanilla Ice Cream: A scoop of creamy vanilla ice cream melts beautifully alongside Bunny Oreo Balls, creating a dreamy dessert experience perfect for spring gatherings.
Embrace the joy of entertaining this season with these accompanying delights!
Expert Tips for Bunny Oreo Balls
-
Soften Cream Cheese: Ensure your cream cheese is at room temperature for smooth mixing; cold cream cheese can lead to lumps in your Bunny Oreo Balls.
-
Melt Chocolate Gently: Use a microwave in short intervals, stirring frequently to avoid scorching the chocolate. A double boiler ensures even melting and prevents burns.
-
Use Parchment Paper: This prevents sticking when setting your Bunny Oreo Balls on the baking sheet. Simply lift them off easily when they’re ready to serve!
-
Creative Decorations: Get imaginative with colors and toppings; switching up the candy melts or sprinkles can transform your Bunny Oreo Balls for any holiday.
-
Refrigerate Before Coating: Chilling the rolled balls helps them maintain their shape and makes them easier to dip in chocolate without falling apart.
Bunny Oreo Balls Recipe FAQs
How do I choose ripe ingredients for Bunny Oreo Balls?
Absolutely! The only main ingredient that varies in ripeness is the cream cheese. Make sure to use cream cheese that is softened to room temperature for easy mixing. This will ensure a smooth, lump-free filling. Getting the right consistency is key, so avoid refrigerated cream cheese that hasn’t sat out for at least 30 minutes.
What is the best way to store Bunny Oreo Balls?
Very easy! Store your Bunny Oreo Balls in an airtight container in the refrigerator. They will remain fresh for up to 5 days. To maintain their delightful texture and flavor, it’s best to keep them chilled until you’re ready to serve.
Can I freeze Bunny Oreo Balls?
Absolutely! If you want to make your Bunny Oreo Balls in advance, they can be frozen for up to 2 months. Here’s how to freeze them: Place the truffles in a single layer on a baking sheet and freeze until solid. Then, transfer them to a freezer-safe container with parchment paper between layers to prevent sticking. When you’re ready to enjoy them, just thaw them in the fridge overnight!
What should I do if the chocolate coating is too thick?
Very common! If you find that your melted chocolate or candy melts are too thick for coating, add a teaspoon of vegetable oil or Paramount crystals to the melted chocolate. This will help thin it out, making it easier to dip your Bunny Oreo Balls evenly. Stir until smooth before dipping.
Are Bunny Oreo Balls safe for people with allergies?
Always a great question! Bunny Oreo Balls contain dairy due to the cream cheese and chocolate. For those with allergies, I recommend using dairy-free cream cheese and chocolate alternatives, which can create a similar delightful flavor without the dairy. Always check labels for cross-contamination with allergens, especially when serving to larger groups.
Can I save leftover chocolate for future use?
Definitely! If you have leftover melted chocolate, you can save it. Allow it to cool completely, then store it in an airtight container at room temperature for up to a week. Reheat gently in the microwave when you’re ready to use it again. Just note that it may thicken slightly, so add a little oil if needed when melting again.
Bunny Oreo Balls: Easy No-Bake Treats for Spring Fun
Ingredients
Equipment
Method
- Begin by finely crushing the Oreo cookies in a food processor until they resemble a fine crumb texture. Transfer the crumbs into a mixing bowl and add softened cream cheese. Using a spatula or your hands, mix the ingredients thoroughly until a dough-like consistency forms, ensuring no lumps remain.
- Once the mixture is ready, take about one tablespoon of the Oreo-cream cheese mixture and roll it into a 1-inch ball using your palms. Place each ball on a parchment-lined baking sheet and cover them with plastic wrap. Refrigerate for 30 minutes to firm up.
- While the truffles chill, melt the white chocolate or candy melts in a microwave-safe bowl, heating in 20-second intervals and stirring until completely smooth. Dip each chilled ball into the melted chocolate, allowing excess to drip off.
- While the coating is still wet, attach the mini marshmallow pieces cut diagonally to create bunny ears on top of each ball. Use melted pink and black candy melts to pipe small facial features onto each Bunny Oreo Ball.
- Let the decorations set at room temperature or refrigerate for about 15 minutes to harden. Store in an airtight container for up to five days.