

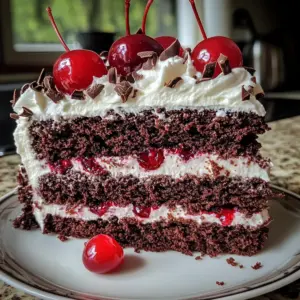
Stepping into the kitchen, I was greeted by the irresistible aroma of chocolate wafting through the air, instantly transporting me to a world of sweet nostalgia. Today, we’re diving into the art of creating a show-stopping Black Forest Cake with Cherry Whipped Cream—a dessert that’s not just a treat but a heartfelt celebration. An absolute crowd-pleaser, this recipe boasts the enticing blend of rich chocolate layers and luscious whipped cream, all elevated by tart cherries that add a refreshing zing. With relatively quick prep and the ability to serve as the stunning finale to your gatherings, making this delightful cake will surely impress family and friends alike. Are you ready to bake a slice of happiness?
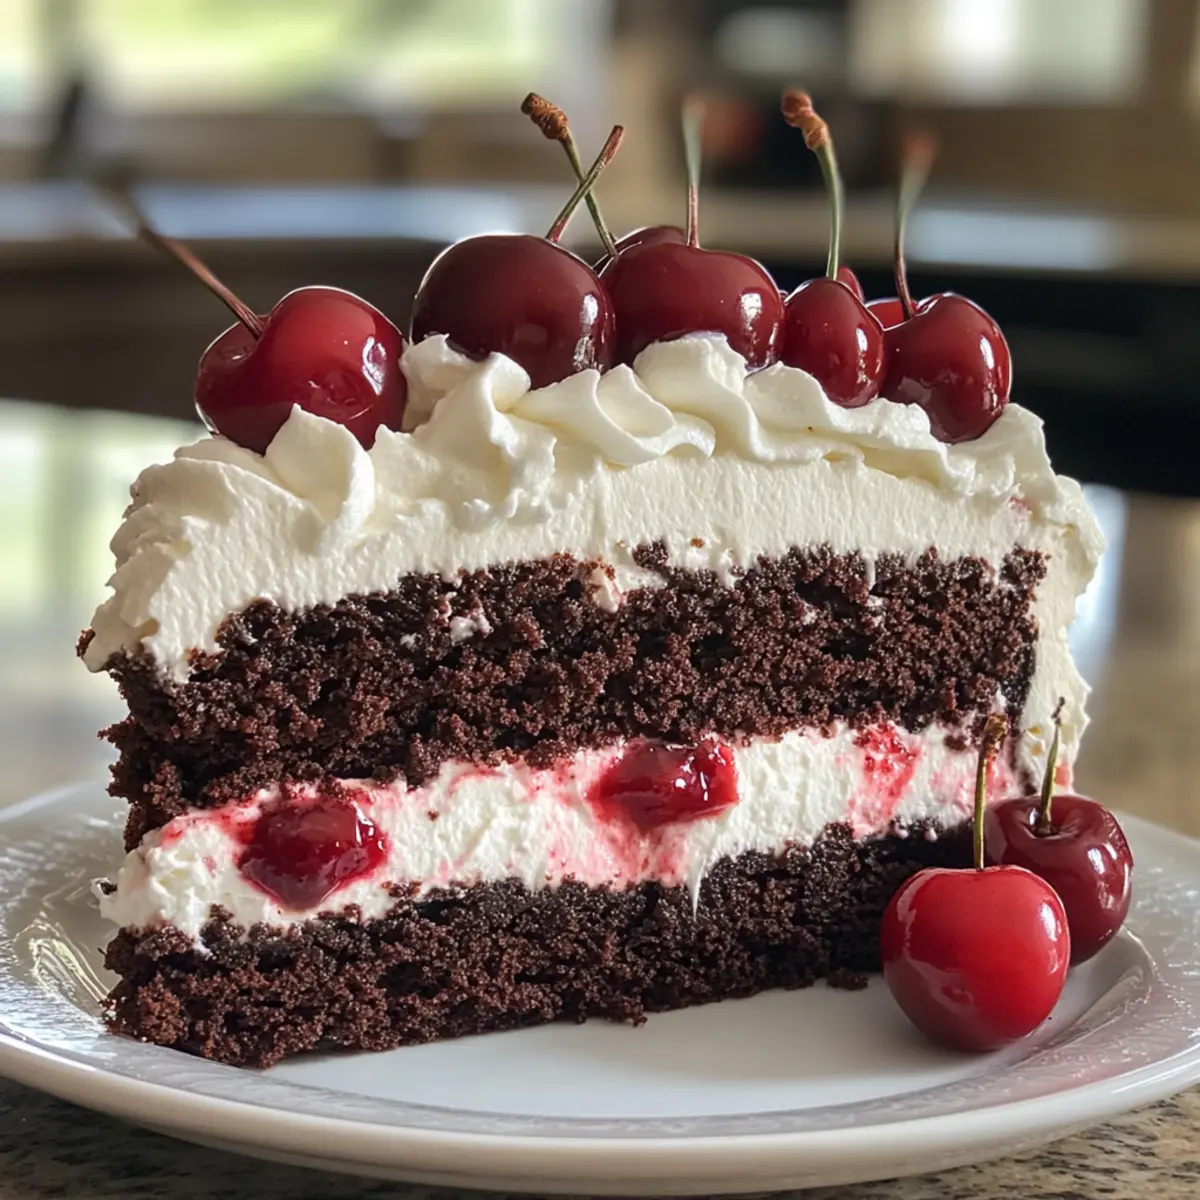
Why is Black Forest Cake so beloved?
Indulgent Layers: The combination of rich chocolate cake and fluffy cherry whipped cream creates a decadent experience that’s simply irresistible.
Customization Ready: With easy substitutions suggested, from gluten-free flour to vegan options, this cake welcomes your preferences.
Showstopper Appeal: Perfect for any occasion, it doubles as a stunning centerpiece and a delectable dessert, impressing everyone from friends to family.
Quick Prep Time: This recipe allows for a delicious finish without spending hours in the kitchen, meaning less stress and more time to enjoy with your loved ones.
Unique Flavor Twist: The tart cherries perfectly balance the chocolate, offering a unique blend of flavors that elevates this classic dessert above generic cakes.
And if you’re looking for more delightful desserts, check out my Nutty Apricot Cookies or the delicious Wholesome Oatmeal Fruit cookies for something equally satisfying!
Black Forest Cake Ingredients
• Black Forest Cake is a classic dessert that delights with its rich chocolate layers and luscious cherry filling.
For the Cake
- All-Purpose Flour – Provides structure to the cake; for gluten-free, use a gluten-free flour blend.
- Cocoa Powder – Adds deep chocolate flavor; ensure it’s unsweetened for a balanced taste.
- Granulated Sugar – Sweetens the cake layers; can substitute with coconut sugar for a less refined option.
- Baking Powder – Acts as a leavening agent for a light texture; make sure it’s fresh for the best results.
- Eggs – Binds ingredients and enriches flavor; substitute with flax eggs for a vegan version.
- Milk – Adds moisture to the cake; swap with almond milk or another plant-based milk for lactose-free needs.
- Cherry Syrup (from canned cherries) – Moistens the cake layers while infusing cherry flavor; can substitute with homemade cherry syrup.
For the Whipped Cream
- Whipped Cream – Lightens the cake layers; use heavy whipping cream for best results or coconut cream for a dairy-free option.
For Decoration
- Cherries – Essential for decoration and filling; fresh cherries can replace canned if in season.
Let’s begin crafting your dreamy Black Forest Cake and create sweet memories that you’ll cherish!
Step‑by‑Step Instructions for Decadent Black Forest Cake with Cherry Whipped Cream
Step 1: Prepare the Cake Batter
Start by preheating your oven to 350°F (175°C) and greasing two 9-inch round cake pans. In a mixing bowl, combine all-purpose flour, unsweetened cocoa powder, granulated sugar, and baking powder. In a separate bowl, whisk together your eggs and milk until smooth, then gradually add this mixture to the dry ingredients. Beat until just combined, ensuring no lumps remain, then pour the batter evenly into the prepared pans.
Step 2: Bake the Cake Layers
Place your filled cake pans in the preheated oven and bake for 25-30 minutes. To check for doneness, insert a toothpick into the center; it should come out clean. Once baked, carefully remove the pans from the oven and let them cool in the pans for about 10 minutes, then turn them out onto a wire rack to cool completely.
Step 3: Prepare Cherry Syrup
While the cake layers cool, open your can of cherries and drain the syrup into a bowl, reserving the cherries themselves. If desired, you can simmer the syrup in a saucepan over medium heat for 5-10 minutes to reduce and intensify the flavor. Once cooled, set the syrup aside as you work on the next steps for the Black Forest cake assembly.
Step 4: Soak the Cake Layers
Once the cake layers have cooled completely, use a pastry brush to generously coat the top of each layer with the reserved cherry syrup. Allow the cake layers to soak up the syrup for at least 30 minutes; for best results, let them rest in the refrigerator for a few hours or overnight to ensure maximum flavor and moisture absorption.
Step 5: Whip the Cream
In a clean mixing bowl, add heavy whipping cream along with a pinch of salt and a splash of vanilla extract. Using a stand mixer or hand mixer, beat the mixture on medium speed until soft peaks form, about 3-5 minutes. Gradually add powdered sugar while continuing to beat until the cream reaches stiff peaks, creating a luscious whipped cream that will elevate your Black Forest cake.
Step 6: Assemble the Cake
With the soaked cake layers and whipped cream ready, take one layer and place it on a serving plate. Spread half of the whipped cream over the top, then layer half of the cherries on the cream. Carefully place the second cake layer on top, and spread the remaining whipped cream over the top for a smooth finish. Finally, arrange the remaining cherries decoratively on top of the whipped cream for an eye-catching presentation.
Step 7: Chill and Serve
To enhance the flavors of your Decadent Black Forest Cake with Cherry Whipped Cream, cover the cake with a dome or plastic wrap and refrigerate for at least 1 hour before serving. This allows the flavors to meld and the cake to firm up slightly. When ready to serve, slice generously and enjoy the delightful combination of chocolate, cherries, and whipped cream!
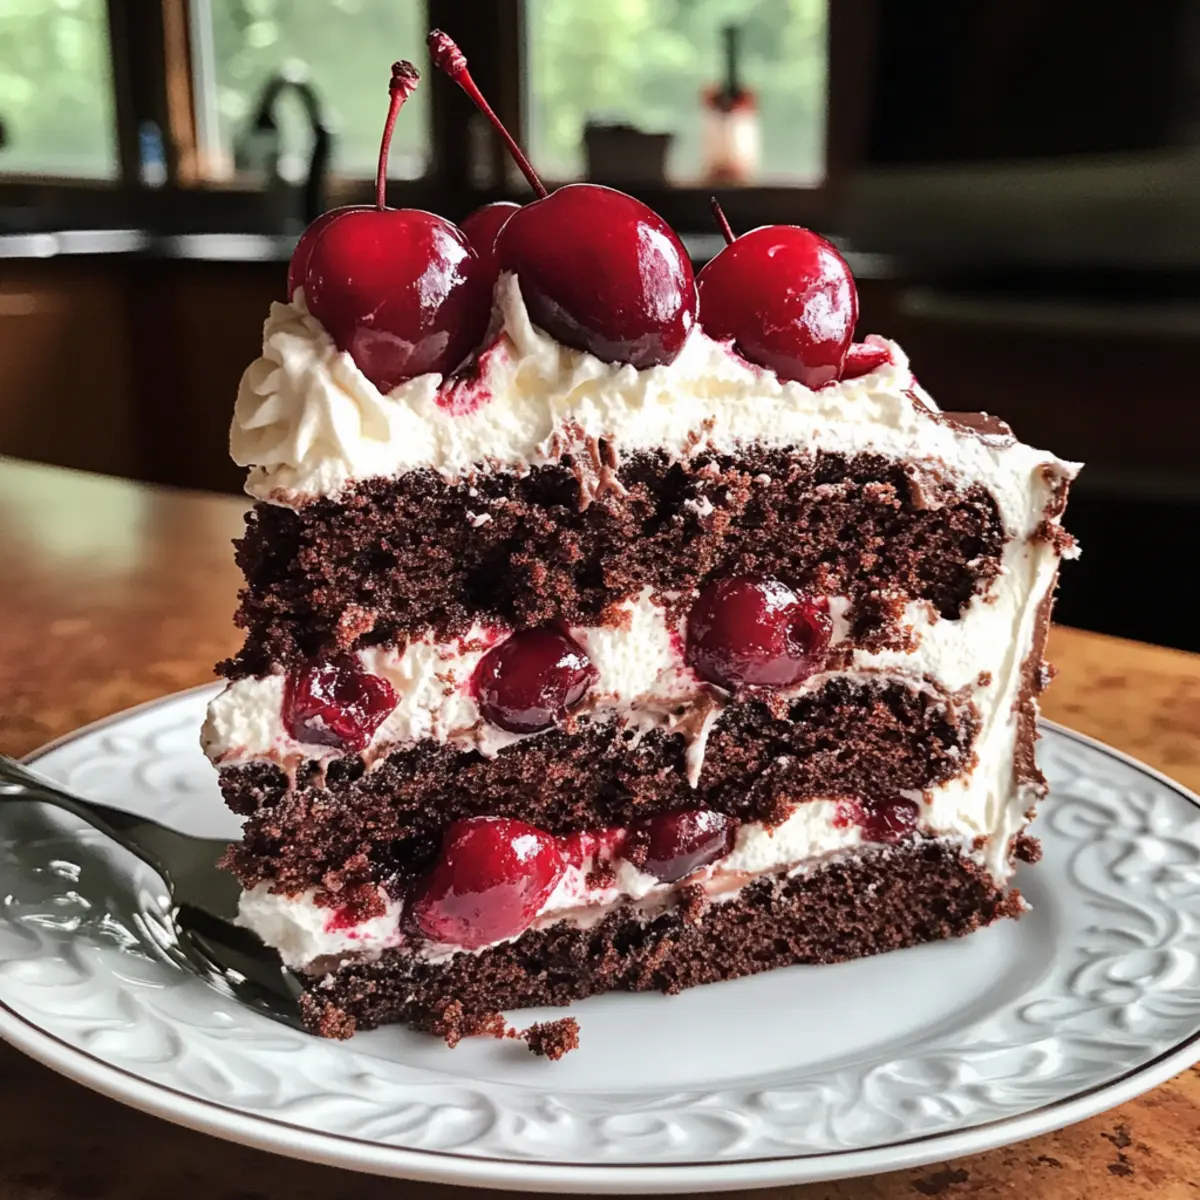
Expert Tips for Black Forest Cake
-
Cool First: Ensure that your cake layers are completely cool before assembling; this helps prevent the whipped cream from melting into the cake.
-
Syrup Soaking: Let the cake soak in cherry syrup for a few hours or overnight; this intensifies flavor and moisture for a truly decadent Black Forest cake.
-
High-Quality Ingredients: Use high-quality cocoa powder and vanilla extract to elevate the flavor; don’t underestimate the impact these ingredients can have!
-
Dairy-Free Option: If you’re looking for a dairy-free variation, substitute heavy whipping cream with coconut cream; it still creates a deliciously rich texture.
-
Decorate Creatively: Get creative with your decorations! Fresh mint or chocolate shavings can add a pop of color and texture to your Black Forest cake.
Make Ahead Options
Making the Decadent Black Forest Cake with Cherry Whipped Cream ahead of time is a wonderful way to save stress and ensure a show-stopping dessert for your gatherings! You can bake and cool the cake layers up to 24 hours in advance, wrapping them tightly in plastic wrap to keep them moist. Additionally, you can prepare the cherry syrup and soak the cake layers for optimal flavor absorption before assembling. The whipped cream can also be whipped up up to 3 days ahead—just store it in an airtight container in the fridge to maintain its fluffy texture. When you’re ready to serve, simply assemble the cake and refrigerate for at least 1 hour to allow the flavors to meld, giving you a delightful dessert that’s just as delicious as if made fresh!
Variations & Substitutions for Black Forest Cake
Feel free to explore your creativity and personalize this delectable cake to match your preferences!
-
Gluten-Free: Use a gluten-free flour blend to keep everyone included without sacrificing texture.
-
Vegan: Swap eggs for flax eggs and use almond milk along with coconut cream for a rich dairy-free experience.
-
Lower Sugar: Substitute granulated sugar with coconut sugar or a sugar alternative to create a guilt-free indulgence.
-
Ganache Finish: Replace the whipped cream topping with a dark chocolate ganache for an intense and luxurious twist.
-
Berry Mix: Try mixing in different fruits, like raspberries, for a vibrant and tangy addition to this classic cake.
-
Flavored Whipped Cream: Infuse the whipped cream with almond or vanilla extract for a burst of flavor that jazzes up each slice.
-
Layered Texture: Add a layer of crushed nuts or chocolate chips between the cake layers for an exciting crunch that complements the cake’s softness.
If you’re excited to try more innovative treats, you might also enjoy my scrumptious Nutty Apricot Cookies or the delightful Wholesome Oatmeal Fruit cookies for another sweet adventure!
What to Serve with Decadent Black Forest Cake with Cherry Whipped Cream
Delightful pairings can elevate your chocolate cherry masterpiece, making it a truly unforgettable meal experience.
-
Fresh Fruit Salad: A medley of seasonal fruits adds a refreshing contrast, enhancing the cake’s richness with vibrant flavors and textures.
-
Chocolate-Stuffed Strawberries: These indulgent bites create a luxurious chocolate experience, while the fresh strawberries provide a balance of tartness and sweetness.
-
Vanilla Ice Cream: A scoop of creamy vanilla ice cream introduces a soothing element, complementing the rich layers of your cake beautifully.
-
Mint Tea: The soothing warmth of mint tea acts as a gentle palate cleanser, perfectly balancing the cake’s sweetness and richness.
-
Coffee: A cup of freshly brewed coffee underscores chocolate flavors, creating a warm harmony with the cake while enhancing its overall experience.
-
Chocolate Ganache Tart: An additional chocolate dessert amplifies the decadence, allowing chocolate lovers to indulge further while mixing textures and flavors.
Imagine presenting your Black Forest cake with these delightful accents, crafting not only a feast for the eyes but a symphony of flavors for your guests!
How to Store and Freeze Black Forest Cake
Fridge: Store leftover Black Forest Cake in the refrigerator for up to 3 days. Cover it tightly with plastic wrap to prevent it from drying out and losing its luscious flavor.
Freezer: If you want to freeze the cake, wrap individual slices or the entire cake in plastic wrap followed by aluminum foil. It can be frozen for up to 2 months.
Thawing: To enjoy frozen Black Forest Cake, simply transfer it to the fridge and let it thaw overnight. This will help retain its delightful texture and flavor.
Reheating: If desired, you can gently warm individual slices in the microwave for about 10-15 seconds, just enough to make the chocolate layers melt in your mouth!
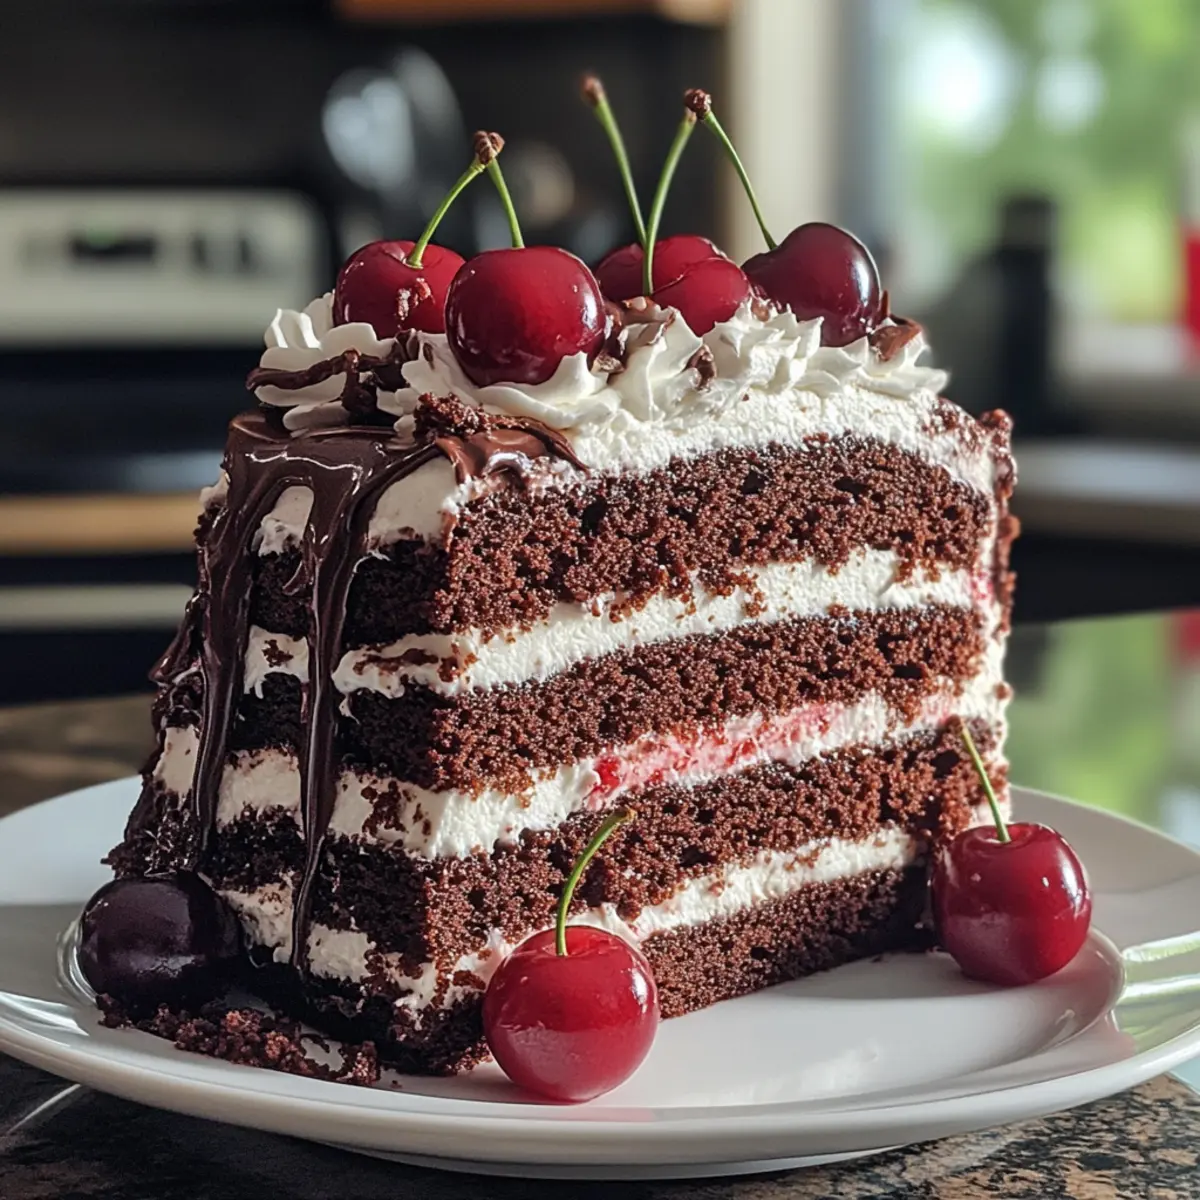
Black Forest Cake with Cherry Whipped Cream Recipe FAQs
What type of cherries should I use for Black Forest Cake?
Absolutely, using fresh cherries is ideal if they are in season; they not only add a vibrant color but also a fresh taste. If fresh cherries aren’t available, canned tart cherries work perfectly too, just make sure to drain them well and reserve the syrup for soaking the cake layers.
How do I store leftover Black Forest Cake?
To keep your delicious Black Forest Cake fresh, store it in the refrigerator for up to 3 days. Cover it tightly with plastic wrap or place it in an airtight container to prevent it from drying out. If you want to enjoy it later, consider freezing it!
Can I freeze Black Forest Cake? How?
Certainly! To freeze your Black Forest Cake, first, cut it into individual slices or leave it whole. Wrap each slice or the entire cake in plastic wrap, ensuring it’s well-covered, followed by aluminum foil for extra protection. It can be frozen for up to 2 months. Just remember, when you’re ready to enjoy it, transfer it to the fridge to thaw overnight—this helps maintain its delicious texture.
What if the whipped cream melts while assembling?
If your whipped cream is melting during assembly, it could be because the cake layers were still warm. Always ensure your cake layers are completely cool before layering with whipped cream. Alternatively, if you find your whipped cream isn’t holding its shape, consider refrigerating it for a short while before assembly—this will help it firm up nicely.
Are there any dietary considerations for allergies with Black Forest Cake?
Yes! This cake contains common allergens like gluten (from flour) and dairy (from cream and milk). If you’re making it for someone with allergies, I recommend using gluten-free flour and substituting the cream with coconut cream for a dairy-free option. It’s a great way to ensure everyone can enjoy this delectable dessert!
Can I customize the flavors of the Black Forest Cake?
Very! One of the beauties of this recipe is its versatility. You can experiment by using other fruits like raspberries or strawberries instead of cherries for a delightful twist. Additionally, integrating flavors like almond extract into the whipped cream can elevate the taste even further!
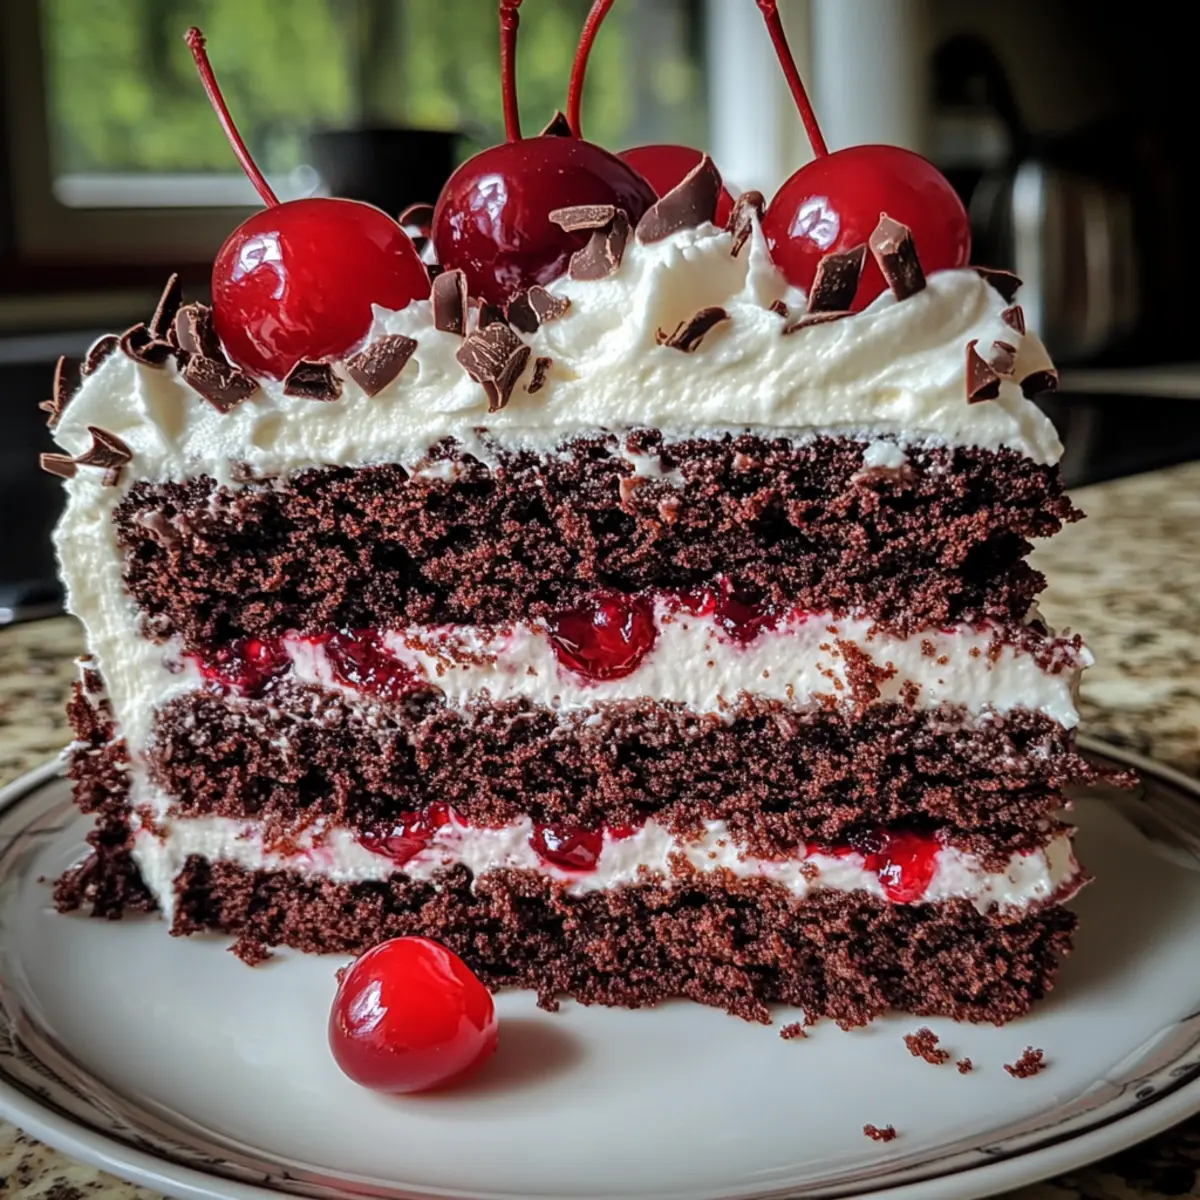
Delicious Fruit Filled Thumbprint Cookies for Sweet Moments
Ingredients
Equipment
Method
- Preheat your oven to 350°F (175°C) and line a baking sheet with parchment paper.
- In a mixing bowl, cream together the softened butter and sugar until light and fluffy.
- Add the egg and vanilla extract, and mix until well combined.
- In another bowl, whisk together the flour and baking powder, then gradually add to the wet mixture.
- Using a cookie scoop, drop dough onto the prepared baking sheets.
- Make an indentation in the center of each cookie using your thumb or the back of a spoon.
- Fill each indentation with your chosen fruit jam.
- Bake in the preheated oven for 12-15 minutes, or until lightly golden around the edges.
- Remove from the oven and let cool on the baking sheet for a few minutes before transferring to a wire rack to cool completely.