

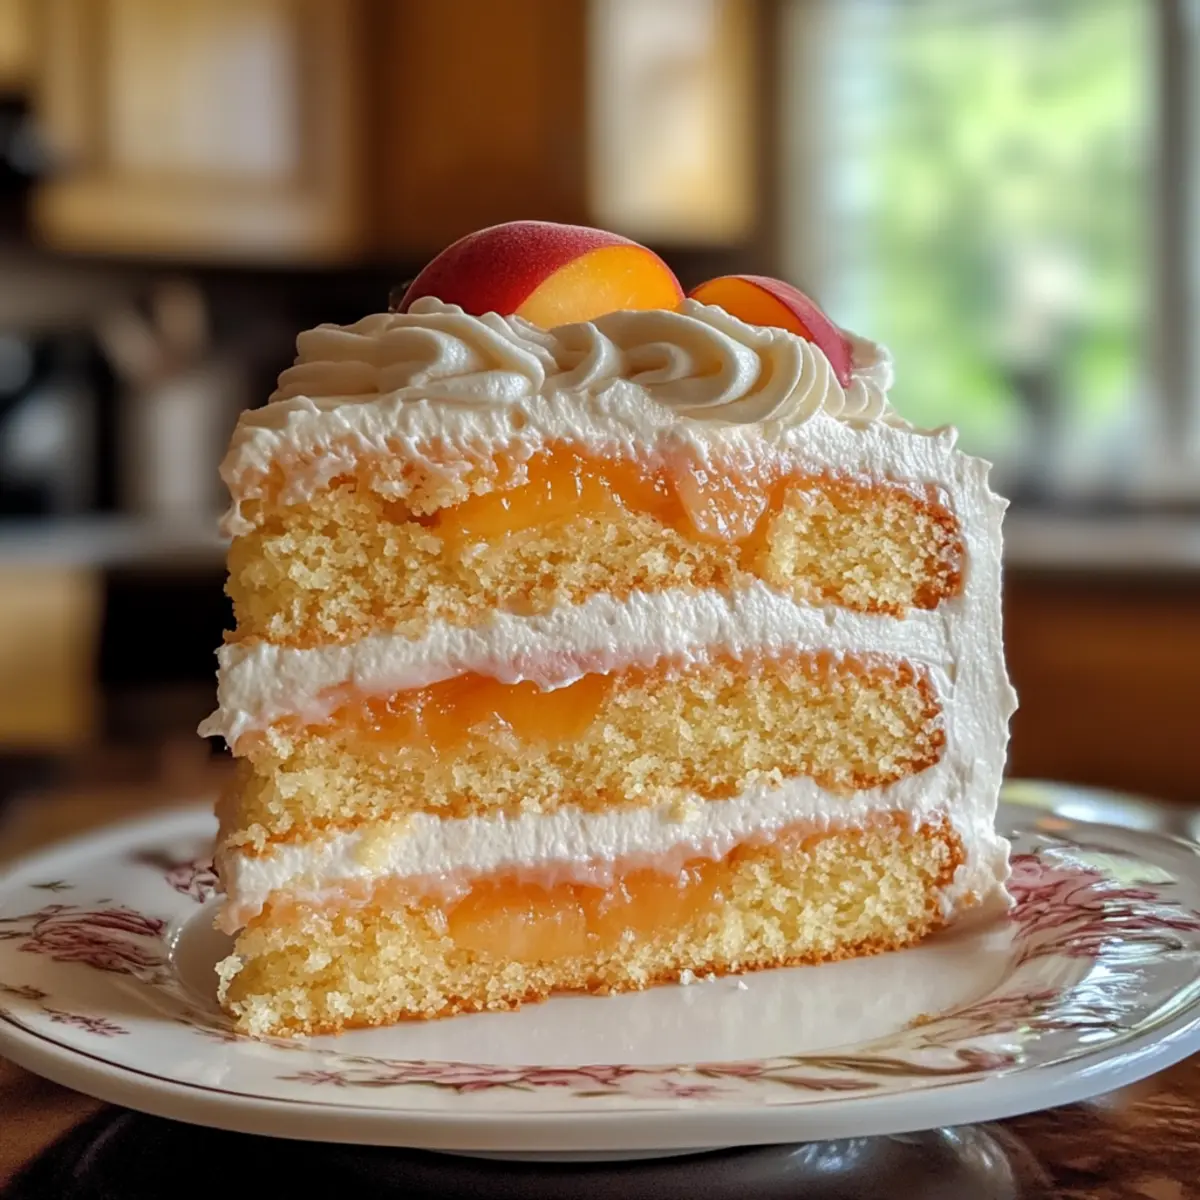
As the sun bathes the backyard in warm golden light, there’s nothing quite like the inviting smell of freshly baked Peach Blossom Cake wafting through the air—a delightful summer dessert that speaks of cherished gatherings and sweet memories. This rich yet light cake, layered with sweet cream and bursting with real peach flavor, is a celebration of summer’s best bounty. With its tender, fluffy crumb, it serves as the perfect backdrop for the juicy fruit, making it a must-try for any passionate home chef. Not only will you impress your friends and family with this gorgeous creation, but its simple prep and elegant presentation will have you feeling like a pastry chef in no time. So, ready to uncover the secret to this delightful summer cake? Let’s dive into the recipe!
Why is this Peach Cake special?
Summer Delight: This Peach Blossom Cake perfectly captures the essence of the season, making each bite a refreshing treat for warm days.
Effortless Elegance: With straightforward steps and common ingredients, you can create a dessert that looks and tastes gourmet without the fuss.
Rich, Fruity Layers: The combination of peach puree and sweet cream provides a luscious, velvety mouthfeel that leaves everyone reaching for seconds.
Versatile Choice: While it shines with fresh peaches, feel free to experiment with other fruits for a unique twist, just like in my Nutty Vanilla Cake or Lemon Caramel Cream.
Crowd-Pleasing Appeal: Whether it’s a summer picnic or a family gathering, this cake is sure to be the star of the dessert table!
Peach Blossom Cake Ingredients
For the Cake
• All-Purpose Flour – A delicious foundation for the Peach Blossom Cake layers.
• Baking Powder – Helps the cake rise to fluffy perfection.
• Baking Soda – Balances the acidity in the buttermilk, ensuring a light texture.
• Salt – Enhances the overall flavor for a well-rounded taste.
• Unsalted Butter – Adds richness and moisture; don’t forget to soften it first!
• Granulated Sugar – Provides the cake’s sweetness; a lesser amount of sugar alternative works too.
• Eggs – Important for binding; use large, room temperature eggs for best results.
• Vanilla Extract – Adds a lovely layer of flavor; always opt for pure when you can.
• Almond Extract – Offers depth to the flavor profile; can be omitted or substituted if preferred.
• Buttermilk – Contributes moisture and acidity; plain yogurt mixed with water can be a convenient substitute.
• Peach Puree – Infuses real peach flavor; simply cook fresh peaches until thickened.
For the Cream Filling
• Heavy Cream – Essential for a luscious whipped cream filling; coconut cream is a great dairy-free option.
• Powdered Sugar – Stabilizes the whipped cream while adding needed sweetness.
• Cream Cheese (or Mascarpone) – Provides stability for whipped cream; make sure it’s softened for easy mixing.
For the Topping
• Fresh Peaches – Use ripe but firm peaches for tasty, eye-catching decoration that complements the layers.
Enjoy making this delightful Peach Blossom Cake with Sweet Cream Layers that’s sure to become a family favorite!
Step‑by‑Step Instructions for Peach Blossom Cake with Sweet Cream Layers
Step 1: Prepare Peach Puree
Begin by peeling and pitting 4-5 fresh peaches. Chop them and cook in a saucepan over medium heat for about 15-20 minutes, stirring occasionally, until the peaches soften and reduce to a thick puree. Remove from heat and let the peach puree cool completely before using it in the cake batter.
Step 2: Preheat Oven
While the peach puree cools, preheat your oven to 350°F (175°C). Grease and line two 8-inch or 9-inch round cake pans with parchment paper to prevent sticking. This preparation ensures your Peach Blossom Cake layers release easily and maintain a lovely shape after baking.
Step 3: Make Cake Batter
In a large mixing bowl, cream together 1 cup of softened unsalted butter and 1 ¾ cups of granulated sugar until the mixture becomes light and fluffy, about 3-4 minutes. Add in 3 large eggs, 1 teaspoon of vanilla extract, and ½ teaspoon of almond extract, mixing until just combined. Then, fold in the cooled peach puree until evenly distributed.
Step 4: Combine Dry Ingredients
In a separate bowl, whisk together 2 cups of all-purpose flour, 2 teaspoons of baking powder, 1 teaspoon of baking soda, and ½ teaspoon of salt. Gradually add these dry ingredients to the wet mixture, alternating with 1 cup of buttermilk. Mix until just combined, ensuring not to overmix, which could affect the cake’s light texture.
Step 5: Bake
Divide the batter evenly between the prepared cake pans. Place them in the preheated oven and bake for 25-30 minutes. The cakes are done when a toothpick inserted in the center comes out clean, and the tops are golden brown. Once baked, allow them to cool in the pans for 10 minutes before transferring them to wire racks to cool completely.
Step 6: Make Cream Filling
In a bowl, beat together 8 ounces of softened cream cheese and 1 cup of powdered sugar until smooth. In another bowl, whip 1 cup of heavy cream until soft peaks form. Gently fold the whipped cream into the cream cheese mixture until well combined, creating a light and airy filling for your Peach Blossom Cake.
Step 7: Assemble Cake
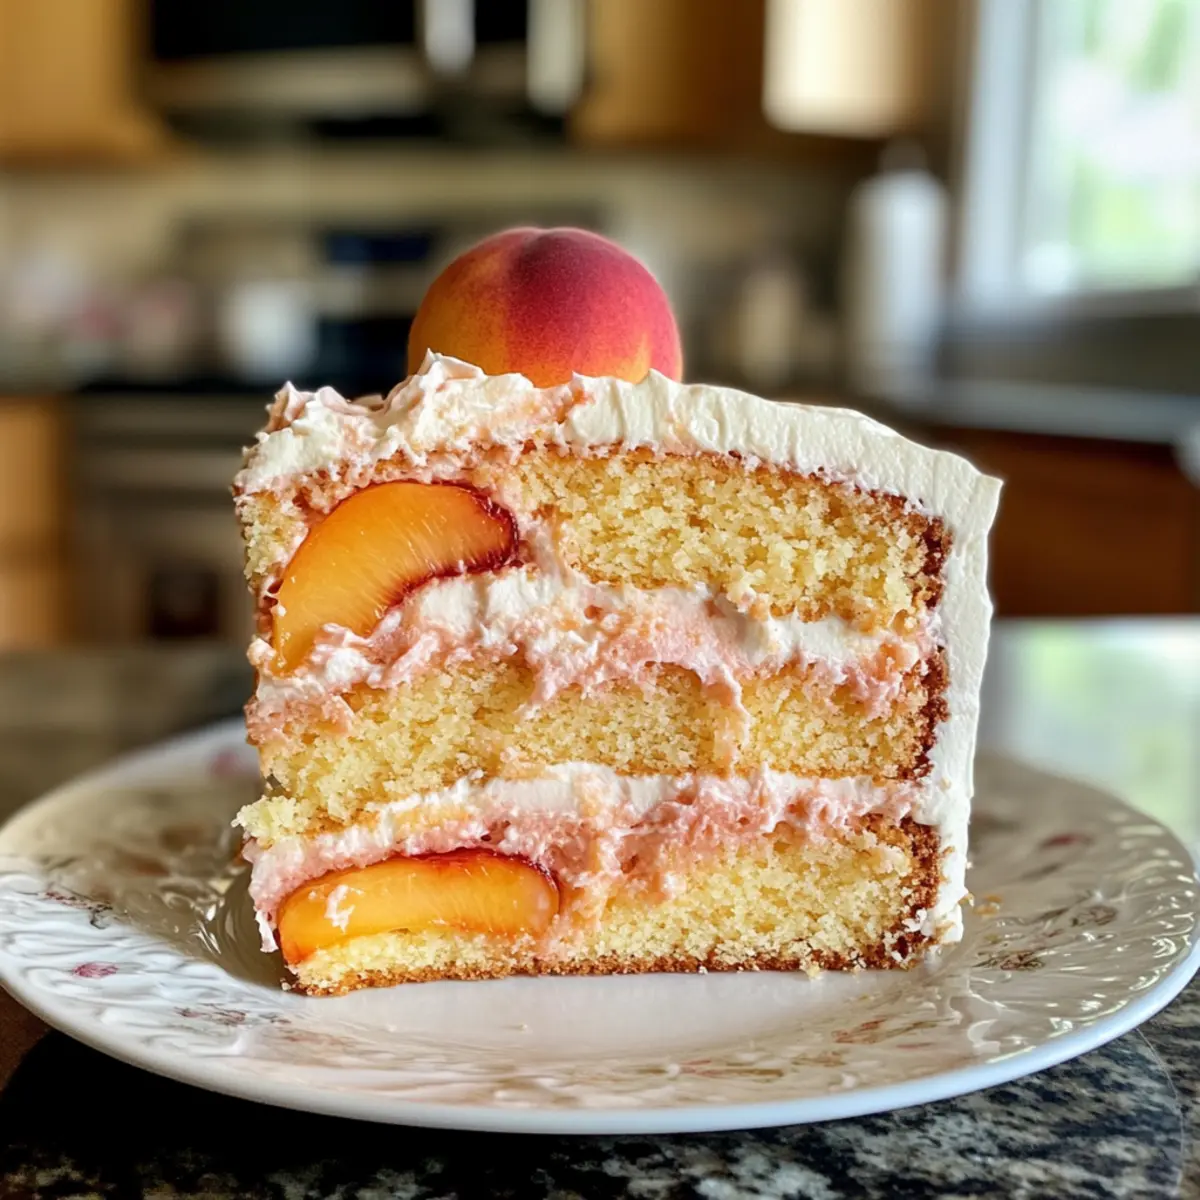
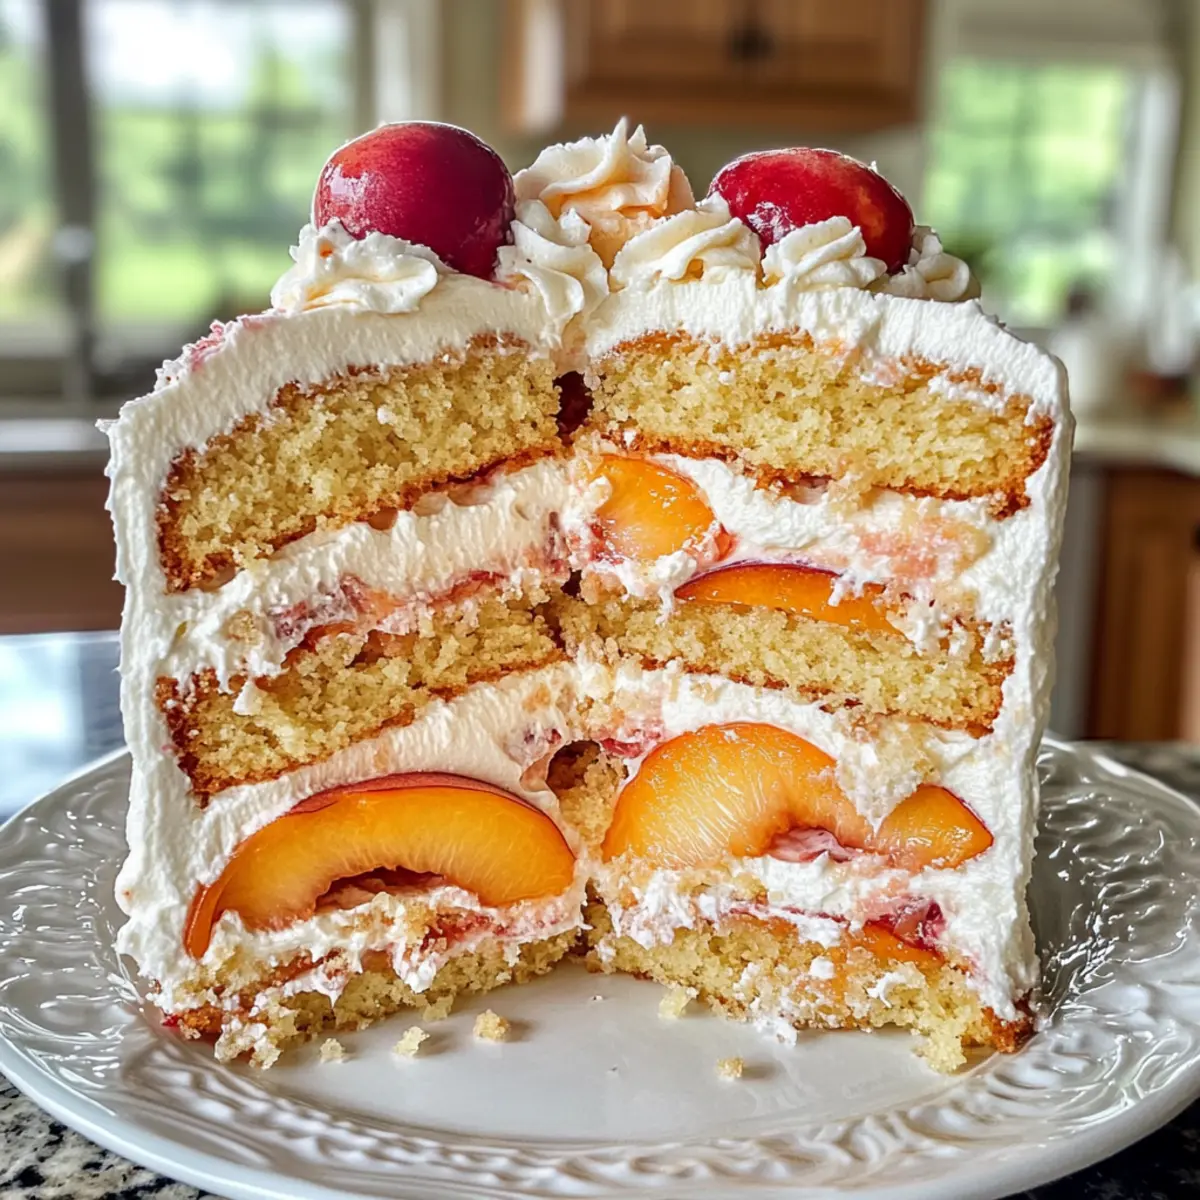
Once the cake layers are completely cool, level them with a knife if necessary. Place one layer on a serving platter, spread a generous layer of the sweet cream filling over it, and add slices of fresh peaches on top. Place the second layer on top and repeat, finishing with the remaining cream filling on the top and sides of the cake.
Step 8: Chill Before Serving
To set the layers and flavors, refrigerate the assembled Peach Blossom Cake for at least 2 hours. This chilling allows the sweet cream layers to firm up and makes the cake easier to slice. After chilling, garnish the top with additional fresh peach slices before serving for a beautiful summer presentation.

Make Ahead Options
These delightful Peach Blossom Cake with Sweet Cream Layers are perfect for busy home cooks looking to streamline their meal prep! You can prepare the peach puree and cake layers up to 24 hours in advance, simply refrigerate them once cooled to maintain freshness. The sweet cream filling can also be made ahead and stored in an airtight container for up to 3 days in the fridge. To finish the cake, layer the components just before serving to ensure they are at their best—spread the cream and fresh peach slices just before assembly. This way, you’ll have a beautiful, fresh dessert ready with minimal effort on the big day!
How to Store and Freeze Peach Blossom Cake
Fridge: Store leftover Peach Blossom Cake in an airtight container for up to 2 days. This helps maintain its freshness and creamy texture.
Freezer: To freeze, wrap individual slices in plastic wrap and then in aluminum foil. This keeps the cake fresh for up to 2 months; just let it thaw in the fridge overnight before serving.
Reheating: To enjoy the cake warm, microwave a slice for about 15-20 seconds or heat in a preheated oven at 350°F (175°C) for about 10 minutes, ensuring it’s warmed through.
Airtight Storage: Always use airtight containers when storing, as this will prevent the cake from drying out and preserve its delightful layers and flavors.
Expert Tips for Peach Blossom Cake
-
Perfect Peach Puree: Ensure the peach puree is thick and concentrated to prevent a soggy cake. Cooking until thick promotes a better texture.
-
Firm Peaches: Use ripe but firm peaches when topping the cake. Overripe fruit can turn mushy, affecting presentation and flavor.
-
Soften Your Cream Cheese: For a smooth and creamy filling, always soften the cream cheese ahead of time, as cold cream cheese can make mixing difficult.
-
Chill Time Matters: Don’t skip the refrigerating step! Allowing the cake to chill for at least 2 hours helps the layers set, resulting in a beautiful slice.
-
Measure Accurately: Precision in measuring ingredients, especially flour, ensures the cake rises perfectly. Avoid packing the flour into the cup for the best results.
-
Customize Your Flavor: Feel free to switch out almond extract with vanilla for a simpler flavor profile in the Peach Blossom Cake with Sweet Cream Layers.
What to Serve with Peach Blossom Cake with Sweet Cream Layers
Experience a summer feast by perfectly pairing this delightful dessert with complementary sides and beverages that enhance its flavors.
-
Creamy Vanilla Ice Cream: The smooth, cold ice cream contrasts beautifully with the cake’s soft, sweet cream, providing a satisfying balance of temperature and texture.
-
Fresh Fruit Salad: A vibrant medley of seasonal fruits adds a refreshing touch. The acidity of berries can cut through the richness, making each bite a delightful experience.
-
Lemonade: This tangy beverage brightens the palate and complements the cake’s sweetness; its refreshing nature is ideal for summer gatherings.
-
Savory Grilled Chicken: Simple grilled chicken with herbs can serve as a delightful balance to the sweet cake, creating a well-rounded meal.
-
Zucchini Bread: This moist, spiced bread has a lovely sweet flavor that echoes the cake’s peachy notes while introducing a delightful, fresh texture.
-
Sparkling Water with Mint: A fancy, non-distracting drink, the mint-infused sparkling water refreshes the palate without overpowering the cake’s delicate flavors.
-
Pistachio Cookies: The nuttiness of these cookies adds an unexpected and delightful crunch that pairs wonderfully with the creamy layers of the cake.
-
Peach Iced Tea: Serve this refreshing drink to reinforce the peach flavor while adding a delightful twist that keeps the theme consistent.
Peach Blossom Cake with Sweet Cream Layers Variations
Feel free to get creative with this delightful recipe and let your taste buds go on an adventure!
-
Almond-Free: Substitute almond extract with vanilla for a more classic flavor profile that’s still incredibly delicious.
You might find that vanilla enhances the sweetness of the peaches, creating a simpler, yet delightful taste. -
Berry Bliss: Use raspberry or strawberry puree instead of peach for a tangy, fruity twist.
Berries can add a vibrant color and tartness that beautifully complements the cream layers. -
Tropical Twist: Swap fresh peaches for ripe mango or pineapple for a sunny, exotic version.
The luscious tropical fruits will infuse beachy notes into every bite, transporting you to a sunny paradise. -
Dairy-Free Delight: Replace heavy cream with coconut cream and cream cheese with a dairy-free alternative.
This not only makes the cake suitable for those avoiding dairy, but also adds a subtle tropical flavor. -
Nutty Layering: Add crushed macadamia nuts or pecans to the cream filling for a delightful crunch.
You’ll be pleasantly surprised by the added texture and flavor; each bite will be an adventure! -
Spice It Up: Incorporate a dash of cinnamon or nutmeg into the batter for a warm, cozy aroma.
These warm spices give the cake an extra layer of depth, perfect for fall-inspired gatherings. -
Citrus Zest: Grate some lemon or orange zest into the batter for a bright, zesty flavor.
The citrus will uplift the sweetness of the peaches and add that refreshing pop that pairs beautifully with summer. -
Serving Suggestions: Pair a slice of this cake with a scoop of vanilla ice cream, or enjoy it with a warm cup of tea as a lovely afternoon treat. For an even more indulgent dessert, serve alongside my rich Cream Puffs Vanilla.
Peach Blossom Cake with Sweet Cream Layers Recipe FAQs
What kind of peaches should I use for the cake?
Absolutely! Choose ripe but firm peaches for the best results. They provide the right balance of sweetness and firmness, ensuring they don’t become mushy when layered in the cake. Look for peaches that yield slightly to gentle pressure but don’t have dark spots all over.
How long can I store leftovers?
Very! You can store leftover Peach Blossom Cake in an airtight container in the refrigerator for up to 2 days. This way, the cake retains its delightful creaminess and peach flavor, making it perfect for enjoyable second servings.
Can I freeze the Peach Blossom Cake?
Certainly! To freeze, wrap individual slices tightly in plastic wrap, and then in aluminum foil. This double protection is key, allowing your cake to stay fresh for up to 2 months. When you’re ready to enjoy it, simply let it thaw in the refrigerator overnight before serving for the best taste and texture.
What if my peach puree is too thin?
No worries! If you find your peach puree is too thin, just return it to the saucepan and cook it over medium heat until it thickens, which usually takes about 5-10 minutes. Stir it occasionally to prevent sticking, and watch for the color to deepen slightly. A thicker puree helps keep your cake moist without making it soggy!
Is this recipe suitable for those with nut allergies?
While the Peach Blossom Cake contains almond extract, you can certainly substitute it with additional vanilla extract or simply omit it altogether. This will ensure that your dessert is nut-free, allowing everyone to savor a slice without worry. Always double-check the labels on the cream cheese and other ingredients to confirm they’re also nut-free!
Peach Blossom Cake with Sweet Cream Layers: A Summer Delight
Ingredients
Equipment
Method
- Prepare Peach Puree: Peel and pit peaches, chop and cook in a saucepan over medium heat for 15-20 minutes until thickened. Cool completely.
- Preheat Oven: Set oven to 350°F (175°C). Grease and line cake pans with parchment paper.
- Make Cake Batter: Cream butter and sugar until fluffy. Add eggs, extracts, and peach puree; mix until combined.
- Combine Dry Ingredients: Whisk flour, baking powder, baking soda, and salt. Add to wet mixture alternating with buttermilk.
- Bake: Divide batter into pans and bake for 25-30 minutes. Cool in pans for 10 minutes before transferring to wire racks.
- Make Cream Filling: Beat cream cheese with powdered sugar until smooth. Whip heavy cream and fold into cream cheese mixture.
- Assemble Cake: Level cake layers and spread filling and fresh peaches between layers. Cover with remaining cream filling.
- Chill Before Serving: Refrigerate assembled cake for at least 2 hours before serving.