

As I stood at my kitchen counter last weekend, the aroma of warm, pan-fried goodness began to waft through the air, beckoning me to partake in a little culinary adventure. Today, I’m thrilled to share my recipe for Pan-Fried Fresh Milk Mochi! Not only is this treat incredibly beginner-friendly, but it also invites you to unleash your creativity with customizable fillings, making it perfect for impressing friends and family. Whether you choose to enjoy them as a delightful snack or as a show-stopping dessert, this recipe promises a soft, chewy texture that’s bound to satisfy. So, are you ready to dive into the art of mochi-making and create a little magic in your own kitchen? Let’s get started!
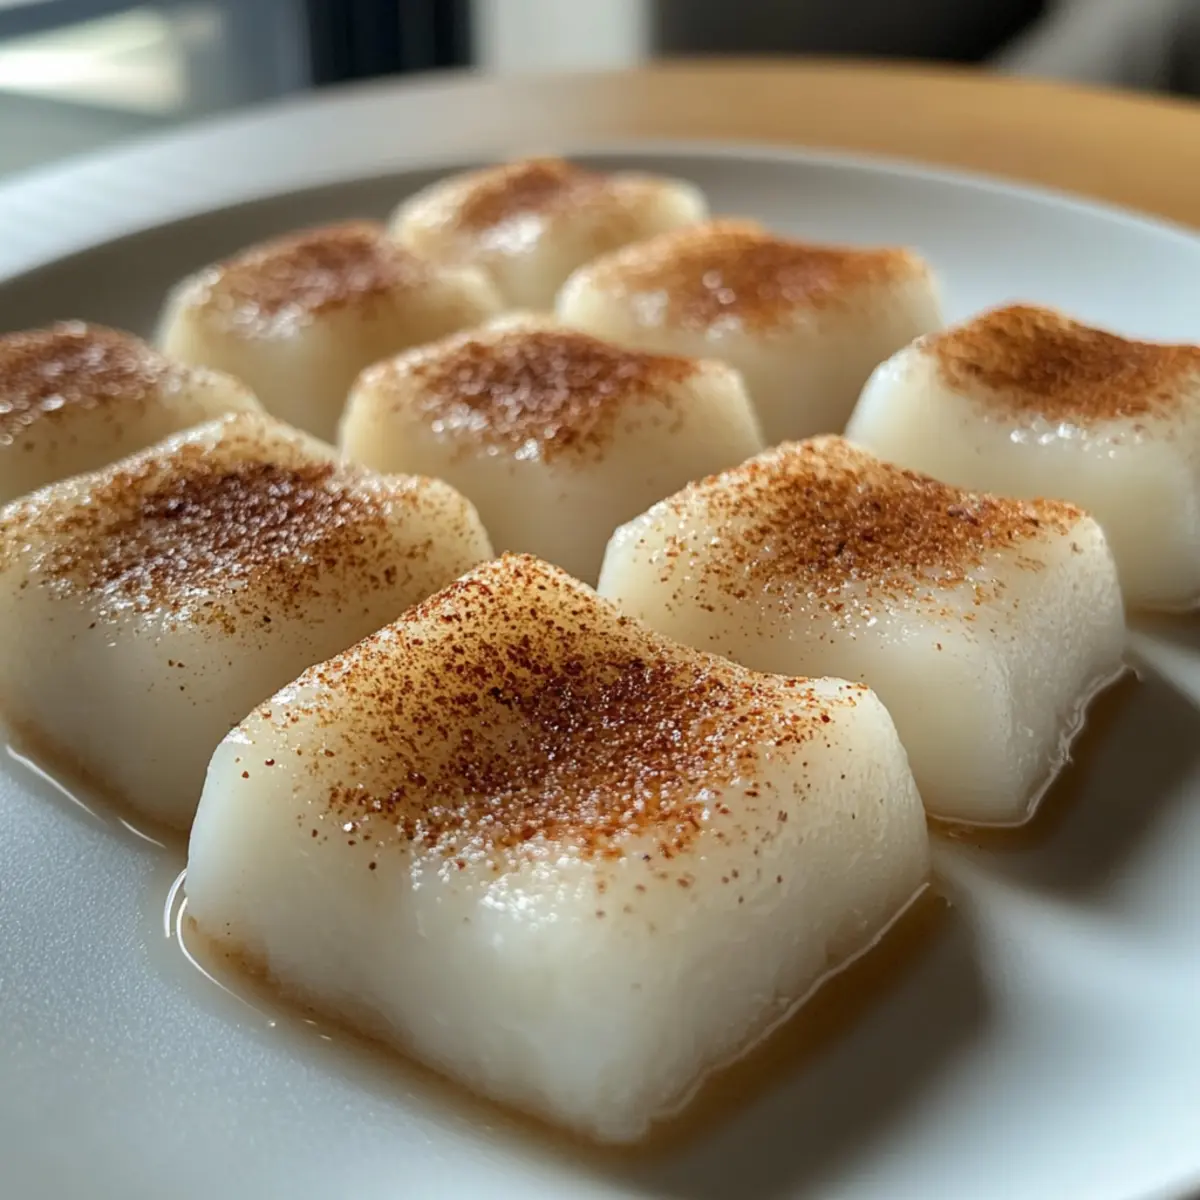
Why is Pan-Fried Fresh Milk Mochi special?
Beginner-Friendly: No complicated techniques here! This recipe is perfect for both novice cooks and seasoned chefs alike.
Personalize Your Mochi: With endless filling options, you can create unique flavor combinations that cater to your preferences.
Fuss-Free Cooking: Forget about the oven—this delightful treat comes together effortlessly on your stovetop, making it ideal for a quick yet satisfying dessert.
Soft and Chewy Texture: Experience the delight of each bite as you savor the marshmallow-like consistency that will have everyone coming back for more!
Crowd-Pleaser: Whether for a cozy family gathering or a brunch with friends, these mochi bites are sure to be the star of the show! Pair these beauties with a refreshing drink like a fruity matcha latte or a warm cup of green tea for a delightful experience.
Pan-Fried Fresh Milk Mochi Ingredients
Unlock the magic of mochi with these simple ingredients!
For the Mochi Batter
- Glutinous Rice Flour – Provides that signature chewiness; use fresh for the best texture.
- Sugar – Sweetens the dough; feel free to substitute with honey or agave for a natural option.
- Cornstarch – Essential for a smooth and light consistency; avoid substitutions for best results.
- Cooking Oil – Keeps things non-stick during cooking; any neutral oil works beautifully.
- Whole Milk – Adds creamy richness; almond or coconut milk can be used for a dairy-free option.
For the Coating
- Roasted Soybean Powder – This traditional coating enhances both flavor and texture; don’t skimp on this essential!
Step‑by‑Step Instructions for Pan-Fried Fresh Milk Mochi
Step 1: Mix Dry Ingredients
In a mixing bowl, combine 1 cup of glutinous rice flour, 2 tablespoons of sugar, and 1 tablespoon of cornstarch. Whisk these ingredients together until you achieve a uniform mixture, ensuring no lumps remain. This blending is essential as it lays the foundation for the soft and chewy texture of your Pan-Fried Fresh Milk Mochi.
Step 2: Prepare Batter
Gradually add 1 tablespoon of cooking oil and 1 cup of whole milk (or your preferred dairy-free milk) to the dry mix. Use a whisk to blend the ingredients together until the batter is smooth and lump-free. Aim for a consistency similar to pancake batter, which will help in creating that delightful chewy mochi we all love.
Step 3: Cook Batter
Pour the batter into a non-stick frying pan set over low heat. With a spatula, continuously stir the mixture for about 10 minutes. You’ll notice it beginning to thicken; keep an eye out for a glossy sheen as it heats. This step is crucial in developing the right texture for your Pan-Fried Fresh Milk Mochi, so don’t rush it!
Step 4: Form Dough
Continue stirring the mixture for an additional 5 minutes until it thickens further and becomes elastic, indicating it’s ready. The dough should pull away from the sides of the pan and look slightly translucent. Once done, remove the pan from heat and let the dough cool for about 5 minutes; this will make it easier to handle.
Step 5: Stretch Dough
After allowing the dough to cool slightly, use a spatula or your hands to gently stretch it. This step enhances the elasticity of the dough and helps you get that perfect chewy texture in your Pan-Fried Fresh Milk Mochi. Be careful not to over-stretch, as you want to maintain its integrity.
Step 6: Shape Mochi
Divide the dough into equal portions and roll each piece into logs. Cut these logs into bite-sized pieces, roughly 1 to 2 inches long. The goal is to create even pieces that will be easy to coat and serve. This technique allows everyone to enjoy a delightful morsel of the soft, chewy charm of mochi.
Step 7: Coat and Serve
Generously dust each piece of mochi with roasted soybean powder, ensuring they’re well-coated to enhance flavor and prevent sticking. Serve your warm Pan-Fried Fresh Milk Mochi immediately for the best texture. The delightful soft and chewy consistency will surely impress your family and friends!
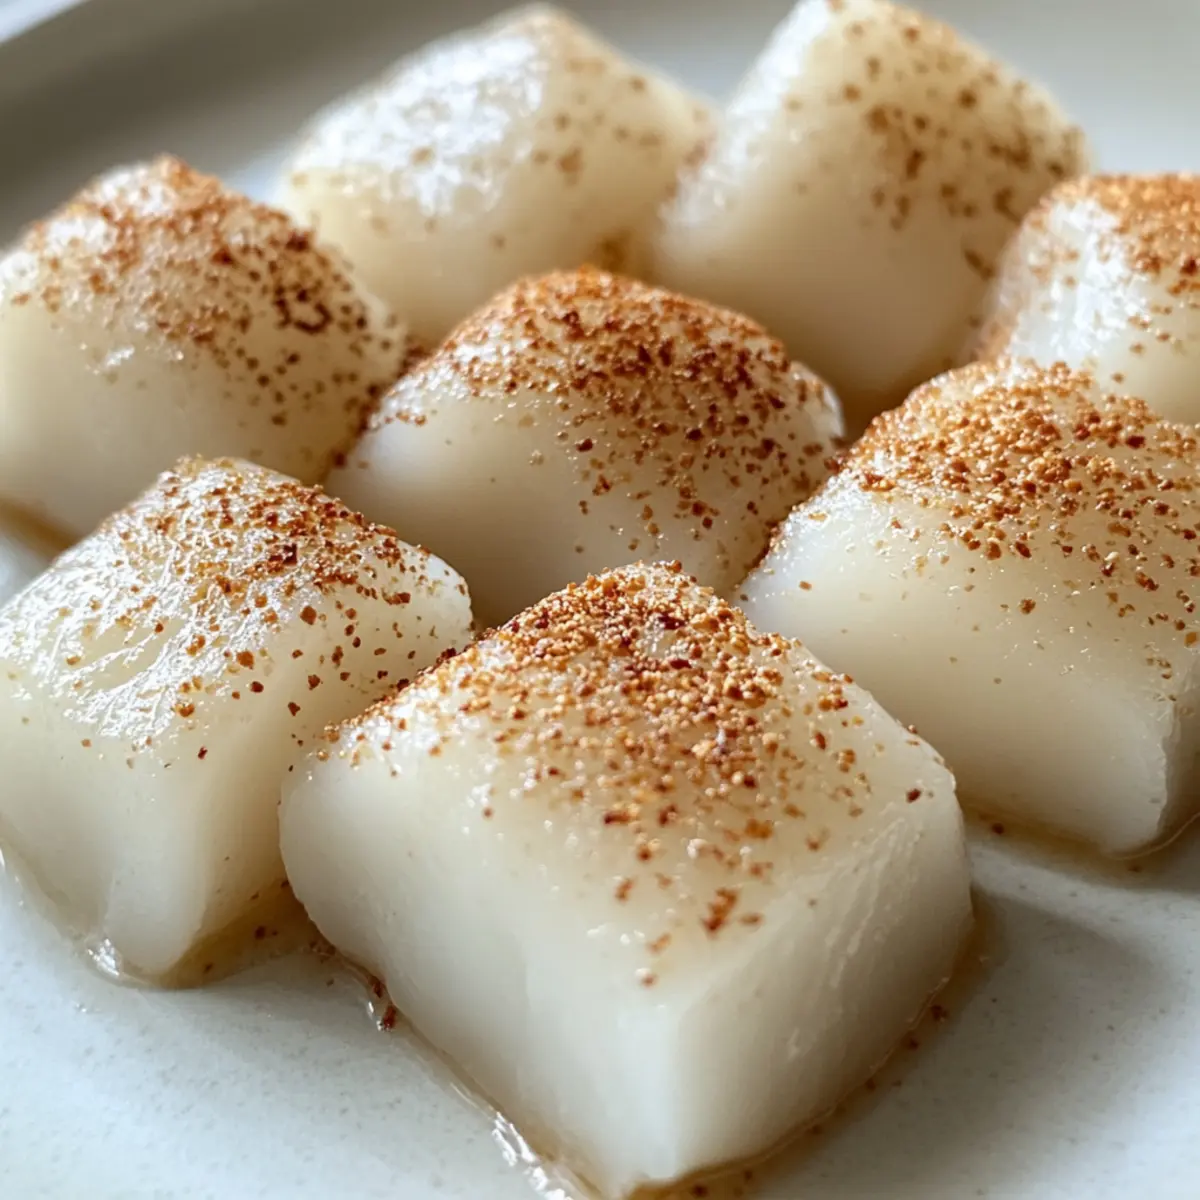
How to Store and Freeze Pan-Fried Fresh Milk Mochi
Room Temperature: Store your mochi in an airtight container at room temperature for up to 2 days to maintain optimal freshness.
Fridge: Keep mochi refrigerated in an airtight container for up to 5 days. Allow them to come to room temperature before enjoying for the best texture.
Freezer: Individual pieces can be wrapped tightly and stored in the freezer for up to 2 months. Thaw in the fridge overnight before reheating.
Reheating: To enjoy your frozen or refrigerated mochi, briefly heat them in a microwave for 10-15 seconds until warm and soft, enhancing that delightful chewiness.
Make Ahead Options
These Pan-Fried Fresh Milk Mochi are a fantastic option for busy home cooks looking to save time! You can prepare the mochi batter up to 24 hours in advance. Simply follow the instructions to cook the batter, let it cool, and then wrap it tightly in plastic wrap or place it in an airtight container before refrigerating. When you’re ready to enjoy, just remove the mixture, stretch it out, shape it into pieces, and dust with roasted soybean powder before serving. Keeping the dough covered will maintain its stretchy quality, ensuring that these delightful bites are just as delicious as when you first made them!
Expert Tips for Pan-Fried Fresh Milk Mochi
-
Heat Control: Keep your heat low throughout the cooking process. This prevents the mochi from becoming rubbery and helps achieve that delightful chewy texture.
-
Stir Constantly: Don’t underestimate the power of stirring. Continuous stirring ensures even cooking and prevents sticking, giving you perfect Pan-Fried Fresh Milk Mochi every time.
-
Proper Cooling: Allow the dough to cool slightly before stretching. This will make it more pliable and easier to work with, enhancing the final texture.
-
Coat Generously: Don’t skimp on the roasted soybean powder. It not only adds flavor but also prevents the mochi pieces from sticking together, ensuring a beautiful presentation.
-
Customize Fillings: Experiment with different fillings! Adding fruit purees or flavor extracts can create unique twists, making each batch of mochi a new adventure.
-
Storage Tips: If you have leftovers, store them in an airtight container. They’ll last at room temperature for 2 days or in the fridge for up to 5 days—if they last that long!
Variations & Substitutions for Pan-Fried Fresh Milk Mochi
Discover how to make this delightful recipe your own with exciting twists and swaps!
-
Dairy-Free: Substitute whole milk with almond or coconut milk for a deliciously creamy, plant-based treat.
-
Sweetener Switch: Use honey or agave instead of sugar for a natural sweetening touch that enhances the flavor beautifully.
-
Flavor Infusions: Add a splash of vanilla extract or a teaspoon of matcha powder to the batter for a fragrant and flavorful mochi creation.
-
Different Coatings: Experiment with shredded coconut or crushed nuts instead of roasted soybean powder for an adventurous texture and taste.
-
Fruity Fillings: For a refreshing surprise, add fruit puree like strawberry or mango in the center before shaping your mochi pieces.
-
Seasonal Flavors: Create festive versions by mixing in pumpkin spice during fall or a hint of peppermint extract during the holidays for a delightful seasonal twist.
-
Chocolate Indulgence: Melt dark chocolate and either drizzle it over the mochi or mix some into the batter for a dreamy chocolate delight.
-
Savory Option: Incorporate savory fillings, like cheese or seasoned vegetables, for an unexpected yet tasty twist that breaks from the sweet routine.
Feel free to explore these variations or check out other delicious treats like our Cabbage Carrot Patties or Zucchini Pancakes with Fresh Herbs for more culinary inspiration!
What to Serve with Pan-Fried Fresh Milk Mochi
Elevate your mochi experience by pairing it with complementary flavors and textures that create a delightful meal.
-
Warm Green Tea: This soothing beverage enhances the creamy richness of the mochi, providing a perfect balance to its sweetness.
-
Fruity Matcha Latte: The vibrant flavors of matcha combined with a hint of fruit create an invigorating drink that beautifully contrasts the soft mochi.
-
Chilled Sake: For a refreshing twist, pair your mochi with chilled sake; its clean notes will cleanse the palate and enhance the dessert experience.
-
Coconut Sorbet: This cool, dairy-free dessert adds a tropical flair that contrasts the chewy texture of the mochi, creating a delightful temperature play.
-
Fresh Fruit Salad: A medley of seasonal fruits introduces bright acidity and refreshing juiciness, elevating each bite of mochi into a gourmet experience.
-
Matcha Tiramisu: If you’re feeling adventurous, the creamy layers of matcha tiramisu amplify the flavor profile of the mochi, creating a harmonious blend of textures.
-
Roasted Sweet Potatoes: Their natural sweetness and earthy flavor provide a lovely contrast to the mochi’s creamy goodness, making for a comforting side.
-
Mango Sticky Rice: This classic Thai dessert can be a delightful accompaniment, echoing the flavors of rice while adding a fruity punch that is simply irresistible.
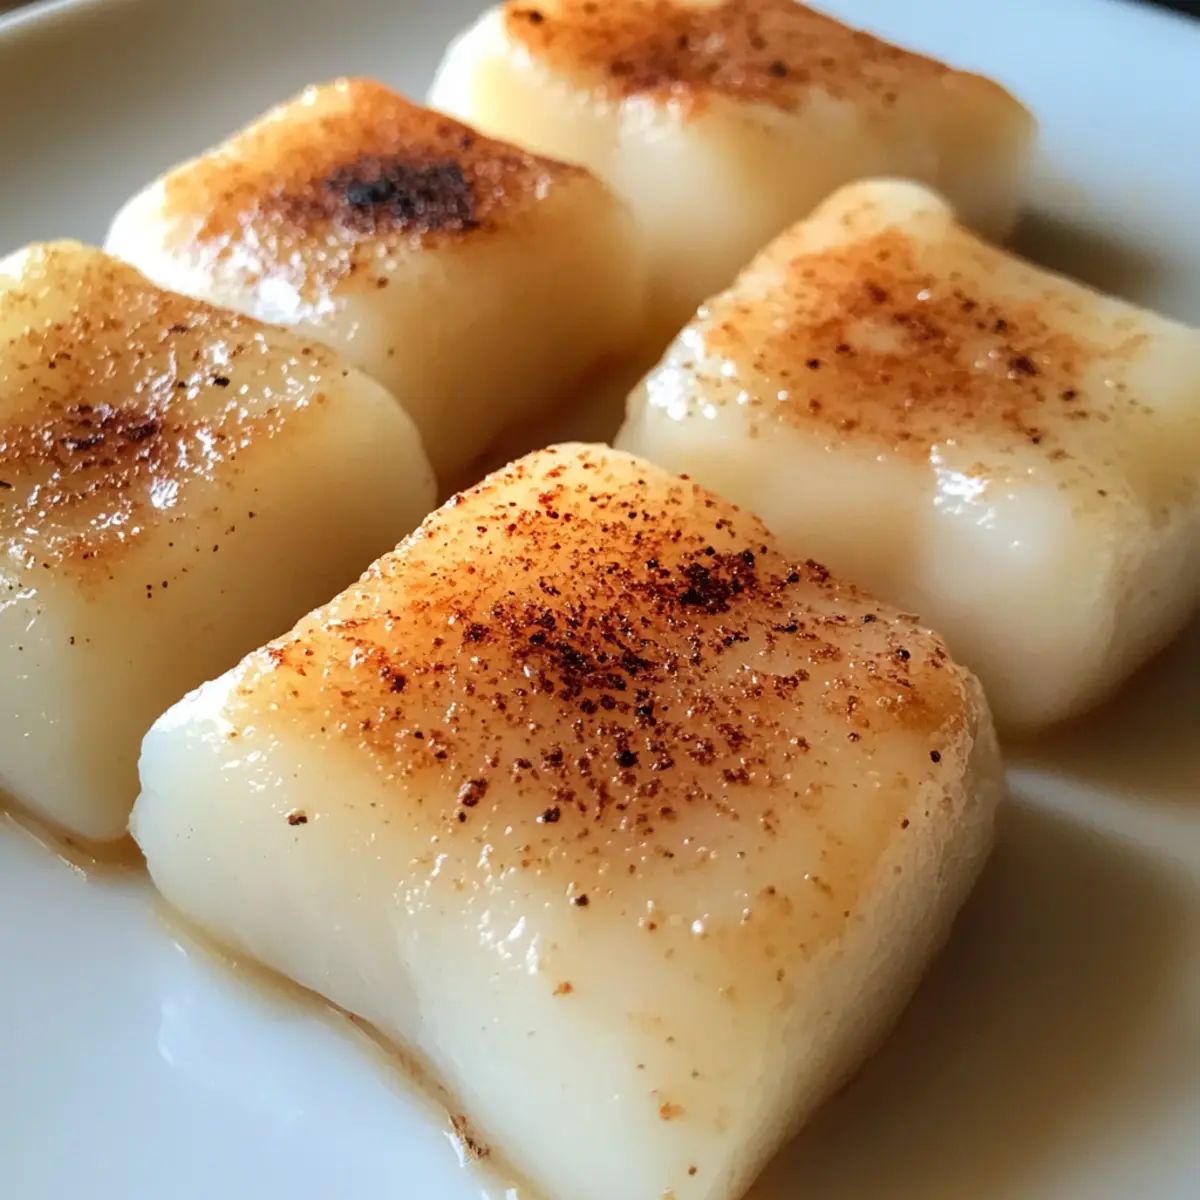
Pan-Fried Fresh Milk Mochi Recipe FAQs
How do I select the best glutinous rice flour for the mochi?
Absolutely! When choosing glutinous rice flour, opt for a brand that is fresh and finely milled. It should have a silky texture and be free from clumps. Check the packaging date if possible, and store it in a cool, dry place to maintain quality.
What’s the best way to store leftover Pan-Fried Fresh Milk Mochi?
Very! You can keep your mochi in an airtight container at room temperature for up to 2 days. If you’re planning to enjoy them later, refrigerate them for up to 5 days. Simply let them come to room temperature before indulging for the best texture.
Can I freeze Pan-Fried Fresh Milk Mochi, and how?
Absolutely! To freeze mochi, wrap each piece individually in plastic wrap, ensuring they are tightly sealed. Place them in a freezer-safe bag or container and they’ll last for up to 2 months. When you’re ready to enjoy them, thaw them in the fridge overnight and reheat in the microwave for about 10-15 seconds to regain their delightful chewiness.
What if my mochi turns out too sticky?
Very! If your mochi is sticky, it might be due to undercooking or not stirring enough while it’s on the heat. To remedy this, make sure to cook the batter on low heat while continually stirring until it thickens and pulls away from the sides of the pan. If you’ve already made it, sprinkle additional roasted soybean powder to help reduce stickiness and coat each piece nicely.
Are there any dietary concerns I should be aware of with this recipe?
Absolutely! For those with dietary restrictions, you can easily make this Pan-Fried Fresh Milk Mochi dairy-free by substituting whole milk with almond, coconut, or oat milk. Additionally, feel free to replace sugar with natural sweeteners like honey or agave if you prefer! Always check the labels of your ingredients to ensure they meet your dietary needs, especially if you have allergies.
What filling options can I use for customizing my mochi?
Very! The beauty of mochi lies in its versatility. You can experiment with various fillings such as fruit purees, chocolate ganache, or even nut butters. To do this, simply flatten a piece of mochi dough, place a teaspoon of your chosen filling in the center, fold it over, and seal the edges before shaping. Your imagination is the limit, and each new flavor adventure is sure to be a hit!
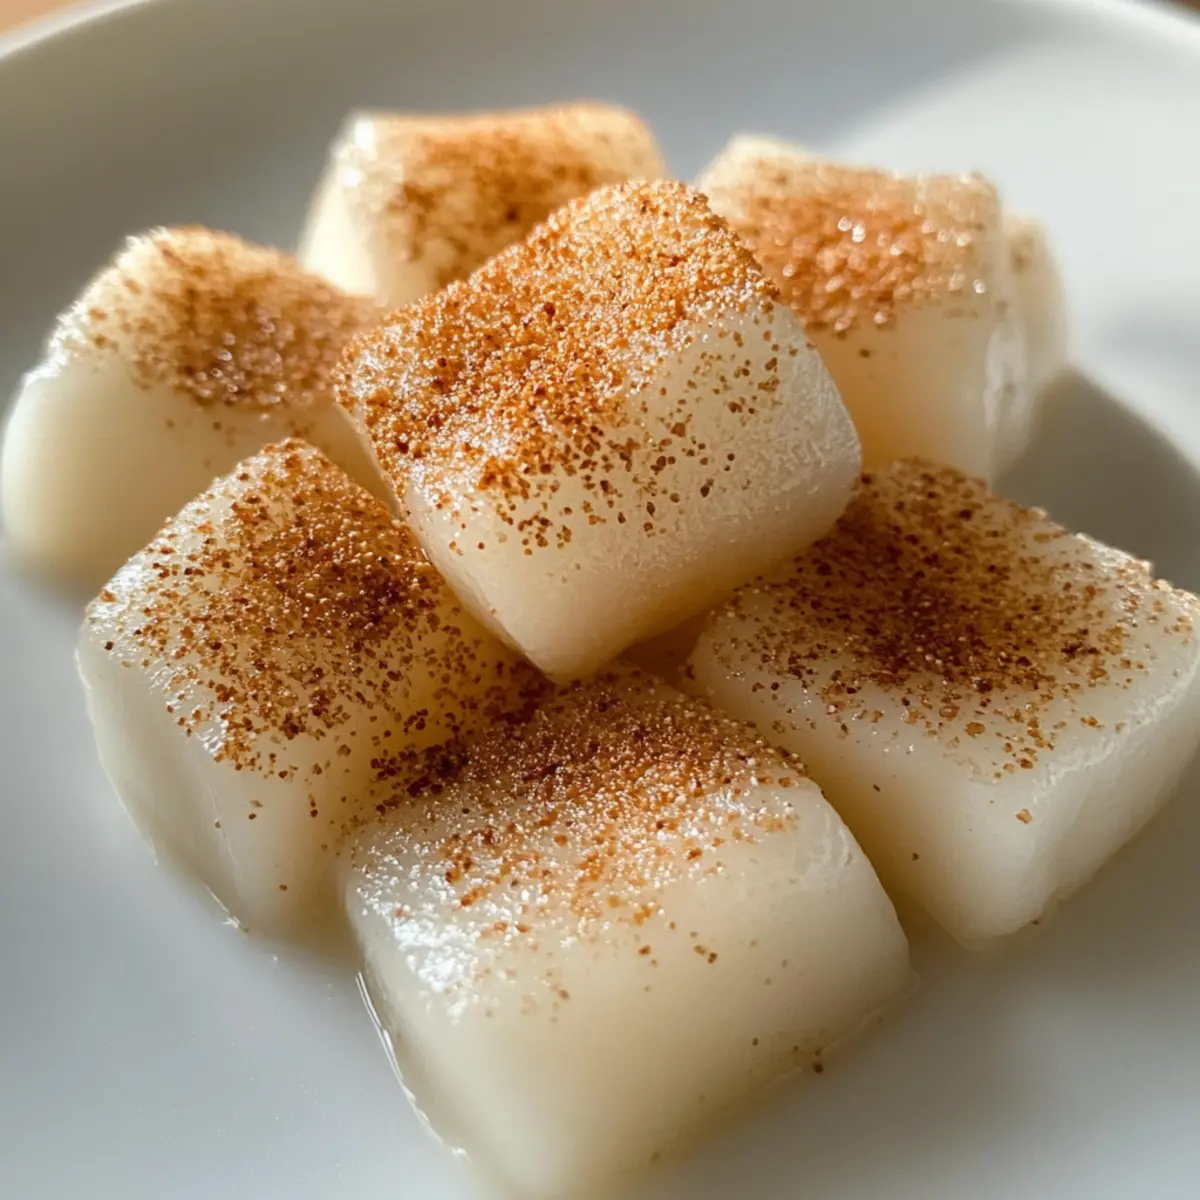
Mouthwatering Pan-Fried Fresh Milk Mochi You Can Make Today
Ingredients
Equipment
Method
- In a mixing bowl, combine glutinous rice flour, sugar, and cornstarch. Whisk until uniform.
- Add cooking oil and whole milk to the dry mix. Whisk until smooth and lump-free.
- Pour the batter into a non-stick frying pan over low heat. Stir continuously for about 10 minutes until thick.
- Continue stirring for an additional 5 minutes until the dough thickens further and becomes elastic.
- Allow the dough to cool for about 5 minutes.
- Gently stretch the dough without over-stretching to maintain integrity.
- Divide and roll dough into logs, then cut into bite-sized pieces.
- Dust each piece with roasted soybean powder and serve warm.