


Easter desserts are always a treat, but when you combine rich, creamy cheesecake with a chocolate shell, you get something truly special. Easter egg cheesecake is a delightful no-bake dessert that transforms classic cheesecake into a festive, individual-sized treat. Served in hollow chocolate egg shells, this dessert is as beautiful as it is delicious, making it perfect for Easter celebrations, spring gatherings, or a fun baking project with family and friends.
In this guide, we’ll explore everything you need to know about making the perfect Easter egg cheesecake, including expert tips, creative variations, serving suggestions, and frequently asked questions.
Why Easter Egg Cheesecake Is a Must-Try
Easter egg cheesecake is more than just a dessert—it’s an experience. Here’s why you should make this delicious treat:
1. A Unique Easter Dessert
Instead of the usual cakes and cookies, these cheesecakes stand out as a fun and elegant addition to any Easter spread. The combination of a smooth cheesecake filling, a crunchy cookie base, and a rich chocolate shell makes them irresistible.
2. No Baking Required
This is a true no-bake dessert, meaning you don’t need to turn on the oven. The simplicity of assembling the chocolate shells, filling them with cheesecake, and letting them chill makes this recipe accessible for all skill levels.
3. Perfect for Entertaining
Since these cheesecakes are made in individual portions, they are easy to serve at gatherings. There’s no need to slice or plate—just grab a spoon and dig in.
4. Customizable to Your Taste
The basic recipe is delicious on its own, but there are countless ways to personalize it. From different cheesecake flavors to unique toppings, you can easily make this dessert your own.
Expert Tips for the Best Easter Egg Cheesecake
Even though this dessert is simple to make, a few key techniques will help ensure perfect results:
1. Use a Warm Knife to Cut the Chocolate Eggs
Splitting hollow chocolate eggs cleanly can be tricky. Dip a sharp knife in hot water, wipe it dry, and carefully follow the seam of the egg. This will help you cut the eggs smoothly without breaking them.
2. Chill the Cheesecake Filling Before Assembling
A well-chilled cheesecake filling makes it easier to spoon into the chocolate shells and ensures the final texture is creamy yet firm.
3. Press the Cookie Crust Gently
The cookie base should be firm enough to hold together but not so hard that it’s difficult to break with a spoon. A light press with the back of a spoon is all you need.
4. Let the Cheesecakes Chill for at Least 2 Hours
Giving the cheesecakes enough time to set ensures they hold their shape and develop the perfect texture. If you have time, chilling overnight enhances the flavor even more.
5. Decorate Just Before Serving
To keep toppings fresh and crisp, add them just before serving. This prevents chocolate drizzles from melting into the cheesecake or cookie crumbs from becoming soggy.
Creative Variations to Try
Once you’ve mastered the classic version, try these fun variations to mix things up:
1. Chocolate Lovers’ Cheesecake
Add a tablespoon of cocoa powder to the cheesecake filling for a rich chocolate version. You can also stir in mini chocolate chips for extra texture.
2. Nutella Cheesecake Eggs
Mix a few tablespoons of Nutella into the cheesecake filling for a creamy, hazelnut-infused treat. Top with chopped hazelnuts for added crunch.
3. Lemon Berry Cheesecake
For a bright, tangy flavor, mix fresh lemon zest into the cheesecake filling and top with fresh berries. The tartness of the lemon balances the sweetness of the chocolate shell beautifully.
4. Biscoff Cookie Cheesecake
Replace the graham cracker or digestive biscuit crust with crushed Biscoff cookies and add a spoonful of Biscoff spread to the cheesecake filling for a caramelized cookie flavor.
5. Easter Surprise Cheesecake
Hide a mini chocolate egg inside the cheesecake filling before chilling. When guests dig in, they’ll find a hidden chocolate surprise.
Best Ways to Serve Easter Egg Cheesecake
Presentation matters just as much as flavor when it comes to a dessert this beautiful. Here are some serving ideas to impress your guests:
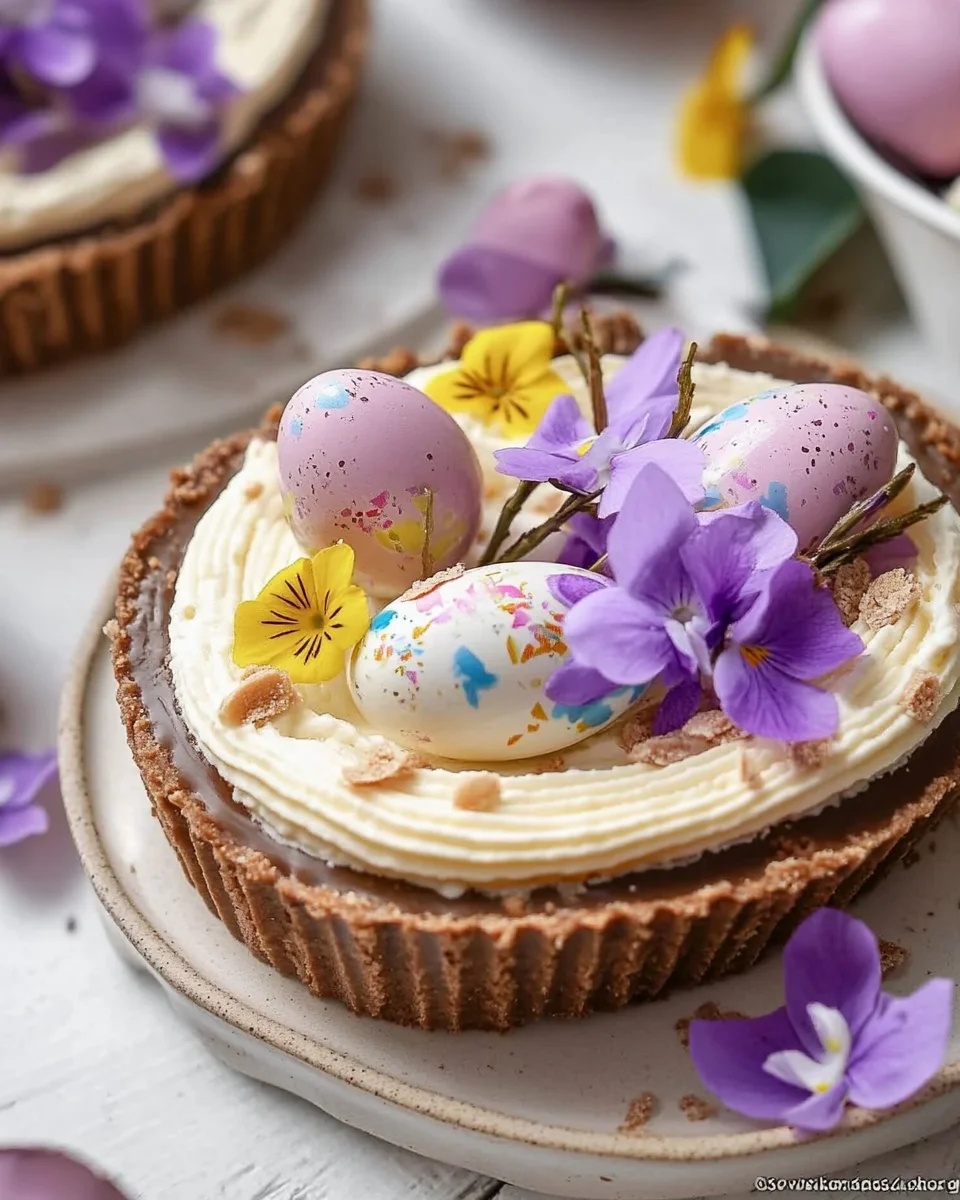
1. On a Decorative Easter Platter
Arrange the cheesecakes on a pastel-colored platter, surrounded by fresh flowers, Easter candies, or decorative grass for a festive look.
2. With a Spoon in Each Egg
For easy serving, place a small dessert spoon in each chocolate egg so guests can dig in immediately.
3. Drizzled with Chocolate Sauce
A drizzle of melted chocolate or caramel sauce over the top makes these cheesecakes even more decadent.
4. Paired with Whipped Cream
A dollop of whipped cream on the side adds an extra layer of indulgence.
5. With Fresh Berries
Serve the cheesecakes with a side of fresh berries like strawberries, raspberries, or blueberries for a refreshing contrast to the rich filling.
Ingredients: A Festive Treat in Every Bite
For the Chocolate Shell
- Hollow chocolate Easter eggs
For the Cookie Crumb Base
- Graham crackers or digestive biscuits
- Butter (salted or unsalted)
For the Cheesecake Filling
- Cream cheese (full-fat)
- Powdered sugar
- Heavy cream (whipped to stiff peaks)
- Vanilla extract
For the Toppings
- Melted chocolate drizzle
- Mini chocolate eggs
- Extra cookie crumbs
Directions: Crafting the Perfect No-Bake Easter Dessert
Step 1: Preparing the Chocolate Egg Shells
- Carefully split hollow chocolate eggs in half using a warm knife to create a clean cut.
Step 2: Making the Cookie Base
- Crush the cookies into fine crumbs, mix with melted butter, and press into the chocolate egg halves to form a firm crust.
Step 3: Whipping Up the Cheesecake Filling
- Beat cream cheese, powdered sugar, and vanilla extract until smooth.
- Fold in whipped heavy cream to create a light and airy texture.
Step 4: Assembling and Chilling
- Spoon the cheesecake filling into the chocolate egg halves, smoothing the tops.
- Refrigerate for at least 2 hours to set.
Step 5: Decorating and Serving
- Drizzle with melted chocolate and garnish with mini eggs and extra cookie crumbs for a festive touch.
Nutritional Information: A Sweet and Creamy Indulgence
(Per Serving – Approximate)
- Calories: 270
- Total Fat: 23g
- Carbohydrates: 12g
- Protein: 4g
- Sugar: 6g
This no-bake Easter egg cheesecake is the perfect balance of creamy, crunchy, and chocolatey flavors—ideal for any springtime celebration!
Frequently Asked Questions
1. Can I Use Any Type of Chocolate Egg?
Yes! While Cadbury milk chocolate eggs are a popular choice, you can use dark chocolate, white chocolate, or even flavored chocolate eggs. Just make sure they are hollow so they can be filled with cheesecake.
2. What If My Chocolate Egg Breaks While Cutting?
If the chocolate egg cracks, don’t worry. You can still use the broken pieces as a crumble topping or turn the dessert into layered cheesecake jars instead.
3. How Long Do These Cheesecakes Last?
Stored in an airtight container in the refrigerator, these cheesecakes will stay fresh for up to three days.
4. Can I Freeze Easter Egg Cheesecake?
Yes! Place the filled eggs in a freezer-safe container and freeze for up to three months. Let them thaw in the fridge overnight before serving.
5. Can I Make This Dessert Gluten-Free?
Absolutely! Just use gluten-free cookies for the crust, and make sure the chocolate eggs you choose are gluten-free.
6. Can I Prepare These in Advance?
Yes! This is a great make-ahead dessert. Assemble the cheesecakes a day in advance and store them in the fridge until ready to serve. Just wait to add toppings until just before serving.
7. What’s the Best Way to Transport These Cheesecakes?
If bringing them to a party, place each chocolate egg in a cupcake liner inside a sturdy box to keep them from shifting.
8. Can I Make a Larger Version Instead of Individual Eggs?
Definitely! Instead of filling small chocolate eggs, you can use a large chocolate Easter egg, cut it in half, and make one big cheesecake to serve multiple people.
Conclusion: A Show-Stopping Easter Dessert
Easter egg cheesecake is a fun, no-bake dessert that brings creativity and indulgence together in one delightful treat. Whether you stick to the classic version or experiment with different flavors and toppings, these cheesecakes are guaranteed to impress.
Perfect for Easter celebrations, springtime gatherings, or as a fun baking project, this dessert is both easy to make and visually stunning. So, grab your favorite chocolate eggs, whip up a creamy cheesecake filling, and enjoy a dessert that is sure to become an Easter tradition for years to come.
Whether shared with family, served at a party, or simply enjoyed as a personal treat, Easter egg cheesecake is the ultimate combination of festive fun and delicious flavor. Happy baking!
The Ultimate Guide to Easter Egg Cheesecake
Ingredients
Method
- Carefully split the hollow chocolate eggs in half using a warm knife to create a clean cut.
- Crush the cookies into fine crumbs and mix with melted butter.
- Press the mixture firmly into the chocolate egg halves to form a solid cookie crust.
- Beat cream cheese, powdered sugar, and vanilla extract until smooth.
- Gently fold in the whipped heavy cream to achieve a light and airy texture.
- Spoon the cheesecake filling into the chocolate egg halves, smoothing the tops.
- Refrigerate for at least 2 hours to allow the cheesecake filling to set.
- Drizzle with melted chocolate and garnish with mini chocolate eggs and extra cookie crumbs for a fun and festive touch.
Notes
- You can use a variety of chocolate eggs depending on your preference—milk, dark, or white chocolate all work well.
- Be sure to refrigerate the cheesecake for at least 2 hours to ensure it sets properly before serving.
- This is an excellent dessert to make ahead of time for Easter gatherings!