

A Nostalgic Bite of Comfort and Simplicity
There’s something magical about the combination of peanut butter and oats. It reminds me of childhood afternoons spent in my grandmother’s kitchen, where she always had a jar of homemade peanut butter treats waiting for us. The warmth of peanut butter melting into oats, the hint of sweetness from honey, and the occasional surprise of chocolate chips—these simple ingredients came together in the most comforting way.
Back then, we didn’t care about baking or following recipes perfectly. We just mixed, shaped, and waited impatiently as our no-bake treats set in the fridge. There was no need for an oven, no long list of ingredients—just a few pantry staples and a love for good food. Those little bites became more than just snacks; they were memories in the making, a symbol of care and togetherness.
Now, as life gets busier and schedules get tighter, I find myself returning to the simplicity of those no-bake peanut butter oat cups. They’re quick, require minimal effort, and offer the same nostalgic comfort in every bite. Whether you need an afternoon pick-me-up, a healthy snack for your kids, or a guilt-free dessert, these oat cups are the perfect solution.
Why No-Bake Peanut Butter Oat Cups Are a Must-Try
1. Perfect for Any Occasion
These oat cups are as versatile as they are delicious. Whether you need a quick breakfast, a midday energy boost, or a healthy dessert, they fit the bill. They’re also great for road trips, lunchboxes, or a post-workout snack.
2. Minimal Effort, Maximum Flavor
With just a handful of ingredients, these oat cups come together in minutes. There’s no need to turn on the oven, making them perfect for warm days when you don’t want to heat up the kitchen.
3. Packed with Nutrients
Peanut butter provides healthy fats and protein, oats add fiber, and honey offers natural sweetness. Dark chocolate chips (if you choose to include them) bring a touch of indulgence without overpowering the healthy nature of this snack.
4. Easily Customizable
You can get creative with this recipe by adding different ingredients to suit your taste and dietary needs. From seeds and nuts to dried fruit or coconut flakes, the possibilities are endless.
Ingredients:
- Rolled Oats – 1 cup
- Natural Peanut Butter – ½ cup
- Honey or Maple Syrup – ¼ cup
- Dark Chocolate Chips – ¼ cup (optional for topping)
- Vanilla Extract – ½ teaspoon (optional)
- Salt – A pinch (if using unsalted peanut butter)
Directions:
- Prepare the Mixture:
In a mixing bowl, combine the oats, peanut butter, honey (or maple syrup), vanilla extract, and salt. Stir well until everything is evenly mixed and sticky. - Form the Cups:
Spoon the mixture into a mini muffin tin, pressing it firmly into each cup. For easier removal, use cupcake liners or a silicone muffin tray. - Add Chocolate Topping (Optional):
Melt the chocolate chips in a microwave-safe bowl in 15-second intervals, stirring between each until smooth. Drizzle or spread melted chocolate over each oat cup. - Chill and Serve:
Place the muffin tin in the refrigerator for at least 1 hour until the cups are firm. Once set, remove them from the tin and enjoy.
Nutritional Information (Per Serving – Estimated):
- Calories: ~150 kcal
- Carbohydrates: ~14g
- Protein: ~4g
- Fat: ~9g
- Saturated Fat: ~2g
- Fiber: ~2g
- Sugar: ~7g
- Sodium: ~50mg
Storage Tips:
- Store in an airtight container in the fridge for up to one week.
- Freeze for longer storage, letting them thaw for a few minutes before eating.
Creative Add-Ins:
- Shredded Coconut – For added texture and natural sweetness.
- Chia Seeds – A boost of fiber and omega-3s.
- Crushed Nuts – Almonds, cashews, or walnuts for extra crunch.
- Nut Butter Alternatives – Swap peanut butter for almond or cashew butter.
A simple, no-bake recipe that’s perfect for a healthy snack or a quick dessert. Enjoy these wholesome bites anytime!
Frequently Asked Questions
How Long Do These Oat Cups Last?
Stored in an airtight container in the refrigerator, these peanut butter oat cups can last up to a week. If you want to keep them for longer, they can be frozen for up to three months. Just allow them to thaw for a few minutes before eating.
Can I Use a Different Nut Butter?
Absolutely. While peanut butter is the classic choice, almond butter, cashew butter, or even sunflower seed butter (for a nut-free option) work just as well. Each will slightly alter the flavor but will still create a delicious no-bake treat.
Are These Oat Cups Healthy?
Yes, they are a great alternative to processed snacks. Oats provide fiber, peanut butter offers protein and healthy fats, and honey adds natural sweetness. You can further enhance their nutritional value by adding chia seeds, flaxseeds, or protein powder.
Can I Make These Without Sweetener?
If you prefer to skip the honey or maple syrup, you can try using mashed banana or unsweetened applesauce as a natural sweetener. Keep in mind that this may slightly affect the texture.
Do I Have to Use Dark Chocolate?
Not at all. You can use milk chocolate, white chocolate, or even omit the chocolate altogether for a simpler version. If you’re looking for a sugar-free option, use sugar-free chocolate chips or a drizzle of unsweetened nut butter on top.
What Type of Oats Should I Use?
Rolled oats (also called old-fashioned oats) work best for this recipe because they hold their texture while still softening slightly when mixed with the peanut butter. Quick oats can be used but may result in a slightly softer consistency. Avoid steel-cut oats as they are too tough and chewy for no-bake recipes.
Can I Make These Vegan?
Yes, these oat cups can be made completely vegan by using maple syrup instead of honey and ensuring that your chocolate chips are dairy-free.
How Can I Add More Protein?
If you want to increase the protein content, try adding a scoop of protein powder to the mixture. You may need to adjust the consistency by adding a little extra peanut butter or a splash of almond milk.
Ways to Elevate This Recipe
If you want to put a twist on the classic peanut butter oat cup, here are some creative variations:
1. Coconut Bliss Oat Cups
Add shredded coconut to the oat mixture and sprinkle toasted coconut flakes on top for a tropical touch.
2. Peanut Butter and Jelly Oat Cups
After pressing the oat mixture into the muffin tin, add a small dollop of fruit preserves in the center before chilling. This creates a fun peanut butter and jelly flavor.
3. Superfood Oat Cups
Mix in chia seeds, flaxseeds, hemp hearts, or even a bit of matcha powder for an extra nutritional boost.
4. Spiced Choco-Peanut Cups
Add a pinch of cinnamon and nutmeg to the mixture for a warm, spiced flavor. This works especially well during the colder months.
5. Crunchy Pretzel Topping
For a salty-sweet contrast, sprinkle crushed pretzels on top of the chocolate layer before chilling.
The Perfect Treat for All Ages
One of the things I love most about these no-bake peanut butter oat cups is that they appeal to everyone. Kids love their sweet, chewy texture, while adults appreciate their balance of indulgence and nutrition. They are a great way to introduce little ones to homemade snacks, and they make for an excellent energy-boosting bite for busy parents, athletes, and professionals alike.
I’ve brought these oat cups to countless gatherings, and they always disappear within minutes. There’s something about the combination of peanut butter and chocolate that is universally loved. They’re easy to make, easy to store, and even easier to enjoy.
Conclusion: A Recipe Worth Keeping
In a world where schedules are packed and convenience often trumps homemade meals, it’s refreshing to have a recipe that brings us back to the basics. These no-bake peanut butter oat cups are proof that delicious, wholesome treats don’t have to be complicated.
They remind us that the best recipes aren’t always the ones with the longest ingredient list or the most intricate techniques. Sometimes, the most satisfying bites come from a simple mix of pantry staples, a bit of creativity, and a whole lot of love.
Whether you’re making them for your family, for a special occasion, or just for yourself, these peanut butter oat cups are a snack worth savoring. They are a reminder that good food doesn’t have to be difficult—it just has to be made with care.
So go ahead, whip up a batch, and enjoy a little moment of sweetness in your day.
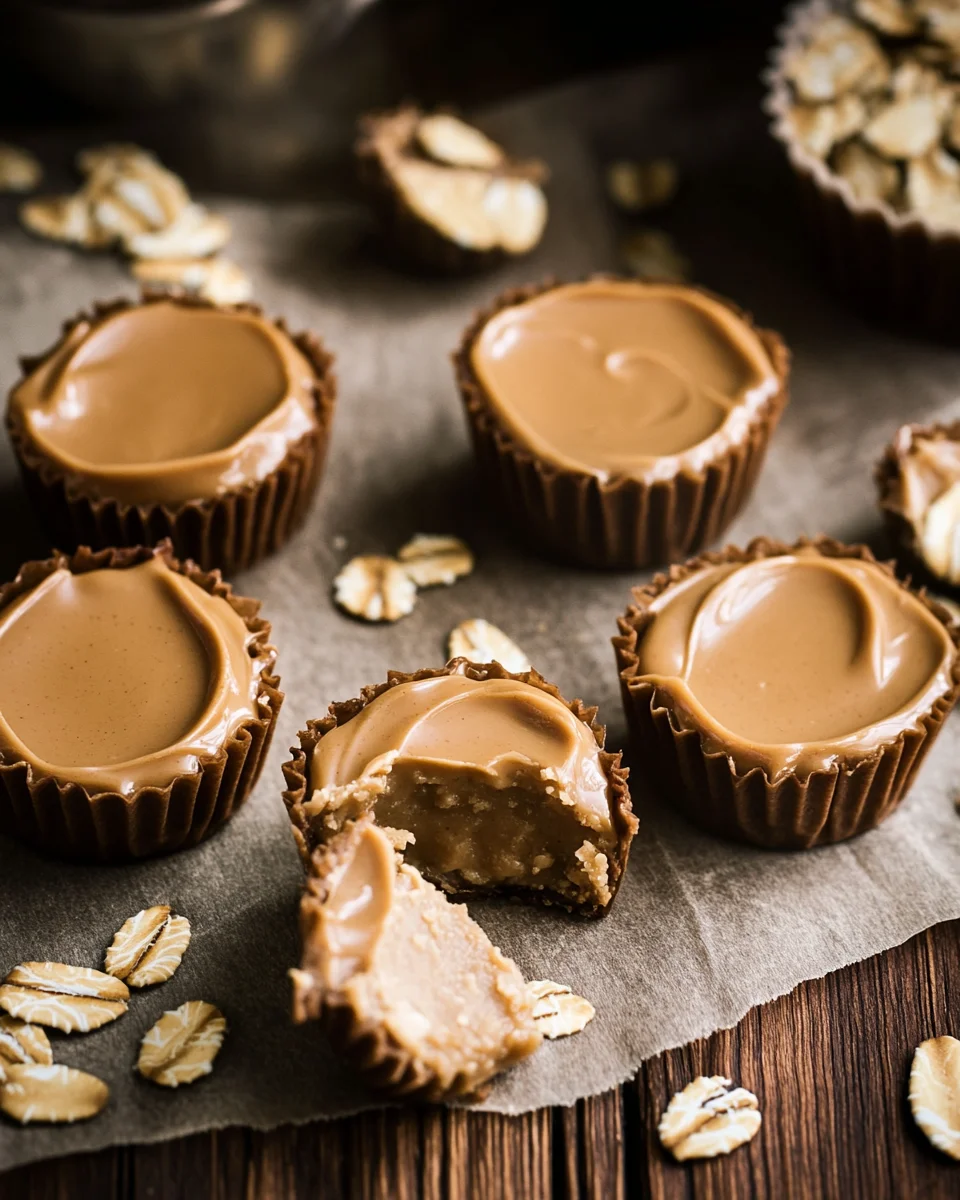
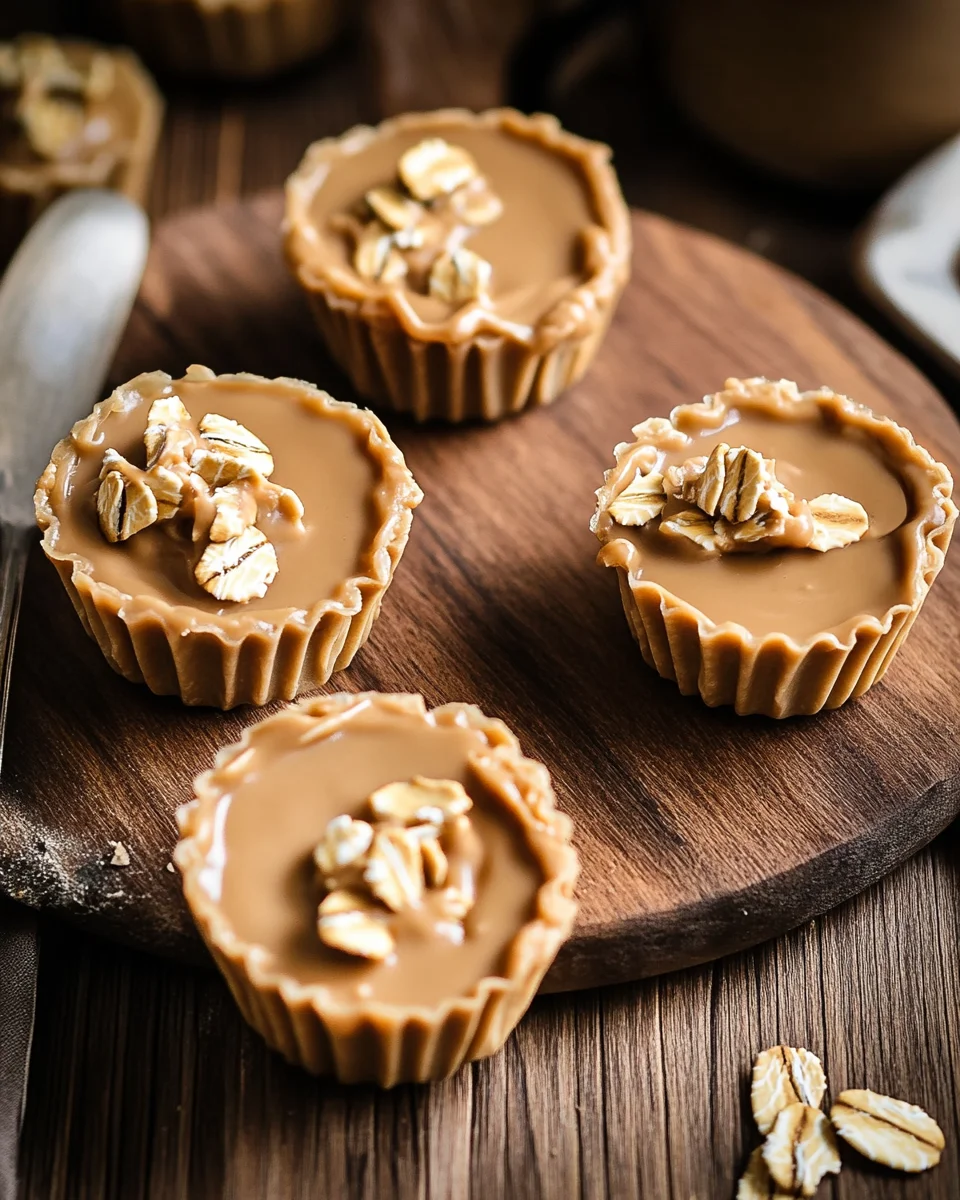
No-Bake Peanut Butter Oat Cups: A Sweet and Wholesome Treat for Every Occasion
Ingredients
Method
- Step 1: Prepare the Mixture
- In a mixing bowl, combine oats, peanut butter, honey (or maple syrup), vanilla extract, and salt.
- Stir well until everything is evenly mixed and the texture is sticky.
- Spoon the mixture into a mini muffin tin, pressing it firmly into each cup.
- For easier removal, use cupcake liners or a silicone muffin tray.
- Melt the chocolate chips in a microwave-safe bowl in 15-second intervals, stirring between each until smooth.
- Drizzle or spread the melted chocolate over each oat cup.
- Place the muffin tin in the refrigerator for at least 1 hour until the cups are firm.
- Once set, remove them from the tin and enjoy!
Notes
- For extra texture and flavor, try mixing in shredded coconut, chia seeds, or crushed nuts.
- Use a different nut butter such as almond or cashew for variety.
- Make ahead and store in the refrigerator for easy grab-and-go snacks.