

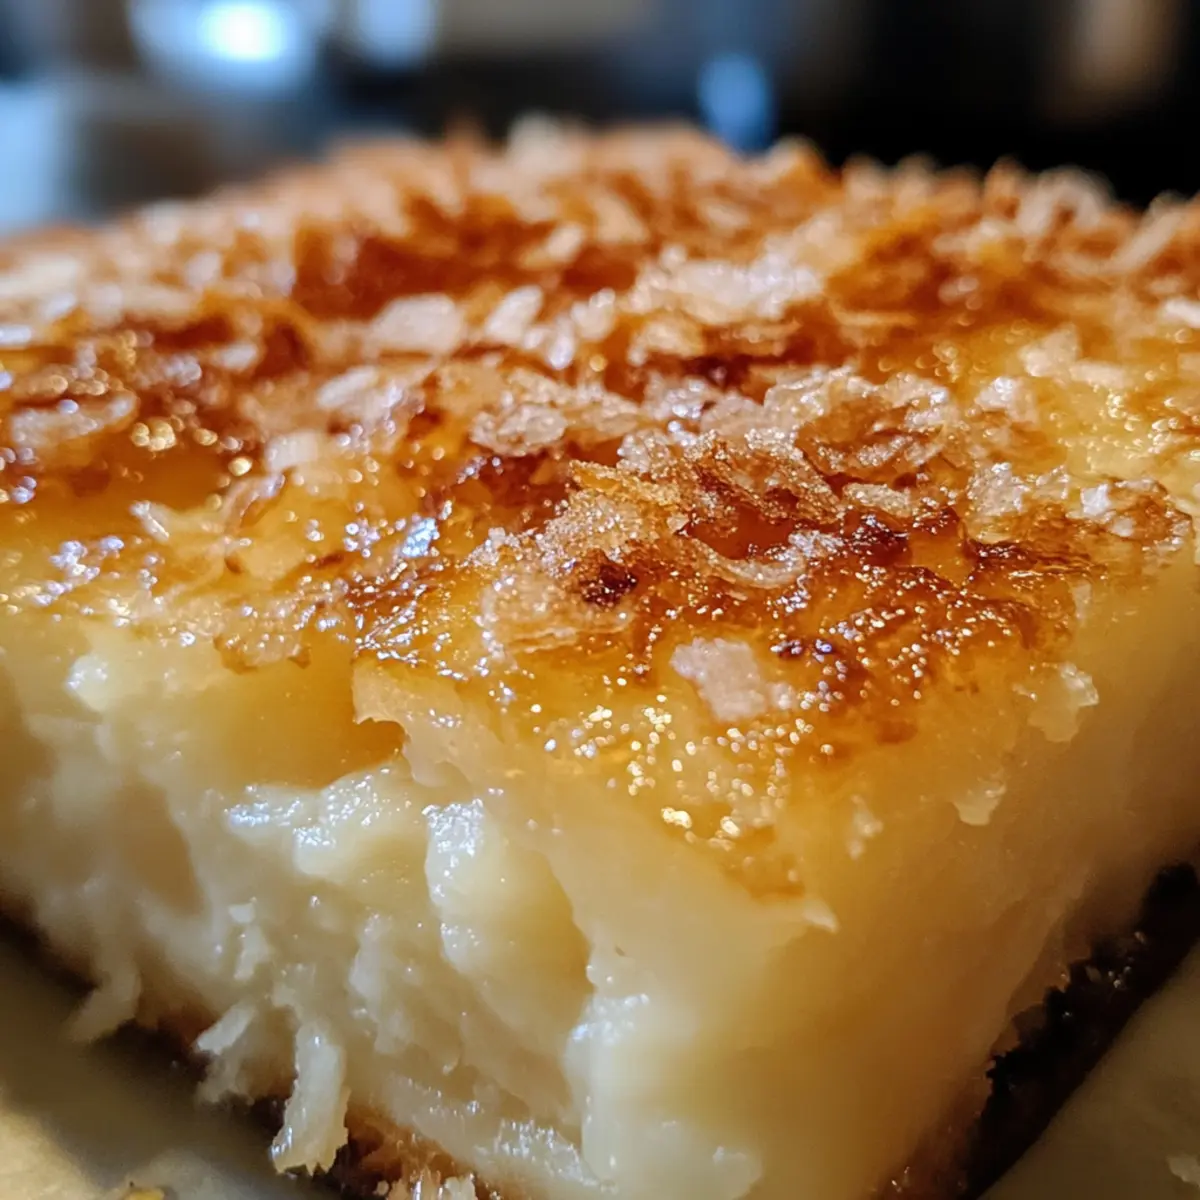
As the sweet aroma of baking fills my kitchen, I can’t help but feel transported to festive celebrations under the warm sun of the Philippines, where Bibingka—Filipino Coconut Cake—is a cherished staple. This delicious dessert, crafted with gluten-free sweet rice flour, brings a unique spongy texture and rich coconut flavor that’s both comforting and indulgent. Whether you’re seeking a delightful family gathering treat or a special indulgence after a long day, this recipe is a quick triumph that delivers on both taste and nostalgia. With just a handful of simple ingredients, you can whip up a gluten-free confection that’s sure to become a beloved favorite. Curious about how to bring a slice of tropical paradise into your home? Let’s dive into creating this unforgettable Bibingka!

Why is Bibingka So Irresistible?
Unique experience: This Bibingka isn’t just another dessert; it delivers tropical delight right to your plate, making it perfect for gatherings.
Gluten-free goodness: Made with sweet rice flour, it’s an excellent choice for those seeking gluten-free options without compromising on flavor.
Elevated simplicity: With just a few easy steps, you can create a treat that’s both comforting and exotic—ideal for any home cook!
Shareable indulgence: Serve it warm with a dollop of coconut whipped cream, and watch it disappear quickly at any gathering. Whether you’re exploring more Filipino delights or would like to try something similar to a Milky Coconut Cheese treat, you’ll adore this cake’s charm!
Bibingka – Filipino Coconut Cake Ingredients
For the Cake
- Cream Cheese – Adds richness and enhances the cake’s moisture.
- Granulated Sugar – Sweetens the cake; can substitute with coconut sugar for a deeper flavor.
- Eggs – Providing structure and lift; important for creating a light texture.
- Sweet Rice Flour – The primary flour; ensures the unique texture of the Bibingka.
- Baking Powder – Helps the cake rise; essential for achieving that delightful fluffiness.
- Butter (melted) – Adds fat and flavor; can substitute with coconut oil for a dairy-free version.
- Vanilla Extract – Enhances flavor; opt for pure vanilla for the best results.
- Cream of Coconut – Provides richness and sweetness; do not substitute this with coconut milk.
- Milk – Moistens the batter; can replace with a non-dairy option if needed.
- Crushed Pineapple (canned, undrained) – Contributes tropical flavors and moisture; fresh pineapple can be substituted.
For the Topping
- Brown Sugar – Adds a caramelized crunch that enhances the cake’s surface.
- Granulated Sugar (for topping) – Mixed with brown sugar for additional sweetness and texture.
Step‑by‑Step Instructions for Bibingka – Filipino Coconut Cake
Step 1: Preheat the Oven
Preheat your oven to 350°F (175°C) to ensure an even baking environment for your Bibingka. This warm temperature will help the cake rise beautifully and develop a golden crust. While the oven heats, prepare your ingredients so you can dive into the next steps immediately.
Step 2: Cream the Cheese and Sugar
In a large mixing bowl, beat together the cream cheese and granulated sugar until the mixture is smooth and creamy. This should take about 3-5 minutes using an electric mixer on medium speed. The goal is to create a fluffy base that will contribute to the cake’s richness, so ensure there are no lumps remaining.
Step 3: Incorporate the Eggs
Add the eggs to the cream cheese mixture one at a time, mixing well after each addition. This step is crucial for achieving a light and airy texture in your Bibingka. Continue beating until each egg is fully incorporated, which should take about 2-3 minutes.
Step 4: Mix in Dry Ingredients
Gradually add the sweet rice flour and baking powder into the bowl. Mix gently on low speed until the batter is smooth, and be careful to avoid lumps. This is important to maintain the unique sticky texture that makes Bibingka so special, so take your time here.
Step 5: Add Remaining Ingredients
Once the dry ingredients are fully combined, pour in the melted butter, vanilla extract, cream of coconut, milk, and crushed pineapple. Stir the mixture gently until everything is well incorporated, creating a rich and moist batter that captures all the delightful flavors of tropical coconut and pineapple.
Step 6: Prepare the Pan
Grease a 13×9 inch baking pan generously to prevent sticking, ensuring a smooth release when serving. Carefully pour the Bibingka batter into the prepared pan, spreading it out evenly with a spatula. The batter will be thick, so take your time to create a uniform surface.
Step 7: Add the Toppings
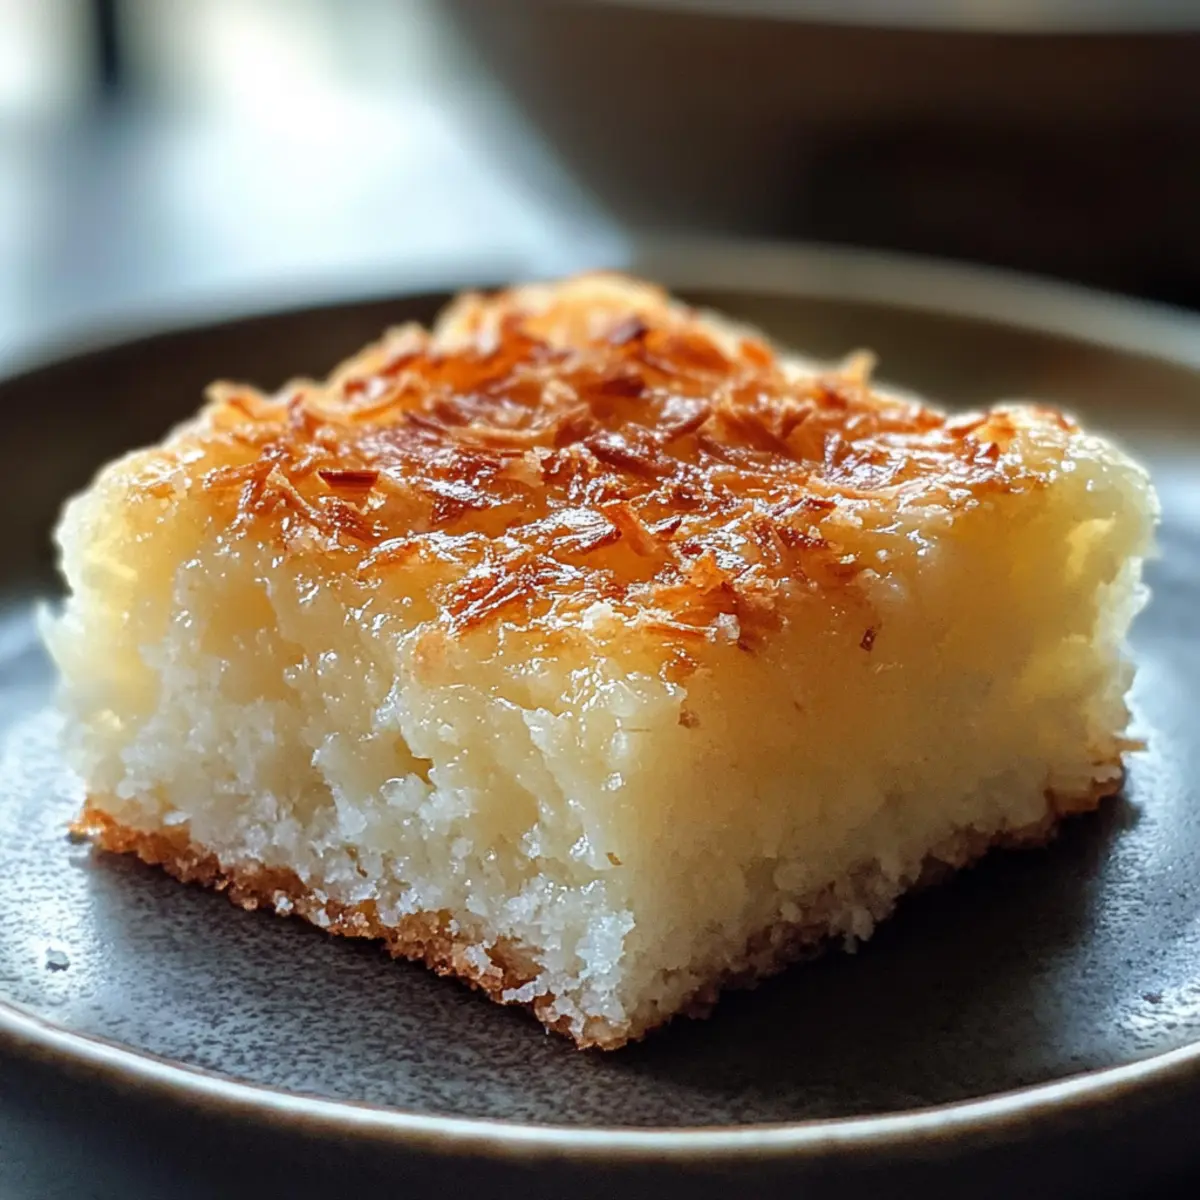
Sprinkle an even layer of brown sugar and granulated sugar over the top of the batter. This sugar topping will caramelize as it bakes, creating a delightful sweet and crunchy finish that contrasts beautifully with the soft texture of the Bibingka.
Step 8: Bake the Bibingka
Place the pan in the preheated oven and bake for 1 hour, or until the top of the cake is lightly golden and a toothpick inserted into the center comes out clean. Keep an eye on it in the last few minutes to avoid over-baking; the perfect Bibingka is slightly soft but fully set.
Step 9: Cool and Serve
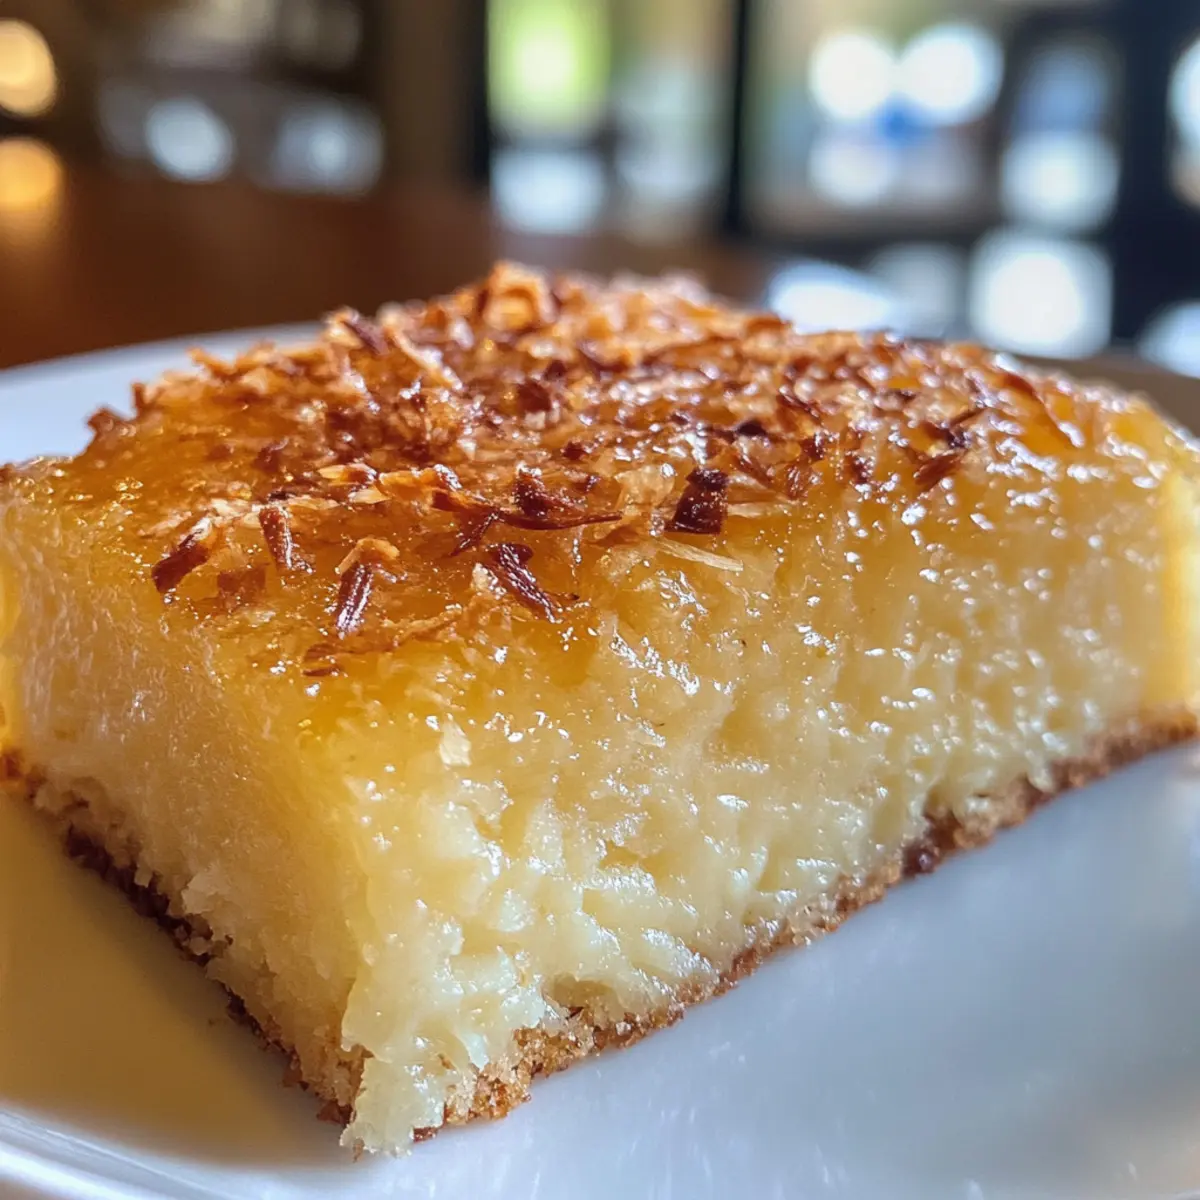
Once baked, remove the pan from the oven and allow it to cool for at least 15-20 minutes. This resting period will make cutting the cake easier. Slice the Bibingka into squares and serve warm, allowing everyone to enjoy this traditional Filipino coconut cake!
Expert Tips for Bibingka
-
Gentle Mixing: Always mix the batter gently when adding sweet rice flour to prevent it from becoming too airy and messy. This helps achieve the right texture for your Bibingka.
-
Use Cream of Coconut: Be sure to use cream of coconut instead of coconut milk for the best flavor and consistency. This will ensure your cake is rich and sweet.
-
Keep an Eye on Baking Time: Baking in mini pans? Adjust the time to 25-30 minutes. Check for doneness by ensuring the top is lightly golden and a toothpick comes out clean.
-
Perfect Toppings: For the topping, create an even layer of brown sugar and granulated sugar so that it caramelizes evenly. A well-caramelized top enhances the beauty and flavor of your Bibingka.
-
Store Properly: If you have leftovers, store your Bibingka in an airtight container in the fridge for up to 5 days. It can also be frozen for up to 3 months.
-
Reheat for Best Flavor: To enjoy your Bibingka at its best, warm it gently in the microwave or oven before serving. The flavors just pop when it’s warmed!
What to Serve with Bibingka – Filipino Coconut Cake
Elevate your experience with thoughtful pairings that bring out the best of this delightful cake.
- Coconut Whipped Cream: A dollop on warm Bibingka enhances the creamy coconut flavor while adding a touch of indulgence.
- Mango Slices: Juicy, sweet mangoes provide a refreshing contrast to the dense cake, complimenting the tropical vibe perfectly.
- Pineapple Salsa: A fresh pineapple salsa brings a zesty twist, balancing the sweetness of the Bibingka with a burst of citrusy joy.
For a dessert spread, why not arrange a tropical fruit platter? Serve it alongside your Bibingka to create a vibrant, colorful feast.
- Traditional Filipino Coffee: A warm cup of coffee with nutty undertones pairs beautifully, enhancing the cake’s rich coconut flavor.
- Ube Jam: The sweet, nutty flavor of ube jam drizzled over slices adds an exotic touch and visual appeal.
- Lemonade or Calamansi Juice: Perfectly refreshing and slightly tart, these beverages sharpen the cake’s sweetness, making each bite more enjoyable.
These pairings create a feast for the senses, perfect for sharing the joy and warmth that comes with every bite of Bibingka!
Make Ahead Options
These Bibingka – Filipino Coconut Cakes are perfect for busy home cooks looking to save time! You can prepare the batter up to 24 hours in advance by mixing all the ingredients (except for the toppings) and storing it in an airtight container in the refrigerator. This not only allows the flavors to meld beautifully but also ensures that your cake is just as delightful when baked. When you’re ready to serve, simply preheat your oven and pour the batter into the greased pan before sprinkling the brown and granulated sugars on top. Bake as directed, and you’ll have warm, tropical bliss with minimal daily fuss!
How to Store and Freeze Bibingka
Fridge: Keep your Bibingka in an airtight container for up to 5 days. This will retain its delightful texture and flavor, making it a perfect revisit to tropical bliss!
Freezer: Wrap the Bibingka tightly in plastic wrap, then place it in a freezer-safe container. It can be frozen for up to 3 months without losing its unique texture and taste.
Reheating: To enjoy, simply warm individual slices in the microwave for about 10-15 seconds or bake at 350°F (175°C) for 10 minutes. A warm-up brings back its delightful flavors, making each bite feel fresh and inviting.
Bibingka – Filipino Coconut Cake Variations
Feel free to get creative with this Bibingka recipe and adapt it to your taste preferences—each twist adds its own delicious story!
-
Mango Twist: Replace half the crushed pineapple with mango puree for a rich fruit flavor. The tropical sweetness of mango brings a new dimension to this classic dessert.
-
Maple Sweetness: Use maple syrup instead of granulated sugar for a wonderful, earthy sweetness. It not only adds depth but also complements the coconut beautifully.
-
Greek Yogurt Upgrade: Swap out cream cheese for Greek yogurt to lighten up the cake while ensuring it remains moist and creamy. You might even find you like this version better!
-
Nutty Flavor: Add finely chopped nuts, like cashews or almonds, to the batter for an extra crunch. These nuts provide a delightful contrast to the cake’s soft texture while enhancing the flavor profile. A sprinkle on top could also add a nice touch!
-
Chocolate Bliss: For a chocolate spin, fold in mini chocolate chips into the batter. The creamy chocolate balances the coconut sweetness and will surprise and delight every time!
-
Cinnamon Dusting: Serve your Bibingka with a sprinkle of cinnamon on top before baking for a warm, aromatic note that perfectly complements the coconut and pineapple. This easy addition can transport your taste buds to the tropics!
-
Spicy Kick: Add a pinch of cayenne or chopped chili to the batter for those who crave a little heat. This twist transforms the dessert into a sweet and spicy adventure!
-
Creamy Coconut Topping: Instead of the standard sugar topping, make a creamy coconut whipped topping for serving. It adds a luscious, tropical element that’s simply divine! You can pair this with a classic cake like Nutty Vanilla Cake for a Hawaiian-themed dessert spread!
Bibingka – Filipino Coconut Cake Recipe FAQs
What type of sweet rice flour should I use?
Absolutely! You should use “glutinous rice flour” for the most authentic Bibingka experience. It has the right starch content to give the cake its signature sticky and chewy texture. Look for brands that specify “sweet rice flour” to ensure you’re getting the right one!
How should I store leftover Bibingka?
Very simply, store your Bibingka in an airtight container in the refrigerator for up to 5 days. This will help maintain its moist texture and delightful flavor. If you want to keep it longer, consider freezing it.
Can I freeze Bibingka, and how do I do it?
Of course! To freeze your Bibingka, wrap it tightly in plastic wrap, ensuring no air gets in, and then place it in an airtight freezer-safe container. It can be frozen for up to 3 months. When you’re ready to enjoy it again, just thaw it in the fridge overnight, then warm it in the microwave or oven before serving to bring back its wonderful taste!
What should I do if my Bibingka comes out too dense?
If your Bibingka turns out denser than expected, it may have been overmixed while combining the wet and dry ingredients. Always mix gently to avoid incorporating too much air and disrupting the cake’s structure. Next time, watch your baking time; baking a bit longer might help achieve a lighter texture as well!
Is Bibingka suitable for those with dietary restrictions?
Absolutely! This Bibingka recipe is gluten-free due to the use of sweet rice flour, making it a great treat for those with gluten sensitivities. However, keep in mind that ingredients like cream cheese and milk can be substituted with non-dairy alternatives for a lactose-free version. Just ensure that all components are certified gluten-free, especially if allergies are a concern. Enjoy your tasty slice of tropical paradise!
Bibingka – Filipino Coconut Cake for Sweet Tropical Bliss
Ingredients
Equipment
Method
- Preheat your oven to 350°F (175°C).
- Beat together the cream cheese and granulated sugar until smooth and creamy.
- Add the eggs one at a time, mixing well after each addition.
- Gradually add the sweet rice flour and baking powder; mix until smooth.
- Add melted butter, vanilla extract, cream of coconut, milk, and crushed pineapple; stir well.
- Grease a 13x9 inch baking pan and pour in the batter, spreading evenly.
- Sprinkle brown sugar and granulated sugar over the top.
- Bake for 1 hour or until lightly golden and a toothpick comes out clean.
- Cool for at least 15-20 minutes before slicing and serving warm.