

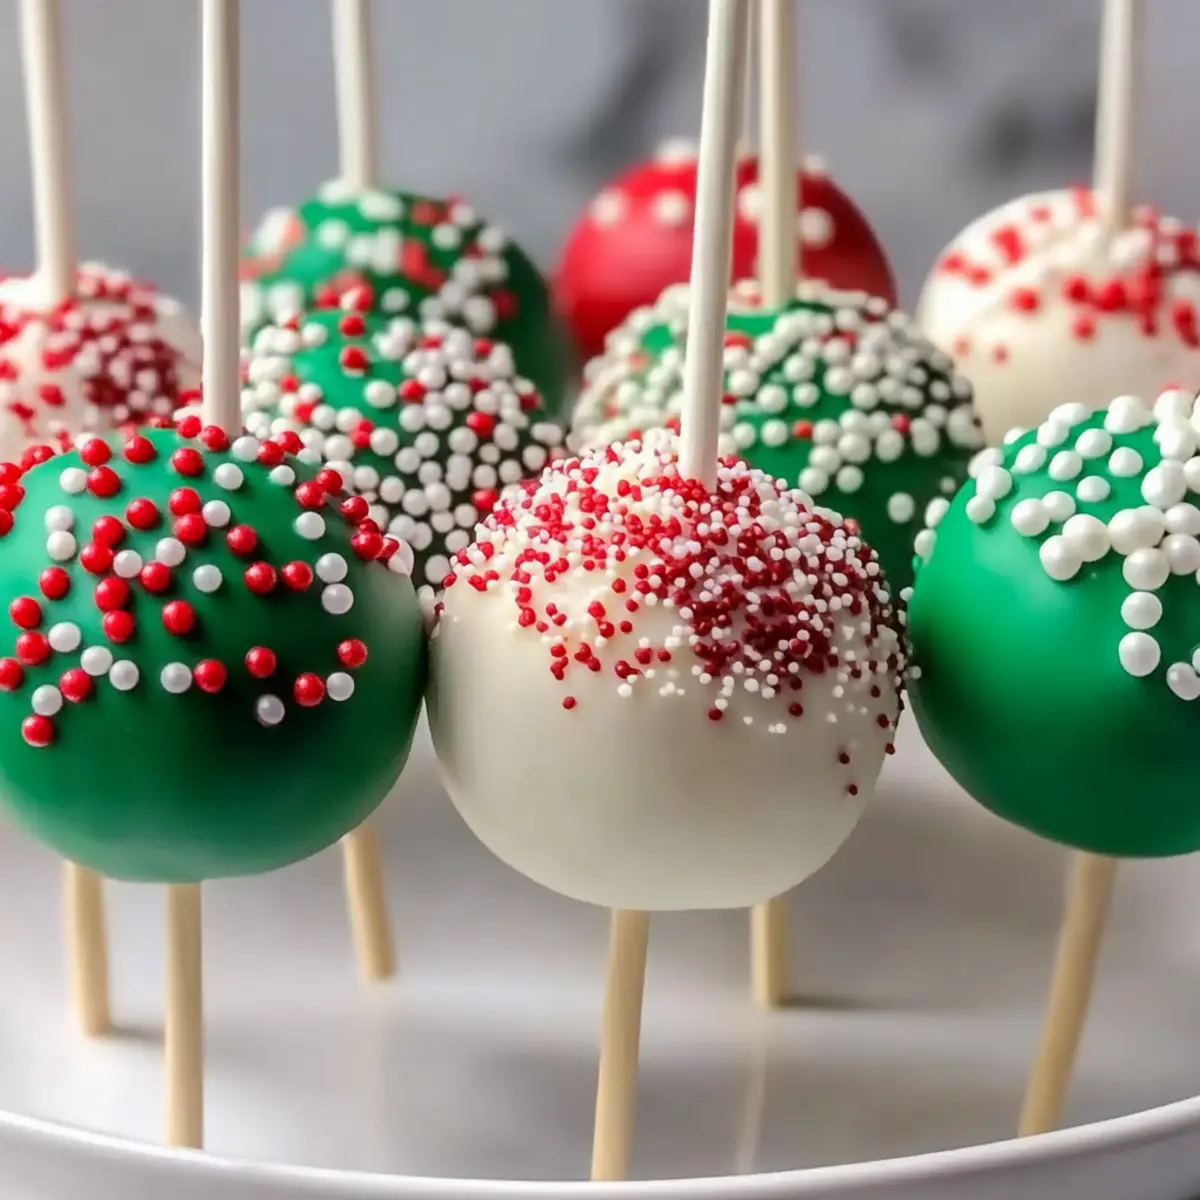
Nothing says “holiday cheer” quite like the vibrant colors and joyful shapes of festive treats. With the season of gatherings upon us, it’s the perfect time to roll up your sleeves and bring a little magic into the kitchen. My recipe for Christmas Cake Pops combines the fun of cake and candy into bite-sized delights that are not only visually appealing but also incredibly easy to whip up. These vegetarian-friendly pops are a guaranteed crowd-pleaser—perfect for parties or cozy family baking sessions. As you watch them disappear, you’ll relish the memories you’re creating around the table. Ready to transform your kitchen into a holiday wonderland? Let’s dive into making these whimsical treats!

Why Are These Cake Pops a Must-Make?
Irresistible Fun: These Christmas Cake Pops are not just desserts; they’re a joyful experience for everyone involved in the making.
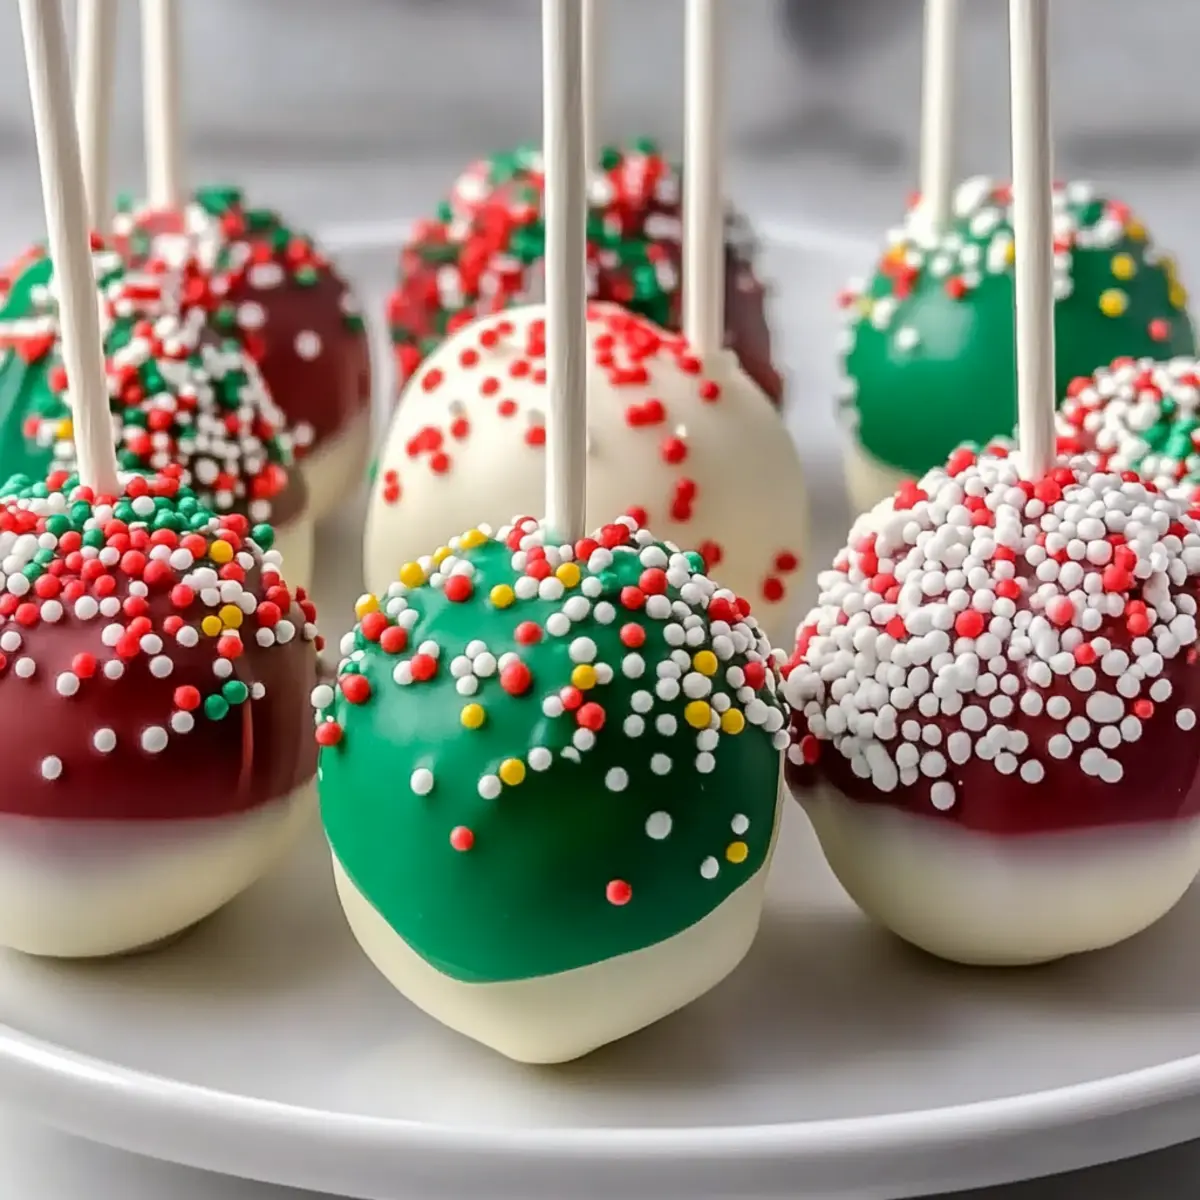
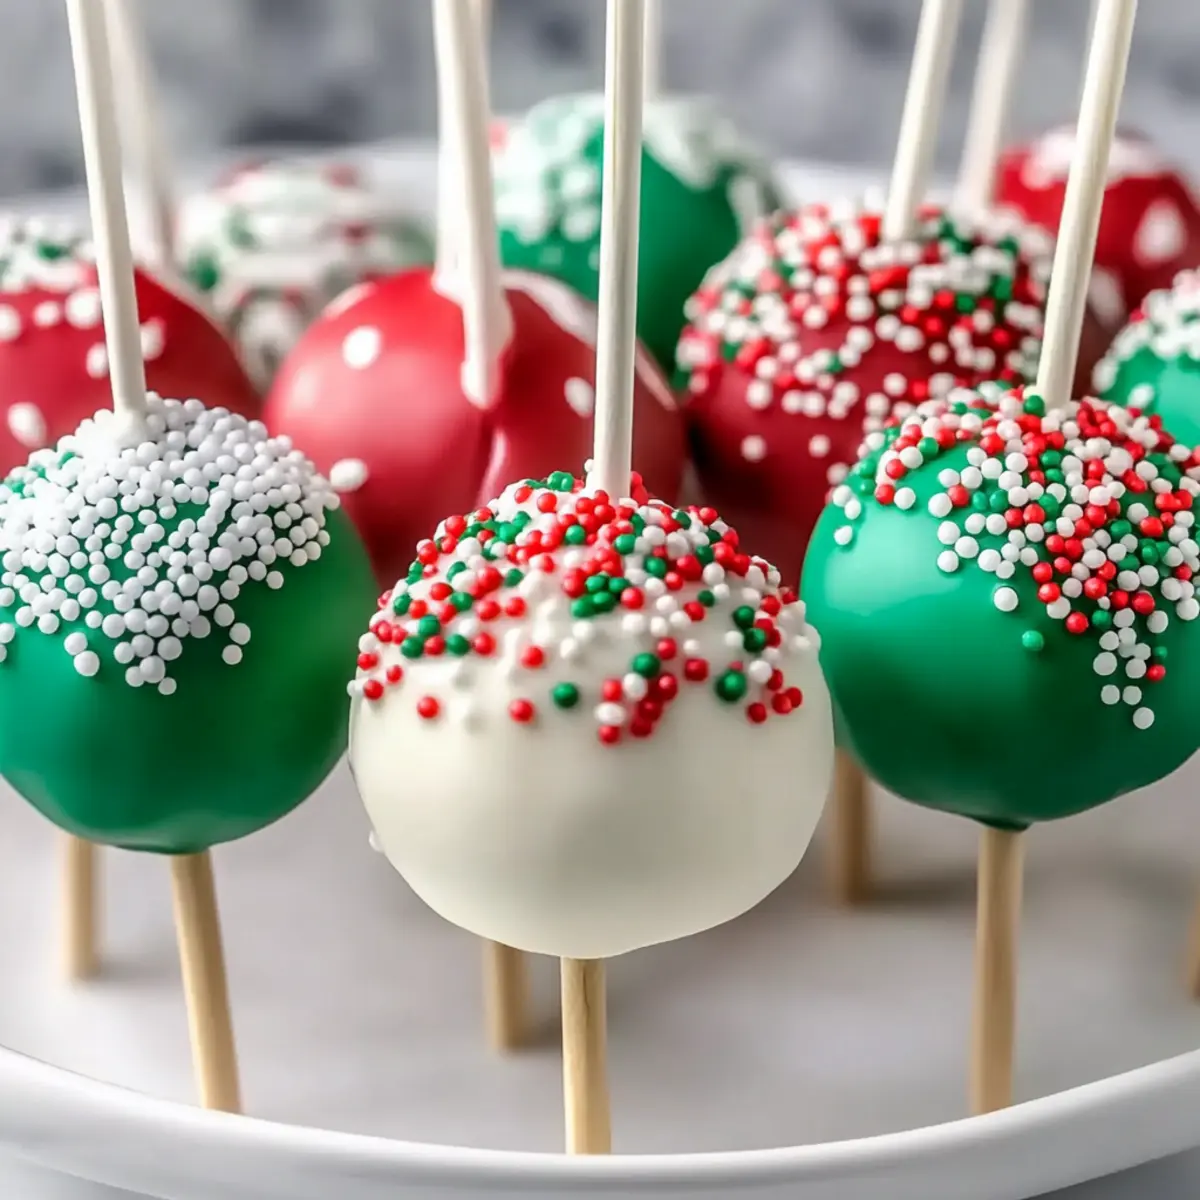
Vibrant Colors: The bright candy coatings and festive sprinkles will brighten up any holiday gathering, instantly lifting spirits.
Easy Preparation: With straightforward steps, even beginner bakers can create these delightful treats with confidence.
Customizable Flavors: Choose your favorite cake mix and frosting to make each bite uniquely delicious.
Perfect Gift: Present them in festive packaging as a heartfelt homemade gift to share the joy of the season. For more inspiration, check out Nutty Vanilla Cake for a delicious twist!
Christmas Cake Pops Ingredients
These ingredients will help you create the most delightful Christmas Cake Pops!
For the Cake
- Boxed Cake Mix – A quick base option; choose any flavor you love, or make your own for a personal touch.
- Frosting – This holds everything together; any favorite flavor is perfect, but ensure it’s not runny to maintain the structure.
For the Coating
- Candy Melts (White & Colored) – The colorful outer shell; available in various shades to enhance that festive charm.
- Lollipop Sticks – Essential for holding your cake pops; both wooden and plastic varieties work well.
For Decoration
- Sprinkles – Decorate your pops with fun colors and shapes; holiday-themed options are best, so choose light options that stay on nicely.
Enjoy the delightful process of making these Christmas Cake Pops!
Step‑by‑Step Instructions for Christmas Cake Pops
Step 1: Bake the Cake
Preheat your oven to the temperature specified on your boxed cake mix package. Grease and flour your baking pan, then prepare the cake mix according to the instructions. Pour the batter into the pan and bake until golden brown, typically 25-30 minutes. Let the cake cool completely on a wire rack, giving it a chance to set the perfect crumb for your Christmas Cake Pops.
Step 2: Crumble the Cake
Once the cake is cool, break it into large chunks and transfer the pieces into a large mixing bowl. Use your hands to crumble the cake into fine crumbs, ensuring there are no large chunks left. The texture should resemble wet sand. This step is crucial for achieving the right consistency for your Christmas Cake Pops when mixed with frosting.
Step 3: Mix with Frosting
Add one cup of your favorite frosting to the crumbled cake. Use a spatula or your hands to thoroughly combine the frosting with the cake crumbs until the mixture resembles a dough consistency. It should hold together nicely without being overly sticky. This binding will ensure your Christmas Cake Pops maintain their shape during the forming process.
Step 4: Form Cake Balls
Scoop out tablespoon-sized portions of the cake mixture and roll them between your hands to form smooth balls. Aim for uniform size for even dipping later on. Place the formed cake balls on a parchment-lined baking sheet. This step is not only fun but also essential to create those round delights that will become your festive Christmas Cake Pops.
Step 5: Chill Cake Balls
To help the cake balls hold their shape during dipping, refrigerate them for at least 1 hour. If you’re short on time, you can freeze them for 20 minutes instead. Once firm, the cake balls will be easier to coat and less likely to crumble, ensuring a perfect finish for your Christmas Cake Pops.
Step 6: Melt Candy Melts
While your cake balls are chilling, prepare the candy melts. Pour white and colored candy melts into separate microwave-safe bowls. Heat each bowl in the microwave in 30-second intervals, stirring in between, until completely smooth. This process usually takes about 1-2 minutes total. The melted candy will provide a festive coating for your Christmas Cake Pops.
Step 7: Insert Sticks
Take your lollipop sticks and dip the tip of each one into the melted candy. This step acts like glue, helping to secure the stick in each cake ball. Insert the sticks halfway into the chilled cake balls, placing them back onto the parchment-lined sheet. Chill them briefly in the refrigerator again to ensure the candy sets, creating a stable base for the next steps.
Step 8: Dip Cake Pops
Once the sticks are secured, it’s time to dip your cake pops. Hold each cake ball by the stick and dip it into the melted candy, making sure it’s completely covered. Allow any excess candy to drip back into the bowl before transferring the dipped pops to a stand or parchment paper to dry. This coating will give your Christmas Cake Pops a beautiful, smooth finish.
Step 9: Dry Cake Pops
Stand your freshly coated cake pops in a block of Styrofoam or place them on a parchment-lined surface to dry completely. This may take about 30 minutes. Ensure that the candy shell is set before serving or decorating further. These festive Christmas Cake Pops will look stunning once completely dried and ready for their final touch of holiday cheer!
Make Ahead Options
These Christmas Cake Pops are perfect for busy home cooks looking to save time during the festive season! You can prepare the cake balls up to 24 hours in advance—simply follow the initial steps of baking the cake, crumbling it, and mixing with frosting. Once formed, refrigerate the cake balls until you’re ready to dip them; this ensures they hold their shape beautifully. For longer storage, you can freeze them for up to two months. Just remember to thaw them in the fridge overnight before dipping. When it’s time to finish the pops, melt your candy coating, dip, and decorate—the taste and texture will remain just as delightful!
Expert Tips for Christmas Cake Pops
-
Chill Before Dipping: Always refrigerate the shaped cake balls prior to dipping; this prevents crumbling and ensures a smooth finish on your Christmas Cake Pops.
-
Hold Them Right: When dipping, hold the cake pop by the stick without letting it touch the Candy Melt; this helps maintain a clean, polished look.
-
Uniform Sizing: Use a cookie scoop to create even portions; this guarantees consistent baking and easy coating for your Christmas Cake Pops.
-
Stick Stability: Dip the sticks in melted candy before inserting them into the cake balls. This acts as glue and keeps them secure.
-
Creative Shapes: Don’t hesitate to mold your cake mixture into festive shapes like trees or stars before coating. It’ll add a unique touch to your Christmas Cake Pops.
Storage Tips for Christmas Cake Pops
Room Temperature: Keep your cake pops in an airtight container at room temperature for up to 4 days; this ensures they stay fresh and delightful.
Fridge: On warm, humid days, refrigerate your Christmas Cake Pops to maintain the firmness of the candy shell. Bring them to room temperature before serving for the best taste.
Freezer: If you want to save some for later, freeze the uncoated cake balls for up to 2 months. Thaw them in the fridge overnight before dipping in candy melts.
Reheating: Dipped cake pops can be frozen too; wrap each pop individually to prevent freezer burn, and enjoy their festive charm whenever you wish!
What to Serve with Christmas Cake Pops?
The festive spirit of Christmas is best celebrated with a meal that delights all the senses and complements your dessert table.
-
Hot Chocolate: Creamy and rich, this classic beverage enhances the sweetness of the cake pops, making for a comforting pairing.
-
Christmas Cookies: Offer a variety of cookies like sugar or gingerbread that provide contrasting textures and flavors, creating a delightful dessert spread.
-
Fruit Platter: Fresh fruits like strawberries, kiwis, and grapes add brightness and a refreshing taste, balancing the sweetness of the cake pops beautifully.
-
Spicy Mulled Cider: This warming drink, with its notes of cinnamon and clove, brings a festive energy to the table that pairs delightfully with your treats.
-
Milkshakes: Indulge your guests with peppermint or vanilla milkshakes. Their creamy texture echoes the cake’s softness and creates a nostalgic feel.
-
Festive Cheese Board: Include cheeses, nuts, and dried fruits to enhance the grazing experience, offering savory bites that pair well with the sweetness of cake pops.
-
Peppermint Bark: This classic Christmas treat brings a crunchy, minty element that echoes the festive spirit of your cake pops and is delightful to share.
For a wonderful touch, consider crafting a dessert bar with these options, allowing your guests to mix and match their favorites!
Christmas Cake Pops Variations
Feel free to add your own twist to these delightful Christmas Cake Pops and make them uniquely yours!
- Gluten-Free: Substitute your boxed cake mix with a gluten-free version for a treat that everyone can enjoy.
- Flavor Boost: Use flavored frostings like peppermint or orange to enhance the cake pops’ taste profile for a festive surprise.
- Edible Glitter: Add a sprinkle of edible glitter after coating for a magical touch that sparkles like holiday lights!
For a fun alternative, create holiday shapes! Instead of round balls, mold your mixture into stars or Christmas trees before coating for a cute presentation.
-
Nutty Addition: Fold in crushed nuts or chocolate chips into the cake mixture for delightful texture and extra flavor. Not only does this add crunch, but it also elevates the flavor profile splendidly!
-
Spicy Heat: Mix in a dash of cayenne pepper with the cake batter for a surprising kick. The heat from the cayenne beautifully complements the sweetness of the candy melts.
-
Mini Pops: Use a mini-muffin tin to create bite-sized cake balls, perfect for small hands or as a light dessert option for your guests. These mini pops are a great way to offer variety!
-
Themed Sprinkles: Swap out traditional sprinkles for themed ones. Think candy canes, snowflakes, or even Christmas lights to fit the occasion!
Once you’re ready to explore yet another exciting treat, don’t forget to check out the delightful Strawberry Cheesecake Dump for a sweet finish to your holiday gatherings!
Christmas Cake Pops Recipe FAQs
What type of cake mix should I use for the Christmas Cake Pops?
Absolutely! You can use any flavored boxed cake mix you love, whether it’s chocolate, vanilla, or even red velvet for a festive twist. If you prefer a personal touch, you can make a homemade cake. Just ensure it has a moist texture to bind well with the frosting.
How should I store my Christmas Cake Pops after making them?
I recommend keeping your cake pops in an airtight container at room temperature for up to 4 days. On humid days, refrigerate them to maintain the firmness of the candy shell. Just let them sit at room temperature for a bit before serving to restore their delightful chewiness.
Can I freeze my Christmas Cake Pops, and how do I do it?
Very! You can freeze both uncoated cake balls and dipped cake pops. For uncoated ones, freeze them for up to 2 months in a single layer on a baking sheet, then transfer them to an airtight container. To dip later, simply thaw them overnight in the fridge before coating. Dipped pops can also be frozen; just wrap each one individually to avoid freezer burn, and enjoy them whenever a festive treat calls!
What should I do if my candy coating feels too thick or clumpy?
Don’t worry! If you find your melted candy melts are too thick, add a teaspoon of vegetable oil or shortening to the bowl and stir until you achieve a smoother consistency. This will help create a thinner coating that’s easier to work with. Ensure the candy melts are completely smooth before dipping, and always dip when the melts are warm.
Are there any allergy considerations for my guests regarding these Christmas Cake Pops?
Absolutely! Since the recipe primarily uses boxed cake mix, check for any nut allergies or gluten sensitivities if you choose a conventional mix. For those with strict dietary preferences, you can always opt for gluten-free cake mix and vegan frosting. Just be sure to read labels carefully to keep your festive treats safe for everyone!
Delicious Christmas Cake Pops to Brighten Your Holiday Fun
Ingredients
Equipment
Method
- Preheat your oven to the temperature specified on your boxed cake mix package. Grease and flour your baking pan, then prepare the cake mix according to the instructions. Pour the batter into the pan and bake until golden brown, typically 25-30 minutes. Let the cake cool completely on a wire rack.
- Once the cake is cool, break it into large chunks and transfer the pieces into a large mixing bowl. Use your hands to crumble the cake into fine crumbs. The texture should resemble wet sand.
- Add one cup of your favorite frosting to the crumbled cake. Use a spatula or your hands to thoroughly combine the frosting with the cake crumbs until the mixture resembles a dough consistency.
- Scoop out tablespoon-sized portions of the cake mixture and roll them into smooth balls. Place the formed cake balls on a parchment-lined baking sheet.
- Refrigerate the cake balls for at least 1 hour. If you’re short on time, you can freeze them for 20 minutes instead.
- While your cake balls are chilling, prepare the candy melts. Heat each bowl in the microwave in 30-second intervals, stirring in between, until completely smooth.
- Dip the tip of each lollipop stick into the melted candy. Insert the sticks halfway into the chilled cake balls, placing them back onto the parchment-lined sheet.
- Hold each cake ball by the stick and dip it into the melted candy, making sure it’s completely covered. Allow any excess candy to drip back into the bowl.
- Stand your freshly coated cake pops in a block of Styrofoam or place them on a parchment-lined surface to dry completely. This may take about 30 minutes.