

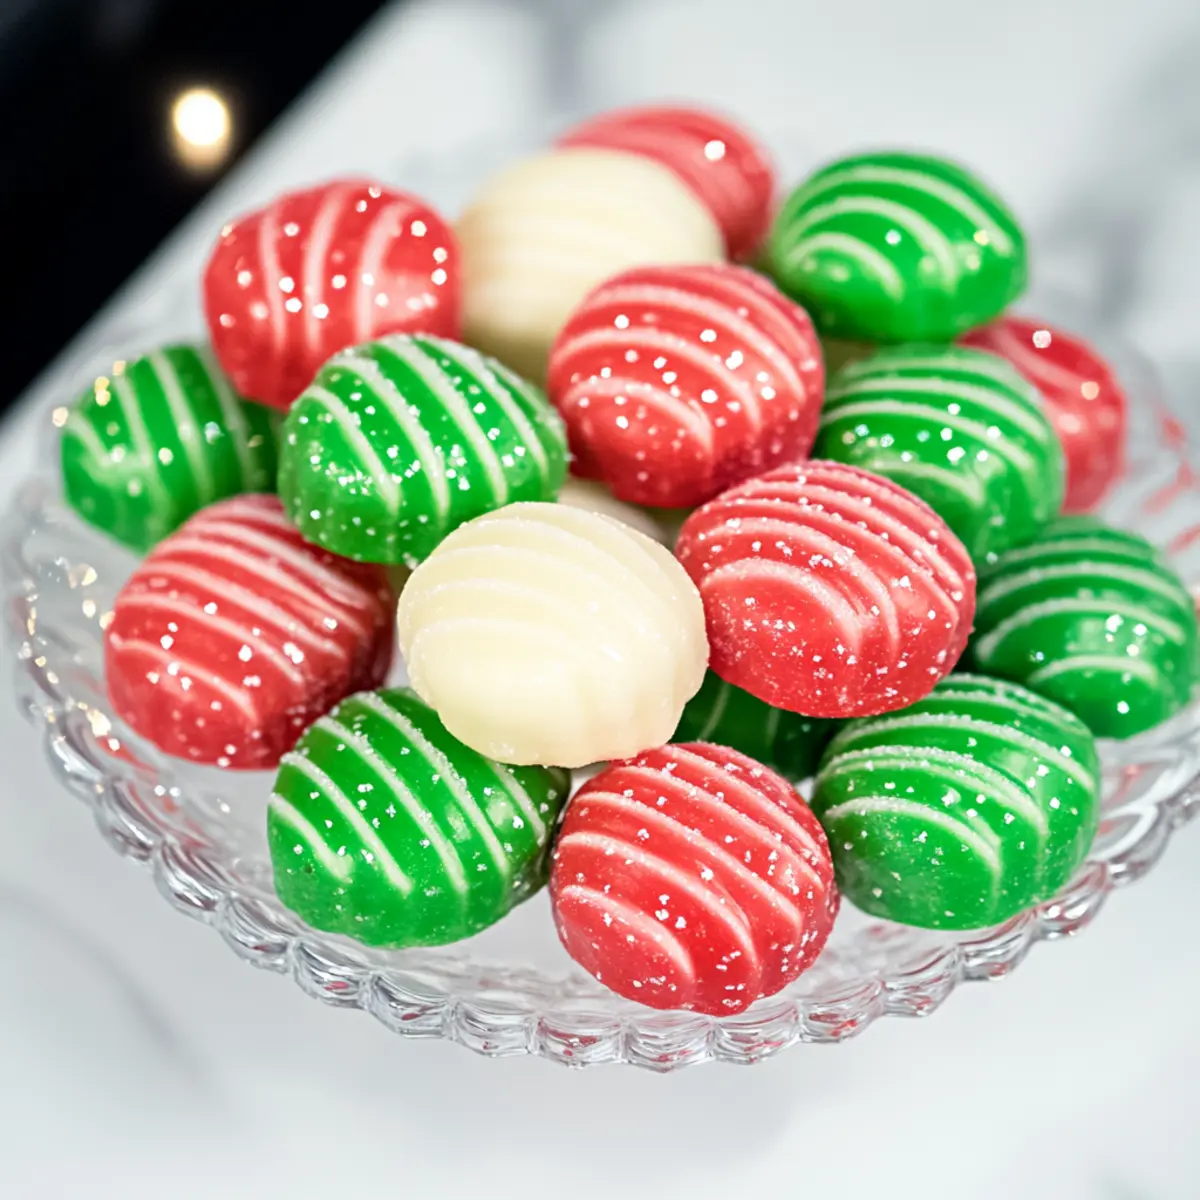
The aroma of peppermint wafts through the air, instantly transporting me to cozy holiday gatherings filled with laughter and sweet treats. Today, I’m excited to share my favorite recipe for Easy Christmas Mint Candy—a sumptuous, creamy dessert that embodies the spirit of the season. Made with just five simple ingredients, these vibrant red and green bites are not only easy to prepare but also a festive delight that can be customized to suit your holiday vibe. Whether you’re treating yourself or crafting thoughtful gifts for loved ones, these minty confections are sure to impress. Plus, they can be made ahead and stored for last-minute cravings or dessert table additions. Ready to whip up some holiday magic? Let’s dive into the world of these delightful mint candies!
Why is Christmas Mint Candy a Must-Try?
Versatile flavors: These candies can be easily customized with different extracts, allowing you to explore new tastes like lemon or almond that complement the festive look.
Colorful appeal: With vibrant red and green, they add a cheerful pop of color to your dessert table, making them an instant crowd-pleaser at any holiday gathering.
Super simple: Made with just five ingredients, you don’t need to be a pro to create these delightful treats—perfect for home cooks of any skill level looking for an easy recipe to impress guests.
Perfect for gifting: Wrapped in festive packaging, they make thoughtful holiday gifts that show you care, making them a sweet surprise for friends and family.
Make ahead convenience: You can prepare them days in advance, freeing up your time during the busy holiday season—no last-minute scrambling! So, why not make a batch today and enjoy the festive spirit with these scrumptious Christmas Mint Candies?
Christmas Mint Candy Ingredients
• Get ready to create a festive favorite!
For the Candies
- Cream Cheese – Provides creaminess and structure; make sure it’s softened for easy blending.
- Butter – Adds a rich flavor and helps bind everything together; remember to use softened butter.
- Powdered Sugar – Delivers sweetness and a smooth texture; you’ll need a total of 8 cups, split for mixing ease.
- Peppermint Extract – Gives that classic mint flavor; feel free to swap it with almond or lemon extract for a twist.
- Green Gel Food Coloring – For a festive presentation, ensuring those holiday hues shine bright.
- Red Gel Food Coloring – Enhances the aesthetic, making these treats visually enticing for any celebration.
Dive into making these Christmas Mint Candies that are sure to warm the hearts of your loved ones this holiday season!
Step‑by‑Step Instructions for Christmas Mint Candy
Step 1: Mix Base
In a stand mixer, combine 8 ounces of softened cream cheese and ½ cup of softened butter. Beat them on medium speed until the mixture is smooth and creamy, about 2 minutes. This will create a rich base for your Christmas Mint Candy, ensuring that both flavors meld beautifully together.
Step 2: Incorporate Sugar
Gradually add 1 cup of powdered sugar to the mixer while continuing to blend on low speed to avoid clouds of sugar. Mix until fully incorporated, which will take about 2-3 minutes. You should have a thick, fluffy mixture ready to sweeten and flavor your mint candies without any lumps.
Step 3: Flavor and Sweeten
Add 1 teaspoon of peppermint extract to the sugar mixture, then mix well for about 30 seconds to infuse that delightful mint flavor. Continue adding the remaining 6 ½ cups of powdered sugar, one cup at a time, ensuring everything is well combined and the dough is smooth and stiff, which will take approximately 5 minutes.
Step 4: Color Separation
Once your dough is uniform, divide it into three equal sections on a clean surface. Add a few drops of green gel food coloring to one portion and red to another, kneading each until the desired color is achieved. This vibrant coloring will make your Christmas Mint Candy festive and fun, perfect for the holiday season.
Step 5: Chill
Wrap each colored dough in plastic wrap and place them into separate bowls. Refrigerate for at least 2 hours to firm up the dough, making it easier to shape. This step is essential for achieving the perfect texture, ensuring your mint candies hold their delightful form during shaping.
Step 6: Shape Mints
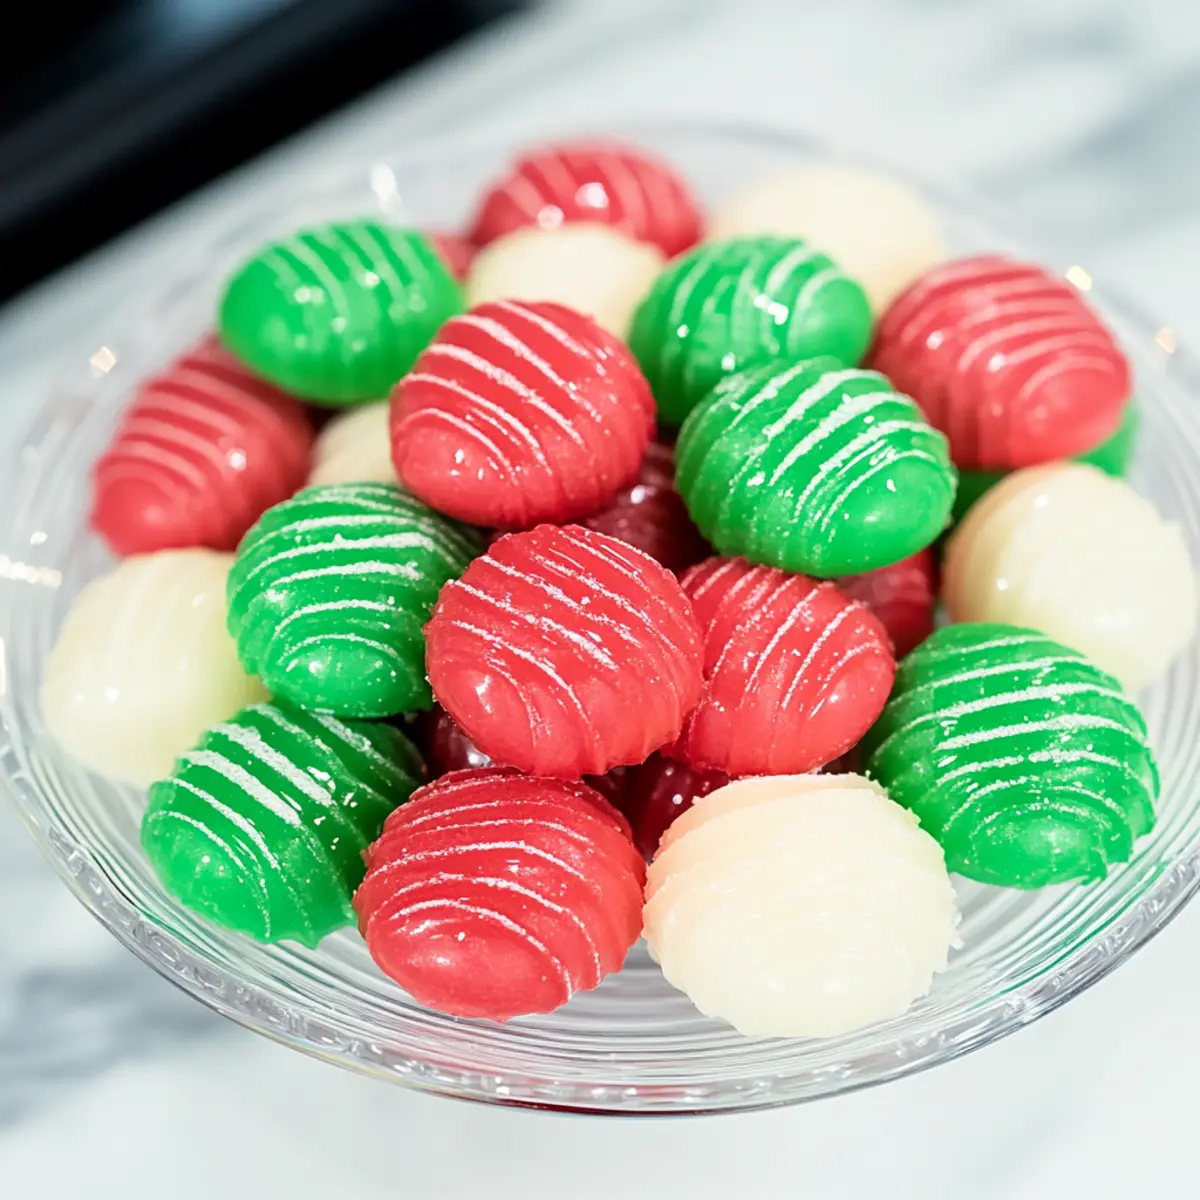
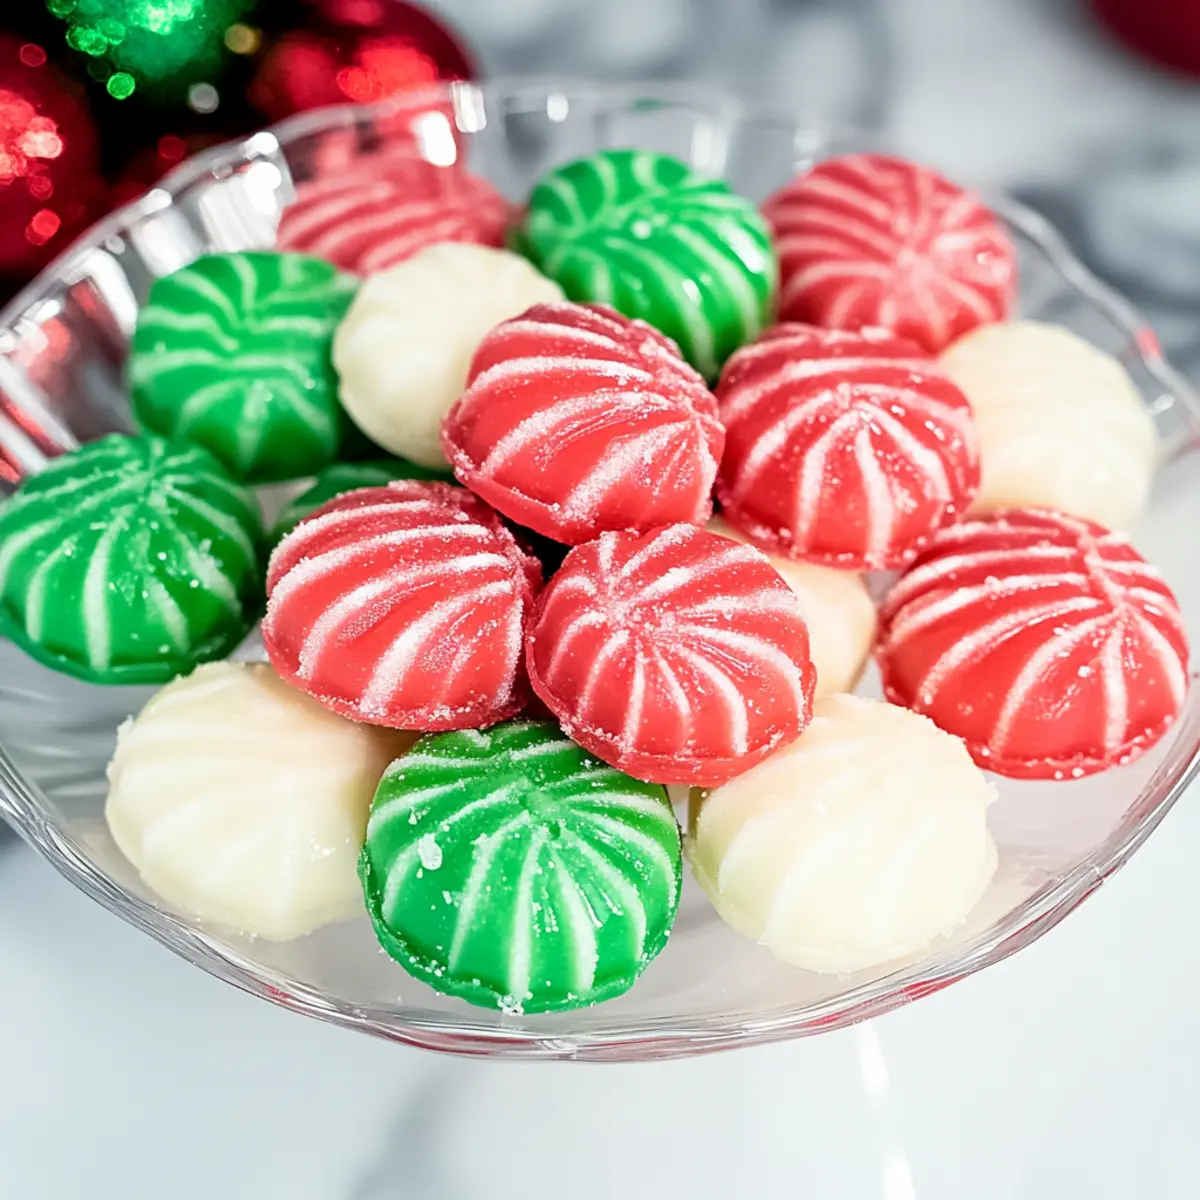
After chilling, remove each dough from the refrigerator. Scoop tablespoon-sized portions of the dough and roll them into balls. Place the balls on a sheet of parchment paper dusted with powdered sugar, then flatten each slightly with a fork, creating a festive design on top of your Christmas Mint Candy.
Step 7: Drying
Allow the shaped mints to sit at room temperature for 4 hours, giving them time to harden up. If any mints remain soft to the touch, flip them over and let them dry longer. Proper drying is crucial for achieving the perfect, melt-in-your-mouth texture of these delightful Christmas Mint Candies.
Step 8: Serve
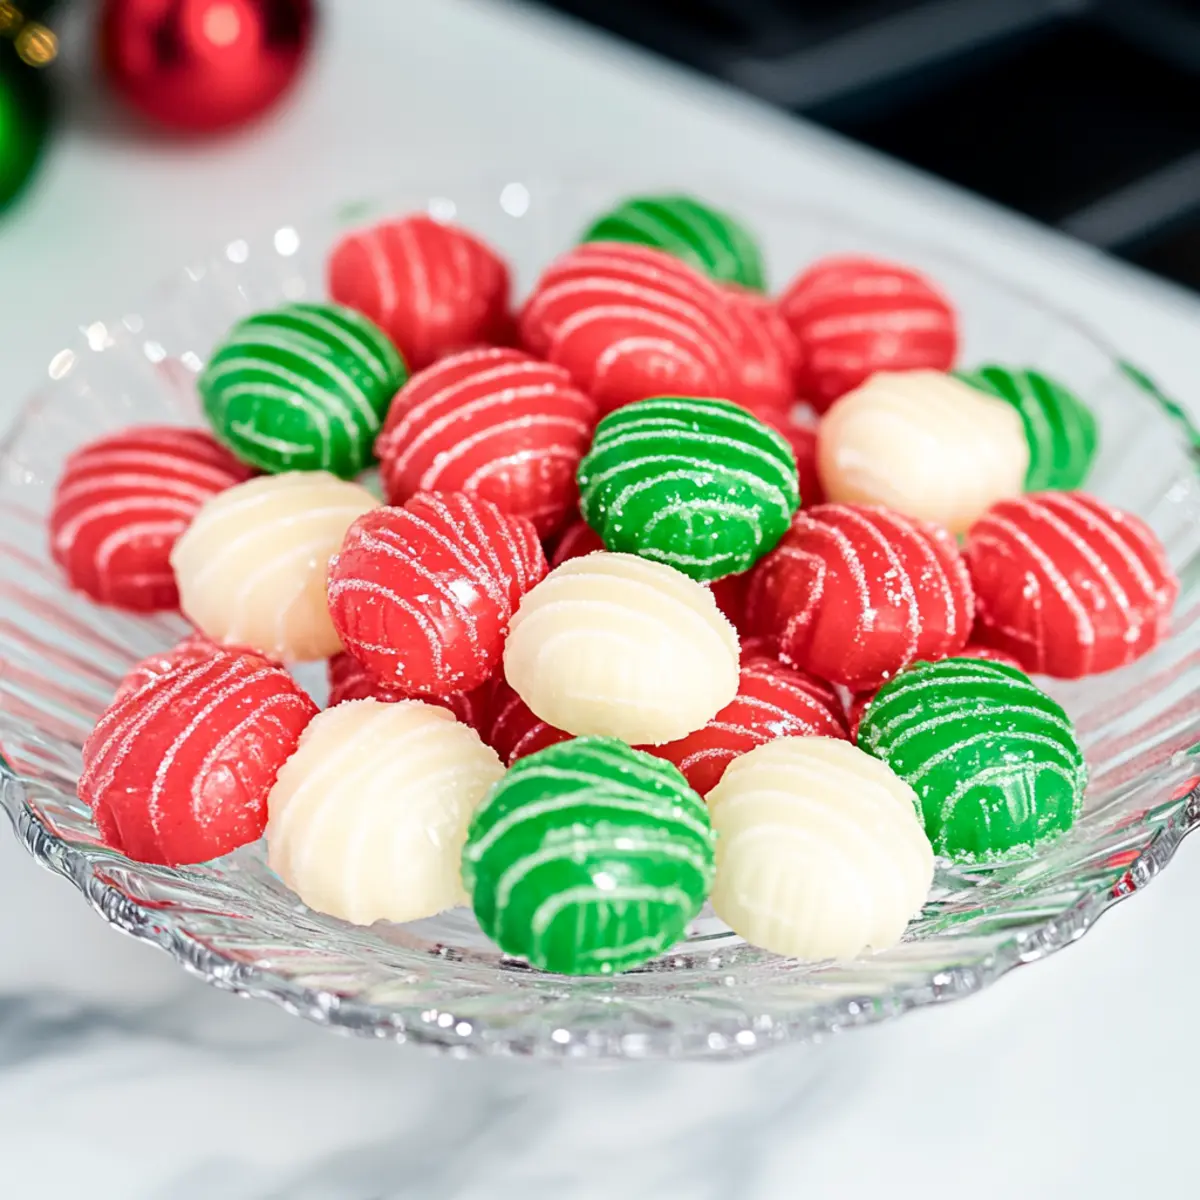
Once dried and firm, your Christmas Mint Candy is ready to be enjoyed! Serve these festive treats on a platter or package them in decorative boxes as gifts. Their creamy texture and minty flavor will surely impress friends and family during the holiday season.
Expert Tips for Christmas Mint Candy
• Softened Ingredients: Ensure your cream cheese and butter are at room temperature. This helps create a smooth mixture and prevents lumps in your Christmas Mint Candy.
• Mix Gradually: When adding powdered sugar, do it in stages to avoid sugar clouds and achieve a well-blended, consistent dough.
• Coloring Check: To ensure vibrant colors, add gel food coloring gradually and knead until fully incorporated, which will enhance the festive appearance.
• Proper Drying: Allow mints to dry at room temperature for at least 4 hours. If they feel soft, flip them for more drying time to retain that perfect texture.
• Storage Advice: To prevent sticking, layer mints with parchment paper in the container. They can be frozen for up to three months, ideal for future cravings!
Christmas Mint Candy Variations
Feel free to add your own twist to this delightful recipe and make it even more special for your celebrations!
-
Flavor Boost: Swap peppermint extract for almond or lemon extract for a unique take. This small change can bring a refreshing twist to your candy’s flavor profile.
-
Festive Colors: Use pastel colors for spring celebrations, or mix in blue or purple for birthdays! These mints are perfect for any occasion, allowing creativity to shine through in your dessert table.
-
Nutty Delight: Add finely chopped walnuts or pecans to the mixture for extra crunch. This textural contrast pairs beautifully with the creamy base.
-
Chocolate Drizzle: Melt dark or white chocolate to drizzle over the hardened mints. Not only does this add elegance, but the chocolate complements the minty flavor perfectly!
-
Spicy Kick: For those who enjoy some heat, add a pinch of cayenne pepper to the dough! This surprising twist will awaken the taste buds and introduce an exciting complexity.
-
Coconut Twist: Roll the finished mints in shredded coconut for a tropical touch. The coconut adds both flavor and texture, making each bite a little piece of paradise.
-
Sugar-Free Version: Substitute powdered sugar with your favorite sugar substitute for a low-calorie option. This alteration will allow everyone to indulge without the guilt, making it a more inclusive treat for your holiday gatherings.
-
Mini Mints: Instead of rolling large balls, create mini mints for bite-sized treats that are perfect for snacking! These little delights are great for putting in candy jars or gifting to friends.
Embrace the holiday spirit and customize these Christmas Mint Candies to your liking!
Make Ahead Options
These Christmas Mint Candies are perfect for busy home cooks looking to save time during the hectic holiday season! You can prepare the dough up to 24 hours in advance by mixing all the ingredients and chilling it in the refrigerator. Just make sure to wrap the dough tightly in plastic wrap to maintain its freshness and prevent it from drying out. When you’re ready to shape the mints, simply remove the dough from the fridge, roll, and flatten them as instructed. After shaping, let them dry for about 4 hours at room temperature. This way, you’ll have delightful Christmas Mint Candies ready to impress your guests with minimal last-minute effort!
How to Store and Freeze Christmas Mint Candy
Airtight Container: Keep your Christmas Mint Candy in an airtight container at room temperature for up to 1 week to maintain their fresh texture and flavor.
Fridge: If you prefer a cooler treat, store them in the fridge for up to 2 weeks, but ensure they’re covered to prevent drying out.
Freezer: For longer storage, freeze the candies in layers separated by parchment paper for up to 3 months. Defrost in the fridge before serving for best results.
Reheating: No reheating needed! Just let your frozen Christmas Mint Candy come to room temperature before enjoying to preserve their creamy texture.
What to Serve with Easy Christmas Mint Candy?
The holidays are all about joyful gatherings, and serving these creamy, minty delights calls for the perfect accompaniment to elevate your celebration!
-
Festive Sugar Cookies: Soft and buttery, these cookies provide a delightful contrast to the creamy mint, making them a holiday classic. They’re perfect for creating a sweet platter together.
-
Rich Hot Chocolate: Serve with a steaming cup of hot chocolate topped with whipped cream. The smooth chocolate pairs beautifully with the minty candies for an indulgent treat.
-
Christmas Fruitcake: The dense texture and spiced flavors of fruitcake complement the lightness of the mint candies, creating a well-rounded dessert experience infused with holiday cheer.
-
Spiced Eggnog: Creamy and spiced, eggnog is the ultimate festive drink that harmonizes with the refreshing mint tastes, making each sip feel like a cozy warm hug.
-
Chocolate Dipped Pretzels: The salty crunch of these pretzels balances the sweetness of the candies, adding a delightful texture variation to your dessert spread.
-
Cranberry Spritzer: A fizzy cranberry cocktail or mocktail brings a splash of color and tartness, perfectly cutting through the sweetness of the Christmas Mint Candy.
Enjoy your holiday gatherings with these delightful pairings that will make your homemade mint candies shine even brighter on the dessert table!
Christmas Mint Candy Recipe FAQs
How do I choose the right cream cheese for Christmas Mint Candy?
Absolutely! Look for full-fat cream cheese for the best creamy texture. Ensure it’s softened at room temperature for optimal mixing—this will give your mints a smooth and velvety consistency.
How should I store Christmas Mint Candy?
Keep your Christmas Mint Candy in an airtight container at room temperature for up to 1 week. If you want them to last longer and keep their fresh flavor, you can refrigerate them in a covered container for up to 2 weeks.
Can I freeze Christmas Mint Candy?
Yes! You can freeze these delightful candies for up to 3 months. To freeze, layer them in an airtight container with parchment paper between the layers to prevent sticking. When you’re ready to enjoy, simply thaw them in the fridge overnight.
What if my Christmas Mint Candy is too soft?
If your mints don’t harden properly, they might still be a bit warm from the mixing process. Allow them to sit at room temperature for a few more hours. If they’re still too soft, flip them over and let them dry longer—this extra time will help them firm up nicely!
Are there any dietary considerations for Christmas Mint Candy?
Great question! This recipe contains cream cheese and butter, so it’s suitable for vegetarians but not for vegans. If you’re tailoring for allergies, ensure none of your ingredients include cross-contaminants, especially with gluten or dairy. These candies can also be made nut-free by avoiding flavored extracts with nuts.
How can I customize the colors and flavors of my Christmas Mint Candy?
Very easily! You can add different extracts such as almond or lemon instead of peppermint for a unique twist. Just be sure to use gel food coloring to get vibrant hues—add small amounts until you reach your desired color, kneading the dough well after each addition!
Delightful Christmas Mint Candy: Creamy Festive Treats
Ingredients
Equipment
Method
- In a stand mixer, combine 8 ounces of softened cream cheese and ½ cup of softened butter. Beat until smooth and creamy, about 2 minutes.
- Gradually add 1 cup of powdered sugar while blending on low speed. Mix until fully incorporated, about 2-3 minutes.
- Add 1 teaspoon of peppermint extract to the mixture and mix well for 30 seconds. Continue adding the remaining 6 ½ cups of powdered sugar, one cup at a time, mixing until smooth and stiff, about 5 minutes.
- Divide the dough into three equal sections. Add green food coloring to one section and red to another, kneading until the desired color is achieved.
- Wrap each colored dough in plastic wrap and refrigerate for at least 2 hours.
- Remove dough from the refrigerator and scoop tablespoon-sized portions, rolling them into balls. Place on parchment paper dusted with powdered sugar, flattening each slightly with a fork.
- Allow the shaped mints to sit at room temperature for 4 hours to harden. Flip any that remain soft for additional drying.
- Once dried and firm, serve the candies on a platter or package in decorative boxes as gifts.