

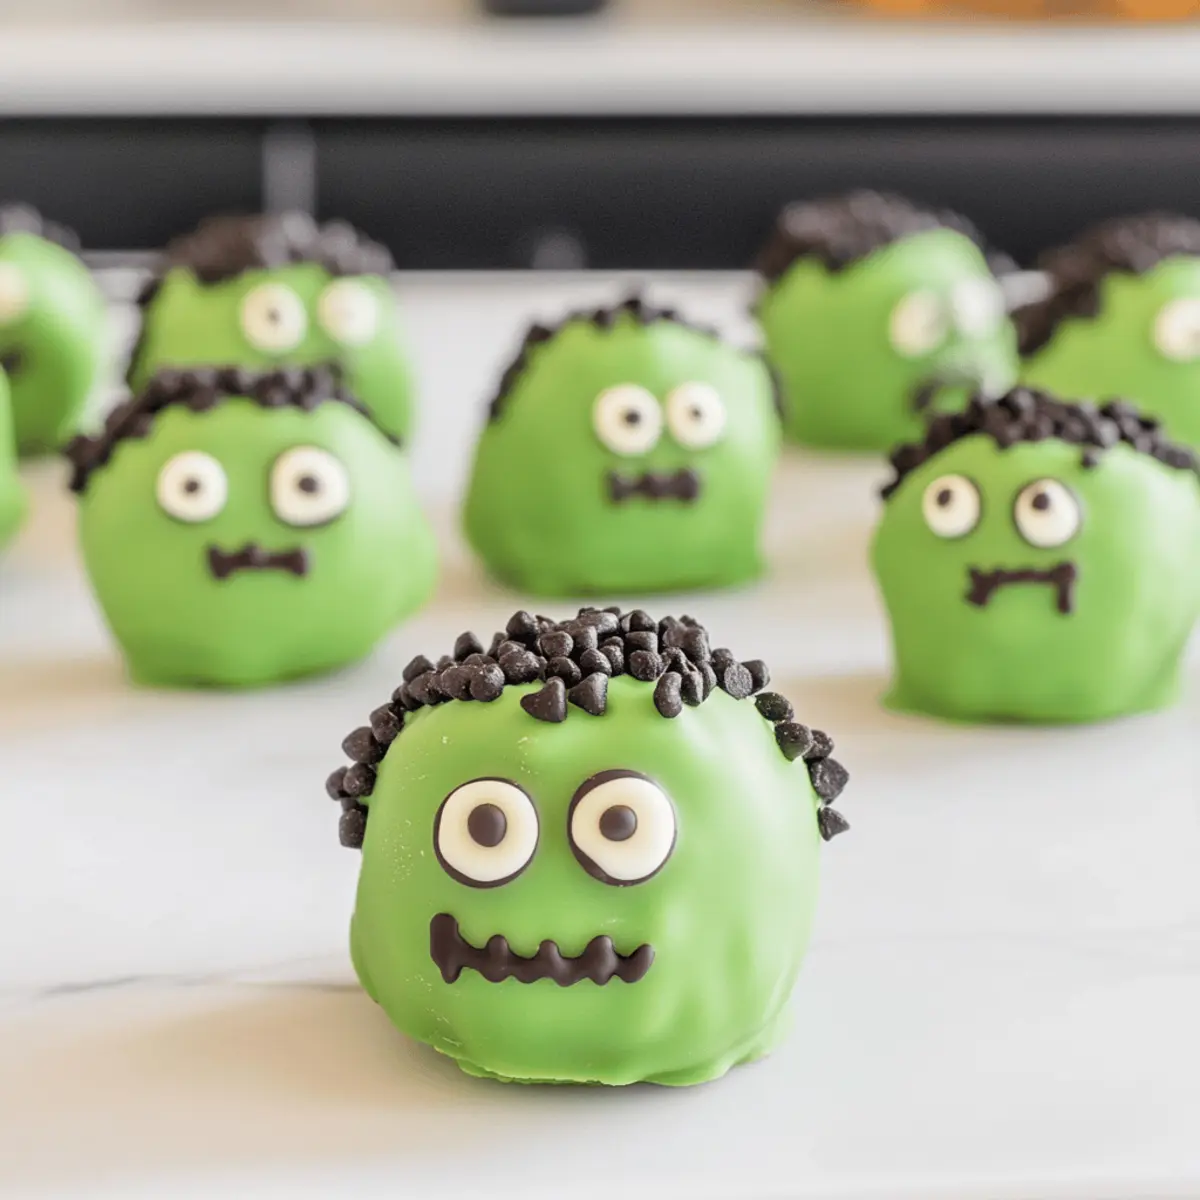
The air is festive with whispers of Halloween, making it the perfect time to whip up something spooky yet sweet. Enter my Frankenstein Oreo Balls—a fun and quirky no-bake treat that combines the iconic flavors of Oreo cookies with a creamy, delightful filling. With just a few ingredients, you can create these customizable Halloween delights that are not only easy to prepare but also bound to be a hit at your gatherings. Whether you’re hosting a festive party or planning a fun activity with the kids, these adorable treats offer a satisfying crunch from the crushed cookies and a playful twist of vibrant green chocolate. Ready to impress your friends and family with these charming creations? Let’s dive into the delicious details!
Why Are These Oreo Balls So Fun?
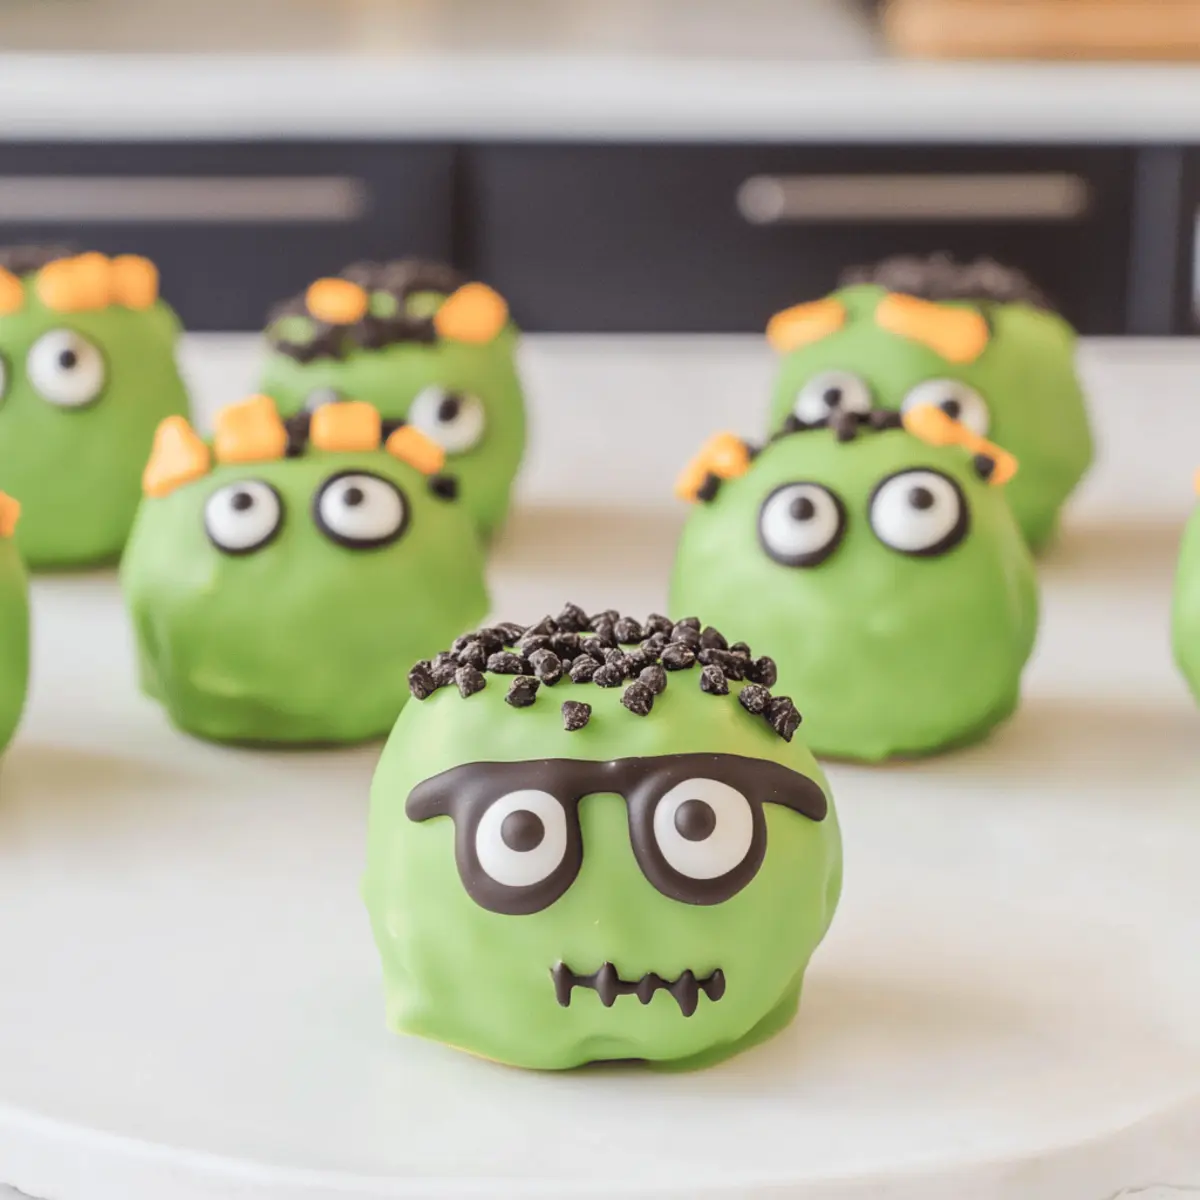
Customizable flavors make these Frankenstein Oreo Balls a delight for everyone—use any Oreo variety to cater to different tastes! No bake means you can whip these up in no time, perfect for impromptu gatherings. Kid-friendly and easy to decorate, they’re a fantastic way to involve the little ones in the kitchen. Plus, with vibrant green chocolate and cute candy eyes, these treats are sure to garner oohs and aahs at any Halloween party! For even more delightful dessert ideas, check out my Spaghetti Homemade Meatballs or explore other fun treats like Halloween spider cookies!
Frankenstein Oreo Balls Ingredients
For the Base
- Oreos – Crushed to create a delicious and easily moldable base; feel free to use any flavor of Oreo for a twist!
- Cream Cheese – Provides a creamy texture to bind the mixture together; make sure it’s softened for easy mixing.
- Vanilla Extract – Adds a touch of sweetness and flavor depth to enhance the overall taste.
For the Coating
- Light Green Melting Wafers – Used to achieve the signature Frankenstein color; any melting chocolate will work for customization.
- Crisco Shortening – Ensures a glossy finish on your chocolate coating and helps it melt smoothly.
For Decorating
- Dark Chocolate Melting Wafers – Used for piping adorable facial features; substitute with chocolate chips for a different look.
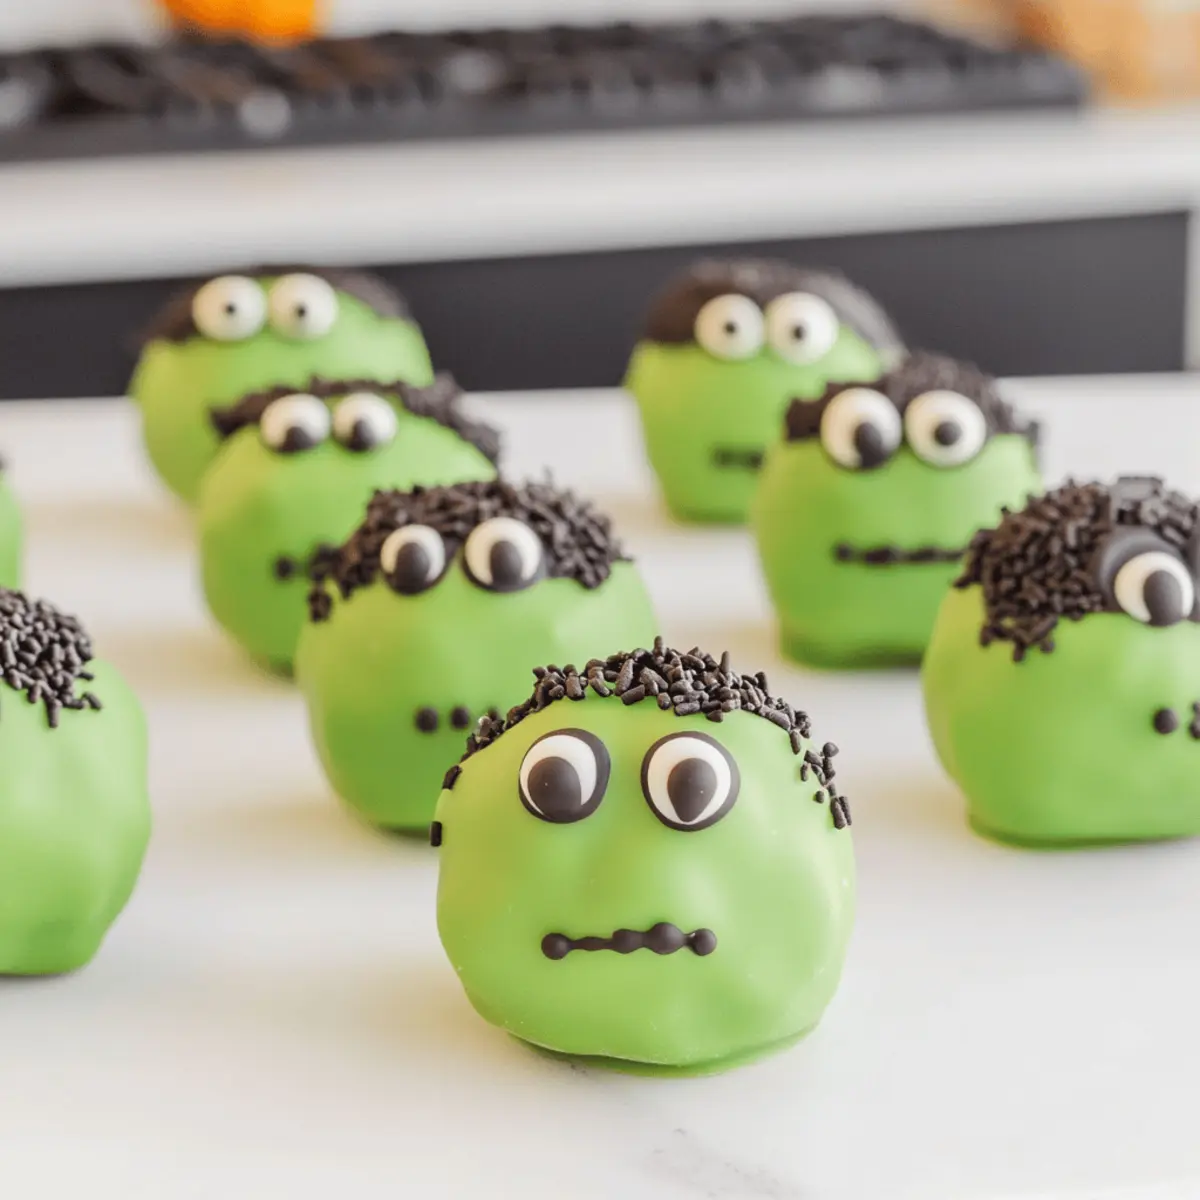
- Black Sprinkles – Perfect for creating Frankenstein’s hair; feel free to opt for other sprinkles for diverse designs.
- Pretzel Sticks – Represent the ears of Frankenstein; you can also use candied shapes for a fun twist.
- Candy Eyes – Adds a whimsical touch to your treats, or replace them with chocolate chips or fondant shapes for variation.
With these ingredients, you’re all set to create some delightful Frankenstein Oreo Balls that are not only cute but also utterly delicious!
Step‑by‑Step Instructions for Frankenstein Oreo Balls
Step 1: Prepare the Oreo Mixture
In a large mixing bowl, combine 30 crushed Oreo cookies, 8 ounces of softened cream cheese, and 1 teaspoon of vanilla extract. Use a spatula or mixer to blend the ingredients until a smooth, cohesive dough forms, taking about 2 to 3 minutes. The mixture should be thick enough to hold its shape when rolled into balls, making it the perfect base for your Frankenstein Oreo Balls.
Step 2: Form the Balls
Scoop out 1 tablespoon of the Oreo mixture and roll it into a smooth ball in your hands. Place each ball onto a parchment-lined baking sheet, shaping them into squares for a classic Frankenstein look. Continue until all the mixture is formed, ensuring even sizing for a uniform appearance. Then, refrigerate these formed shapes for at least 2 hours until they are firm and ready for coating.
Step 3: Melt the Green Chocolate
Once the Oreo squares are firm, it’s time to prepare the coating. In a microwave-safe bowl, add 1 cup of light green melting wafers and 1 teaspoon of Crisco shortening. Microwave in 30-second intervals, stirring between each, until the mixture is completely melted and smooth, about 1 to 2 minutes total. The addition of shortening will give the melted chocolate a glossy finish, perfect for your Frankenstein Oreo Balls.
Step 4: Coat the Oreo Squares
After your green chocolate is ready, take each chilled Oreo square and dip it into the melted chocolate. Make sure to coat the entire square evenly, then gently shake off any excess chocolate to avoid clumps. Place the coated squares back onto the parchment-lined sheet, allowing the chocolate to partially set before decorating. The vibrant green color will ensure your Frankenstein Oreo Balls are eye-catching and festive!
Step 5: Add Decorations
While the green chocolate is still slightly tacky, dip one side of each square into black sprinkles to resemble Frankenstein’s hair. Then, carefully place two candy eyes on each square before the chocolate sets to complete the look. This step adds a fun and whimsical touch to your no-bake Halloween treats, making them come to life as adorable Frankenstein Oreo Balls.
Step 6: Pipe Facial Features
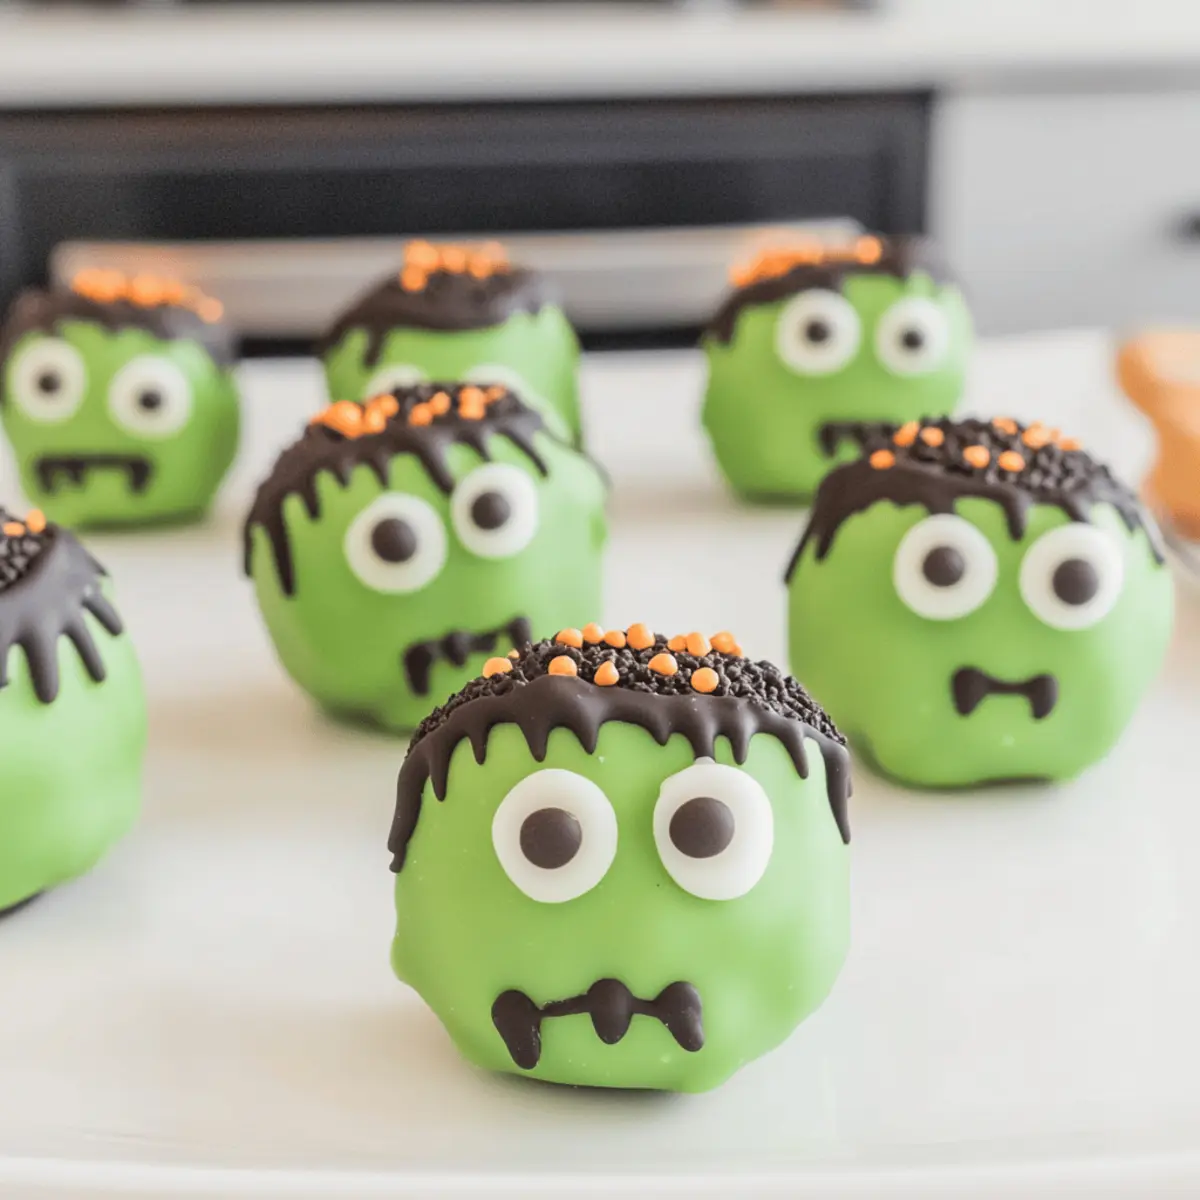
Using 1 ounce of melted dark chocolate, transfer it to a piping bag or a sandwich bag with the tip snipped off. Carefully pipe facial features like a mouth and eyebrows onto each of the coated Oreo squares. This adds personality to your Frankenstein Oreo Balls and allows for some creativity in the decorations, making them as unique as your Halloween festivities.
Step 7: Final Chill
Once all the decorating is complete, place the finished Frankenstein Oreo Balls back in the refrigerator for an additional 30 minutes. This final chilling step allows all the chocolate to set fully, ensuring that your treats hold their shape while also enhancing the flavors. After chilling, they will be ready to serve to your delighted guests at any Halloween gathering!
Frankenstein Oreo Balls Variations
Feel free to get creative and customize your Frankenstein Oreo Balls to suit your taste buds and festive spirit!
-
Peanut Butter Oreos: Substitute classic Oreos with peanut butter-flavored ones for a nutty twist that adds depth to the flavor!
-
Mint Chocolate: Try using mint-flavored Oreos for a refreshing take that pairs perfectly with the green chocolate coating.
-
Colorful Coatings: Switch up the melting chocolate colors to match your event theme—think orange for Halloween or red for a spooky effect.
-
Cake Pop Version: Transform these treats into cake pops by sticking them on lollipop sticks after coating for a fun, interactive dessert!
-
Add Heat: Spice it up by adding a pinch of cayenne pepper to the white chocolate for a surprising kick that balances out the sweetness.
-
Coconut Flakes: Roll your chilled balls in shredded coconut instead of sprinkles for a tropical texture that contrasts the creamy filling beautifully.
-
Mixed Sprinkles: Use an assorted mix of sprinkles for a more festive and colorful appeal, creating a party vibe on every treat!
-
Chocolate Chip Eyes: Swap out candy eyes with mini chocolate chips for a simple yet adorable look that adds a delightful surprise with every bite.
These variations not only make this recipe adaptable but also allow you to enjoy new flavors with every batch. To check out another delightful treat you can make, consider my easy-to-follow Spaghetti Homemade Meatballs recipe or whip up some fun Halloween spider cookies!
What to Serve with Frankenstein Oreo Balls
Celebrate Halloween with a sweet assortment that beautifully complements the playful spirit of these spooky delights!
-
Charming Cupcakes: Decorate chocolate cupcakes with orange frosting and jack-o’-lantern designs for a festive touch. The rich flavors enhance the fun appeal of your dessert spread.
-
Crispy Rice Treats: Create Halloween-themed rice treats shaped like ghosts or pumpkins, offering a chewy texture that contrasts with the crunchy Oreo balls. They’re easy to make and delightful for kids!
-
Festive Fruit Platter: Include a colorful assortment of sliced apples and oranges, adding a fresh and juicy bite to balance the richness of your cookies. Consider dipping apple slices in caramel for extra indulgence!
-
Ghoulish Punch: Serve a spooky punch with green sherbet and lemon-lime soda, creating a fizzy drink that mirrors the vibrant color of your Frankenstein Oreo Balls. It’s a hit with kids and adults alike!
-
Chocolate-Dipped Pretzels: Coat pretzels with festive chocolate and sprinkles to provide a salty-sweet combo. Their delicious crunch adds a whimsical spin to your Halloween spread.
-
Candy Corn Mix: Toss together candy corn and nuts for a sweet and salty trail mix, perfect for snacking while enjoying the festivities. Their bright colors bring a fun autumn vibe to the table!
-
Halloween Cookie Platter: Add sugar cookies shaped like bats and ghosts to your dessert table. This enchanting assortment of textures and flavors will create a delightful experience for your guests!
-
Apple Cider: Warm spiced apple cider or chilled apple cider with cinnamon sticks creates a comforting drink that pairs well with the sweet, chocolatey Oreo balls. Perfect for crisp, fall evenings!
Offering this delightful array alongside your Frankenstein Oreo Balls will ensure a spooktacular Halloween celebration filled with flavor, fun, and joy!
How to Store and Freeze Frankenstein Oreo Balls
Fridge: Keep your Frankenstein Oreo Balls in an airtight container for up to 1 week. This will help maintain their creamy texture and vibrant colors.
Freezer: For longer storage, freeze the Oreo balls in a single layer on a baking sheet, then transfer to a freezer-safe container. They can be stored for up to 3-5 months.
Thawing: When ready to enjoy, simply thaw the frozen Frankenstein Oreo Balls in the refrigerator overnight before serving. This ensures they retain their delightful taste and texture.
Reheating: These no-bake treats are best served chilled; there’s no need to reheat! Just let them sit at room temperature for a few minutes before serving for the perfect bite.
Make Ahead Options
These Frankenstein Oreo Balls are perfect for busy home cooks looking to save time! You can prepare the Oreo mixture and form the squares up to 24 hours in advance; just refrigerate them in an airtight container. To maintain their delightful taste and texture, ensure they’re well-wrapped to avoid any moisture absorption. When you’re ready to serve, simply melt your green chocolate and coat the squares as planned, adding sprinkles and candy eyes right before guests arrive for the best presentation. This way, you can enjoy a stress-free Halloween gathering with these spooky, delicious treats ready to impress!
Expert Tips for Frankenstein Oreo Balls
• Even Sizing: Use a cookie scoop to create uniformly sized truffles, ensuring consistent appearance and bite-sized fun for everyone.
• Proper Cooling: Refrigerate the formed balls for at least 2 hours to ensure they are firm enough to coat easily, avoiding messy decorations.
• Chocolate Melting: When melting chocolate, do it in short bursts to prevent burning; stir in between for a smooth and glossy finish.
• Decoration Timing: Decorate one ball at a time to prevent the chocolate from hardening before you can add sprinkles and candy eyes for the best Frankenstein Oreo Balls.
• Smooth Coating: After dipping, shake off excess chocolate gently to avoid clumping and achieve a beautiful finish on your spooky treats.
Frankenstein Oreo Balls Recipe FAQs
What type of Oreos should I use for best results?
Absolutely! You can use any flavor of Oreos for your Frankenstein Oreo Balls. Classic chocolate is a favorite, but I often choose peanut butter or mint for a fun twist. The key is to ensure they are crushed finely to create a smooth base.
How should I store my Frankenstein Oreo Balls?
To keep your delicious treats fresh, store the Frankenstein Oreo Balls in an airtight container in the refrigerator for up to 1 week. This will help maintain their soft texture and vibrant colors, ensuring they’re just as delightful when you’re ready to indulge!
Can I freeze the Oreo Balls, and how?
Yes, you can freeze your Frankenstein Oreo Balls for longer storage! Here’s how:
- Place them in a single layer on a baking sheet and freeze until solid, about 1-2 hours.
- Once firm, transfer to a freezer-safe container, layering parchment paper between them to prevent sticking.
- They can be stored this way for up to 3-5 months. When you’re ready to enjoy, thaw them overnight in the refrigerator.
What if my melted chocolate isn’t smooth?
It’s common to run into clumps when melting chocolate, but no worries! If your melted chocolate isn’t smooth, try returning it to the microwave in 15-second increments, stirring well in between until fully melted. A little bit of Crisco shortening, as mentioned in the recipe, also helps achieve that glossy finish!
Are there any allergy considerations with these ingredients?
Definitely! While the ingredients are generally kid-friendly, be mindful of common allergens such as dairy (in the cream cheese) and gluten (in the Oreos). If you have guests with allergies, consider using gluten-free Oreos and non-dairy cream cheese alternatives. Always check ingredient labels to ensure safety.
Can my pets enjoy leftover treats?
Unfortunately, it’s best to keep these treats away from pets. Both chocolate and cream cheese can be toxic to dogs, and the high sugar content isn’t great for their health. Store your delicious Frankenstein Oreo Balls safely out of reach to ensure both your furry friends and your tasty desserts remain happy!
Frankenstein Oreo Balls: The Spookiest No-Bake Treats!
Ingredients
Equipment
Method
- In a large mixing bowl, combine 30 crushed Oreo cookies, 8 ounces of softened cream cheese, and 1 teaspoon of vanilla extract. Blend until smooth, about 2-3 minutes.
- Scoop out 1 tablespoon of the Oreo mixture and roll it into a smooth ball. Place on a parchment-lined baking sheet, shaping into squares. Refrigerate for at least 2 hours.
- In a microwave-safe bowl, combine 1 cup of light green melting wafers and 1 teaspoon of Crisco shortening. Microwave in 30-second intervals until melted and smooth, about 1-2 minutes.
- Dip each chilled square into the melted green chocolate, shaking off excess. Place back onto the parchment-lined sheet.
- While the chocolate is still slightly tacky, dip one side into black sprinkles and place two candy eyes on each square before the chocolate sets.
- Using 1 ounce of melted dark chocolate, pipe facial features like a mouth and eyebrows onto each coated square.
- Place the finished Oreo Balls back in the refrigerator for an additional 30 minutes to set fully.