

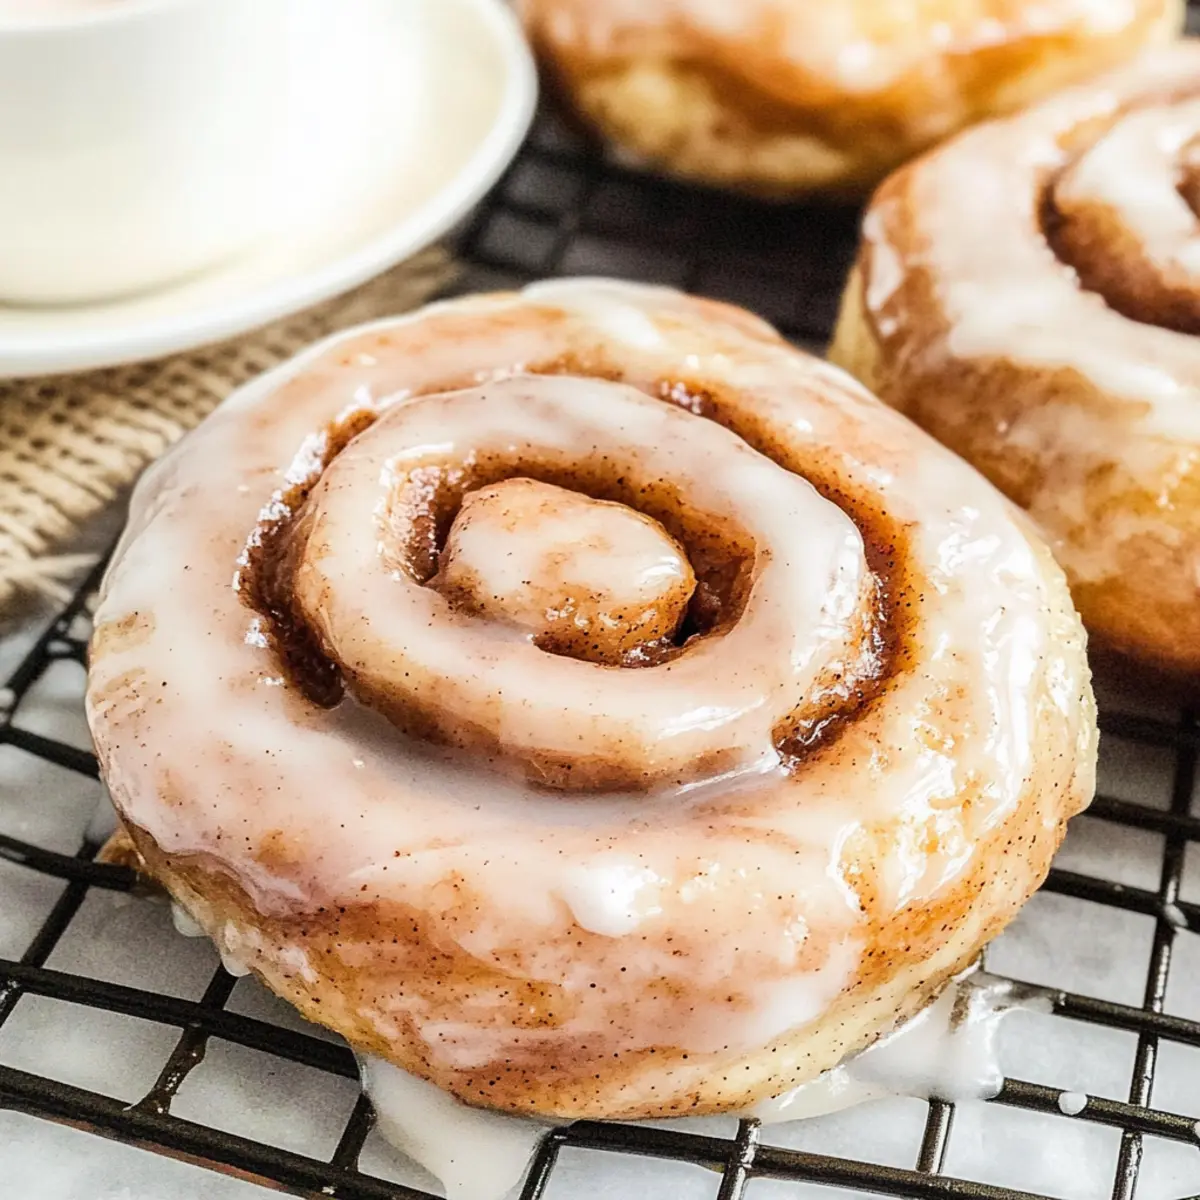
The aroma of freshly baked bread can transport you to your happiest memories, a cozy kitchen bustling with warmth and laughter. Today, I’m excited to share my recipe for Homemade Honey Buns—soft, sweet, and sticky delights that evoke that very feeling. Whether you choose to bake or fry them, the result is a melt-in-your-mouth treat that’s perfect for breakfast or a delightful dessert any time. Not only are these honey buns a wonderful way to enjoy time in the kitchen, but they’re also surprisingly easy to whip up, making them a great choice for both novice and seasoned bakers alike. So, are you ready to roll up your sleeves and create some delicious memories?
Why Are Homemade Honey Buns Special?
Unique flavor combinations: The blend of honey and cinnamon creates a sweet, heavenly aroma that fills your kitchen.
Two cooking methods: Whether you prefer a crispy bite from frying or a soft finish from baking, this recipe adapts to your cravings.
Quick and easy: With just a few simple ingredients, you can turn a leisurely morning into a special breakfast treat in no time.
Versatile options: Feel free to switch up the filling with nuts or chocolate chips, or try a different glaze for a new twist.
Perfect for sharing: These ooey-gooey honey buns are an instant crowd-pleaser, making them ideal for family gatherings or brunches. Try pairing them with a glass of milk or coffee for the ultimate experience!
Homemade Honey Bun Ingredients
-
For the Dough
-
All-Purpose Flour – Provides structure; you may need additional flour for rolling.
-
Granulated Sugar – Adds sweetness; can use brown sugar for a deeper flavor profile.
-
Instant Yeast – Responsible for leavening; instant yeast does not need to be bloomed unlike active yeast.
-
Salt – Balances flavor, enhancing the overall taste.
-
Warm Water (105°F-115°F) – Activates the yeast; ensure the temperature is correct to avoid killing it.
-
Honey – Imparts sweetness and flavor; warm it for easier mixing if too thick.
-
Large Egg – Acts as a binding agent and adds richness.
-
Vanilla Extract – Enhances flavor, adding depth to the dough.
-
Melted Shortening – Contributes tenderness and moisture; substitutable with butter but may alter the texture.
-
For Frying or Baking
-
Vegetable or Peanut Oil – Necessary for frying; maintain oil temperature between 350°F to 365°F for best results.
-
For the Filling
-
Cinnamon Sugar – (Granulated Sugar + Cinnamon) adds filling flavor; it’s a delightful sprinkle in each bite.
-
For the Glaze
-
Powdered Sugar – Forms the base of the glaze, creating a smooth finish.
-
Additional Honey, Melted Butter, Vanilla Extract, Salt – Enhances the glaze’s texture and flavor, making it extra tasty.
-
Warm Water – Used to adjust the glaze consistency for perfect application.
With these ingredients ready, you’re just a few steps away from creating Homemade Honey Buns that your family will adore!
Step‑by‑Step Instructions for Homemade Honey Buns
Step 1: Mix Dry Ingredients
In a large mixing bowl, combine 4 cups of all-purpose flour, 1/4 cup of granulated sugar, 2 tablespoons of instant yeast, and 1 teaspoon of salt. Whisk together until evenly incorporated. This forms the foundation for your Homemade Honey Buns. Set the bowl aside while you prepare the wet ingredients.
Step 2: Prepare Wet Ingredients
In a separate bowl, whisk together 1 cup of warm water (between 105°F-115°F), 1/4 cup of honey, 1 large egg, and 1 teaspoon of vanilla extract until well blended. Gradually add in 1/4 cup of melted shortening, ensuring everything is combined smoothly. This mixture will help create a soft dough for your honey buns.
Step 3: Combine Ingredients
Pour the wet mixture into the bowl with the dry ingredients. Mix with a wooden spoon or your hands until a sticky dough forms. Transfer the dough onto a lightly floured surface and knead for about 8 minutes. The dough should become smooth and elastic, ready for the first rise.
Step 4: First Rise
Place your kneaded dough in a lightly oiled bowl, turning it to coat. Cover it with a clean kitchen towel and let it rise in a warm place for about 1 to 2 hours, until it has nearly doubled in size. This is where the magic happens, creating the soft texture characteristic of Homemade Honey Buns.
Step 5: Prepare Filling
While the dough is rising, you can prepare the cinnamon sugar filling. In a small bowl, mix together 1/4 cup of granulated sugar with 1 tablespoon of ground cinnamon. This sweet blend will add delightful flavor to your honey buns when rolled within the dough.
Step 6: Shape Honey Buns
Once the dough has risen, punch it down to release the air and turn it out onto a floured surface. Roll it into a rectangle about 1/4 inch thick. Sprinkle the cinnamon sugar evenly over the surface. Roll the dough tightly into a log and slice it into about 12 equal pieces. Allow the slices to rise again for about 45 minutes.
Step 7: Fry or Bake
For frying, heat vegetable or peanut oil in a deep skillet to between 350°F to 365°F. Carefully place the honey buns in the hot oil, frying them until they are golden brown on both sides, roughly 2-3 minutes per side. Alternatively, preheat your oven to 350°F and bake the buns for 20-25 minutes, until they are golden and cooked through.
Step 8: Glaze
While your honey buns are still warm, it’s time to dip them in glaze. In a small bowl, combine 1 cup of powdered sugar with 2 tablespoons of melted butter, 2 tablespoons of honey, and enough warm water to achieve a smooth, pourable consistency. Drizzle or dip the warm buns into the glaze for a sweet finish.
Step 9: Cool
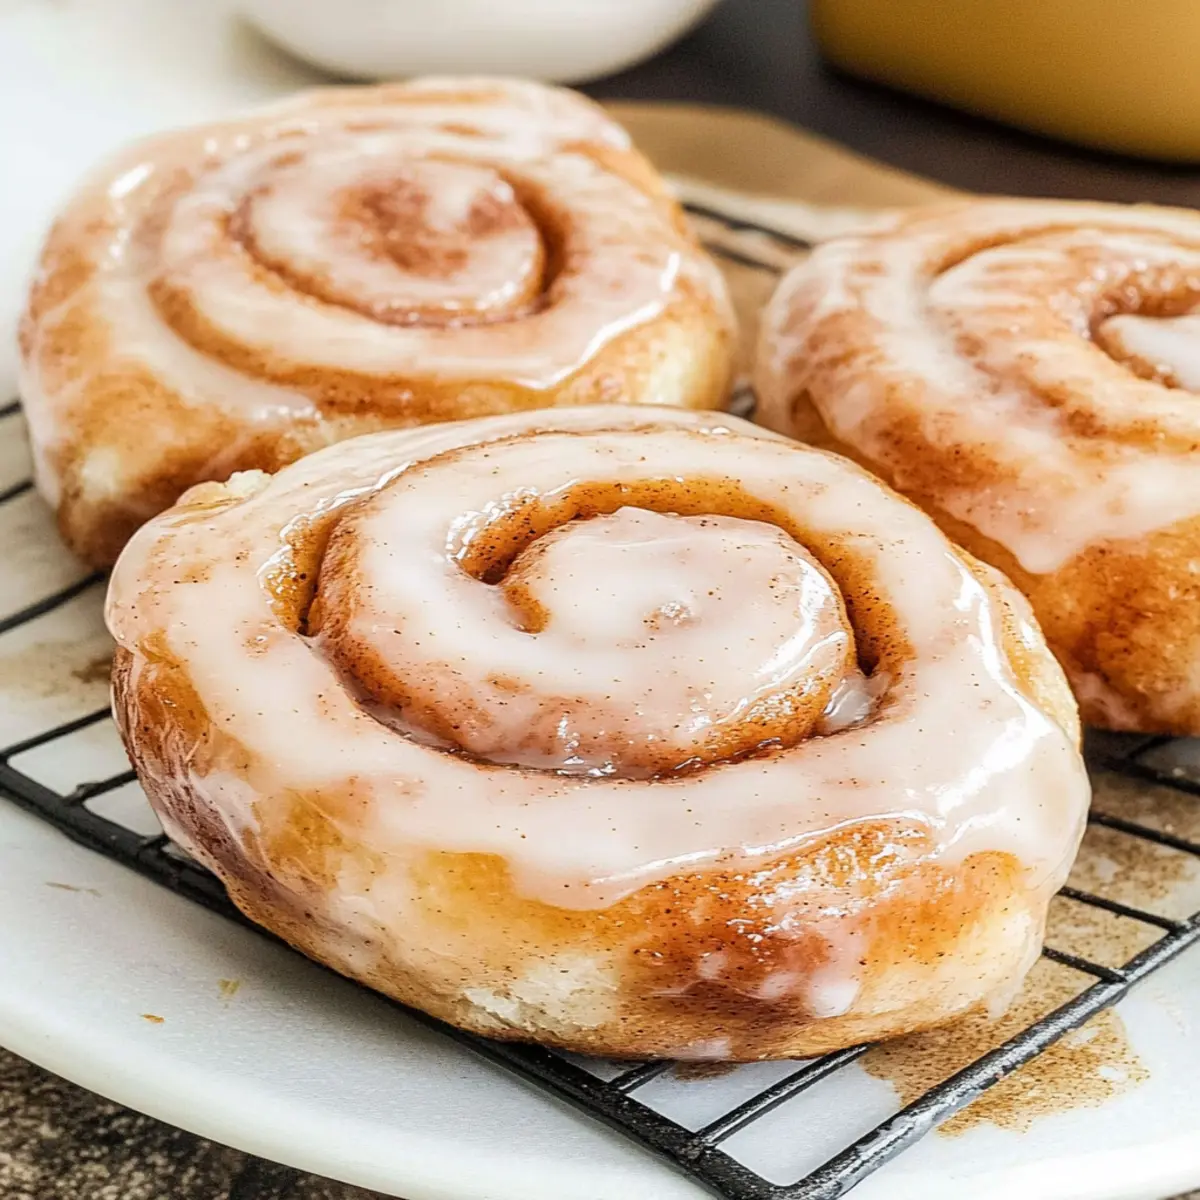
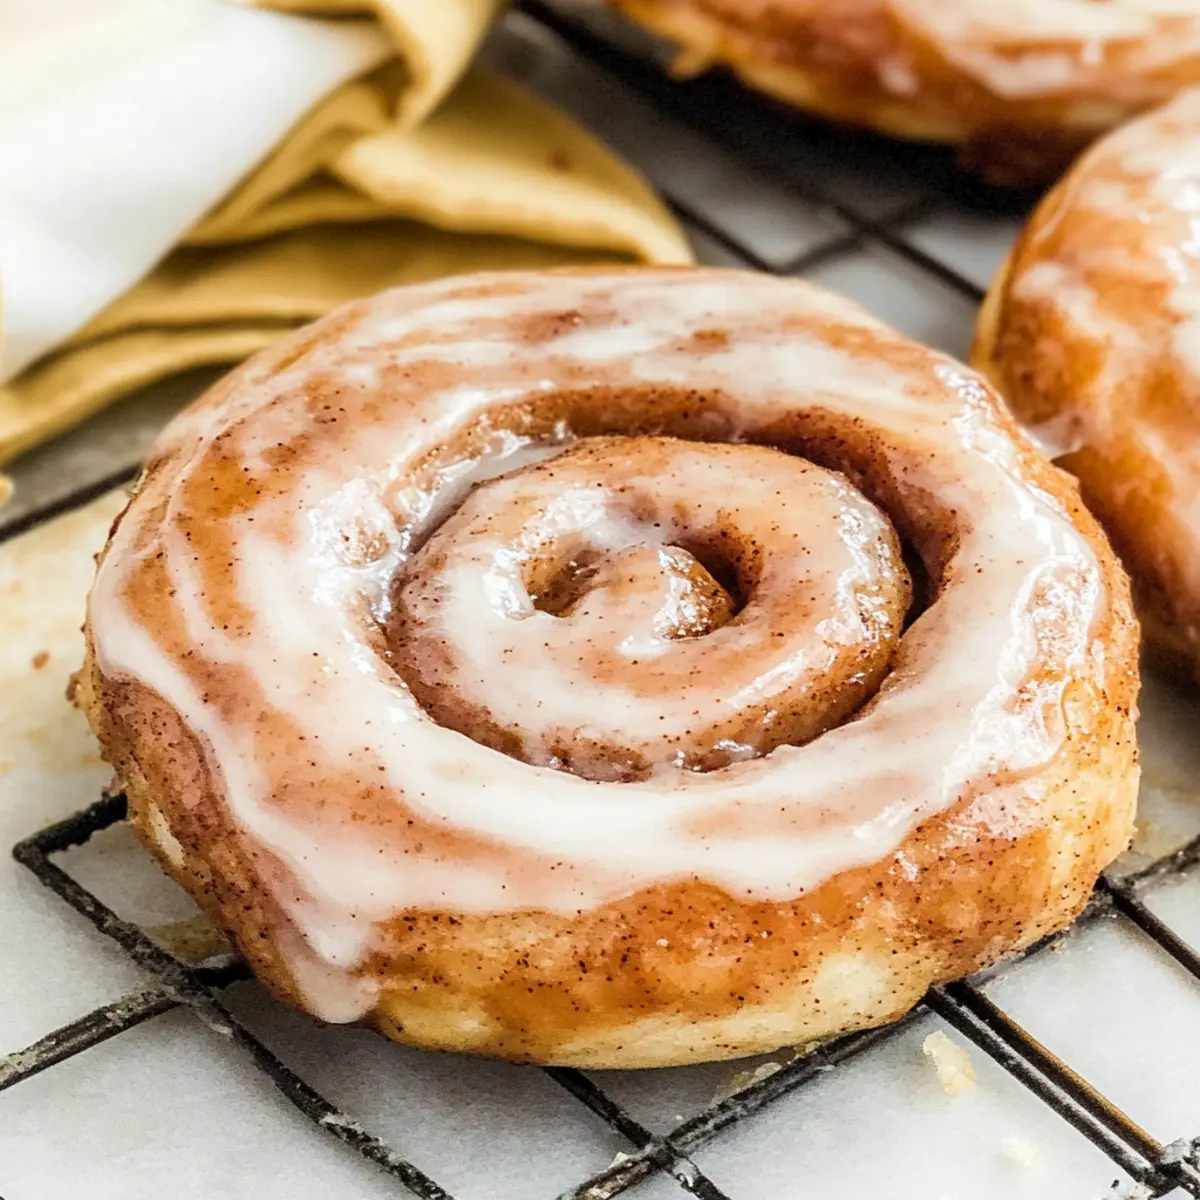
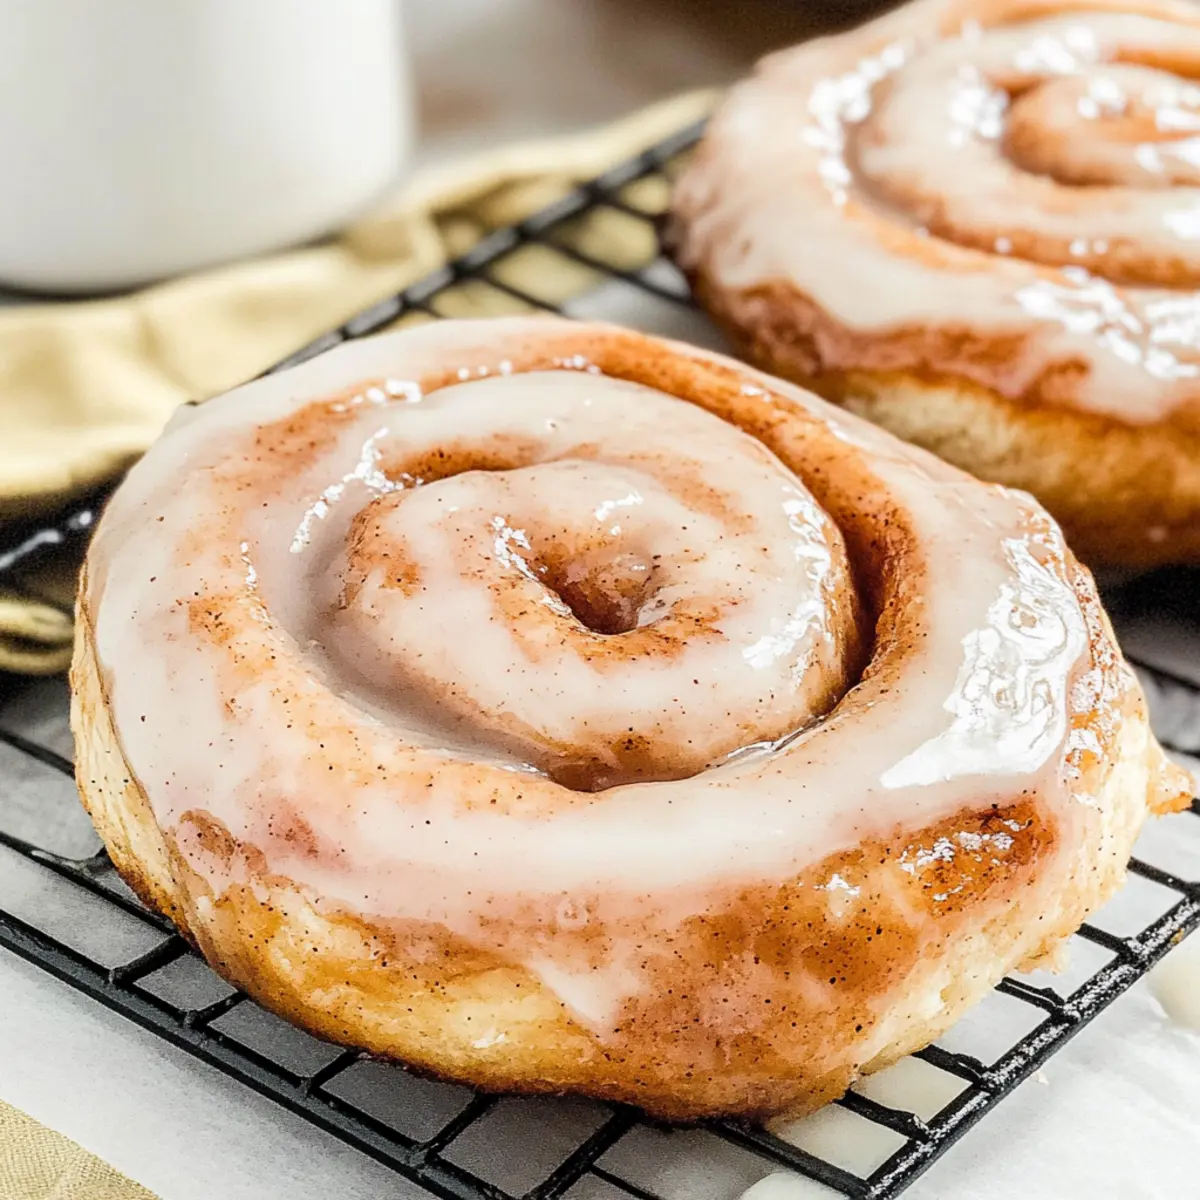
Transfer the glazed honey buns to a wire rack to cool slightly before serving. This step allows the glaze to set nicely while keeping the buns fluffy and moist. The delightful aroma will fill your kitchen, making it hard to resist diving into these sweet homemade treats!
Expert Tips for Homemade Honey Buns
-
Use Fresh Yeast: Ensure your instant yeast is fresh for maximum rise and fluffiness in your honey buns. Expired yeast can lead to dense buns.
-
Knead Gently: Knead the dough just until it becomes smooth and elastic; over-kneading can make the buns tough.
-
Perfect Proofing: Allow the dough to rise in a warm, draft-free area. If the dough hasn’t doubled in size, give it more time before proceeding!
-
Adjust Frying Temperature: If frying, maintain the oil temperature between 350°F and 365°F. Too hot or too cold can affect the texture of your homemade honey buns.
-
Personalize Your Fillings: Don’t hesitate to experiment! Add nuts, chocolate chips, or swap the glaze for something unique to make these honey buns your own masterpiece.
Homemade Honey Bun Variations
Feel free to get creative and make these honey buns truly your own with delightful twists and substitutions!
-
Butter Substitute: Replace shortening with butter for a richer flavor. It may alter the texture slightly, giving your buns a comforting taste of home.
-
Nutty Add-In: Fold in chopped nuts like walnuts or pecans into the filling for added crunch and depth. Imagine that satisfying texture as you bite into a warm bun!
-
Chocolate Lovers: Mix chocolate chips into the filling for a sweet surprise. The melted chocolate will add an extra layer of indulgence to each bite!
-
Flavored Glaze: Swap the traditional glaze for a chocolate or maple one to surprise your taste buds. A drizzle of melted chocolate will take these honey buns to a whole new level of deliciousness.
-
Dairy-Free Option: Use coconut oil instead of shortening for a dairy-free version. The flavors meld beautifully, resulting in tender, flaky buns that everyone can enjoy.
-
Spicy Kick: Add a pinch of cayenne or chili powder to the cinnamon sugar for a subtle heat that complements the sweetness perfectly. It’s an unexpected twist that just may become a favorite!
-
Fruit Filling: Incorporate dried fruits like raisins or cranberries into the dough for a wholesome touch. These little bursts of flavor will brighten up your honey buns and make them even more delightful!
-
Gluten-Free Adaptation: Substitute the all-purpose flour with a 1:1 gluten-free flour blend. Remember to check that all other ingredients are gluten-free, allowing everyone to indulge in these sweet treats!
For more delicious recipes to try, check out my Grandmas Homemade Bake or see how you can elevate your meals with Honey Chili Chicken. Happy baking!
Make Ahead Options
These Homemade Honey Buns are perfect for meal prep enthusiasts! You can prepare the dough and allow it to rise up to 24 hours in advance. Just mix the dry and wet ingredients as instructed, knead the dough, and then let it rise in the fridge instead of at room temperature. When ready to fry or bake, simply take the dough out, let it come to room temperature for about 30 minutes, shape the buns, and allow for a final rise of about 45 minutes. This method ensures that your honey buns are just as delicious, soft, and fluffy, saving you precious time on busy mornings or special occasions!
How to Store and Freeze Homemade Honey Buns
Room Temperature: Keep your homemade honey buns in an airtight container at room temperature for up to 5 days to maintain their soft and sticky texture.
Fridge: For longer shelf life, you can refrigerate the honey buns, but they may lose some moisture. Store them in an airtight container and consume within 1 week.
Freezer: Freeze individual honey buns by wrapping them tightly in plastic wrap and placing them in a freezer-safe bag. They can be stored for up to 3 months; simply reheat in the microwave for a warm treat!
Reheating: To enjoy your sweet creations, warm them in the microwave for about 15-20 seconds or reheat in the oven at 350°F for about 5-10 minutes to restore that delightful texture.
What to Serve with Homemade Honey Buns
There’s nothing quite like the sweet smell of freshly baked honey buns to elevate your breakfast or dessert table. Let’s create a delightful spread to enjoy alongside these warm, sticky treats.
- Fresh Fruit Salad: A vibrant mix of berries, melons, and citrus cuts through the sweetness and adds a refreshing contrast.
- Creamy Yogurt: Silky yogurt drizzled with honey complements the honey buns beautifully, offering a rich texture and a tangy note.
- Savory Scrambled Eggs: Fluffy eggs seasoned with fresh herbs make for a wonderful savory balance to the sticky sweetness of the buns.
- Hot Coffee or Tea: A steaming cup of coffee or herbal tea enhances the flavors, providing a cozy beverage option for breakfast or afternoon snack.
- Maple Syrup: Drizzled over the buns or served on the side, this classic addition intensifies the sweet experience and invites indulgence.
- Candied Nuts: Crunchy, sweet nuts such as pecans or walnuts add a delightful texture, creating a great contrast to the soft honey buns.
- Chocolate Milkshake: A thick, chocolaty milkshake is a playful pairing; it’s a fun way to spoil yourself and your loved ones any time of day.
- Cinnamon Apples: Warm, spiced apples can bring another layer of warmth and flavor, echoing the cinnamon in the honey buns for a deliciously harmonious pairing.
Homemade Honey Buns Recipe FAQs
How do I choose the right honey for my honey buns?
Absolutely! Opt for a light or medium honey for a milder flavor, as it will blend beautifully with the other ingredients. If you’re feeling adventurous, darker honey varieties can add a bolder flavor profile.
How should I store homemade honey buns?
Store your homemade honey buns in an airtight container at room temperature for up to 5 days. If you’d like, they can be refrigerated for up to a week. Just keep in mind that chilling may slightly affect their moisture level!
Can I freeze homemade honey buns?
Absolutely! To freeze, wrap the cooled honey buns individually in plastic wrap and place them in a freezer-safe bag. They’ll stay fresh for up to 3 months. For the best texture, reheat them in the microwave for 15-20 seconds or in the oven at 350°F for 5-10 minutes when you’re ready to enjoy!
What if my dough doesn’t rise properly?
If your dough isn’t rising, it might be that your yeast isn’t fresh or active. Make sure your warm water is between 105°F-115°F for optimal yeast activation. If you have used active yeast instead of instant, blooming it in warm water first can help. Give your dough a little more time to rise—sometimes it just needs a cozy, warm environment to do its magic!
Can I prepare the dough in advance?
Of course! You can prepare the dough ahead of time. After kneading, place it in an oiled bowl, cover it tightly, and refrigerate. When you’re ready to bake, let the dough come back to room temperature before shaping and rising, which may take about 1 hour.
Are there any allergens in homemade honey buns?
Yes, honey buns contain common allergens, including wheat (from the flour), eggs, and possibly dairy (depending on whether you use butter for the glaze). If you’re concerned about allergies, consider using gluten-free flour alternatives and egg substitutes!
Delicious Homemade Honey Buns Your Family Will Love
Ingredients
Equipment
Method
- In a large mixing bowl, combine 4 cups of all-purpose flour, 1/4 cup of granulated sugar, 2 tablespoons of instant yeast, and 1 teaspoon of salt. Whisk together until evenly incorporated.
- In a separate bowl, whisk together 1 cup of warm water, 1/4 cup of honey, 1 large egg, and 1 teaspoon of vanilla extract until well blended.
- Gradually add in 1/4 cup of melted shortening, ensuring everything is combined smoothly.
- Pour the wet mixture into the bowl with the dry ingredients. Mix until a sticky dough forms and knead for about 8 minutes.
- Place the dough in a lightly oiled bowl, cover it, and let it rise in a warm place for about 1 to 2 hours.
- Prepare the filling by mixing 1/4 cup of granulated sugar with 1 tablespoon of ground cinnamon.
- Once risen, roll the dough into a rectangle about 1/4 inch thick, sprinkle the cinnamon sugar, roll tightly into a log and slice into 12 equal pieces.
- Allow the slices to rise again for about 45 minutes.
- For frying, heat oil between 350°F to 365°F and fry honey buns for 2-3 minutes per side until golden brown. For baking, preheat oven to 350°F and bake for 20-25 minutes.
- While warm, dip or drizzle the honey buns with the glaze made from 1 cup powdered sugar, 2 tablespoons melted butter, 2 tablespoons honey, and warm water as needed.
- Transfer to a wire rack to cool slightly before serving.