

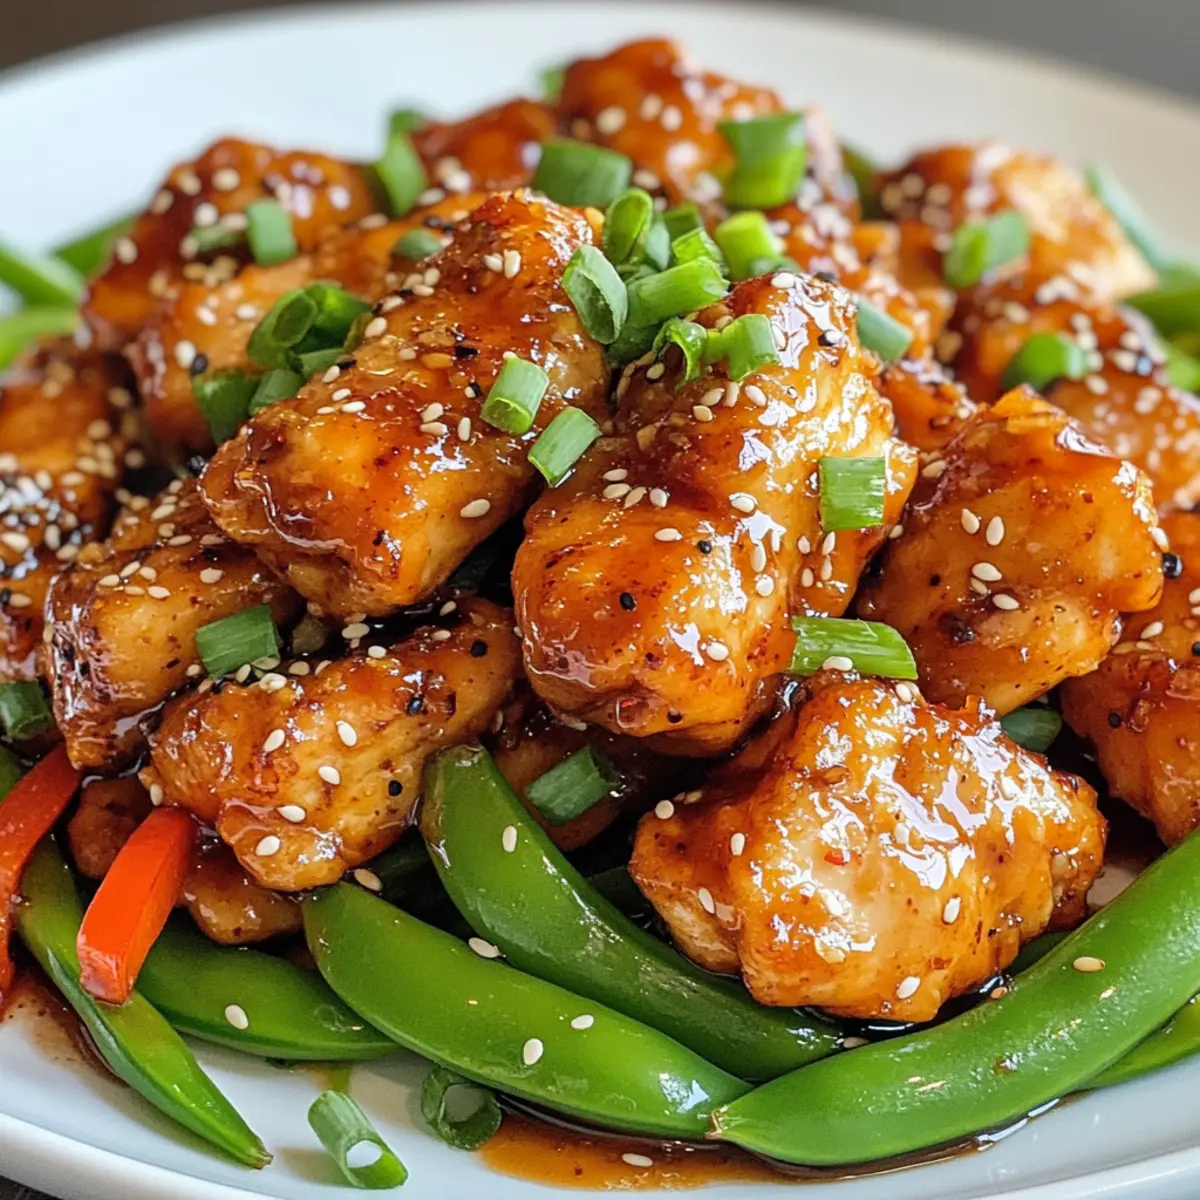
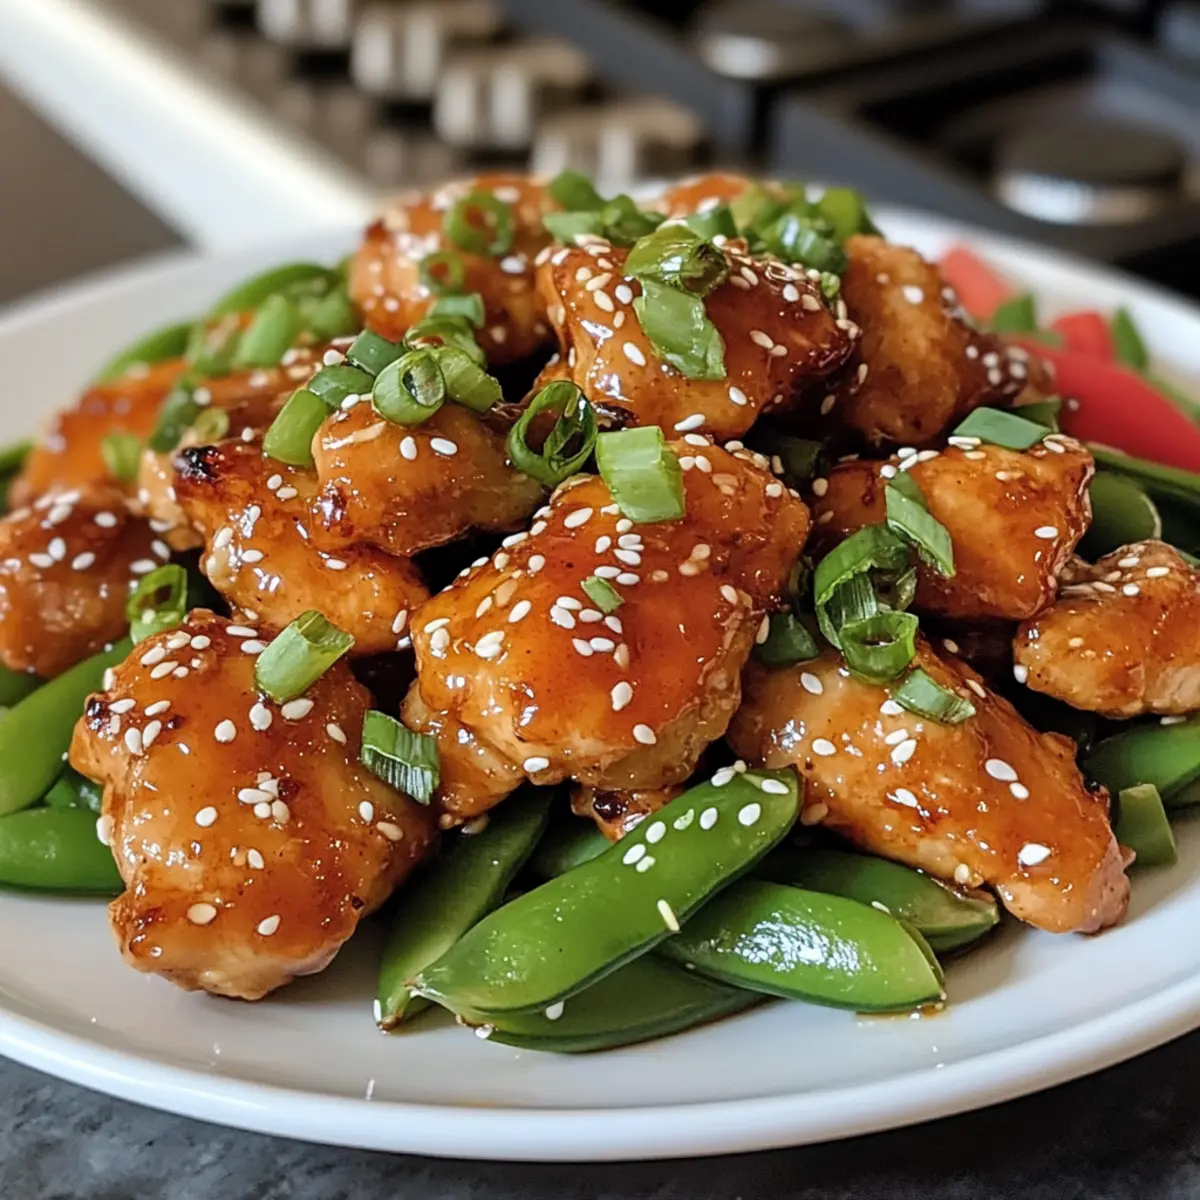
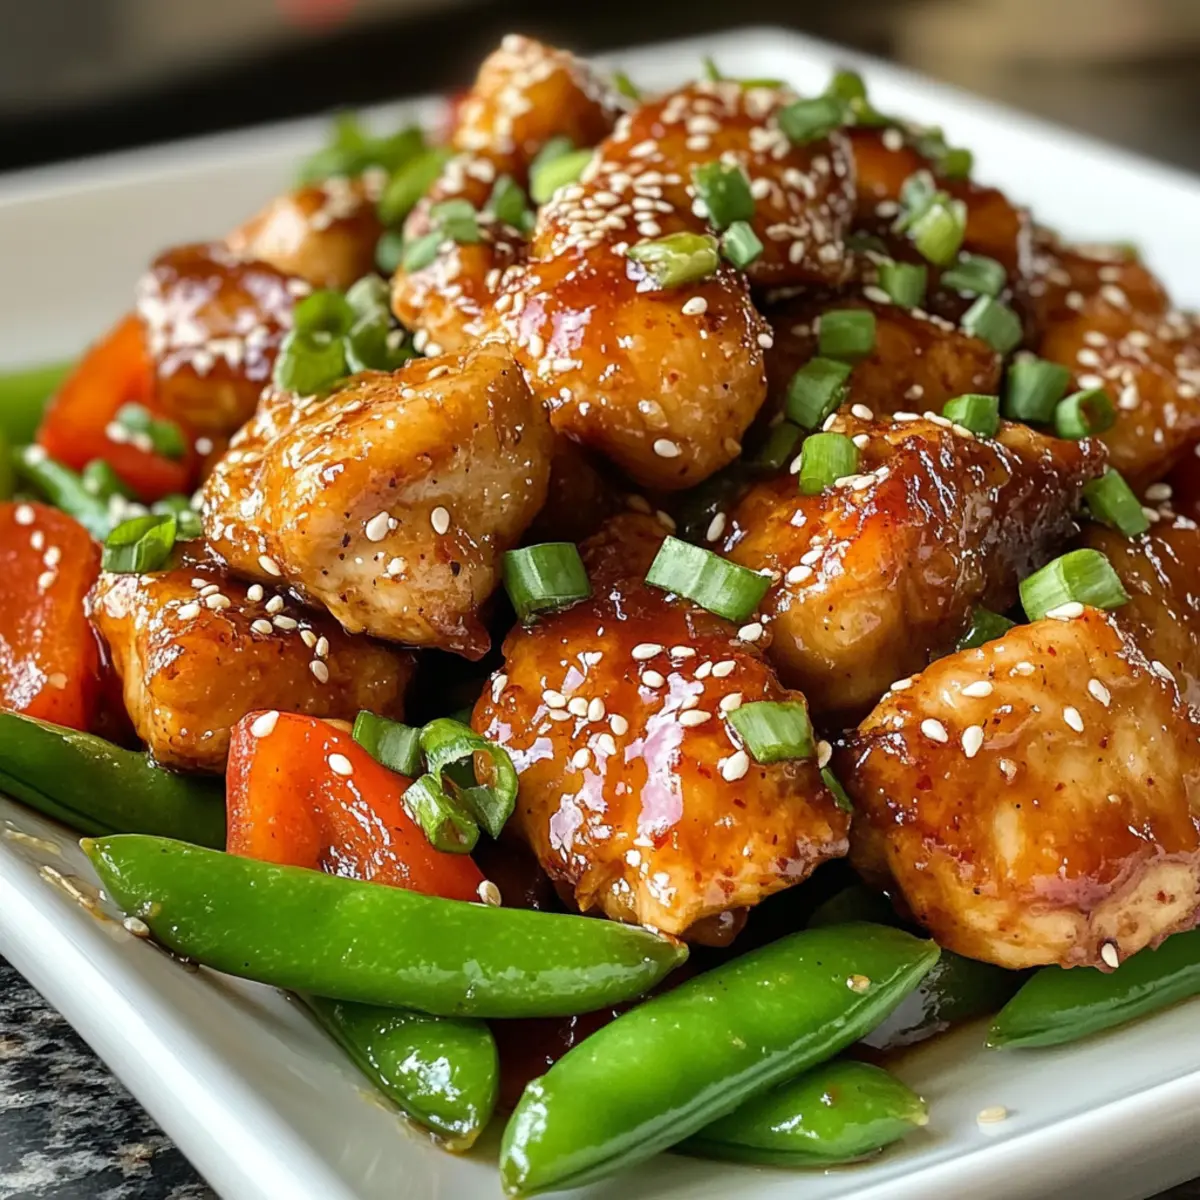
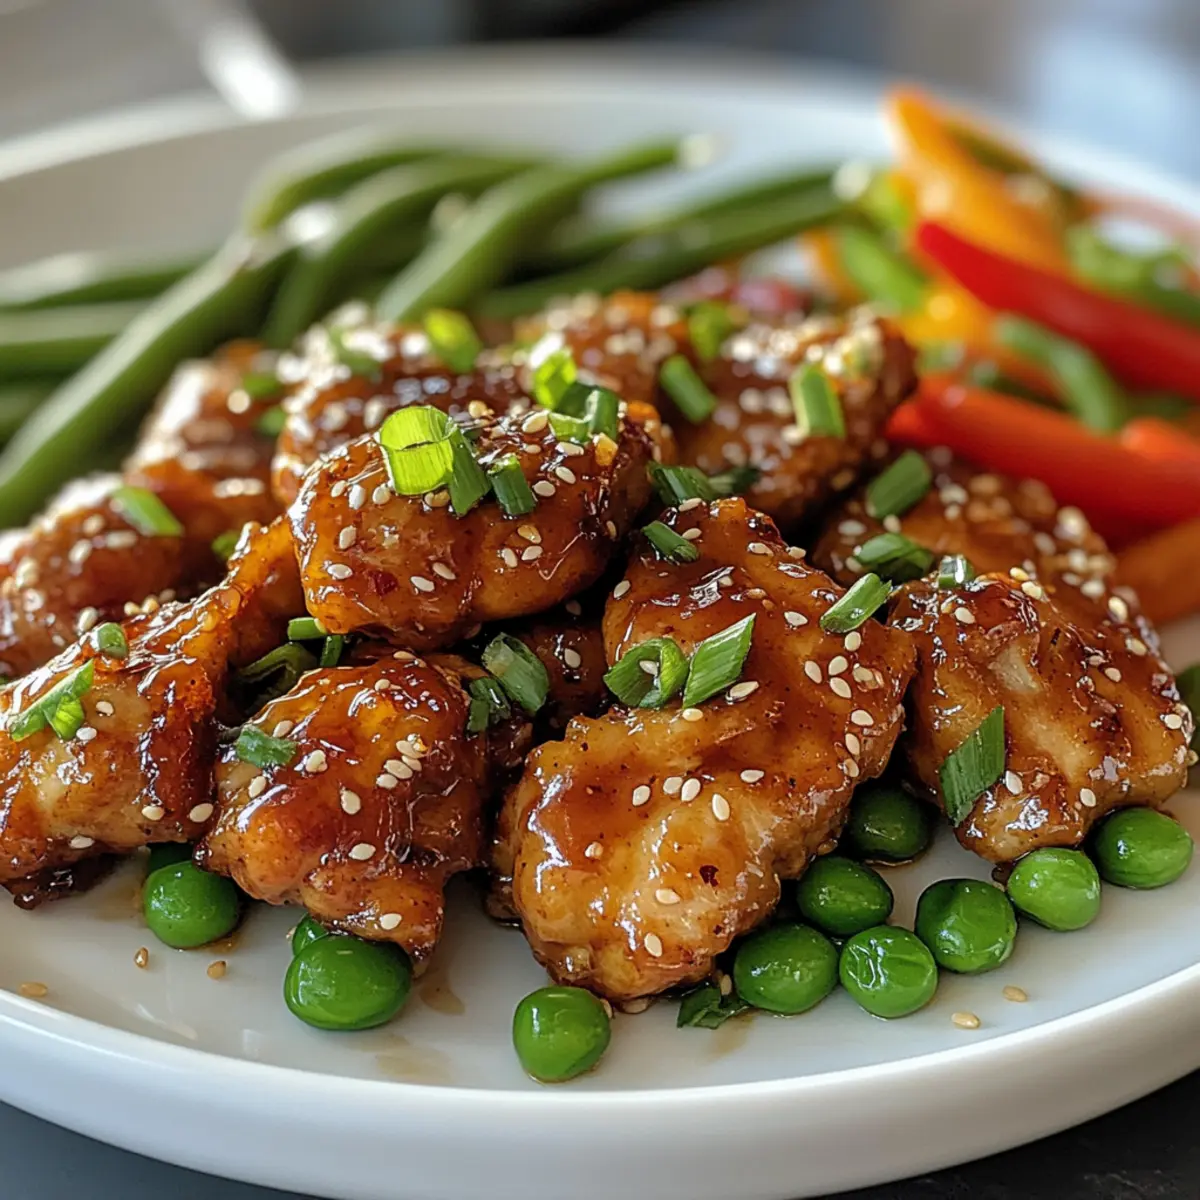
As the savory scent of garlic wafts through my kitchen, I’m transported to my favorite Chinese takeout spot with every stir of my pan. This 20-Minute Honey Garlic Chicken is my go-to weeknight dish, marrying quick prep with unbeatable flavors that make it a family favorite. Perfectly crispy on the outside and juicy on the inside, this meal is not just a cinch to whip up but also gluten-free and low-carb. With just a handful of simple ingredients, you can create a mouthwatering dinner that feels like a culinary triumph. Curious about how this dish can be easily customized to fit your tastes? Let’s dive into the sweet, savory magic of Honey Garlic Chicken!
Why is this Honey Garlic Chicken a must-try?
Speedy Preparation: This dish takes just 20 minutes to make, making it perfect for busy weeknights.
Flavor-Packed Sauce: The vibrant honey garlic sauce balances sweetness and savory with a touch of garlic, elevating every bite.
Customizable Goodness: Feel free to add your favorite veggies like snap peas or bell peppers, or swap in shrimp for a delightful twist.
Family-Friendly: Kids and adults alike will savor its crispy texture paired with tender chicken—all in one delicious dish!
Gluten-Free Option: Use tamari instead of soy sauce to craft a gluten-free wonder that everyone can enjoy.
Rush through dinner prep with this quick meal that rivals your favorite takeout, and consider exploring other options like Honey Chili Chicken for unending variety!
Honey Garlic Chicken Ingredients
For the Chicken
• Chicken Breasts/Thighs – Boneless and skinless pieces serve as the protein base; can substitute with shrimp or beef.
• Egg – Acts as a binding agent for the cornstarch coating; optional for a lighter version.
• Corn Starch – Provides a crispy exterior when fried; substitute with flour for a different texture.
For the Sauce
• Honey – Adds sweetness and a glossy finish to the sauce; use agave syrup for a vegan alternative.
• Garlic – Freshly chopped enhances flavor; adjust according to taste for your perfect Honey Garlic Chicken.
• Chicken Broth or Water – Adds depth to the sauce; low-sodium broth is recommended for a healthier option.
• Rice Wine Vinegar – Provides acidity to balance the sweetness; substitute with apple cider vinegar or omit if necessary.
• Soy Sauce – Contributes saltiness and umami; tamari can be used for gluten-free options.
• Red Pepper Flakes – Optional for heat; adjust based on your spice preference.
• Butter (Optional) – Adds richness to the sauce; can be omitted for a lighter dish.
For Cooking
• Oil (Peanut or Vegetable) – Essential for frying; choose a high smoke point oil for the best results.
Feel free to adapt the ingredient list to suit your preferences, and enjoy crafting a meal that’s both quick and delicious!
Step‑by‑Step Instructions for Honey Garlic Chicken
Step 1: Coat the Chicken
Begin by cutting your boneless, skinless chicken breasts or thighs into bite-sized pieces. In a medium bowl, whisk one beaten egg until frothy, then add the chicken and toss until well coated. Next, sprinkle cornstarch over the chicken and gently mix until each piece is just coated, creating a crispy exterior for your Honey Garlic Chicken.
Step 2: Heat the Oil
Place a large skillet over medium-high heat and add enough peanut or vegetable oil to cover the bottom, about 2 tablespoons. Once the oil is hot, which you can tell by a shimmering surface, carefully add the chicken pieces in a single layer. Cook for approximately 2-4 minutes on each side until golden brown and cooked through, ensuring they’re crispy and juicy on the inside.
Step 3: Prepare the Sauce
While the chicken cooks, grab a mixing bowl and combine 1/4 cup of honey, freshly chopped garlic, 1/4 cup of chicken broth, 1 tablespoon of rice wine vinegar, and 2 tablespoons of soy sauce. For an extra kick, feel free to stir in some red pepper flakes to taste. Whisk the mixture well, ensuring everything is blended for that luscious Honey Garlic Chicken sauce.
Step 4: Combine Chicken and Sauce
Once the chicken is golden and cooked through, carefully pour the prepared sauce directly into the skillet. Bring the mixture to a gentle boil, stirring occasionally for about 1 minute. This will allow the flavors to meld beautifully while thickening the sauce slightly, ensuring that every piece of chicken is well-coated.
Step 5: Finish with Butter
After the sauce has thickened, reduce the heat to low and toss in a tablespoon of butter. Stir until melted and fully integrated into the sauce for added richness. Your Honey Garlic Chicken is now ready to shine on your dinner table, offering a delightful combination of sweetness and savory goodness!
Expert Tips for Honey Garlic Chicken
Crispy Coating: Ensure your chicken pieces are coated with cornstarch evenly for that perfect crispy texture when frying.
Single Layer: Cook the chicken in a single layer in the skillet to avoid steaming and achieve even crispiness throughout the dish.
Sauce Consistency: Mix the cornstarch into the sauce thoroughly before adding it to the pan; this prevents clumping and ensures a smooth Honey Garlic Chicken glaze.
Vegetable Boost: Consider adding quick-cooking vegetables like bell peppers or snap peas during the last minute of cooking for added nutrition and color.
Adjusting Spiciness: If you prefer some heat, start with a small amount of red pepper flakes and increase to suit your desired spice level.
Storage Instructions: For best results, store any leftover Honey Garlic Chicken in an airtight container in the refrigerator and consume within three days.
Make Ahead Options
These Honey Garlic Chicken preparations are perfect for busy weeknights and can save you valuable time! You can marinate the chicken and coat it with cornstarch up to 24 hours in advance. Just place the seasoned chicken in an airtight container and refrigerate. Additionally, prepare your honey garlic sauce ahead of time and store it in the fridge for up to 3 days; just give it a good stir before using to ensure a smooth consistency. When you’re ready to cook, simply heat the oil, add the coated chicken, and proceed with the recipe as instructed. Following these steps not only ensures freshness but also helps speed everything up, allowing you to enjoy a delightful meal with minimal effort.
Storage Tips for Honey Garlic Chicken
Fridge: Store leftover Honey Garlic Chicken in an airtight container for up to 3 days, ensuring it retains its delicious flavor and crispy texture.
Freezer: For longer storage, freeze the chicken in a sealed container or freezer bag for up to 3 months; thaw in the fridge before reheating.
Reheating: To reheat, place the chicken in a skillet over medium heat, adding a splash of water or broth to keep it moist, or microwave it covered until heated through.
Avoiding Texture Loss: When freezing, note that the texture may change slightly; for the best results, consume it fresh!
What to Serve with Honey Garlic Chicken
As you savor the sweet and savory notes of Honey Garlic Chicken, consider creating a delightful spread to accompany this family favorite.
- Fluffy Jasmine Rice: A comforting bed for the chicken, jasmine rice is aromatic and perfectly soaks up the sauce’s flavors.
- Stir-Fried Bok Choy: These tender greens bring a fresh crunch and a bit of earthiness that beautifully balances the rich honey garlic glaze.
- Crispy Spring Rolls: Golden and filled with vegetables or shrimp, spring rolls add a satisfying crunch that complements the succulent chicken.
- Sesame Noodles: Tender noodles tossed in a light sesame sauce provide another layer of flavor and a delightful contrast in texture.
- Sweet and Sour Cabbage Slaw: A tangy, crunchy slaw adds brightness and refreshing acidity to balance the dish’s sweetness.
- Chilled Green Tea: A soothing beverage choice that cleanses the palate, its lightness pairs effortlessly with the richness of the chicken.
- Mango Sorbet: For dessert, this refreshing treat offers a sweet finish, with its tropical notes providing a delightful contrast to the dinner.
Experience the perfect marriage of textures and flavors alongside your Honey Garlic Chicken for an unforgettable meal!
Honey Garlic Chicken Variations
Feel free to mix things up with these tasty variations and substitutions, enhancing your culinary adventure!
-
Veggie Boost: Add snap peas, broccoli, or bell peppers during the last minute of cooking for added nutrition and bright colors.
-
Dairy-Free Option: Swap butter for a drizzle of extra virgin olive oil at the end to retain richness without dairy.
-
Spicy Kick: Stir in Sriracha or your favorite chili sauce for a delightful heat that balances perfectly with the sweetness of the honey.
-
Cauliflower Alternative: For a low-carb option, serve over cauliflower rice instead of regular rice, creating a lighter, yet satisfying meal.
-
Shrimp or Beef: Change it up by using shrimp or thinly sliced beef instead of chicken, delivering a whole new protein twist.
-
Sweet Alternative: Substitute honey with maple syrup for a distinct flavor that adds a unique sweetness to the dish—just as delicious!
-
Savory Enhancement: Try adding a splash of sesame oil to the sauce for an earthy, nutty hint that complements the overall flavor beautifully.
Since you’re exploring flavors, don’t forget to check out options like Honey Chili Chicken for more exciting dinner ideas or experiment with Honey Garlic Slow that promises tender bites with great flavor!
Honey Garlic Chicken Recipe FAQs
What type of chicken is best for Honey Garlic Chicken?
Absolutely! I recommend using boneless, skinless chicken breasts or thighs for the best results. They cook quickly and remain juicy. Alternatively, if you’re feeling adventurous, shrimp or beef can also work wonderfully as substitutes!
How should I store leftovers of Honey Garlic Chicken?
For up to 3 days, your leftover Honey Garlic Chicken can be stored in an airtight container in the refrigerator. Just make sure it’s cooled before sealing it to keep that delicious flavor intact!
Can I freeze Honey Garlic Chicken for later?
Yes, indeed! For longer storage, freeze the chicken in a sealed container or freezer bag for up to 3 months. When you’re ready to enjoy it again, simply thaw it in the refrigerator overnight before reheating.
What if my Honey Garlic Chicken sauce is too thick?
Very! If you find your sauce turns out too thick, you can easily fix it. Just add a splash of chicken broth or water, and gently heat it up in the pan while stirring. This will help achieve your desired consistency without losing that robust flavor.
Is this Honey Garlic Chicken suitable for those with gluten allergies?
Absolutely! Just switch out regular soy sauce for tamari, which is gluten-free, and you can enjoy this dish without worry. Plus, using fresh ingredients ensures everyone can dig in without any concerns!
Crispy Honey Garlic Chicken: Quick, Sweet, and Irresistible
Ingredients
Equipment
Method
- Begin by cutting your boneless, skinless chicken breasts or thighs into bite-sized pieces. In a medium bowl, whisk one beaten egg until frothy, then add the chicken and toss until well coated. Next, sprinkle cornstarch over the chicken and gently mix until each piece is just coated.
- Place a large skillet over medium-high heat and add enough peanut or vegetable oil to cover the bottom, about 2 tablespoons. Once the oil is hot, carefully add the chicken pieces in a single layer. Cook for approximately 2-4 minutes on each side until golden brown and cooked through.
- While the chicken cooks, combine honey, freshly chopped garlic, chicken broth, rice wine vinegar, and soy sauce in a bowl. Whisk well to blend for the sauce.
- Once the chicken is golden and cooked through, carefully pour the prepared sauce directly into the skillet. Bring to a gentle boil, stirring occasionally for about 1 minute.
- After the sauce has thickened, reduce the heat to low and toss in a tablespoon of butter. Stir until melted and integrated into the sauce.