

Just the other day, I was daydreaming about those childhood moments spent in the kitchen, watching the delightful metamorphosis of sugar transforming into something magical. Enter Easy Honeycomb Candy—this homemade treasure captures that nostalgic essence beautifully. With just a few simple ingredients, you’ll create a light, airy candy that’s not only gluten-free but can easily accommodate a vegan lifestyle with minimal tweaks. Imagine the satisfaction of offering up this crunchy delight, dipped in rich dark chocolate, at your next gathering or savoring it as a midday snack! The best part? It’s quick to whip up and absolutely fun to customize with flavors like vanilla, citrus zest, or even a sprinkle of sea salt. Curious about how to create this sweet sensation? Let’s dive into the recipe!
Why is Honeycomb Candy so Irresistible?
Nostalgia: This homemade treat harks back to childhood memories of sweet indulgence, making it even more delightful to share.
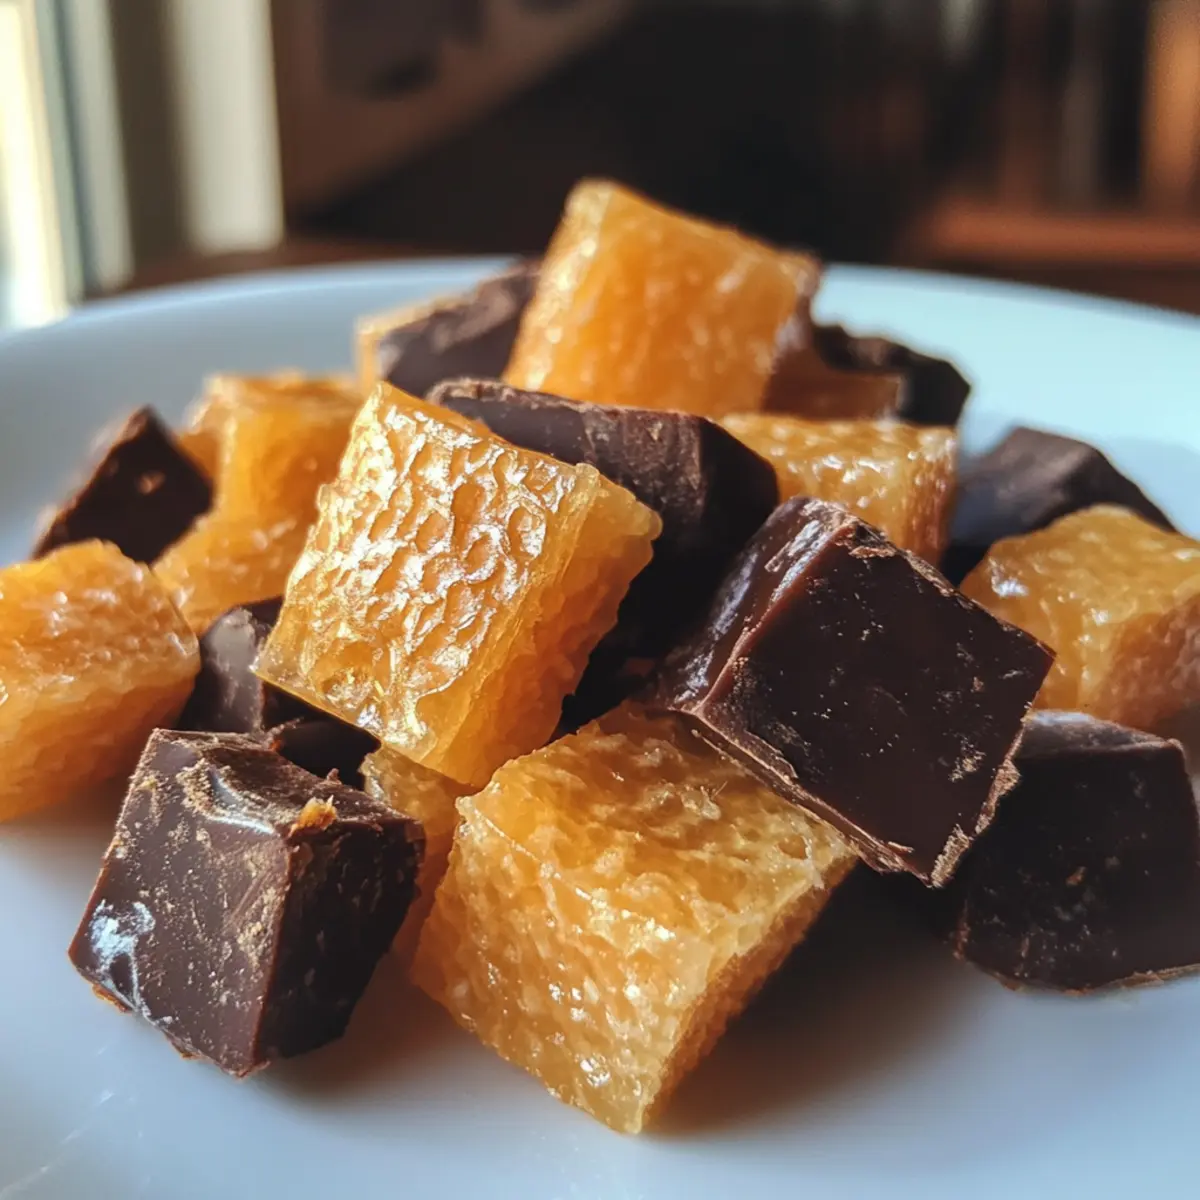
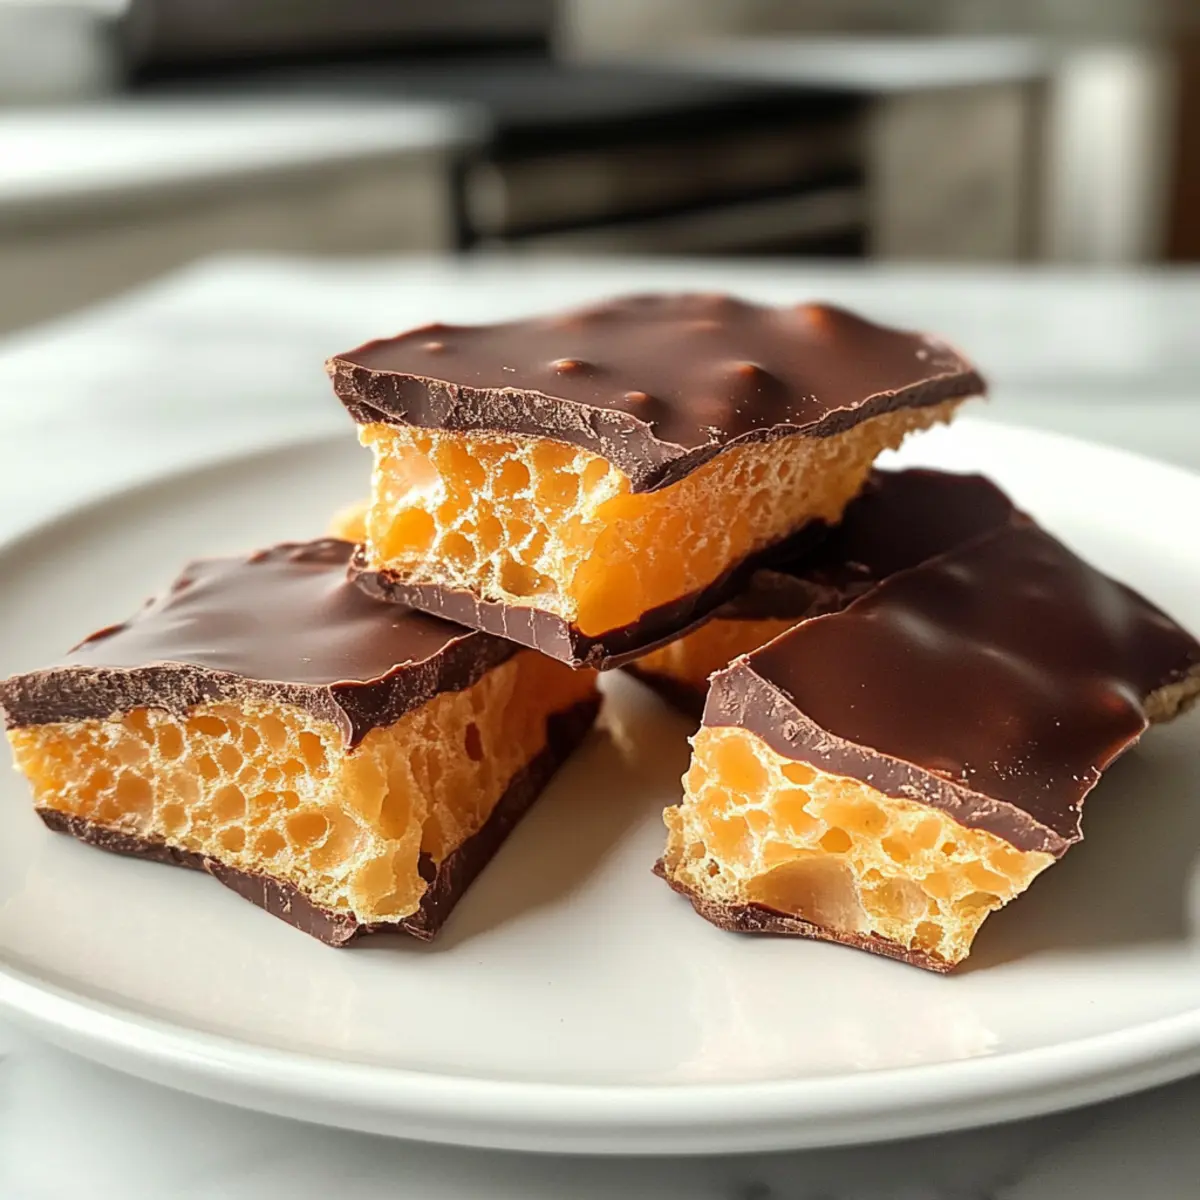
Crunchy Texture: With its light and airy composition, each bite offers a satisfying crunch that melts beautifully in your mouth.
Customizable: Personalize your honeycomb by adding flavors like vanilla, citrus zest, or a sprinkle of sea salt for a unique twist.
Quick and Easy: Whip up this candy in about 30 minutes, satisfying your sweet tooth without the wait.
Diet-Friendly: Versatile enough for gluten-free and vegan options, this candy can cater to diverse dietary needs. Enjoy creating your own candy masterpiece with our helpful tips!
Honeycomb Candy Ingredients
For the Candy Base
• White Sugar – Provides sweetness and structure to the candy; opt for organic beet sugar for a vegan alternative.
• White Vinegar – Helps prevent sugar crystallization during cooking; an essential ingredient for a smooth texture.
• Dark Corn Syrup – Adds moisture and ensures the right texture; you can substitute with light corn syrup if needed.
• Baking Soda – Creates the signature airy texture of honeycomb; do not substitute as it’s crucial for the candy’s airy quality.
For the Chocolate Coating (optional)
• Chocolate Melting Wafers – Adds a rich, indulgent layer; choose dairy-free options for a vegan version of this honeycomb candy.
Step‑by‑Step Instructions for Easy Honeycomb Candy
Step 1: Prepare the Pan
Begin by lining an 8×8 inch casserole dish with non-stick foil, making sure to smooth out any wrinkles. This will prevent the honeycomb candy from sticking later on. Set the prepared dish aside while you combine the ingredients for the candy base.
Step 2: Combine Ingredients
In a heavy-bottomed saucepan, mix together white sugar, white vinegar, and dark corn syrup over medium heat. Stir constantly until the sugar dissolves, and the mixture becomes clear, which should take about 5 minutes. Keep an eye on it, as removing it from heat too early will affect the texture of your honeycomb candy.
Step 3: Cook the Mixture
After the mixture is clear, stop stirring and allow it to cook undisturbed. Watch closely as the temperature rises, using a candy thermometer to ensure it reaches 300°F, known as the hard crack stage. This cooking process typically takes around 10 minutes, so be patient for the perfect crunchy texture.
Step 4: Add Baking Soda
Once the mixture reaches 300°F, promptly remove it from the heat to prevent burning. Carefully stir in the baking soda, being prepared for a vigorous foaming reaction. This crucial step transforms your candy into the airy, light honeycomb candy texture you’re aiming for, so mix quickly yet gently.
Step 5: Pour Into the Pan
Immediately transfer the foamed mixture into the lined casserole dish, pouring it in without scraping the sides of the pan. This keeps the texture light and airy as it cools. Resist the urge to spread it out; just let it settle naturally in the dish.
Step 6: Cool the Candy
Allow the honeycomb to cool undisturbed at room temperature for about 2 hours. This cooling process is essential for it to harden properly. You’ll know it’s ready when it feels firm to the touch and has a crisp texture.
Step 7: Break Into Pieces
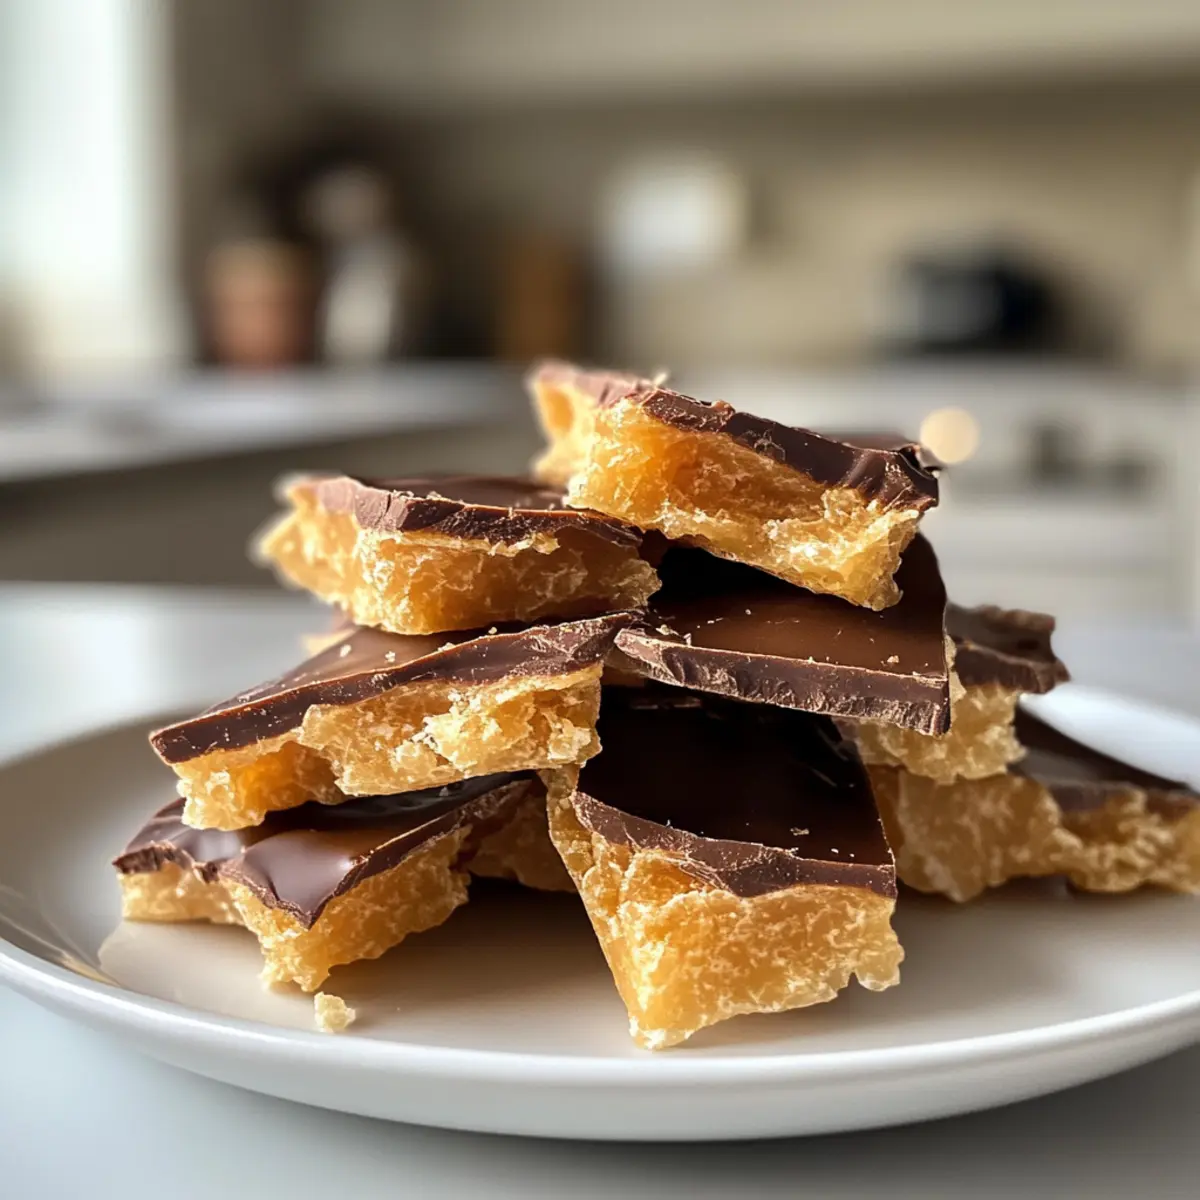
Once cooled, gently remove the honeycomb from the dish and break it into bite-sized pieces. Its delightful crunch and airy texture should make it easy to snap into smaller portions. Enjoy the satisfaction of creating your own homemade honeycomb candy!
Step 8: Optional Chocolate Coating
If you’d like to add an indulgent touch, melt chocolate melting wafers according to package directions. Dip each honeycomb piece into the melted chocolate, allowing any excess to drip off before placing them on wax paper. Let them set until the chocolate hardens for an extra special treat.
Honeycomb Candy Variations & Substitutions
Feel free to shake things up with these easy ideas and customize your honeycomb candy experience!
- Vegan Option: Swap traditional chocolate for dairy-free chocolate melting wafers for a vegan delight.
- Flavor Boost: Add 1 teaspoon of vanilla extract to the sugar mixture for a warm, comforting flavor. This small addition can transform the profile of your candy, making it a true standout at any gathering.
- Zesty Twist: Incorporate citrus zest from lemon or orange into the mixture for a refreshing pop of flavor. The bright notes will dance on your taste buds, making every piece a bit more special.
- Nutty Crunch: Mix in chopped toasted nuts like almonds or pecans before pouring the candy into the pan for an extra crunch. The nutty texture complements the airy candy beautifully, creating an irresistible combination.
- Spicy Kick: Sprinkle in a touch of cayenne pepper for a surprising kick! This bold flavor pairs wonderfully, adding a unique twist that your adventurous guests will love.
- Salted Caramel Finish: For a decadent experience, sprinkle crushed sea salt over the dipped chocolate before it sets. This salty-sweet combination is heartwarming and simply delicious.
- Herbal Infusion: Experiment with herbs like rosemary or thyme to create an unusual, unique flavor profile. Infuse the sugar mixture with your chosen herb while cooking for an aromatic treat.
- Cocoa Dusting: After breaking the honeycomb, consider giving it a light dusting of cocoa powder for a rich, chocolatey edge without the full dip. This visual and flavor enhancement will certainly elevate your snack board!
Looking for more inspiration? Dive into other exciting projects like homemade fudge or explore more flavor enhancements to keep your sweet tooth satisfied!
What to Serve with Easy Honeycomb Candy
Indulging in homemade honeycomb candy opens up a world of delightful pairings that enhance both its flavor and enjoyment.
- Rich Hot Chocolate: The creamy richness of hot chocolate contrasts beautifully with the airy crunch of the candy, creating a comforting treat perfect for cold evenings.
- Fresh Berries: Juicy strawberries or raspberries offer a tart balance, cutting through the sweetness while adding refreshing freshness to your dessert experience.
- Gourmet Cheese Board: A selection of sharp cheeses complements the candy’s sweetness nicely. The savory elements create an irresistible sweet-and-salty experience.
- Chocolate Dipped Fruit: Consider pairing it with dark chocolate-covered fruits like bananas or oranges. Their smooth texture works harmoniously with honeycomb’s crunch, elevating your snack game.
- Salted Caramel Sauce: Drizzling a little salted caramel sauce on the honeycomb adds a rich, indulgent layer. The salty-sweet combination is simply divine.
- Sparkling Wine: Sip on a glass of sparkling wine or champagne. The bubbles and acidity cut through the sweetness, making it a perfect addition to any celebration.
- Brandied Nuts: Roasted nuts with a hint of brandy add a sophisticated element, offering a crunchy yet creamy finish that beautifully contrasts the candy.
- Vanilla Ice Cream: A scoop of creamy vanilla ice cream helps mellow out the sweetness, creating an irresistible combo sure to impress your guests.
- Homemade Hot Cider: Spiced apple cider served warm brings cozy vibes to your sweets, harmonizing beautifully with the flavors of the honeycomb.
Make Ahead Options
These Easy Honeycomb Candy treats are perfect for busy home cooks looking to save time in the kitchen! You can prepare the base mixture up to 24 hours in advance; simply follow the initial steps and store the cooled candy in an airtight container at room temperature to maintain its delightful crunch. For optimal freshness, avoid refrigerating as moisture can compromise the texture. When you’re ready to enjoy your honeycomb candy, break it into pieces and coat with melted chocolate just before serving to ensure that every bite remains as heavenly as the first. This way, you can offer a homemade treat that feels special without the last-minute rush!
How to Store and Freeze Honeycomb Candy
Room Temperature: Store your honeycomb candy in an airtight container at room temperature for up to 2 weeks, ensuring it remains cool and dry to maintain its crispness.
Fridge: If you live in a particularly humid climate, you can refrigerate the honeycomb, but be sure to wrap it well to avoid moisture; it may soften slightly.
Freezer: For longer storage, freeze honeycomb candy in an airtight container for up to 3 months. Allow it to thaw at room temperature before enjoying to retain its crunchy texture.
Reheating: Avoid reheating the honeycomb, as this can cause it to become sticky. Enjoy it as is for the best crunchy experience!
Expert Tips for Honeycomb Candy
- Perfect Temperature: Ensure the sugar mixture reaches 300°F using a reliable candy thermometer; undercooking will yield a chewy texture instead of the desired crunch.
- Gentle Mixing: Stir in the baking soda quickly and gently to preserve the airy texture; overmixing can lead to denser candy.
- Cooling Method: Allow the honeycomb to cool undisturbed; moving or disturbing the mixture can affect the final texture and lead to a less crunchy result.
- Storage Awaits: Store your honeycomb candy in an airtight container at room temperature; moisture can lead to softening, ruining that delightful crunch!
- Flavor Boosts: Experiment with flavor enhancements like a dash of vanilla or citrus zest during the cooking process—this adds a delightful twist to the classic honeycomb candy!
Honeycomb Candy Recipe FAQs
How do I choose the right sugar for my honeycomb candy?
Absolutely! For the best results, use white granulated sugar, which provides the right sweetness and structure. If you’re looking for a vegan alternative, I recommend organic beet sugar. Avoid using brown sugar, as it contains molasses, which could affect the cooking process.
How should I store my honeycomb candy?
Store your honeycomb candy in an airtight container at room temperature for up to 2 weeks. Make sure it is completely cooled and dry, as moisture can lead to a soggy texture. If you live in a humid climate, you may want to refrigerate it, but keep it well-wrapped to prevent it from softening.
Can I freeze honeycomb candy?
Yes, you can! To freeze your homemade honeycomb candy, place it in an airtight container and store it in the freezer for up to 3 months. When you’re ready to enjoy it, simply let it thaw at room temperature. Be sure not to reheat it, as that could make it sticky instead of crunchy.
What should I do if my honeycomb candy turned out too chewy?
Very! If your honeycomb candy is chewy, it likely didn’t reach the hard crack stage at 300°F. Next time, use a candy thermometer to ensure you hit that perfect temperature. Remember, a little patience during the cooking process is key; the mixture should reach a beautiful golden color as it cooks!
Is honeycomb candy suitable for vegan diets?
Absolutely! You can easily make this honeycomb candy vegan by substituting white sugar with organic beet sugar and using dairy-free chocolate melting wafers for the optional chocolate coating. Just be sure to check the labels on your ingredients to ensure all are vegan-friendly.
How can I ensure my honeycomb candy has the perfect crispy texture?
To guarantee that delightful crunch, keep an eye on your candy mixture while it cooks. Use a reliable candy thermometer to check for the 300°F mark, and avoid stirring once you add the baking soda. Letting it cool undisturbed is crucial, as this will help maintain its airy texture. Enjoy making this irresistible honeycomb candy!

Homemade Honeycomb Candy: Crunchy, Sweet, and Totally Irresistible
Ingredients
Equipment
Method
- Begin by lining an 8x8 inch casserole dish with non-stick foil, smoothing out any wrinkles.
- In a heavy-bottomed saucepan, mix together white sugar, white vinegar, and dark corn syrup over medium heat, stirring constantly until the sugar dissolves, about 5 minutes.
- Once clear, stop stirring and allow it to cook undisturbed until it reaches 300°F.
- Remove from heat and stir in baking soda carefully to avoid burning.
- Immediately transfer the foamed mixture into the lined casserole dish.
- Allow the honeycomb to cool undisturbed at room temperature for about 2 hours.
- Once cooled, gently remove and break into bite-sized pieces.
- For chocolate coating, melt chocolate melting wafers and dip each honeycomb piece, then set until chocolate hardens.