

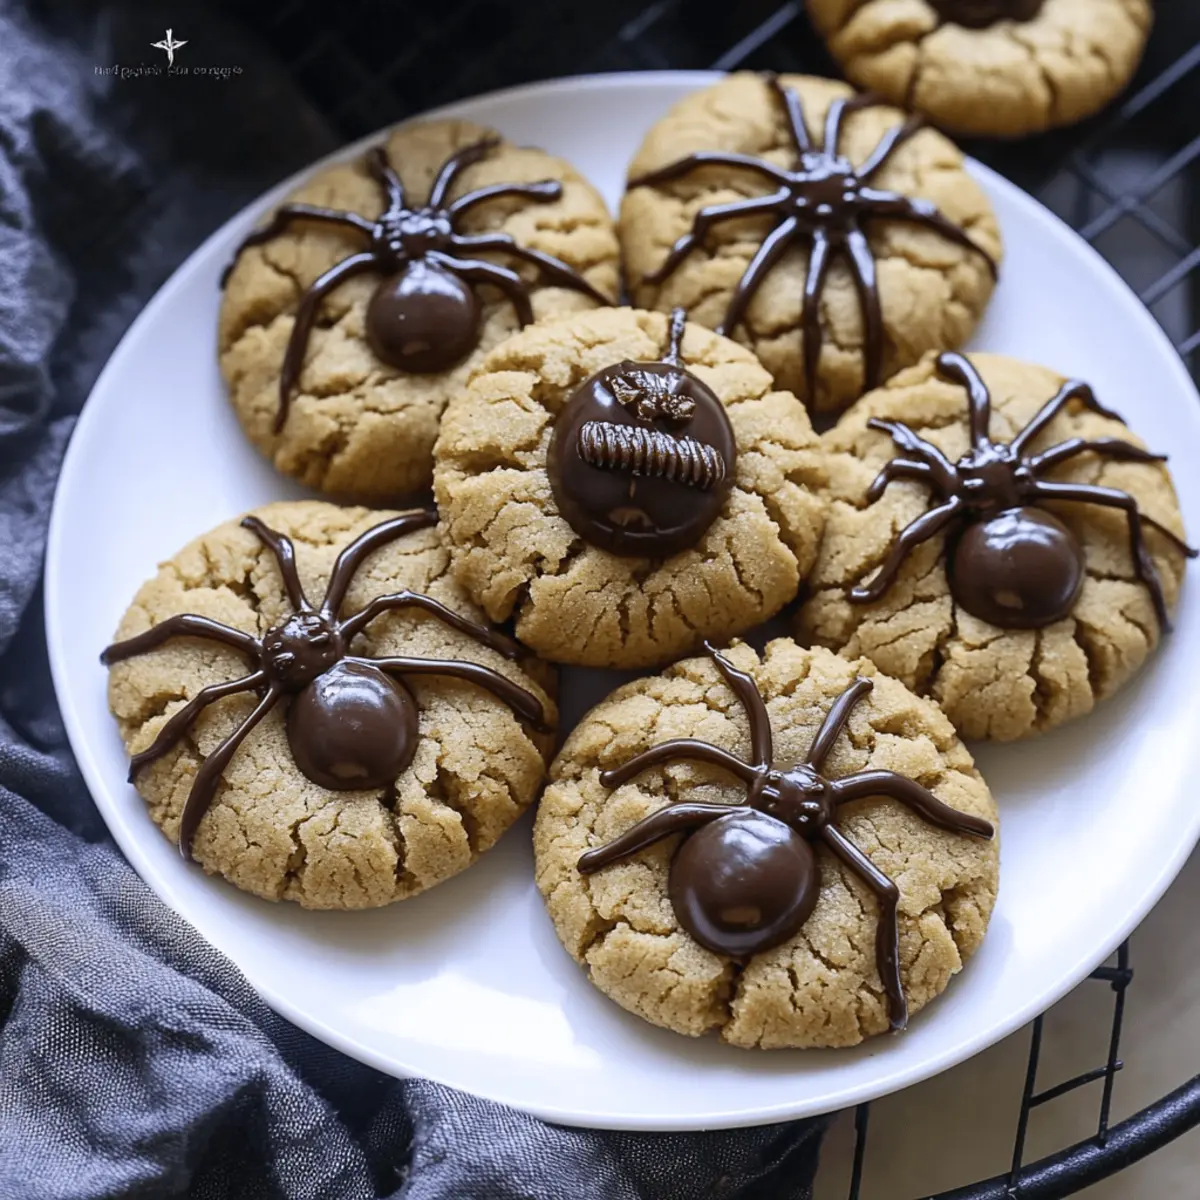
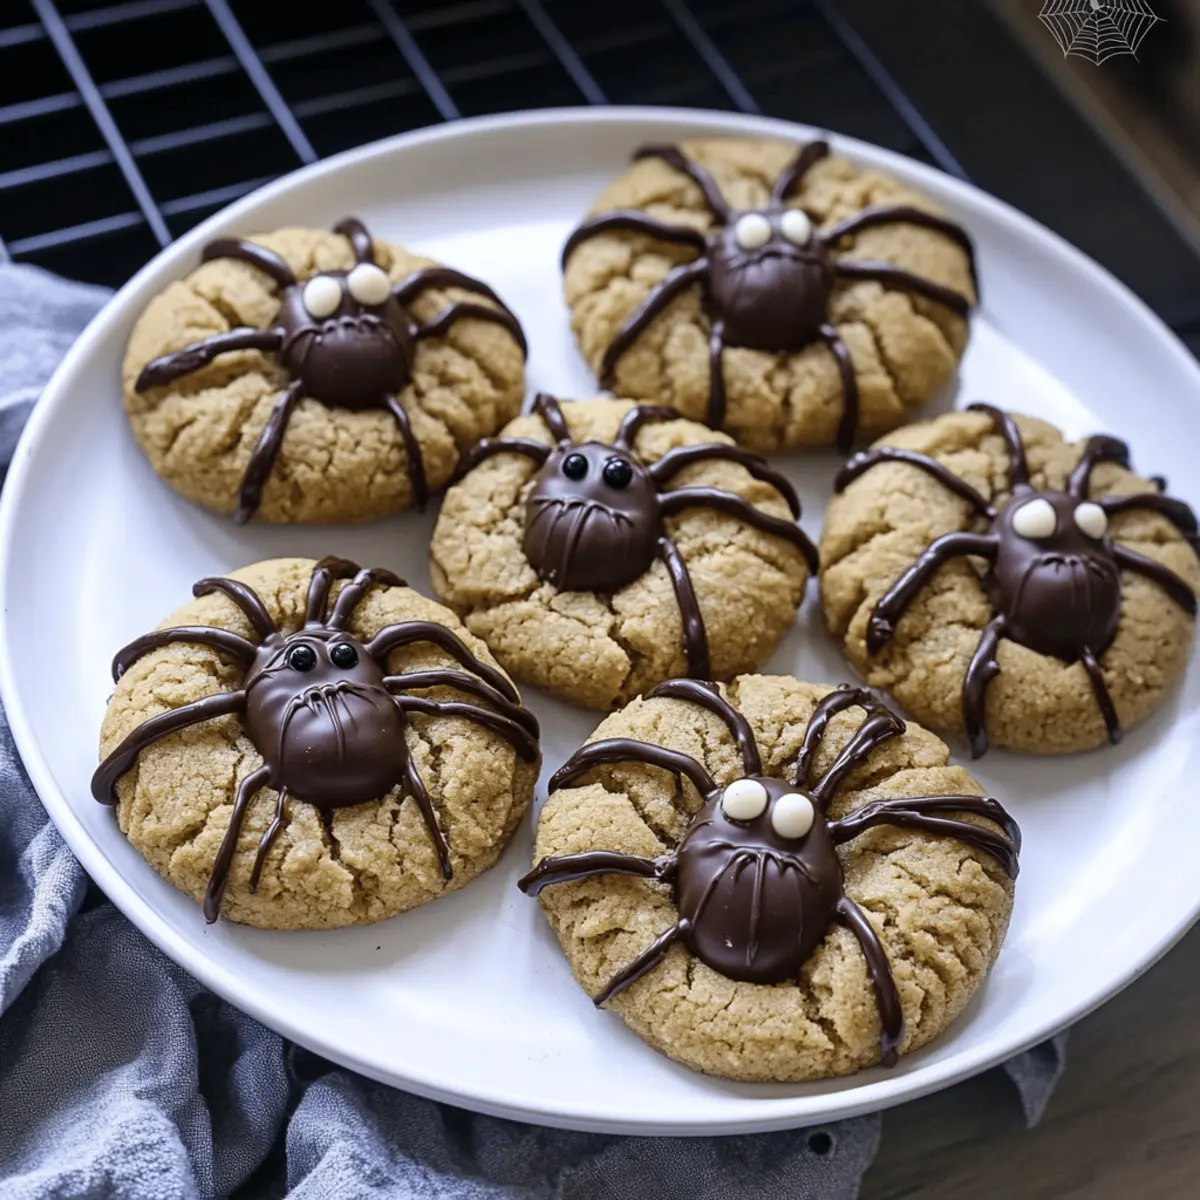
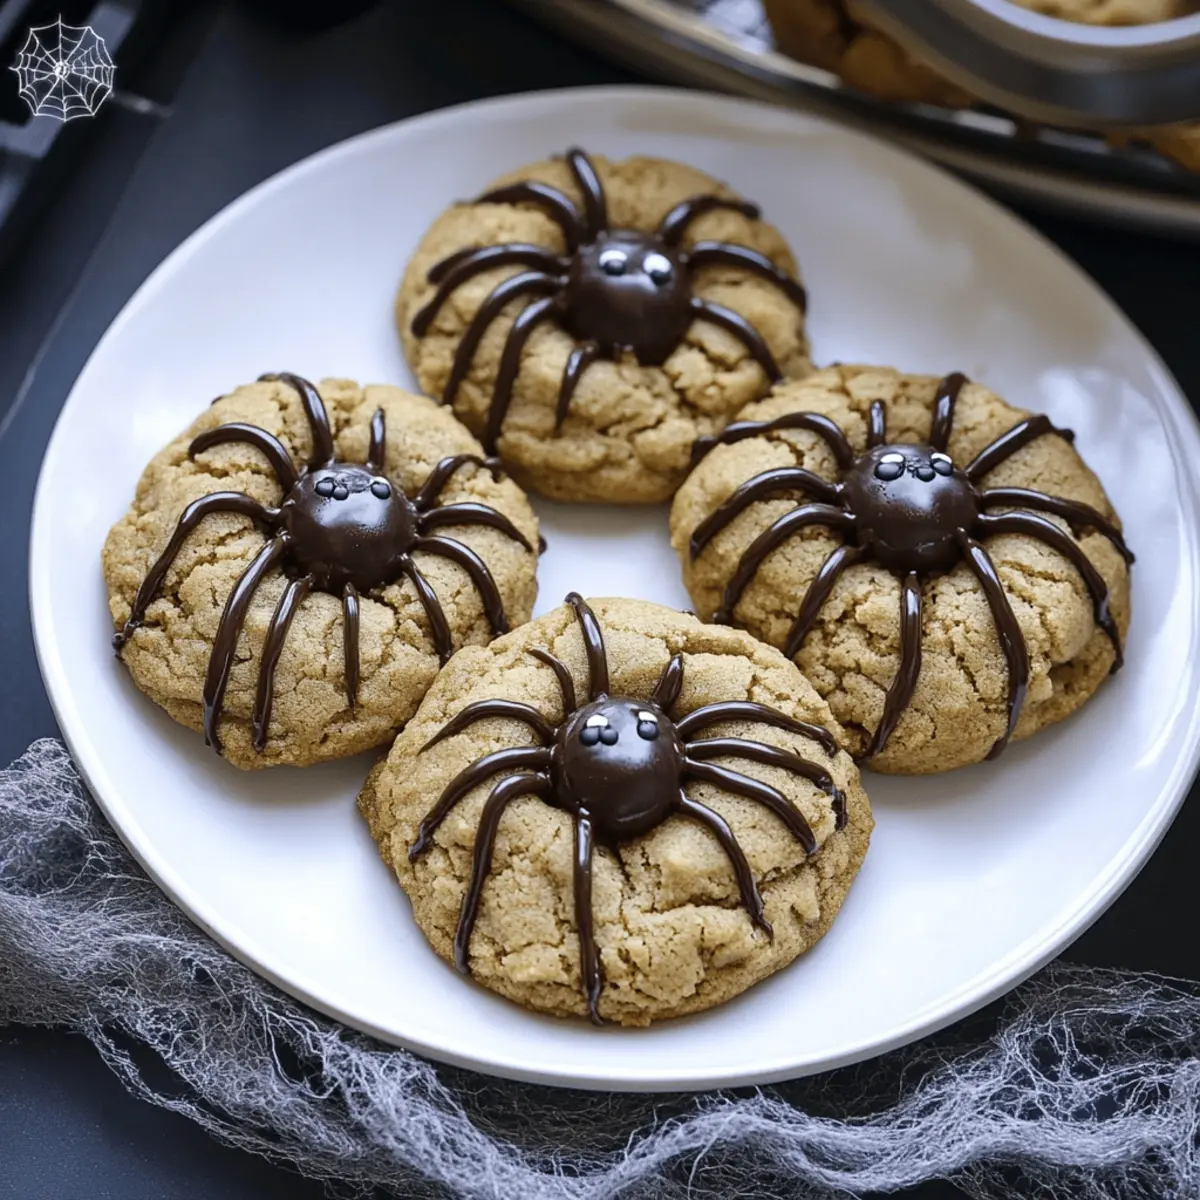
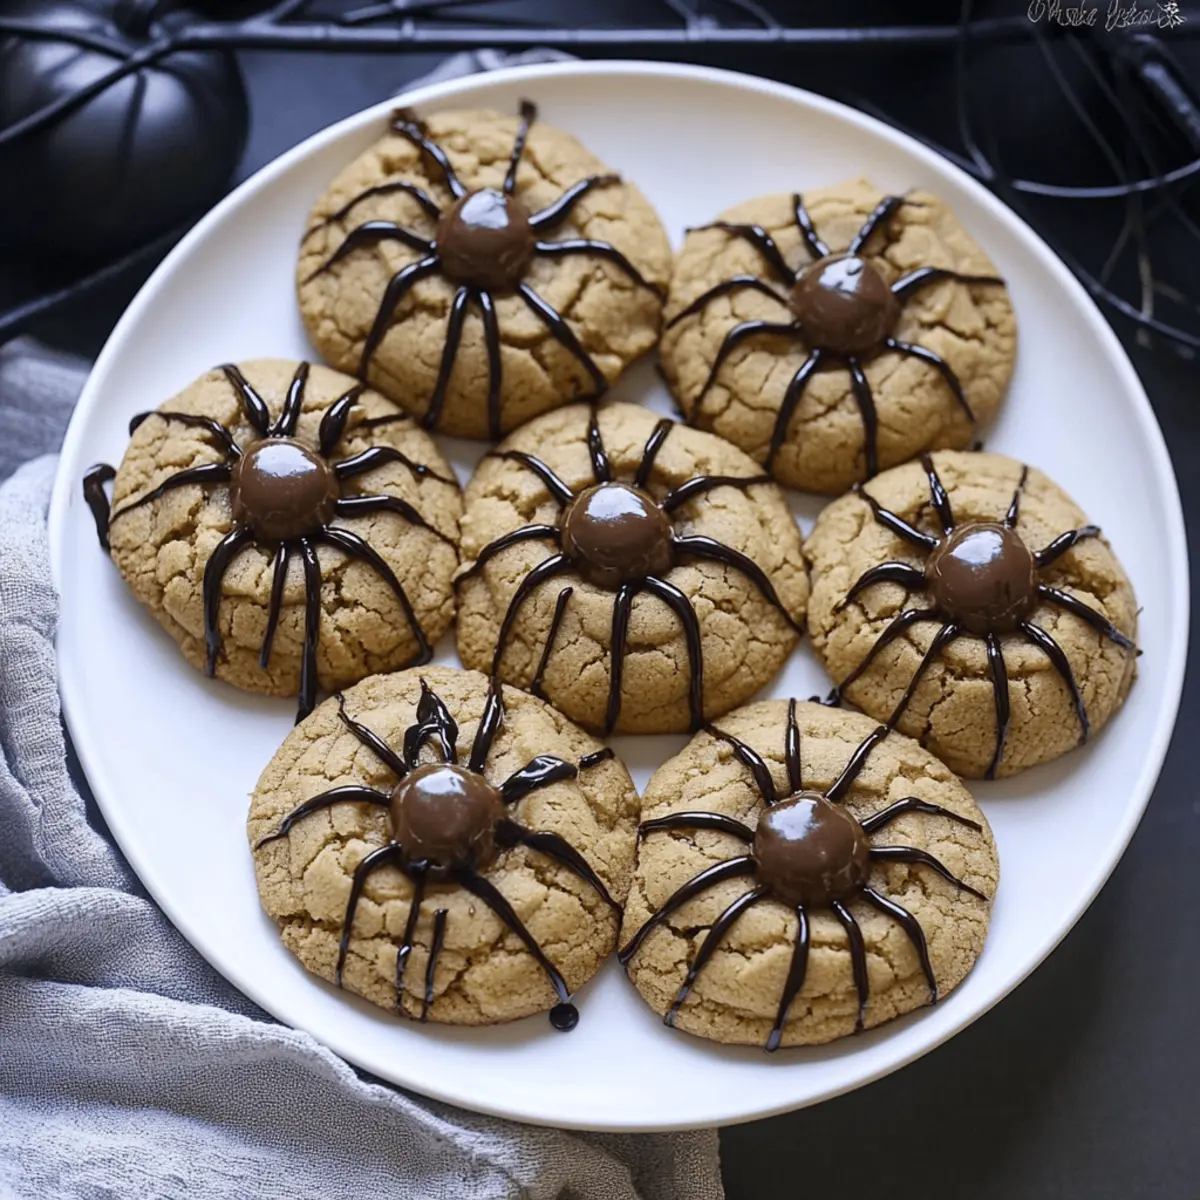
In the kitchen, chaos can often lead to unexpected delights, especially when the spooky season rolls around! With Halloween just a whisper away, I can’t help but feel excited about creating a festive treat that captures both the playful spirit and deliciousness of the season. Enter my Peanut Butter Spider Cookies! This whimsical recipe combines the creamy, nutty flavor of classic peanut butter blossoms with eerie yet adorable spider decorations made of Whoppers and chocolate ganache. The best part? They’re quick to whip up and guaranteed to be a hit at any Halloween gathering, enchanting kids and adults alike. Ready to bake up some cuteness with a creepy twist? Let’s dive in!
Why Are These Cookies So Fun?
Delightfully Spooky: These Peanut Butter Spider Cookies are perfect for adding a playful touch to your Halloween festivities. Kids and adults alike will enjoy the eerie yet cute spider decorations.
Quick and Easy: With straightforward steps, these cookies can be whipped up in no time, ensuring you’re not stuck in the kitchen while others enjoy the party.
Rich Flavor: The combination of creamy peanut butter and chocolate offers a delightful contrast that makes each bite utterly satisfying.
Creative Variation: Feel free to get creative by swapping out the Whoppers for other candies or adjusting the nut butter for a personalized twist! For more festive ideas, check out my Chocolate Date Cookies.
Party Perfect: Whether for a Halloween gathering or a themed dessert table, these cookies are sure to be a crowd-pleaser, inviting smiles all around.
Peanut Butter Spider Cookies Ingredients
Get ready to create spooktacular treats!
For the Cookie Base
- All-purpose flour – Provides the structure for a delightful chew; opt for gluten-free flour if needed.
- Baking soda – A key leavening agent; check freshness for the best rise.
- Baking powder – Adds lightness; don’t skip for that perfect texture.
- Salted butter (softened) – Brings richness and moisture; unsalted gives you more salt control.
- Granulated sugar – Contributes sweetness and texture; brown sugar can add moisture if desired.
- Brown sugar – For a deep, chewy texture; either light or dark will work.
- Egg – Binds the dough together and keeps cookies moist; substitute with a flaxseed egg for a vegan version.
- Creamy peanut butter (not natural) – Packs flavor and moisture; crunchy peanut butter offers a fun texture variation.
- Vanilla extract – Elevates the flavor; almond extract can be a suitable substitute.
For the Spider Decorations
- Whoppers (44 pieces) – Create the fun spider bodies and heads; feel free to swap for other chocolate malt candies.
- Semi-sweet chocolate chips (1 cup) – Used for the spider legs; dark chocolate chips can add a richer touch.
- White cake decorating gel (1 small tube) – Perfect for adding creepy crawly eyes; royal icing or melted white chocolate also works well.
- Granulated sugar (¼ cup for rolling) – Gives a sweet crunch to the cookies; can be omitted if you prefer less sweetness.
These Peanut Butter Spider Cookies will not only satisfy your sweet tooth, but they will also add a fun, festive flair to your Halloween festivities!
Step‑by‑Step Instructions for Peanut Butter Spider Cookies
Step 1: Preheat Your Oven
Begin by preheating your oven to 375°F (190°C) to ensure it’s hot and ready for baking. Meanwhile, prepare two baking sheets by lining them with parchment paper; this will prevent sticking and make cleanup easier later. A warm oven is crucial for achieving the perfect soft and chewy texture in your Peanut Butter Spider Cookies.
Step 2: Mix the Dry Ingredients
In a medium bowl, whisk together the all-purpose flour, baking soda, and baking powder until evenly combined. This blending is essential to evenly distribute the leavening agents throughout your Peanut Butter Spider Cookies. Set this dry mixture aside, allowing the flavors to meld while you prepare the wet ingredients.
Step 3: Cream the Butter and Sugars
In another large bowl, use an electric mixer to cream together the softened salted butter, granulated sugar, and brown sugar until the mixture is light and fluffy—about 2-3 minutes. Then, add the creamy peanut butter and continue mixing until everything is smooth and well combined. The buttery richness will help create delicious cookies!
Step 4: Incorporate the Egg and Vanilla
Add the egg and vanilla extract to the butter mixture, and mix on low speed until just combined. The egg helps bind the ingredients and provides moisture, while the vanilla enhances the flavor profile of your Peanut Butter Spider Cookies. Don’t overmix; you want a tender dough for your spooky treats!
Step 5: Combine Wet and Dry Mixtures
Gradually add the dry ingredients to the wet mixture, mixing on low speed until fully incorporated. Be careful not to overmix; you want to ensure your Peanut Butter Spider Cookies remain soft and chewy. Once the dough is combined, it should be thick and slightly sticky, ready for shaping.
Step 6: Shape the Cookies
Using a cookie scoop or your hands, take about 2 tablespoons of dough and roll it into a ball. Once shaped, gently roll each ball in granulated sugar to create a sweet crust. Place them evenly spaced on the prepared baking sheets, giving them room to spread while baking.
Step 7: Bake Until Golden
Bake the cookies in your preheated oven for 8-10 minutes, or until the edges are slightly golden while the centers appear soft. Keep an eye on them, as you want the cookies to appear lightly underbaked for that irresistible chewy texture typical of Peanut Butter Spider Cookies.
Step 8: Add the Whoppers
Quickly remove the cookies from the oven and press a Whopper into the center of each cookie to create the body and head of the spiders. Allow the cookies to cool on the baking sheets for a few minutes before transferring them to a wire rack. This slight cooling helps set the candies without melting them.
Step 9: Melt the Chocolate for Legs
In a microwave-safe bowl, melt the semi-sweet chocolate chips in 15-30 second intervals, stirring frequently until completely smooth. Once melted, transfer the chocolate to a piping bag or a plastic bag with a corner snipped off. This will allow you to easily pipe the spider legs onto your cooled cookies, adding a fun finishing touch.
Step 10: Pipe on the Legs and Eyes
With the melted chocolate, pipe legs extending from the Whoppers on each cookie, forming creepy spider shapes. Use the white cake decorating gel to dot on eyes directly above the Whopper heads. For an extra festive touch, add nonpareils for an even more whimsical look to your Peanut Butter Spider Cookies.
Peanut Butter Spider Cookies Variations
Feel free to put your personal twist on these delightful treats with these fun options!
-
Gluten-Free: Use a 1:1 gluten-free flour blend to make these cookies suitable for gluten-sensitive pals without sacrificing taste.
-
Dairy-Free: Substitute the butter with vegan butter or coconut oil, and use dairy-free chocolate chips for a completely dairy-free delight. They’ll be so yummy you won’t even miss the dairy!
-
Nut-Free: Swap peanut butter for sunflower seed butter to create a nut-free alternative that’s just as tasty. These cookies will be a hit at school parties!
-
Extra Chewy: Add an additional egg yolk to the dough for a richer, chewier texture that makes every bite pure bliss. It’s all about achieving that perfect softness!
-
Flavor Boost: Mix in a pinch of cinnamon or a dash of sea salt to elevate the flavor profile, creating that perfect balance of rich and sweet.
-
Mini Versions: For fun bite-sized treats, use a smaller scoop of dough and create “mini spiders” that are perfect for kids or gatherings. A little whimsical fun goes a long way!
-
Other Candies: Experiment with different candies for spider decoration like gummy worms or chocolate-covered pretzels, bringing creativity and excitement to your Halloween baking.
Don’t forget to showcase these festive delights at your next gathering or try serving them alongside other delicious options like German Style Cookies for a delightful treat selection!
Make Ahead Options
Preparing Peanut Butter Spider Cookies ahead of time is a fantastic way to streamline your Halloween festivities! You can mix the dough and refrigerate it for up to 24 hours, which helps the flavors develop and makes the cookies even more delicious. Once ready to bake, simply scoop the chilled dough, roll into balls, and coat with granulated sugar before placing them on the baking sheets. If you want to decorate in advance, bake the cookies and allow them to cool completely; then, store them in an airtight container for up to 3 days. Finish the cookies by adding the Whoppers and piping on the chocolate legs just before serving to ensure they remain fresh and delightful!
Storage Tips for Peanut Butter Spider Cookies
Room Temperature: Store your Peanut Butter Spider Cookies in an airtight container for up to 5 days to keep them soft and chewy.
Fridge: If you prefer, you can refrigerate the cookies in an airtight container for up to 1 week, but this may change their texture slightly, making them firmer.
Freezer: Freeze cookies in a single layer, then transfer to an airtight container or freezer bag for up to 3 months to preserve their delicious flavors. Just allow them to thaw at room temperature before enjoying!
Reheating: To enjoy a fresh-out-of-the-oven taste, briefly microwave the cookies for 10-15 seconds before serving.
What to Serve With Peanut Butter Spider Cookies
These delightful treats are perfect for a Halloween gathering, and pairing them with the right accompaniments can elevate your festive experience.
-
Spooky Milkshakes: Creamy vanilla or chocolate milkshakes with a touch of food coloring create a fun, festive drink that pairs beautifully with the rich peanut butter cookies.
-
Pumpkin Spice Latte: The warm flavors of pumpkin spice complement the chewy texture of the cookies, making every bite feel like a cozy embrace.
-
Caramel Sauce Drizzle: A simple drizzle of warm caramel over each cookie adds an irresistible sweetness that enhances the peanut butter flavor.
-
Chocolate-Dipped Pretzels: The crunch and saltiness of pretzels contrast wonderfully with the soft, sweet cookies, offering a delightful textural experience.
-
Autumn Fruit Platter: Fresh apples, pears, and grapes provide a refreshing balance to the rich cookies, creating a well-rounded treat spread for your Halloween party.
-
Gingerbread Cookies: Mix in some festive cheer with spicy gingerbread cookies; their warmth complements the peanut butter while enhancing the seasonal theme.
-
Spooky Fruit Punch: A fruity punch garnished with gummy spiders or eyeballs adds a fun and festive drink option that kids will love alongside the cookies.
-
Halloween-themed Cupcakes: Serve cute, themed cupcakes that mirror the fun of your cookies, creating a vibrant dessert table kids will adore.
Expert Tips for Peanut Butter Spider Cookies
-
Prevent Overbaking: Keep an eye on the cookies and remove them when the edges are golden but the center looks slightly underbaked. This ensures a soft, chewy texture typical of Peanut Butter Spider Cookies.
-
Check Dough Consistency: If the dough is too sticky to handle, chill it for about 10-15 minutes. This helps in rolling them into balls easily without sticking to your hands.
-
Chocolate Melting: Melt chocolate chips in short bursts, stirring in between, to prevent overheating and burning. This ensures a smooth piping consistency for the spider legs.
-
Creative Decorations: Don’t limit yourself to Whoppers! Consider using gummy candies or pretzels for unique spider creations. Be adventurous with your Peanut Butter Spider Cookies!
-
Storage Tips: To maintain freshness, store cookies in an airtight container at room temperature. If storing longer, freeze them but be gentle with the chocolate legs as they may get fragile.
Peanut Butter Spider Cookies Recipe FAQs
What kind of peanut butter should I use for these cookies?
I recommend using creamy peanut butter that isn’t natural, as it provides the best flavor and texture for these Peanut Butter Spider Cookies. If you want a bit more crunch, feel free to swap in some crunchy peanut butter for a delightful variation!
How should I store leftover cookies?
Store your Peanut Butter Spider Cookies in an airtight container at room temperature for up to 5 days to maintain their scrumptious softness. If you’d like them to last longer, freeze them in a single layer first, then transfer them to a freezer-safe bag for up to 3 months. Just remember that the chocolate legs may become fragile after freezing.
Can I freeze the cookie dough before baking?
Absolutely! To freeze your cookie dough, scoop the dough into balls and place them on a lined baking sheet. Freeze until solid, then transfer the dough balls into a freezer-safe bag, labeling with the date. You can bake them straight from the freezer by adding an extra minute or two to the baking time!
What if my cookies spread too much while baking?
If your Peanut Butter Spider Cookies spread too much during baking, it could be due to the butter being too warm or the dough not being chilled. To prevent this, always use softened butter rather than melted and chill the dough for about 10-15 minutes before scooping and baking. This helps maintain their shape beautifully!
Are these cookies safe for pets?
While these cookies are absolutely delightful for humans, be cautious about sharing with your furry friends. Peanut butter is generally safe, but chocolate can be toxic to dogs. If you want to treat your pet, consider setting aside some dough before adding any chocolate or candy decorations. Always consult with your vet regarding new treats!
How can I ensure my cookies don’t dry out?
To keep your Peanut Butter Spider Cookies moist and chewy, avoid overbaking them! Keep an eye on the timer; they should be removed when the edges are just golden but the centers look slightly underbaked. Also, store them properly in an airtight container to lock in that delightful chewiness!
Chewy Peanut Butter Spider Cookies for a Spooktacular Treat
Ingredients
Equipment
Method
- Preheat your oven to 375°F (190°C) and line two baking sheets with parchment paper.
- In a medium bowl, whisk together the all-purpose flour, baking soda, and baking powder.
- In a large bowl, cream together the softened salted butter, granulated sugar, and brown sugar until light and fluffy.
- Add the creamy peanut butter, egg, and vanilla extract, mixing until combined.
- Gradually add the dry ingredients to the wet mixture, mixing on low speed until fully incorporated.
- Shape about 2 tablespoons of dough into a ball and roll in granulated sugar before placing on the baking sheets.
- Bake for 8-10 minutes, until the edges are golden and centers are slightly soft.
- Press a Whopper into the center of each cookie and cool briefly on the baking sheets.
- Melt the semi-sweet chocolate chips and pipe spider legs onto cooled cookies.
- Pipe eyes with white cake decorating gel above the Whopper heads.