

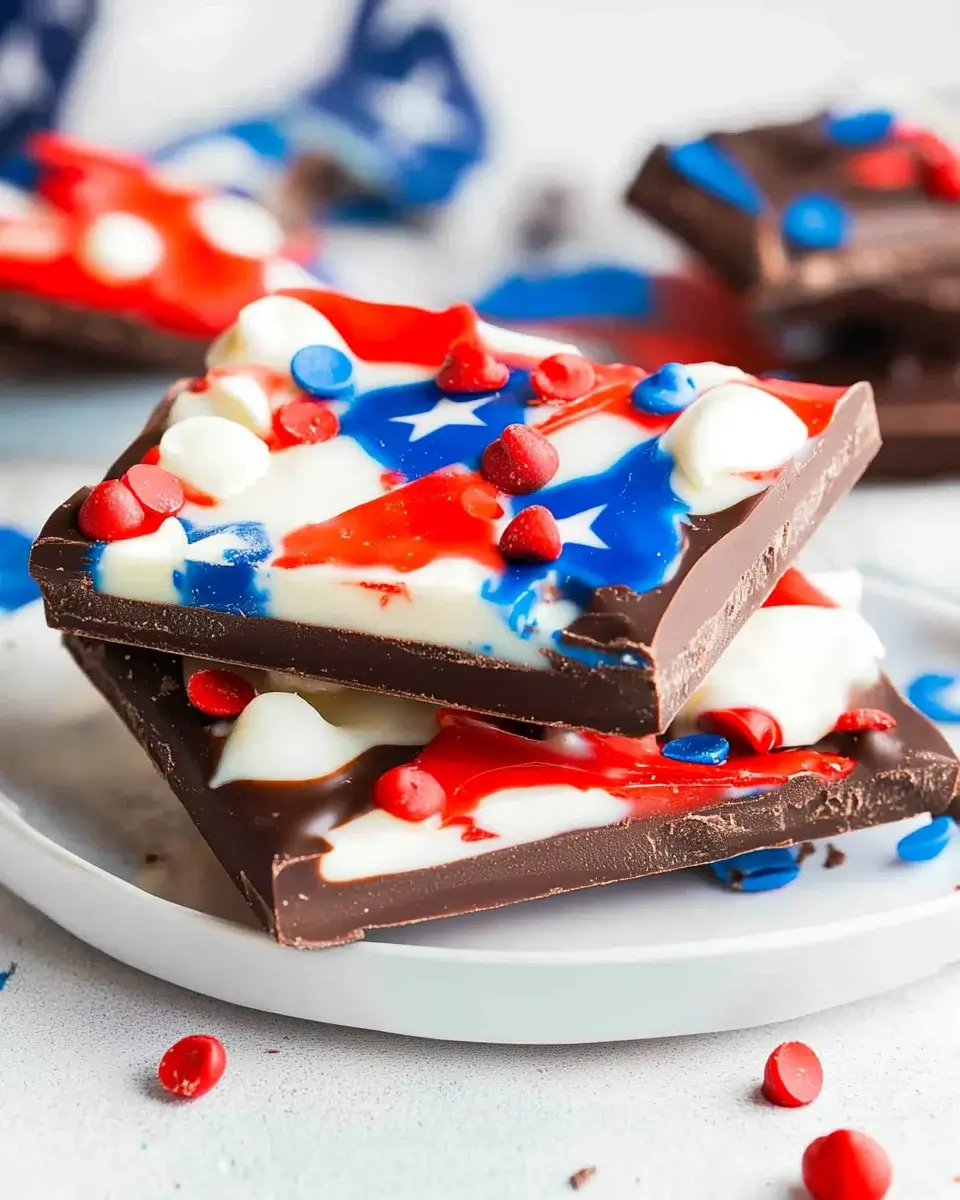
Introduction to Red, White, and Blue Chocolate Bark
There’s something magical about a dessert that captures the spirit of celebration. The Red, White, and Blue Chocolate Bark is just that—a vibrant, festive treat that’s as easy to make as it is delightful to eat. Whether you’re gearing up for a summer barbecue, a holiday gathering, or just want to impress your friends, this no-bake recipe is a quick solution for busy days. With its colorful layers and delicious flavors, it’s sure to bring smiles all around. Let’s dive into this fun and simple treat that’s perfect for any occasion!
Why You’ll Love This Red, White, and Blue Chocolate Bark
This Red, White, and Blue Chocolate Bark is a game-changer for anyone looking to whip up a festive dessert without the fuss. It’s incredibly easy to make, requiring no baking and minimal cleanup. Plus, the vibrant colors and delightful flavors make it a hit with both kids and adults. In just 45 minutes, you can create a stunning treat that’s perfect for any celebration. Who wouldn’t love that?
Ingredients for Red, White, and Blue Chocolate Bark
Gathering the right ingredients is the first step to creating your Red, White, and Blue Chocolate Bark. Here’s what you’ll need:
- White chocolate chips: The creamy base that holds everything together. They melt beautifully and provide a sweet canvas for the vibrant colors.
- Red candy melts: These add a pop of color and a sweet, slightly fruity flavor. They’re perfect for drizzling and creating that festive look.
- Blue candy melts: Just like the red, these bring a burst of color and sweetness. Together, they create a patriotic palette that’s hard to resist.
- Freeze-dried strawberries: These crunchy bits add a fruity flavor and a delightful texture. They’re a great way to incorporate real fruit without the mess.
- Blueberries: Fresh and juicy, they provide a burst of flavor and a beautiful contrast against the white chocolate.
- Mini marshmallows: These fluffy treats add a fun, chewy texture. They’re like little clouds of sweetness on top of your bark.
- Sprinkles (red, white, and blue): The finishing touch! Sprinkles add a festive crunch and make your bark look extra special.
Feel free to get creative! You can swap out the freeze-dried strawberries for crushed peppermint candies for a winter twist. And if you want to match the colors to another holiday, different colored sprinkles can do the trick. For exact measurements, check the bottom of the article where you can find everything available for printing.
How to Make Red, White, and Blue Chocolate Bark
Creating your own Red, White, and Blue Chocolate Bark is a fun and straightforward process. Follow these simple steps, and you’ll have a festive treat ready in no time!
Step 1: Prepare Your Baking Sheet
Start by lining a baking sheet with parchment paper. This step is crucial! It prevents the chocolate from sticking, making it easy to lift off once it’s set. Plus, it saves you from a messy cleanup. Just cut a piece of parchment to fit the sheet, and you’re good to go!
Step 2: Melt the White Chocolate
In a microwave-safe bowl, add your white chocolate chips. Microwave them in 30-second intervals, stirring in between. This method helps prevent burning. You want the chocolate to be smooth and creamy. Once melted, pour it onto your prepared baking sheet and spread it into an even layer. This white base is the canvas for your colorful masterpiece!
Step 3: Melt the Red and Blue Candy Melts
Next, melt the red and blue candy melts using the same microwave method. Place each color in separate bowls and heat them in 30-second bursts, stirring until smooth. The vibrant colors will really pop against the white chocolate. Once melted, you’re ready to create some magic!
Step 4: Create the Marbled Effect
Now comes the fun part! Drizzle the melted red candy melts over the white chocolate layer, followed by the blue candy melts. Use a toothpick or skewer to gently swirl the colors together. This creates a beautiful marbled effect that’s visually stunning. Don’t overdo it; a few swirls will do the trick!
Step 5: Add Toppings
Sprinkle the crushed freeze-dried strawberries, blueberries, mini marshmallows, and sprinkles evenly over the chocolate. This is where you can get creative! Make sure to distribute the toppings so every piece has a little something special. The colors and textures will make your bark irresistible!
Step 6: Chill and Set
Place the baking sheet in the refrigerator for about 30 minutes. This chilling time allows the chocolate to set properly. You’ll know it’s ready when it’s firm to the touch. Patience is key here; the wait will be worth it!
Step 7: Break and Serve
Once the chocolate is set, it’s time to break it into pieces. You can use your hands or a sharp knife to cut it into fun shapes. Serve it on a festive platter, and watch your friends and family enjoy this delightful treat. It’s perfect for sharing at any celebration!
Tips for Success
- Make sure to stir the chocolate melts thoroughly to avoid any lumps.
- Use high-quality chocolate for the best flavor and texture.
- Don’t rush the chilling process; it’s essential for a clean break.
- Experiment with toppings—nuts or different fruits can add a unique twist.
- Store any leftovers in an airtight container to keep them fresh.
Equipment Needed
- Baking sheet: A standard size works well, but a larger one gives you more space.
- Parchment paper: If you don’t have this, aluminum foil can be a substitute.
- Microwave-safe bowls: Any heat-resistant bowl will do, even glass or ceramic.
- Toothpick or skewer: A fork can also work for swirling the colors.
Variations
- Nutty Delight: Add chopped almonds or walnuts for a crunchy texture that complements the sweetness.
- Fruit Fusion: Swap out blueberries for raspberries or blackberries for a different fruity flavor.
- Minty Fresh: Incorporate crushed peppermint candies instead of freeze-dried strawberries for a refreshing twist.
- Dark Chocolate Option: Use dark chocolate chips instead of white chocolate for a richer taste.
- Vegan Version: Substitute with dairy-free chocolate chips and candy melts to make it vegan-friendly.
Serving Suggestions
- Pair your Red, White, and Blue Chocolate Bark with a scoop of vanilla ice cream for a delightful contrast.
- Serve it alongside fresh fruit skewers for a colorful and healthy addition.
- Present on a festive platter, garnished with extra sprinkles for a fun touch.
- Enjoy with a refreshing lemonade or iced tea to balance the sweetness.
FAQs about Red, White, and Blue Chocolate Bark
Can I use regular chocolate instead of candy melts?
Absolutely! While candy melts are great for their vibrant colors, you can use regular chocolate. Just keep in mind that the melting process may vary slightly, and you might not achieve the same bright hues.
How long does the Red, White, and Blue Chocolate Bark last?
This festive treat can last up to two weeks when stored in an airtight container at room temperature. Just make sure it’s kept away from direct sunlight to maintain its freshness.
Can I make this chocolate bark ahead of time?
Yes! You can prepare your Red, White, and Blue Chocolate Bark a day or two in advance. Just store it properly, and it will be ready to impress your guests when the time comes.
What can I substitute for freeze-dried strawberries?
If you don’t have freeze-dried strawberries, crushed peppermint candies or even chopped nuts can be a delightful alternative. They’ll add a unique flavor and texture to your bark!
Is this recipe suitable for kids to help with?
Definitely! Making Red, White, and Blue Chocolate Bark is a fun activity for kids. They can help with pouring, sprinkling toppings, and swirling the colors. Just supervise them during the melting process to ensure safety!
Final Thoughts
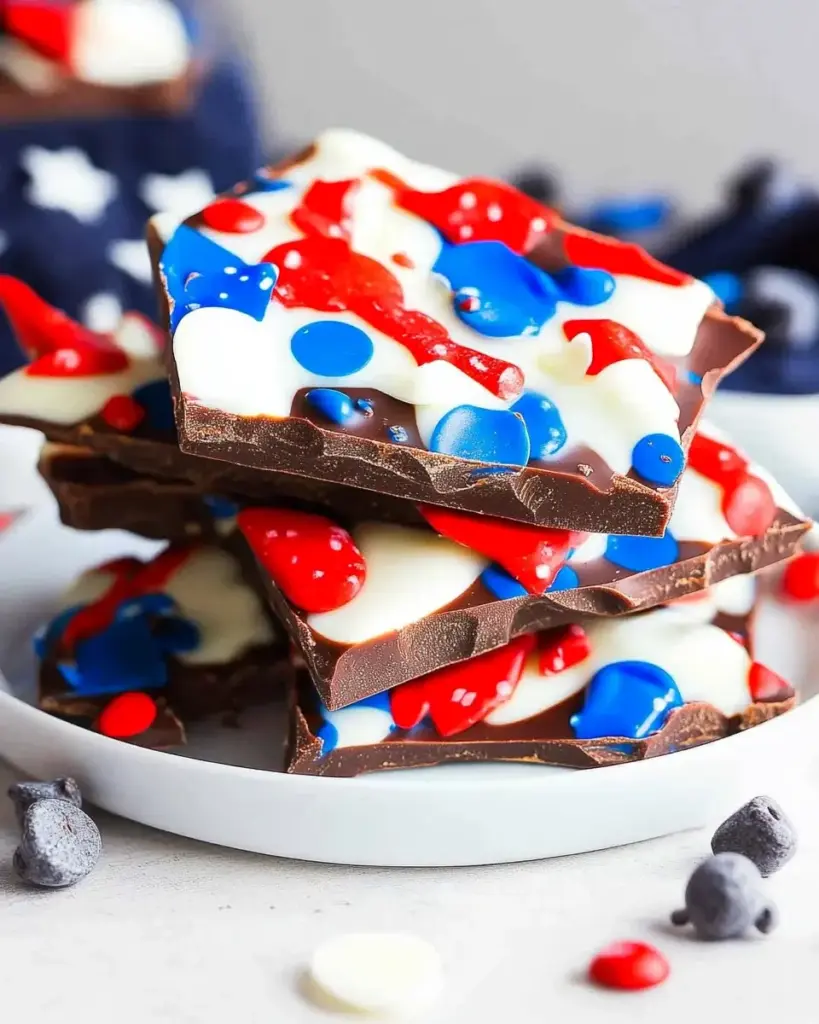
Creating Red, White, and Blue Chocolate Bark is more than just a recipe; it’s an experience filled with joy and creativity. The vibrant colors and delightful flavors make it a perfect centerpiece for any celebration. Whether you’re sharing it at a barbecue or enjoying it with family on a cozy evening, this treat brings smiles and sparks conversations. Plus, the simplicity of making it means you can focus on what truly matters—making memories with loved ones. So, roll up your sleeves, gather your ingredients, and let the festivities begin with this deliciously fun dessert!
Red, White, and Blue Chocolate Bark: A Festive Treat!
Ingredients
Method
- Line a baking sheet with parchment paper and set aside.
- In a microwave-safe bowl, melt the white chocolate chips in 30-second intervals, stirring in between, until smooth. Pour the melted white chocolate onto the prepared baking sheet and spread it into an even layer.
- In separate bowls, melt the red and blue candy melts using the same method as the white chocolate.
- Drizzle the melted red candy melts over the white chocolate layer, followed by the blue candy melts. Use a toothpick or skewer to swirl the colors together gently for a marbled effect.
- Sprinkle the crushed freeze-dried strawberries, blueberries, mini marshmallows, and sprinkles evenly over the top.
- Place the baking sheet in the refrigerator for about 30 minutes or until the chocolate is completely set.
- Once set, break the chocolate bark into pieces and serve.
Notes
- For a festive touch, consider adding chopped nuts or using different colored sprinkles to match other holidays.
- You can also substitute the freeze-dried strawberries with crushed peppermint candies for a winter-themed variation.