

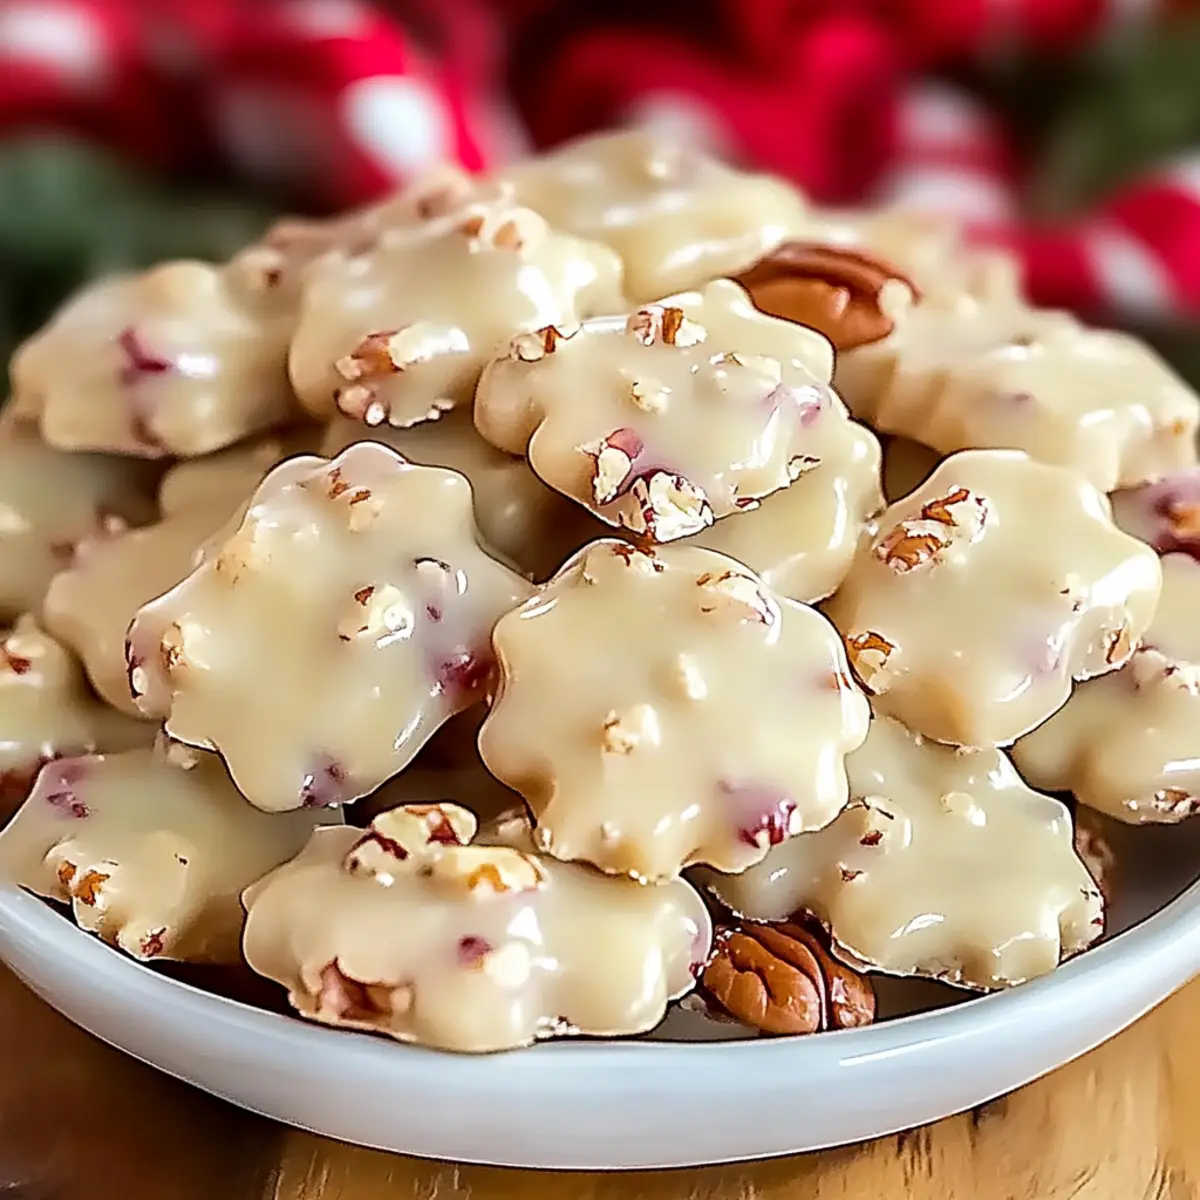
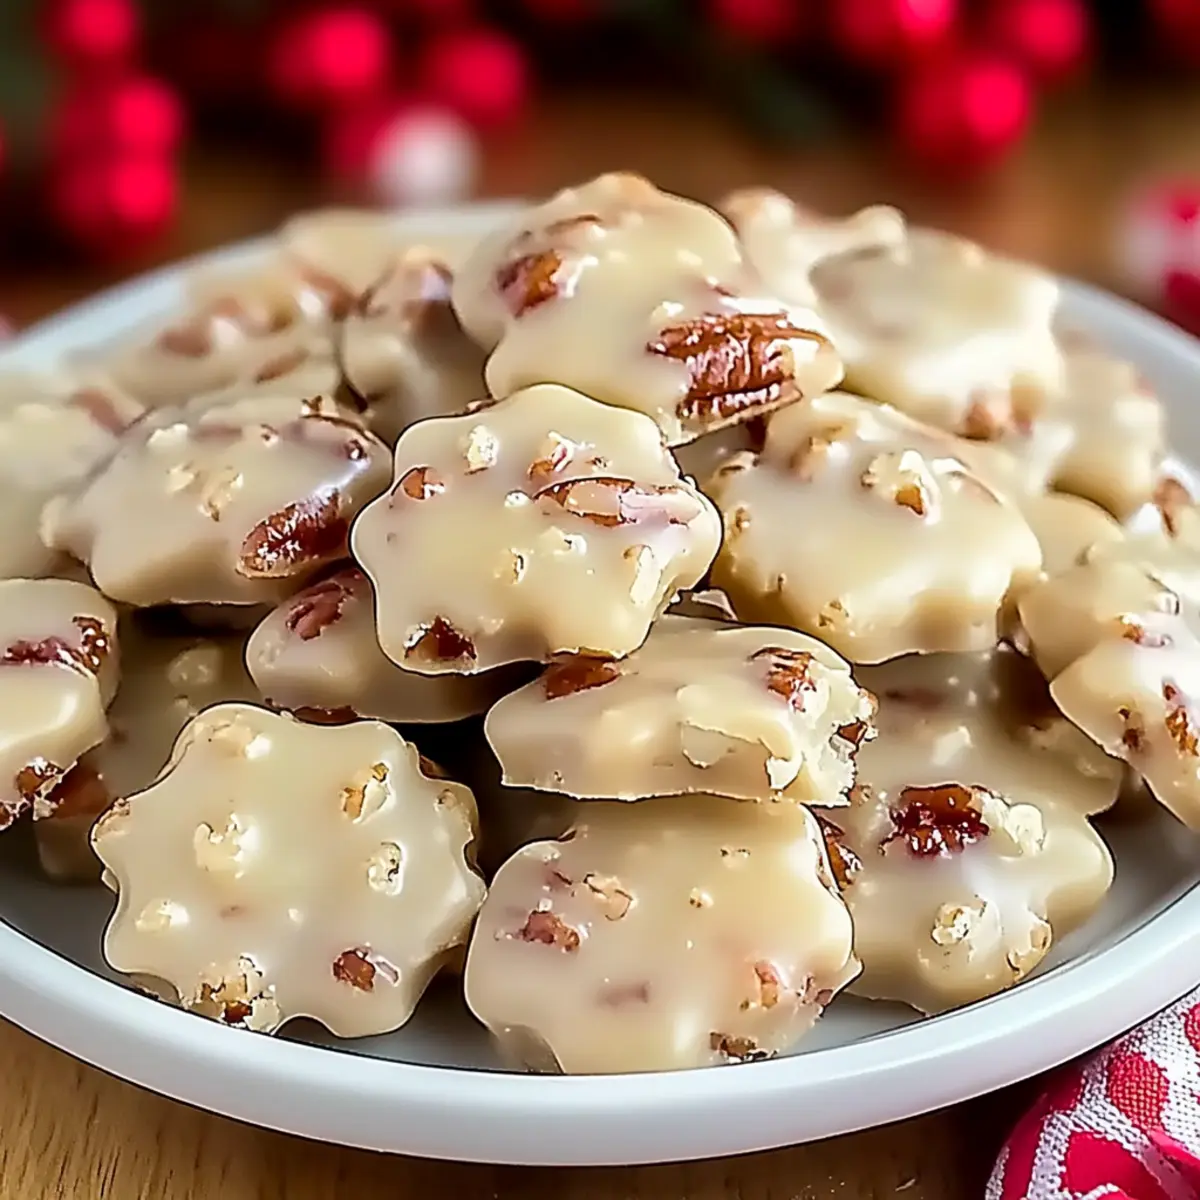
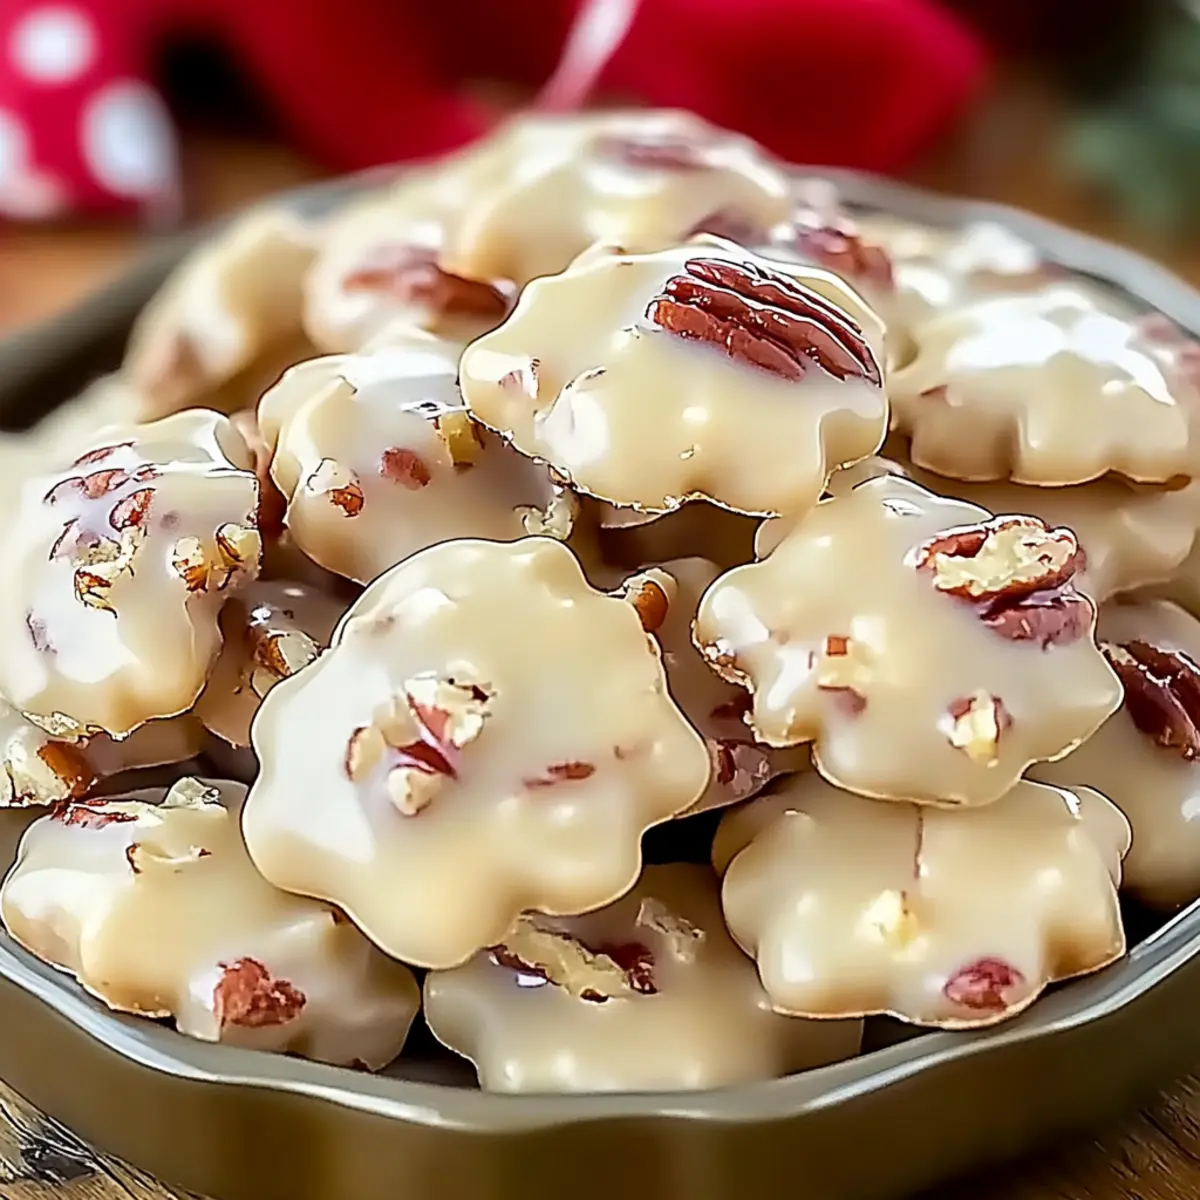
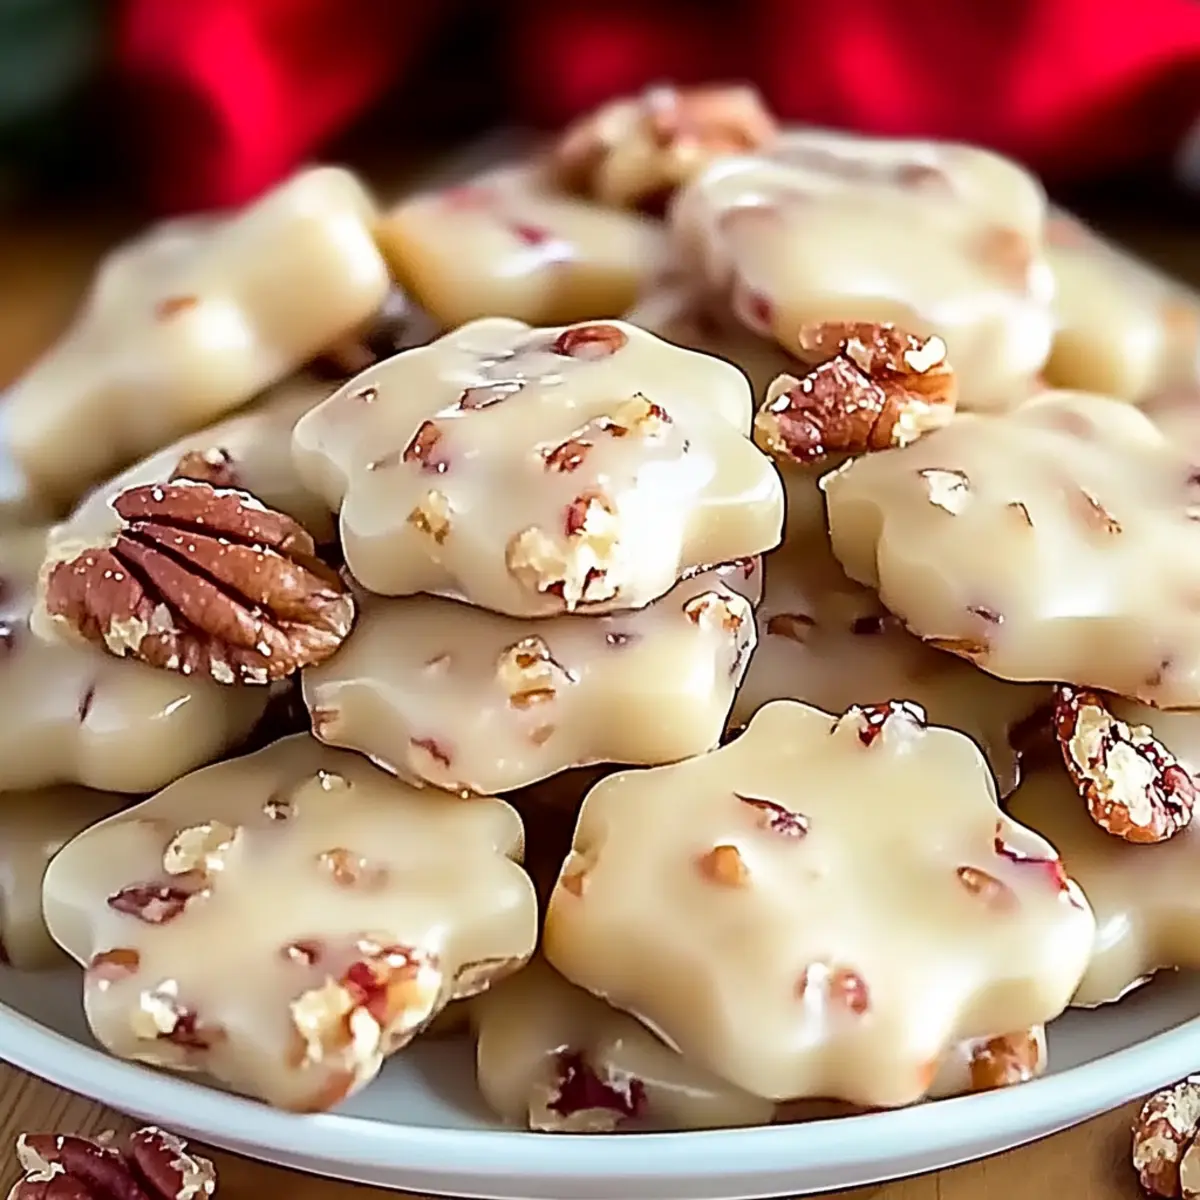
As I rummaged through my grandmother’s recipe box, the familiar scent of vanilla and caramel wafted up, tugging at my heartstrings. That’s how I revisited the beloved Vanilla Pecan Pralines, a classic Southern treat that brings a taste of home to any gathering. The rich, buttery sweetness combined with the satisfying crunch of pecans makes these pralines not just a dessert, but a celebration of cherished memories and traditions. Plus, they’re a breeze to whip up, making them perfect for both spontaneous cravings and festive occasions. Whether you’re sharing them with loved ones or indulging in a quiet moment at home, these delightful pralines promise to sweeten your day. Ready to rekindle those warm feelings and create some culinary magic? Let’s dive into this sweet indulgence together!
Why will you adore these pralines?
Nostalgic Flavor: The sweet, creamy blend of vanilla and caramel evokes memories of cherished family gatherings.
Quick to Make: With just six simple ingredients, you can enjoy homemade sweets in under an hour!
Versatile Treat: These pralines shine at holidays, parties, or as a quick snack alongside your favorite coffee.
Easy Customization: Feel free to swap nuts or drizzle chocolate for a personalized touch. If you love homemade desserts, consider trying our Nutty Vanilla Cake or Cream Puffs Vanilla.
Gifting Option: Pack them beautifully in a jar, and you’ve got a charming gift for friends or neighbors. Enjoy creating lasting memories with these delightful bites!
Vanilla Pecan Pralines Ingredients
For the Praline Mixture
• Granulated Sugar – Provides sweetness and structure; essential for that perfect melt-in-your-mouth texture.
• Light Brown Sugar – Adds depth of flavor with a hint of molasses; for a richer taste, dark brown sugar is a great substitute.
• Heavy Cream – Contributes creaminess and richness; half-and-half can be used for a lighter version but may alter the final result.
• Unsalted Butter – Enhances richness and texture; using salted butter is fine, just reduce any extra salt in your recipe.
• Pure Vanilla Extract – Adds aromatic flavor, elevating the integrity of the pralines; vanilla bean paste can also work, although the flavor intensity may vary.
• Pecan Halves – Main structure providing a nutty crunch; for a delightful twist, substitute with toasted walnuts or almonds.
• Pinch of Salt – Balances the sweetness perfectly, ensuring flavors pop; this ingredient is essential and should not be omitted.
Step‑by‑Step Instructions for Vanilla Pecan Pralines
Step 1: Prepare the Workspace
Begin by creating a clean and tidy workspace. Line a baking sheet with parchment paper or a silicone mat, ensuring that it’s ready to catch those lovely praline droplets. This step is crucial for easy removal once your Vanilla Pecan Pralines cool, allowing them to maintain their delightful shape.
Step 2: Combine Ingredients
In a medium saucepan, combine granulated sugar, light brown sugar, heavy cream, and unsalted butter. Cook the mixture over medium heat, constantly stirring to dissolve the sugars and create a smooth blend. Keep an eye on the thermometer and bring the mixture to 240°F, which is the soft ball stage. You’ll know it’s ready when it’s bubbling and has a glossy appearance.
Step 3: Add Flavorings
Once your mixture reaches the soft ball stage, carefully remove the saucepan from heat. Stir in the pure vanilla extract, toasted pecans, and a pinch of salt, mixing well to incorporate all elements. The aroma at this point will be heavenly, as the flavors meld together to create the delicious essence of your Vanilla Pecan Pralines.
Step 4: Cool and Thicken
Allow the mixture to cool in the saucepan for about 5 minutes. After this brief cooling period, stir it vigorously for about 2-3 minutes until it thickens and becomes slightly cloudy. This vigorous stirring helps develop the ideal texture, transforming it from a liquid into a luscious, thick mixture that’s perfect for shaping.
Step 5: Shape Pralines
Using a spoon or a cookie scoop, drop spoonfuls of the thickened mixture onto the prepared baking sheet. Space each mound apart to allow room for spreading as they cool. You’ll start to see those charming little clusters of Vanilla Pecan Pralines taking shape, each promising a delightful crunch and sweetness.
Step 6: Set
Let the pralines cool completely at room temperature, which should take about 30 minutes. During this time, they will set and firm up, developing that irresistible texture that’s both slightly soft and perfectly crunchy. Resist the urge to touch them too soon; patience is key to achieving the ultimate deliciousness in your Vanilla Pecan Pralines!
What to Serve with Classic Vanilla Pecan Pralines
These delightful pralines deserve the perfect companions to elevate your dessert experience and create a well-rounded meal.
-
Rich Coffee: A robust cup of coffee complements the sweetness of pralines. The bitterness balances the buttery caramel flavors beautifully.
-
Smooth Vanilla Ice Cream: A scoop of creamy vanilla ice cream adds a luscious texture that perfectly contrasts the crunchy pralines, creating a delightful harmony of flavors.
-
Whipped Cream: Light and airy whipped cream enhances the experience, adding a touch of creaminess that pairs wonderfully with the pralines’ rich sweetness.
-
Fresh Berries: The tartness of strawberries or raspberries provides a refreshing contrast to the pralines, brightening the dessert and bringing a pop of color to your plate.
-
Chocolate Drizzle: A simple drizzle of melted chocolate over the pralines adds sophistication and richness that tantalizes your taste buds, turning each bite into an indulgent treat.
-
Herbal Tea: A cup of calming herbal tea, such as chamomile or mint, refreshes the palate and resonates with the dessert’s sweet notes, making for a lovely after-dinner pairing.
-
Nutty Biscotti: Crunchy biscotti offers a delightful textural contrast to the soft caramel of pralines, perfect for dipping and enjoying alongside your coffee.
-
Caramel Sauce: Serve with a drizzle of caramel on top or around the pralines for an added layer of sweetness, enhancing the flavor experience even further.
Make Ahead Options
These Vanilla Pecan Pralines are perfect for meal prep enthusiasts! You can prepare the praline mixture up to 24 hours in advance by cooking it through Step 3, then transferring it to an airtight container and refrigerating. For the best results, allow the mixture to warm to room temperature before stirring vigorously and proceeding to Steps 4 through 6 when you’re ready to serve. Additionally, once shaped and cooled, you can store the pralines in an airtight container at room temperature for up to one week. This method ensures they retain their delightful crunch and flavor, making your busy weeks much sweeter with minimal effort!
Storage Tips for Vanilla Pecan Pralines
Room Temperature: Store your pralines in an airtight container at room temperature for up to 1 week to maintain their delightful texture and flavor.
Refrigeration: If humidity is high, refrigerate the pralines to avoid stickiness, ensuring you separate layers with parchment paper to prevent sticking.
Make-Ahead: You can prepare these Vanilla Pecan Pralines several days in advance; just keep them tightly sealed in an airtight container until you’re ready to share or enjoy.
Freezing: For longer storage, freeze the pralines in an airtight container for up to 3 months; when ready to enjoy, let them thaw at room temperature for the best texture.
Expert Tips for Vanilla Pecan Pralines
-
Candy Thermometer Necessity: Using a candy thermometer is crucial; achieving 240°F ensures the perfect soft ball stage for that delightful praline texture.
-
Constant Stirring: Stir the mixture gently but continuously while cooking to prevent sugar crystals from forming, which could ruin the smoothness of your Vanilla Pecan Pralines.
-
Vigorously Stir to Thicken: After cooling for five minutes, stir your mixture vigorously until thickened; this ensures the pralines hold their shape and have a luscious mouthfeel.
-
Pecan Toasting Tip: Always toast your pecan halves before adding them to enhance their flavor and aroma, elevating your pralines to a whole new level of deliciousness.
-
Storing Properly: Store your pralines in an airtight container at room temperature to keep them fresh for up to a week; refrigerate in humid conditions to prevent stickiness.
Vanilla Pecan Pralines Variations
Feel free to get creative with your Vanilla Pecan Pralines and add your special touch to this already delightful treat!
-
Nutty Swap: Replace pecans with walnuts, almonds, or macadamia nuts for a different flavor experience. Each nut brings a unique twist, enhancing the overall flavor profile deliciously.
-
Chocolate Drizzle: Drizzle melted chocolate over the cooled pralines for an elegant finish. This adds a rich layer of decadence that beautifully complements the sweet, nutty flavors.
-
Flavor Infusion: Add a splash of bourbon or rum to the mixture for an adult twist. This slight enhancement creates a warm depth that warms the heart and soul.
-
Spice it Up: Incorporate a pinch of cinnamon or nutmeg into the mixture for a warm, spicy note. It’ll evoke the cozy essence of the holiday season in every bite.
-
Maple Bliss: Substitute half of the granulated sugar with maple syrup for a maple-infused twist. The natural sweetness adds a rustic charm that’s simply enchanting.
-
Crunchy Texture: Mix in crushed toffee bits or caramel pieces for added crunch and flavor. The layers of sweetness create a delightful surprise in each bite of your pralines.
-
Coconut Flakes: Fold in unsweetened toasted coconut flakes for a tropical flair. This little addition gives your pralines an enticing chewiness that pairs beautifully with the pecans.
-
Ice Cream Topping: Serve these pralines crumbled over a scoop of vanilla ice cream for a delicious sundae. The combination of textures and flavors elevates this dessert to a fabulous new level.
If you’re craving more delightful desserts, don’t forget to check out our Cream Puffs Vanilla or indulge in some rich Vanilla Pudding. Enjoy crafting your unique version of these timeless treats!
Vanilla Pecan Pralines Recipe FAQs
How do I choose ripe pecans for the recipe?
Absolutely! When selecting pecans for your Vanilla Pecan Pralines, look for those that are plump and uniform in size. Fresh pecans have a rich, nutty scent with no dark spots. If you’re purchasing pre-packaged pecans, ensure they’re labeled as “fresh” and check the expiration date to guarantee you’re getting the best quality.
What’s the best way to store Vanilla Pecan Pralines?
To maintain their freshness, store your pralines in an airtight container at room temperature for up to 1 week. If you live in a humid environment, it’s best to refrigerate them to prevent stickiness. Just make sure to layer parchment paper between the pralines if you’re stacking them!
Can I freeze my Vanilla Pecan Pralines?
Yes, you can freeze your pralines for longer storage! Simply place them in an airtight container or a freezer bag, ensuring there’s no excess air, and freeze for up to 3 months. When you’re ready to enjoy, thaw them at room temperature for the best texture and flavor experience.
What should I do if my praline mixture is too soft?
If you find that your praline mixture is too soft after you’ve made it, don’t worry! Simply transfer the mixture to the refrigerator for about 15-20 minutes. Check periodically until it firms up enough to be shaped into your desired clusters. It’s always better to err on the side of caution when checking for consistency.
Are Vanilla Pecan Pralines suitable for individuals with nut allergies?
Unfortunately, Vanilla Pecan Pralines contain nuts as a main ingredient and are not suitable for those with nut allergies. However, you can create a delightful version by using seeds (like sunflower or pumpkin seeds) instead, though the flavor will differ slightly. Always ensure that your substitutions and ingredients cater to dietary needs for a safe indulgence!
Decadent Vanilla Pecan Pralines for Sweet Southern Memories
Ingredients
Equipment
Method
- Prepare the Workspace: Begin by creating a clean and tidy workspace. Line a baking sheet with parchment paper or a silicone mat, ensuring that it's ready to catch those lovely praline droplets.
- Combine Ingredients: In a medium saucepan, combine granulated sugar, light brown sugar, heavy cream, and unsalted butter. Cook the mixture over medium heat, constantly stirring to dissolve the sugars and create a smooth blend. Bring the mixture to 240°F, which is the soft ball stage.
- Add Flavorings: Once your mixture reaches the soft ball stage, remove the saucepan from heat. Stir in the pure vanilla extract, toasted pecans, and a pinch of salt.
- Cool and Thicken: Allow the mixture to cool in the saucepan for about 5 minutes. After this, stir it vigorously for 2-3 minutes until it thickens and becomes slightly cloudy.
- Shape Pralines: Using a spoon or a cookie scoop, drop spoonfuls of the thickened mixture onto the prepared baking sheet. Space each mound apart.
- Set: Let the pralines cool completely at room temperature, which should take about 30 minutes.