

Strolling through bustling streets filled with tantalizing aromas, I stumbled upon a small food stall where the air was thick with the sweet, buttery scent of Tteokbokki. It wasn’t just about the flavors; it was about the experience that transported me to Korea in an instant. Fast forward to today, and I’m thrilled to bring you my Easy Honey Butter Tteokbokki recipe, made with just four ingredients and ready in a mere 10 minutes! This delightful dish is not only a crowd-pleaser, but it’s also gluten-free if you choose the right rice cakes. Perfect for any occasion, this quick recipe will satisfy those late-night snack cravings or serve as a charming appetizer. Are you ready to uncover a twist on a beloved classic? Let’s dive into the sweet buttery goodness!
Why is Honey Butter Tteokbokki So Irresistible?
Simplicity at Its Best: You only need four ingredients to create this delightful treat.
Quick to Make: It takes just 10 minutes from start to finish, making it a fantastic option for busy days.
Gluten-Free Option: Made with the right rice cakes, this recipe can cater to gluten-free dietary needs.
Crowd-Pleasing Flavor: The sweet and savory honey-butter glaze will leave everyone wanting more!
Versatile Touch: Feel free to add spices or toppings, making this dish as unique as you desire. If you love quick and delicious snacks, you’ll also adore my Honey Chili Chicken or Garlic Butter French Fries.
Honey Butter Tteokbokki Ingredients
• Whip up your delightful snack with these simple ingredients!
For the Base
- Korean Rice Cakes (1 cup, 120g) – Essential for the chewy texture; soak until soft.
- Butter (1 tbsp, 15g) – This adds a rich flavor and helps achieve a crispy exterior on the rice cakes.
For the Glaze
- Honey (1 tbsp) – This key ingredient provides a sweet touch and balances the savory notes.
- Regular Soy Sauce (½ tbsp) – Adds depth and umami richness essential for the honey butter Tteokbokki flavor.
Feel free to explore substitutions based on your taste preferences!
Step‑by‑Step Instructions for Honey Butter Tteokbokki
Step 1: Prepare Rice Cakes
To start making your Honey Butter Tteokbokki, soak the Korean rice cakes in warm water for about 10-20 minutes if they’re frozen, or simply until soft if refrigerated. Once softened, drain and ensure they are pliable before cooking. This step is crucial for achieving the perfect chewy texture, which is the hallmark of this delightful dish.
Step 2: Melt Butter
In a non-stick pan, add one tablespoon of butter and melt it over low heat. Keeping the temperature low will help the butter melt gently without burning, creating a lovely richness that will enhance your Tteokbokki. Stir occasionally until completely melted and bubbly, filling your kitchen with a delightful aroma.
Step 3: Cook Rice Cakes
Introduce the soaked rice cakes to the pan, spreading them evenly in a single layer. Sauté these for 4-5 minutes over low heat, turning occasionally until they achieve a enticing golden-brown color on the outside. This step will create that coveted crispy exterior, providing a perfect contrast to the soft interior.
Step 4: Add Sauce Mixture
Pour in one tablespoon of honey and half a tablespoon of soy sauce over the sautéed rice cakes. Keep the heat low and gently stir to combine all ingredients, cooking for an additional 2-3 minutes. As the sauce begins to bubble, watch for it to thicken slightly, forming a glossy glaze that clings beautifully to the rice cakes.
Step 5: Serve Your Dish
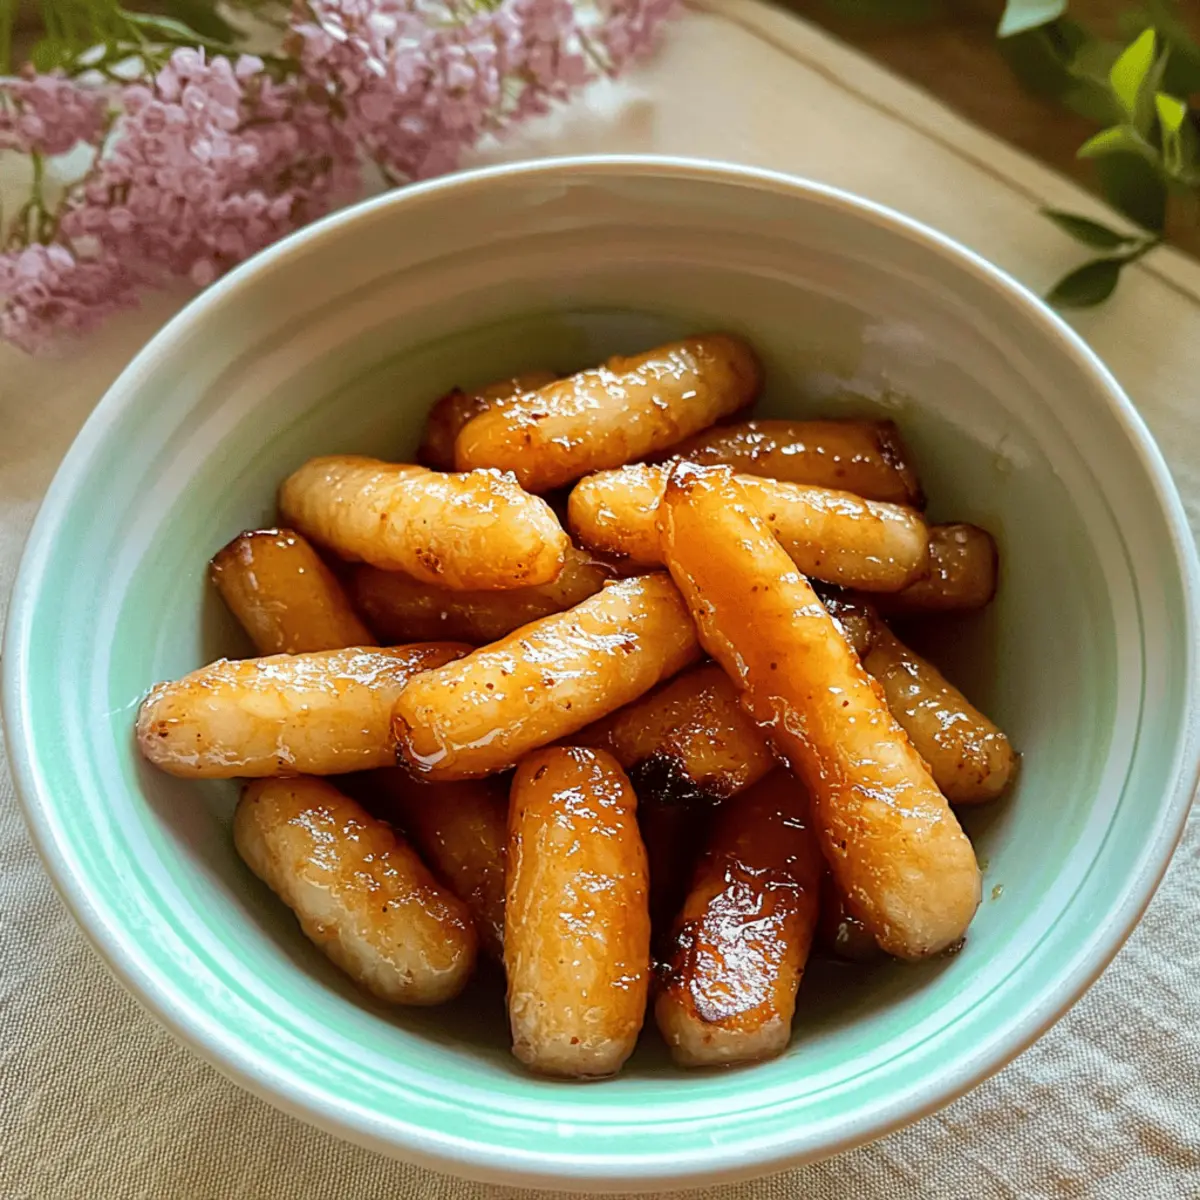
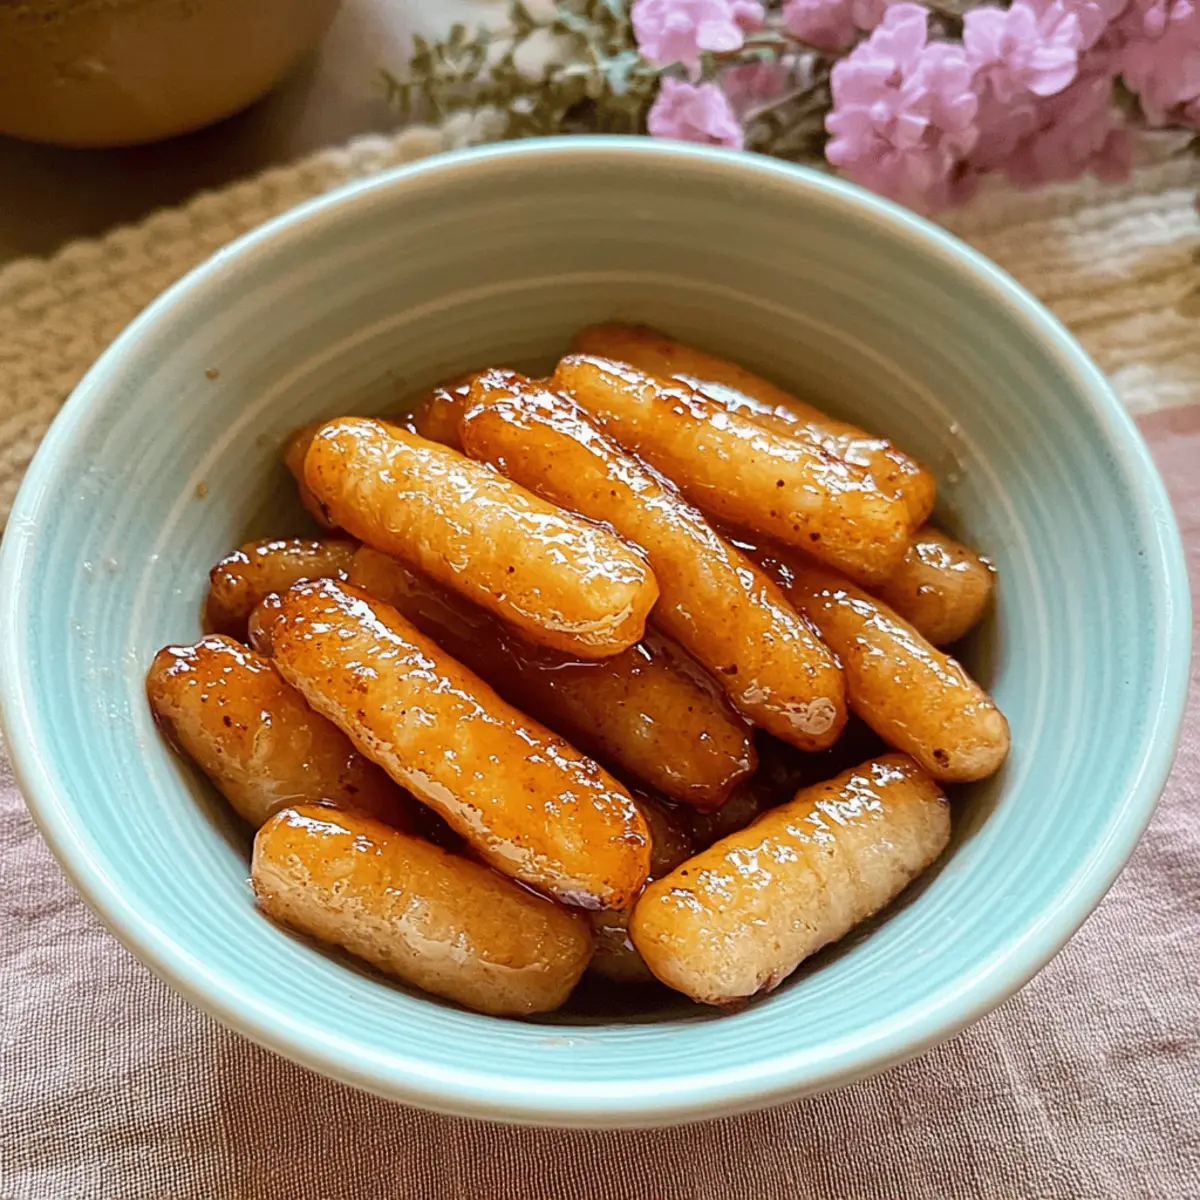
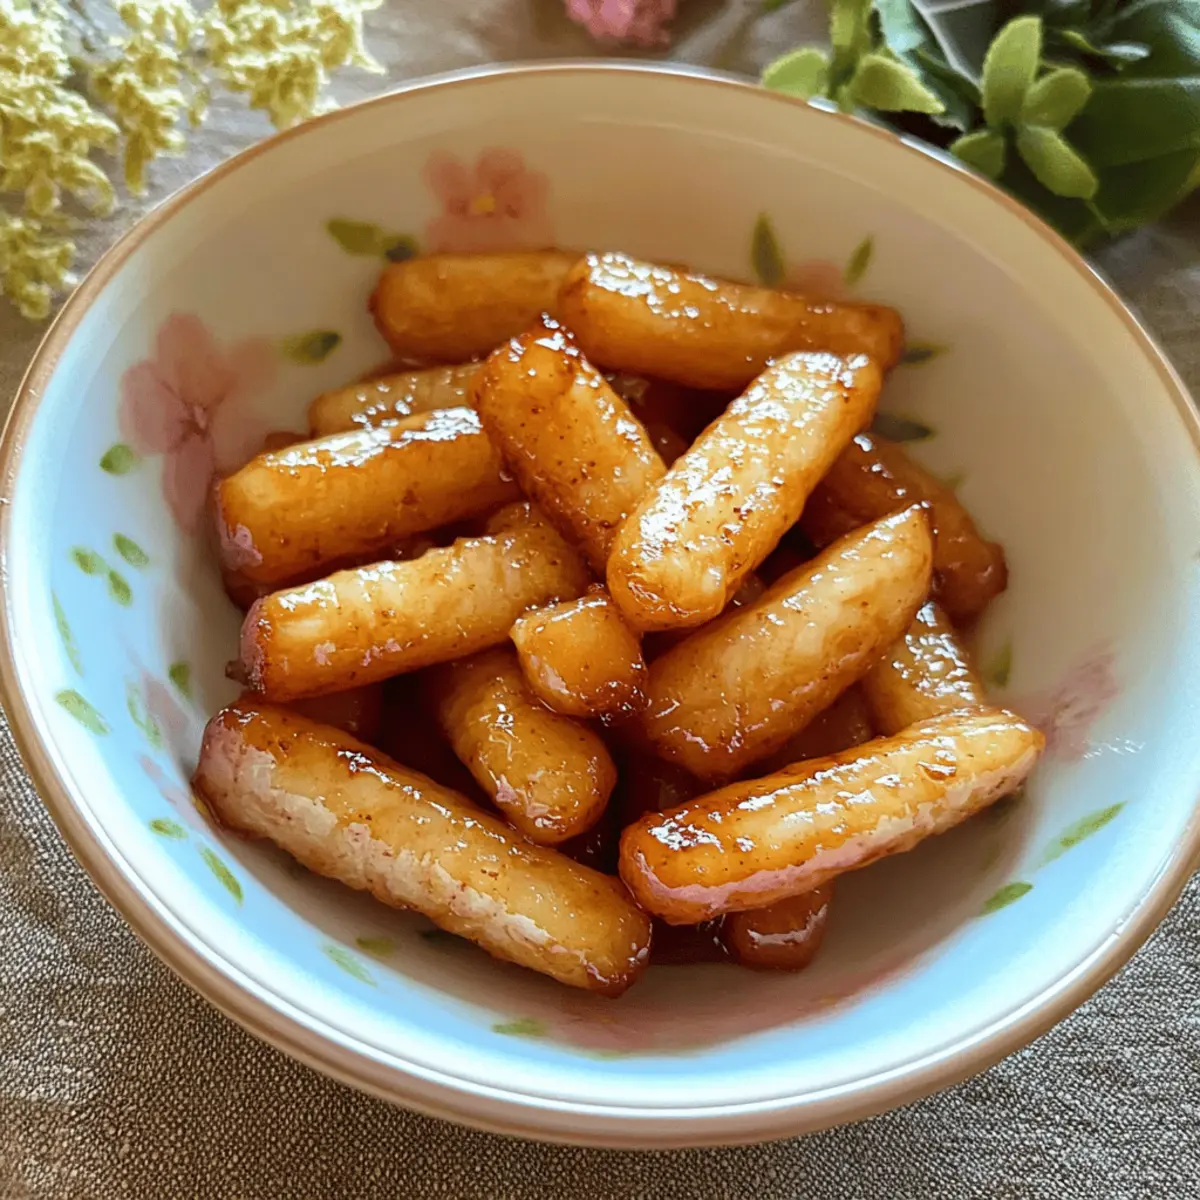
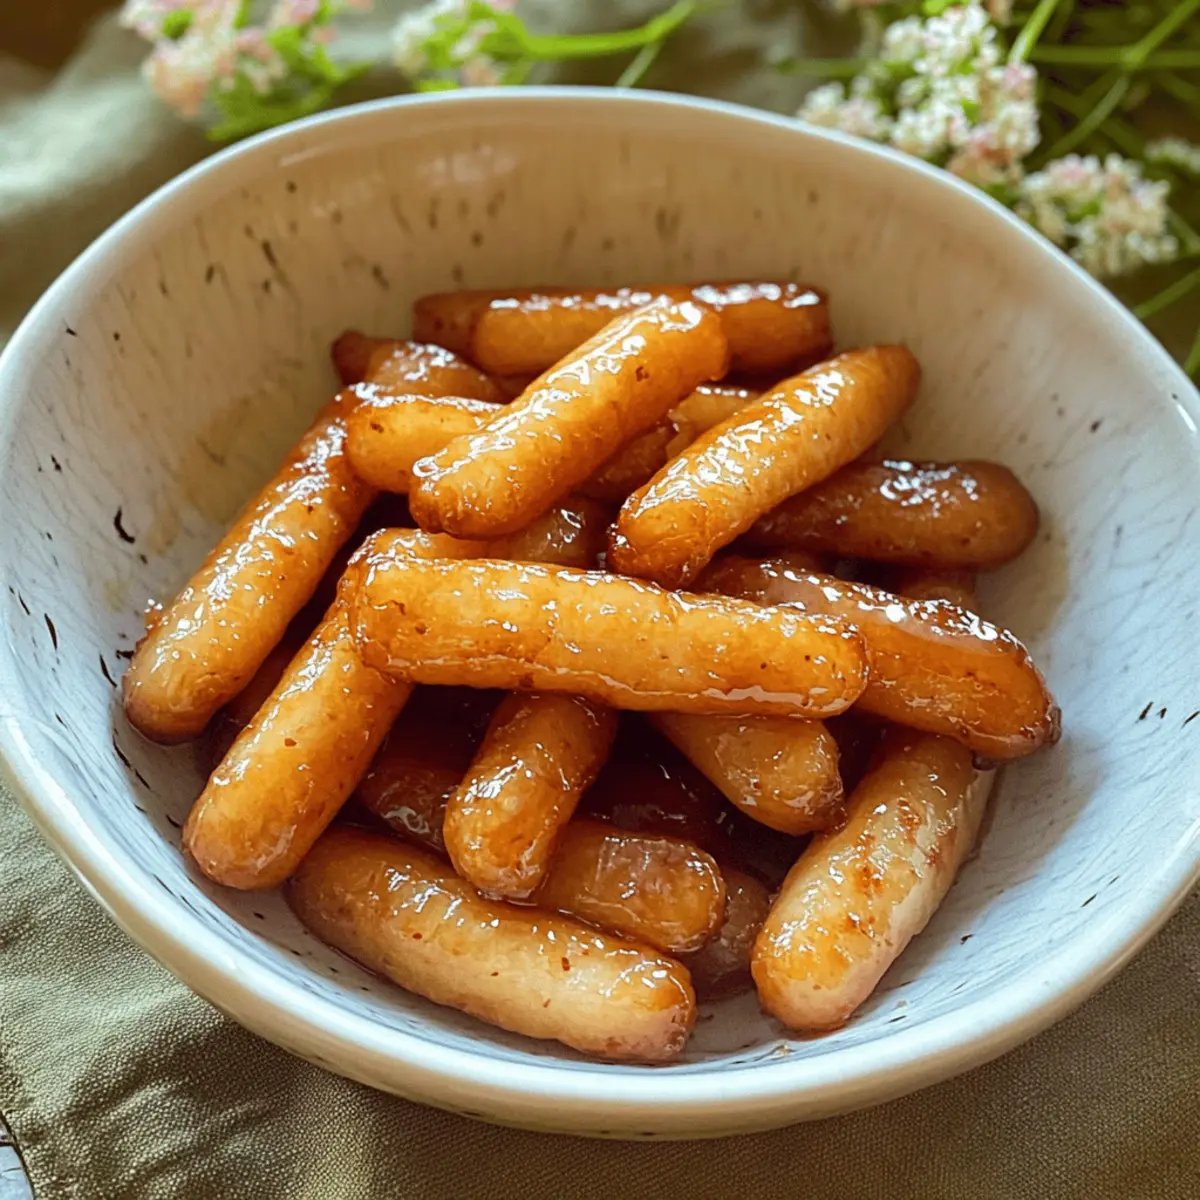
Once the sauce has thickened, remove the pan from the heat. If you desire an extra touch of flavor, feel free to sprinkle shredded cheese on top of the Tteokbokki before serving. Serve your warm Honey Butter Tteokbokki immediately to savor its delightful texture and rich, sweet-savory taste, making it a snack that is sure to please!
Storage Tips for Honey Butter Tteokbokki
-
Room Temperature: Honey Butter Tteokbokki is best enjoyed fresh for optimal texture; however, if left out, it can be at room temperature for up to 2 hours.
-
Fridge: Store leftovers in an airtight container in the fridge for up to 3 days. This will help maintain the flavors while minimizing drying out.
-
Freezer: For longer storage, freeze the Honey Butter Tteokbokki in a freezer-safe container for up to 1 month. Thaw in the refrigerator before reheating.
-
Reheating: Reheat the dish in a pan over low heat, adding a splash of water or extra butter as needed. This helps restore that delightful glaze while ensuring the rice cakes regain some of their original texture.
What to Serve with Easy Honey Butter Tteokbokki
Warm up your dining experience with these delightful pairings that enhance every bite of your cherished dish.
- Kimchi: The spicy, tangy notes of kimchi provide a perfect contrast to the sweet honey butter glaze, balancing flavors beautifully.
- Pickled Vegetables: Crunchy, tangy pickles cut through the richness, creating a refreshing palate cleanser between bites.
- Sesame Spinach Salad: This light, fresh salad brings a nutritious crunch, complementing the dish with a crisp texture and nutty flavor.
- Soft Boiled Eggs: Their creamy texture and mild flavor add richness, elevating the overall experience of your Honey Butter Tteokbokki.
- Steamed Edamame: Lightly salted edamame offers a fun, protein-packed side, contrasting nicely with the sweet sticky rice cakes.
- Mango Lassi: This creamy, sweet beverage helps cool the palate, balancing the comfort of the Tteokbokki with its tropical flavor.
- Matcha Green Tea: Offering a unique earthy taste, matcha tea enhances the dish while lending a calming presence alongside the sweet notes.
- Chocolate Mousse: For dessert, a light chocolate mousse can provide the smooth, rich finale, both indulgent and satisfying after Tteokbokki.
Make Ahead Options
These Easy Honey Butter Tteokbokki are perfect for busy home cooks looking to save time during hectic weekdays! You can prepare the rice cakes by soaking them in water up to 24 hours in advance, keeping them in the refrigerator until you’re ready to cook. For even quicker prep, you can melt the butter and mix the honey and soy sauce together, storing the glaze in an airtight container for up to 3 days. When you’re ready to serve, simply sauté the prepped rice cakes in the melted butter, pour the glaze over them, and cook until the sauce thickens. This way, you’ll enjoy restaurant-quality results with minimal effort!
Expert Tips for Honey Butter Tteokbokki
- Perfect Texture: Soak the rice cakes properly to ensure they are soft enough. Undercooking can lead to chewy, unappetizing results.
- Low and Slow: Always melt butter over low heat; high heat can quickly burn it, ruining the dish.
- Watch the Glaze: Allow the sauce to thicken naturally for a glossy finish—you’ll want your Honey Butter Tteokbokki to have that delightful coat.
- Consider Substitutions: For dietary needs, use Tamari instead of regular soy sauce, and try agave for a vegan version.
- Experiment with Toppings: Don’t hesitate to add scallions or sesame seeds for added texture and flavor. This simple touch can elevate your dish even more!
Honey Butter Tteokbokki Variations & Substitutions
Explore the endless ways to put your personal twist on this delightful dish!
- Dairy-Free: Substitute butter with margarine or coconut oil for a vegan-friendly option that maintains delicious creaminess.
- Sweetener Swap: Use agave syrup or maple syrup instead of honey for a plant-based alternative that still delivers a sweet punch.
- Gluten-Free: Opt for Tamari in place of soy sauce to guarantee a gluten-free result without compromising the flavor.
- Spice It Up: Add chili flakes or a drizzle of hot sauce for an exciting kick that contrasts beautifully with the sweetness!
- Add Nuts: Toss in some chopped peanuts or sesame seeds for a delightful crunch that elevates both texture and flavor. Just imagine that satisfying crunch with each bite!
- Cheesy Delight: Incorporate shredded cheese like mozzarella or cheddar on top before serving to create a gooey, cheesy finish. It’s a game changer!
- Veggie Boost: Mix in thinly sliced scallions or bell peppers before cooking for a burst of color and nutrition. These fresh veggies offer a fabulous balance and elevate the overall presentation.
While you’re experimenting, don’t forget to check out my Tender Honey Garlic Slow Cooked Ribs or pair these treats with some crispy Garlic Butter French Fries for a perfect meal.
Honey Butter Tteokbokki Recipe FAQs
How do I select the best rice cakes for Tteokbokki?
When choosing Korean rice cakes, look for those that are fresh and have a firm texture. If you’re using refrigerated or frozen cakes, ensure they are soft and pliable after soaking. Avoid rice cakes with dark spots or a stale appearance, as this may indicate age. Fresh and high-quality rice cakes will provide the best chewiness and overall flavor for your Honey Butter Tteokbokki.
How should I store leftover Honey Butter Tteokbokki?
For optimal texture, it’s best to enjoy Honey Butter Tteokbokki fresh. If you have leftovers, store them in an airtight container in the refrigerator for up to 3 days. This will help maintain the flavors and prevent the rice cakes from drying out. Just make sure to let them cool to room temperature before sealing the container.
Can I freeze Honey Butter Tteokbokki for later?
Absolutely! To freeze your Honey Butter Tteokbokki, place it in a freezer-safe container and store it for up to 1 month. Make sure the dish is fully cooled before sealing it to prevent moisture build-up. When you’re ready to enjoy, simply thaw it in the refrigerator overnight. Reheat gently in a pan over low heat, adding a splash of water or butter to restore the glaze and texture.
What if my sauce doesn’t thicken properly?
If your sauce isn’t thickening as it should, it might be because the heat is too high or it hasn’t simmered long enough. Stay patient and keep the heat low to allow it to gradually thicken. If you find it’s still too runny, consider adding a tiny bit of cornstarch mixed with water to the sauce—just a teaspoon should do the trick. Stir it in and allow it to cook for another minute or two until it reaches your desired consistency.
Is Honey Butter Tteokbokki gluten-free?
Yes, Honey Butter Tteokbokki can be gluten-free! Be sure to use gluten-free rice cakes and substitute regular soy sauce with Tamari for a gluten-free alternative. This way, everyone can enjoy this delectable treat without worry!
Honey Butter Tteokbokki: Irresistibly Chewy & Quick Delight
Ingredients
Equipment
Method
- Soak the Korean rice cakes in warm water for about 10-20 minutes until soft.
- In a non-stick pan, melt one tablespoon of butter over low heat.
- Add the soaked rice cakes to the pan and sauté for 4-5 minutes until golden-brown.
- Pour in honey and soy sauce, stirring gently and cooking for an additional 2-3 minutes.
- Remove from heat and serve immediately, optionally adding shredded cheese on top.