

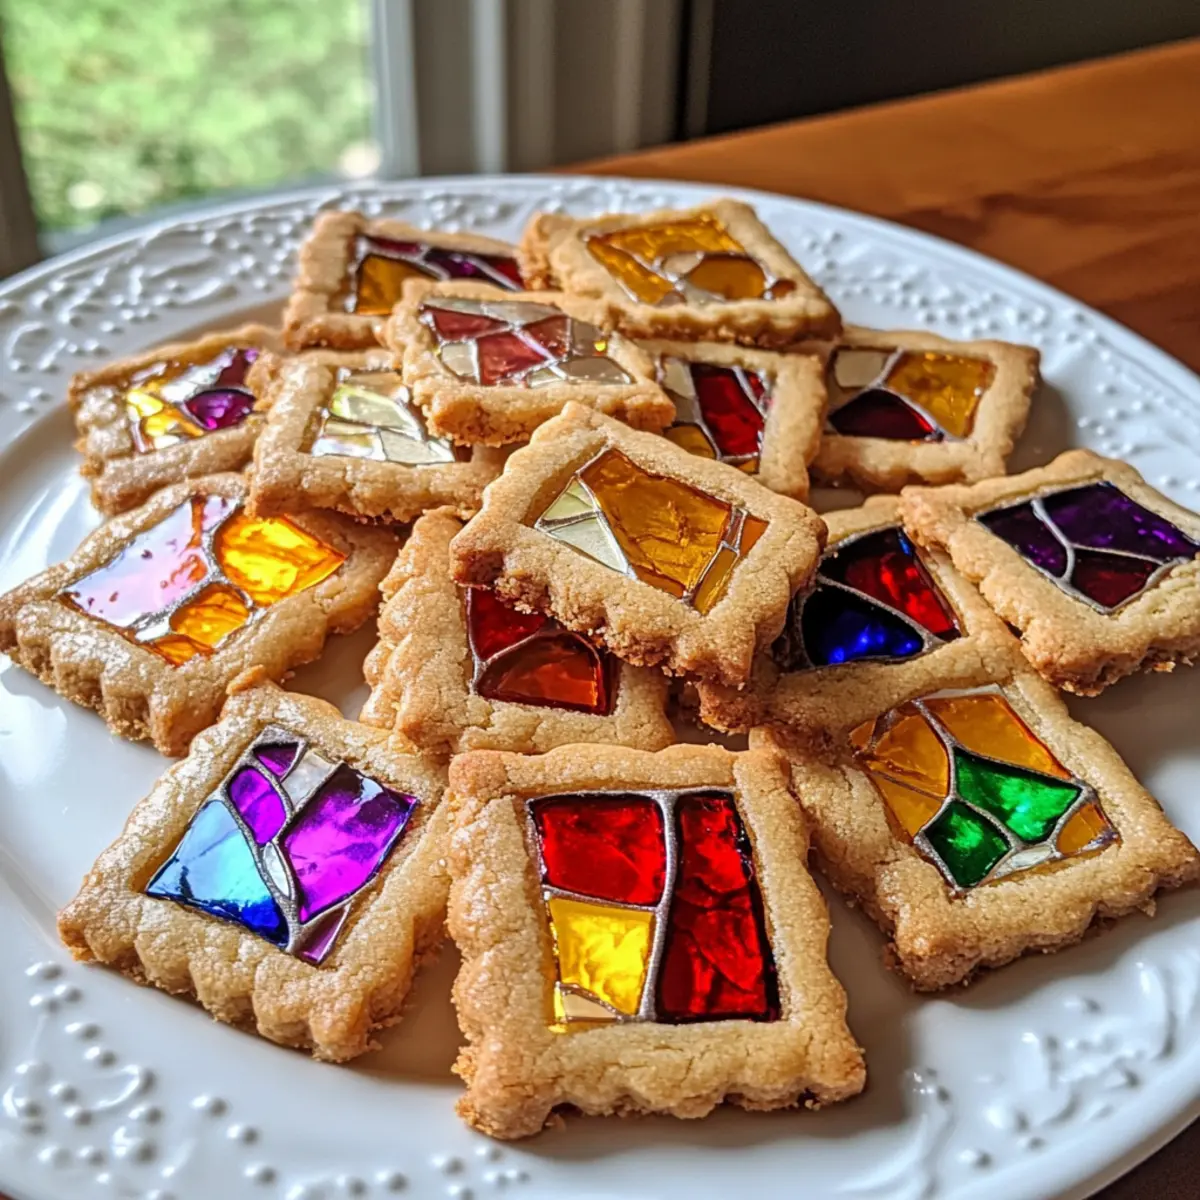
The aroma of freshly baked cookies mingling with the scent of evergreen—nothing quite captures the essence of the holiday season like making a batch of Dazzling Stained Glass Cookies. These delightful treats are not only a feast for the eyes with their jewel-toned centers resembling edible ornaments, but they also bring a comforting contrast of crispness and buttery softness in every bite. Perfect for sprucing up your holiday gatherings, these cookies are quick to prepare and can double as festive decorations, making them an enchanting addition to any dessert table. Plus, they’re sure to be a crowd-pleaser among family and friends alike! What colors will you choose to make your cookies shine this season?
Why Are Stained Glass Cookies So Special?
Visual Delight: The stunning jewel-toned centers create a captivating display, making them perfect for special occasions.
Easy-to-Make: With just a few ingredients and simple steps, even baking novices can whip up these treats in no time.
Crowd-Pleasing: Everyone loves the combination of flavors and textures in these cookies, ensuring they’re a hit at any gathering.
Double Duty: Not only are they delicious, but they can also be hung as festive ornaments, adding a unique touch to your decor.
Don’t forget to pair your stained glass cookies with a cozy mug of hot cocoa or consider trying other delightful recipes like Nutty Apricot Cookies for an added twist in your holiday baking!
Stained Glass Cookies Ingredients
For the Dough
- All-purpose Flour – Provides structure to the cookies; gluten-free flour is a great substitute for those with dietary restrictions.
- Granulated Sugar – The sweetness base enhances flavor; consider using stevia for a low-calorie alternative.
- Butter – Adds richness and a soft texture; swap with margarine for a dairy-free option.
- Eggs – Binds the ingredients together; flaxseed meal mixed with water can serve as a vegan alternative.
- Vanilla Extract – Enhances flavor; almond extract offers a delightful twist if you prefer.
For the Stained Glass Effect
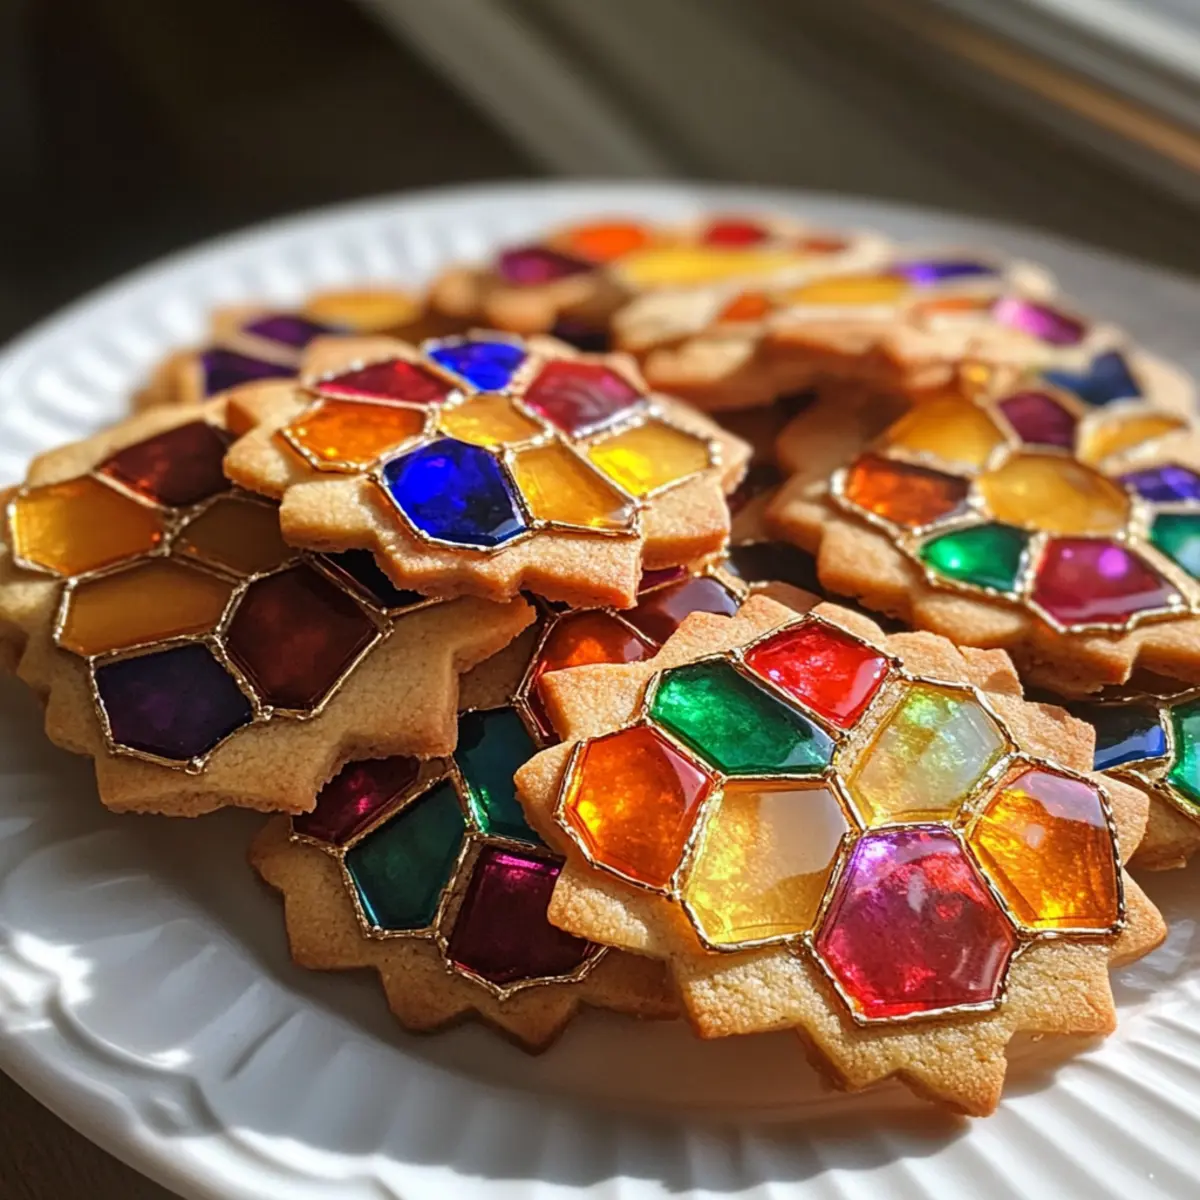
- Crushed Hard Candies – Creates the beautiful stained glass look; choose seasonal colors to match your holiday theme.
Tips for Success
- Keep an eye on baking times; underbaking can lead to too-soft centers while overbaking will harden the cookie’s edges.
Step‑by‑Step Instructions for Stained Glass Cookies
Step 1: Preheat the Oven
Begin by preheating your oven to 350°F (175°C). While the oven warms, line your baking sheets with parchment paper to prevent sticking and ensure even baking. This initial step sets the perfect stage for your Stained Glass Cookies, ensuring they’re ready to bake once prepared.
Step 2: Cream the Butter and Sugar
In a large mixing bowl, combine softened butter and granulated sugar. Using an electric mixer, beat them together on medium speed until the mixture is light, fluffy, and has a pale color—about 3-5 minutes. This creates a rich base for your dough, ensuring your cookies are soft yet crisp.
Step 3: Add Eggs and Vanilla
Crack in the eggs and pour the vanilla extract into the butter-sugar mixture. Mix on low speed until thoroughly combined, scraping down the sides of the bowl to ensure everything is well-blended. The ingredients should create a smooth, slightly thickened mixture that’s ready for the dry ingredients.
Step 4: Incorporate the Flour
Gradually add the all-purpose flour to the wet mixture, mixing on low speed until a cohesive dough forms. This will take about 1-2 minutes. Be careful not to overmix; the dough should come together without being overly sticky or dry, creating the perfect consistency for rolling out later.
Step 5: Roll Out the Dough
On a floured surface, take a portion of the cookie dough and roll it out to a thickness of 1/4 inch. Use a rolling pin, and turn the dough occasionally to ensure it doesn’t stick. This is a crucial step for achieving the signature shape and thickness of your Stained Glass Cookies, allowing them to bake evenly.
Step 6: Cut Out Shapes
Using your favorite cookie cutters, cut out various shapes from the rolled-out dough. With a smaller cutter, make a hole in the center of each cookie shape to create the stained glass effect later. This step adds a fun touch, allowing your creativity to shine through each festive cookie.
Step 7: Fill the Centers
Transfer the cookie shapes to your prepared baking sheets. Carefully fill each center cut-out with crushed hard candies, choosing vibrant colors for a beautiful stained glass appearance. Be sure not to overfill, as the candies will melt during baking and spread slightly, creating a mesmerizing center.
Step 8: Bake the Cookies
Place the baking sheets into the preheated oven and bake the Stained Glass Cookies for 8-10 minutes. Keep an eye on them; once the edges turn golden, they’re ready to be taken out. This visual cue signals that your cookies are achieving that delightful crisp texture on the outside.
Step 9: Cool and Transfer
After baking, let the cookies cool on the baking sheet for about 5 minutes, allowing the candy centers to firm up slightly. Once cooled, gently transfer the cookies to a wire rack to cool completely. This step is essential to prevent breakage, ensuring your stunning stained glass creations hold their shape.
How to Store and Freeze Stained Glass Cookies
Room Temperature: Store cooled cookies in an airtight container at room temperature for up to 1 week to maintain freshness and prevent them from becoming stale.
Fridge: For extended freshness, you may refrigerate the cookies in a sealed container for up to 2 weeks, but be aware that refrigeration may slightly alter the texture.
Freezer: To store Stained Glass Cookies longer, freeze them in a single layer on a baking sheet before transferring to an airtight freezer bag. They can be kept for up to 3 months.
Reheating: When ready to enjoy frozen cookies, thaw them in the fridge overnight, then warm briefly in the oven at 350°F (175°C) for a few minutes to restore their crispness.
Make Ahead Options
Stained Glass Cookies are perfect for busy home cooks looking to simplify their holiday baking! You can prepare the dough up to 3 days in advance by wrapping it tightly in plastic wrap and refrigerating it. For even more convenience, roll out the dough and cut your cookie shapes, then simply place them on a baking sheet lined with parchment paper and freeze them. Once frozen, transfer the shapes to an airtight container for up to 2 months. When you’re ready to bake, fill the centers with crushed hard candies and pop them in the oven. This way, you’ll enjoy freshly baked cookies with stunning decoration—just as delightful as if you made them from scratch that day!
Expert Tips for Stained Glass Cookies
Even Dough Rolling: Ensure even rolling of your dough to guarantee uniform baking. Unevenly rolled dough can lead to cookies that bake unevenly.
Cool Before Handling: Allow the cookies to cool completely on the baking sheet before transferring them. This prevents breaking and maintains their beautiful shapes.
Candy Selection: Opt for hard candies that melt well, like Jolly Ranchers. Avoid softer candies, which won’t create the desired stained glass effect.
Perfect Bake Time: Watch your cookies closely while baking. Underbaking can result in gooey centers, while overbaking hardens the edges.
Festive Touch: Thread a thin ribbon through a small hole at the top of the cookies before baking. This allows you to hang them, adding charm to your holiday décor.
Stained Glass Cookies Variations & Substitutions
Feel free to sprinkle your own creativity into these delightful stained glass cookies!
-
Gluten-Free: Use a gluten-free flour blend instead of all-purpose flour for a gluten-free version everyone can enjoy. Each bite will still hold that fantastic texture.
-
Dairy-Free Delight: Replace butter with margarine or coconut oil to create a dairy-free treat. This swap ensures you don’t sacrifice flavor in your cookies.
-
Vegan Option: For a vegan twist, use flaxseed meal mixed with water in place of eggs. This keeps the dough binding well while making it plant-based.
-
Candy Variety: Feel free to experiment with different types of hard candies, like butterscotch or fruit-flavored ones. The vibrant colors and flavors will keep your cookies exciting!
-
Spiced Up: Add warming spices like cinnamon or nutmeg into the dough for a cozy touch. This transformation will evoke holiday memories with each bite.
-
Chocolate Twist: Incorporate mini chocolate chips along with the crushed candies, offering a delightful chocolatey surprise in the midst of sweet candy.
-
Nutty Crunch: Fold in finely chopped nuts, such as almonds or pecans, into the dough for an added crunch that complements the soft buttery texture.
-
Shape Variations: Use various cookie cutter shapes tailored to different holidays—hearts for Valentine’s Day or stars for Christmas. This keeps your festivities uniquely themed!
Once you’ve crafted your stained glass cookies, why not try other delightful recipes like Apple Oatmeal Cookies or Nutty Chocolate Date Cookies? They make for perfect accompaniments to your festive treats!
What to Serve With Stained Glass Cookies
Let the shimmering allure of your stained glass cookies set the tone for a festive gathering, beautifully enhanced by these delightful pairings.
- Creamy Hot Cocoa: Rich, velvety hot cocoa is the perfect balance to the cookies’ sweetness, creating a cozy holiday atmosphere.
- Spiced Apple Cider: Warm spiced apple cider complements the buttery flavor of the cookies, evoking fond memories of autumn gatherings.
- Winter Fruit Salad: A refreshing medley of citrus and berries adds a burst of freshness, beautifully contrasting the cookies’ rich sweetness. This vibrant dish brings color and health to your holiday spread.
- Classic Gingerbread Men: Serve these alongside for a fun cookie exchange experience. The warmth of gingerbread spices harmonizes with the sweetness of your stained glass cookies.
- Mint Chocolate Chip Ice Cream: The cool, creamy texture of the ice cream against the buttery crispness of the cookies creates a delightful sensory experience.
- Coffee or Espresso: Rich, bold coffee enhances the flavors of the cookies, giving adults a rich pairing option that complements the sweetness beautifully.
- Peppermint Bark: These festive treats bring a festive zing. The crunch and bold minty flavor contrast wonderfully with the delicate sweetness of stained glass cookies.
- Chocolate-Dipped Marshmallows: A deliciously fun dessert, these sweet morsels add extra indulgence, encouraging guests to explore different textures while indulging in the festive spirit.
- Holiday Cheeseboard: Curate a selection of cheese, nuts, and dried fruits. The savory elements create an exciting contrast with the sugary stained glass cookies, satisfying diverse palates during your celebration.
Stained Glass Cookies Recipe FAQs
How do I choose the right crushed hard candies for my cookies?
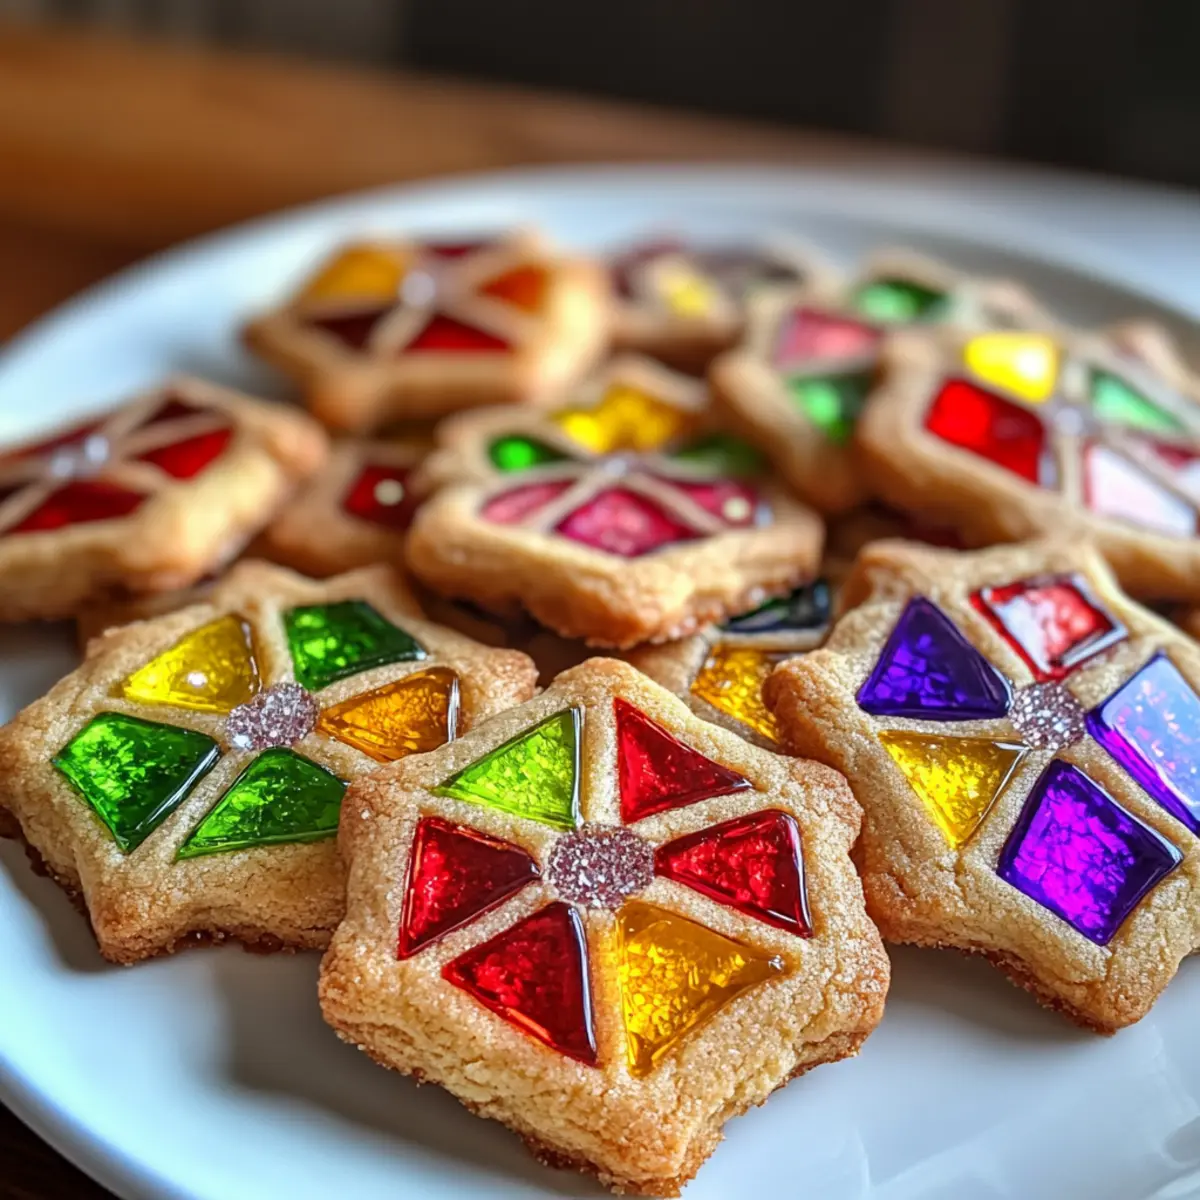
Absolutely! For the best stained glass effect, choose hard candies like Jolly Ranchers or Werther’s Originals. Aim for vibrant colors that will melt beautifully into that jewel-toned center. Avoid softer candies, as they won’t achieve the desired transparency or look.
What is the best way to store Stained Glass Cookies?
You can store your cooled cookies in an airtight container at room temperature for up to 1 week. For longer storage, refrigerate them in a sealed container for up to 2 weeks, although this might slightly alter their texture.
Can I freeze Stained Glass Cookies? If so, how?
Absolutely! To freeze, first lay out the cookies in a single layer on a baking sheet. Once they’re frozen solid, transfer them to an airtight freezer bag. They can be kept for up to 3 months. When you’re ready to enjoy them, simply thaw in the fridge overnight, then warm briefly in the oven at 350°F (175°C) for a few minutes to refresh their texture.
What should I do if my cookie dough is too sticky or dry?
If your dough is sticky, try chilling it in the fridge for about 30 minutes. This helps firm it up and makes rolling easier. If it’s too dry, you can add a teaspoon of milk or water to bring it back together, mixing gently until the perfect consistency is reached.
Are there any dietary considerations I should be aware of?
If you’re cooking for someone with dietary restrictions, there are some easy swaps you can make! For a dairy-free option, substitute butter with margarine or a plant-based butter. You can also use flaxseed meal mixed with water as an egg replacer for a vegan version. Always be sure to check for any specific allergens in your chosen hard candies, as some may contain gluten or nuts.
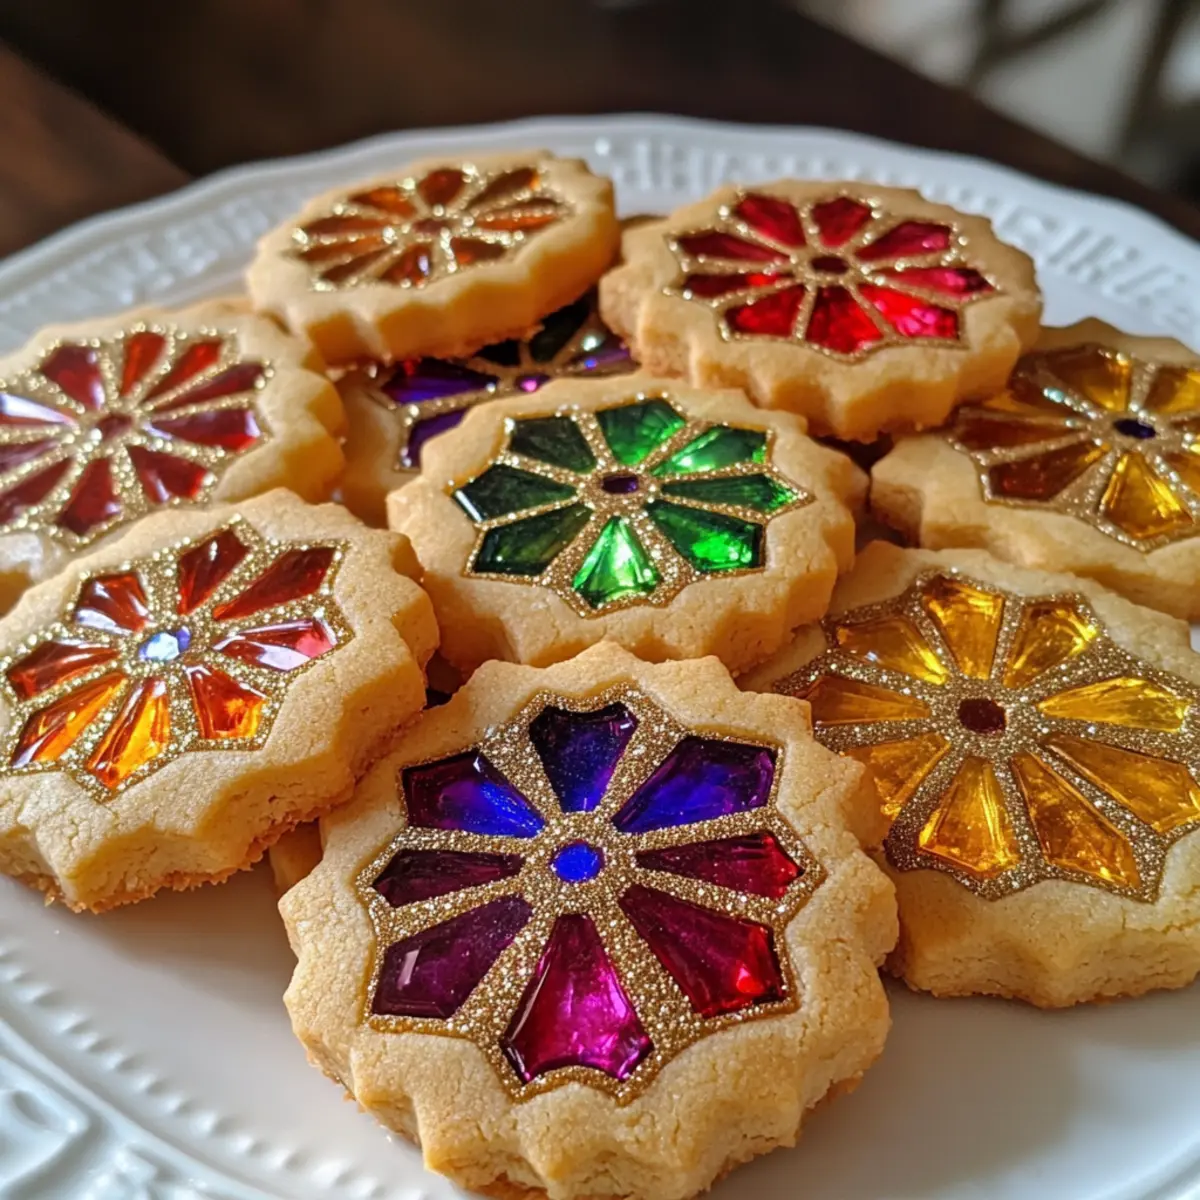
Stained Glass Cookies That Dazzle and Delight This Holiday Season
Ingredients
Equipment
Method
- Preheat your oven to 350°F (175°C) and line your baking sheets with parchment paper.
- Cream softened butter and granulated sugar together until light and fluffy—about 3-5 minutes.
- Add the eggs and vanilla extract, mixing until combined and smooth.
- Gradually incorporate the flour, mixing on low speed until a cohesive dough forms.
- Roll out the dough to a thickness of 1/4 inch on a floured surface.
- Cut out shapes with cookie cutters, making a hole in the center of each shape.
- Fill each center cut-out with crushed hard candies, being careful not to overfill.
- Bake for 8-10 minutes or until the edges turn golden.
- Allow cookies to cool on the baking sheet for 5 minutes before transferring them to a wire rack.