

As I stood at the counter, an enticing aroma filled the kitchen, a sweet alchemy of chocolate and vanilla swirling into one captivating harmony. That’s when I knew it was time to whip up a batch of Zebra Cookies—a delightful cookie that’s as stunning to behold as it is to devour. With their charming swirled design and melt-in-your-mouth texture, these cookies make the perfect crowd-pleaser for any gathering or cozy night in. You’ll love how simple they are to prepare, giving you more time to enjoy delicious homemade treats without the hassle. Trust me, whether you’re a seasoned baker or just looking for a fun kitchen project, Zebra Cookies will surely make your heart—and belly—happy! Ready to bring some joy into your kitchen today?
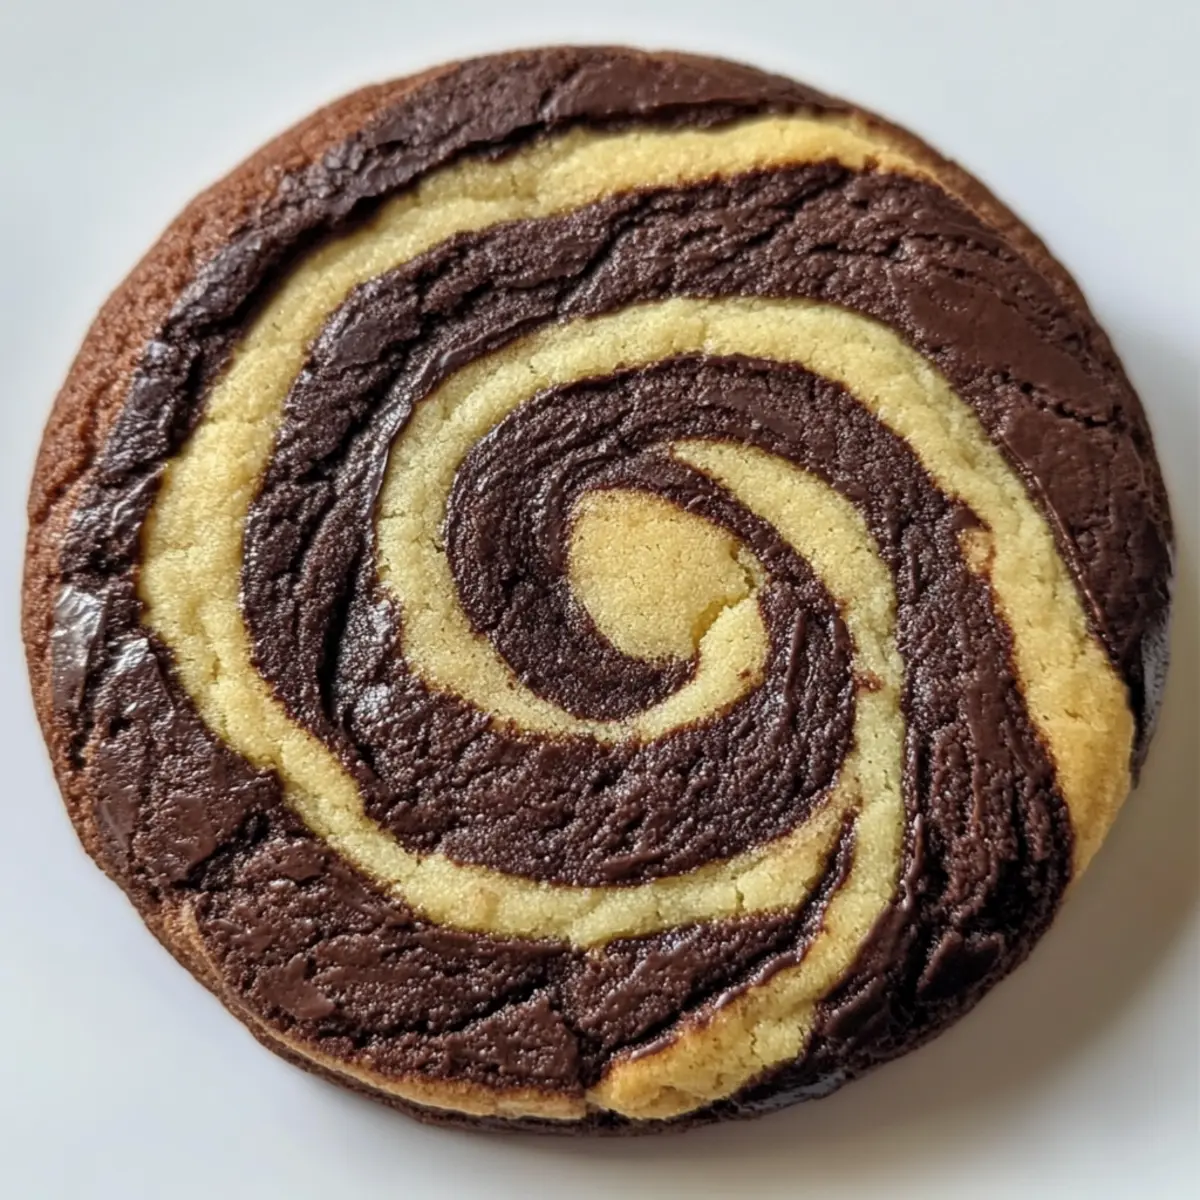
Why are Zebra Cookies a must-try?
Eye-catching presentation: The stunning swirls of chocolate and vanilla create a visual treat that will impress your guests.
Easy recipe: Requiring just a few basic ingredients, anyone can tackle this delightful baking project!
Melt-in-your-mouth texture: Expect a perfect balance of softness and chewiness that’ll have everyone coming back for seconds.
Versatile variations: Feel free to add in nut extracts or chocolate chips to customize these cookies to your taste, just like with Nutty Apricot Cookies or Chocolate Date Cookies.
Perfect for any occasion: Whether it’s a casual family gathering or a fancy dinner party, these cookies cater to all settings.
Get ready to fill your kitchen with delightful aromas and impress everyone with your baking prowess!
Zebra Cookies Ingredients
For the Cookie Dough
- Unsalted Butter – Use softened butter for a creamy and rich foundation for your Zebra Cookies.
- Granulated Sugar – Sweetens the dough and adds structure; stick to white sugar for the best results.
- Cocoa Powder – For that delicious chocolatey swirl; Dutch-processed cocoa enhances the flavor.
- All-Purpose Flour – The main structure of the cookies; can be swapped with a gluten-free blend if needed.
- Eggs – Vital for binding and leavening; ensure they are at room temperature to mix in seamlessly.
Optional Enhancements
- Almond or Hazelnut Extract – A splash of these extracts adds a delightful twist; try it for a gourmet touch!
- Chocolate Chips – Add in some chocolate chips for extra chewiness and indulgence in every bite!
Dive right in and enjoy creating these delectable Zebra Cookies that will surely brighten your day and impress your loved ones!
Step‑by‑Step Instructions for Zebra Cookies
Step 1: Preheat Oven
Begin by preheating your oven to 350°F (175°C). This temperature is ideal for achieving the perfect balance of soft and chewy textures in your Zebra Cookies. While the oven warms up, line a baking sheet with parchment paper to ensure easy removal of the cookies later.
Step 2: Cream Butter and Sugar
In a mixing bowl, combine softened unsalted butter and granulated sugar. Use an electric mixer to beat them together on medium speed for about 2-3 minutes, until the mixture is light and fluffy. This step is crucial for incorporating air into the dough, ensuring your Zebra Cookies rise beautifully while baking.
Step 3: Add Eggs
Once the butter and sugar mixture is ready, add in the eggs one at a time, mixing well after each addition. Make sure your eggs are at room temperature for seamless blending. This will help bind the ingredients together and create a creamy consistency that’s perfect for your cookie dough.
Step 4: Prepare Cookie Doughs
Next, divide the dough into two separate bowls. In one bowl, gently stir in the cocoa powder to create the chocolate dough while leaving the other bowl as the vanilla base. Use a spatula to ensure everything is well mixed, but avoid overmixing. You should have rich chocolate and creamy vanilla doughs ready for layering.
Step 5: Layer and Swirl
To create those captivating swirls, drop spoonfuls of both vanilla and chocolate dough onto the prepared baking sheet, alternating between them. Once you’ve created a pattern, take a toothpick or skewer and gently swirl through the dough without overmixing; aim for that beautiful marbled effect that defines your Zebra Cookies.
Step 6: Bake Cookies
Place the baking sheet in the preheated oven and bake your Zebra Cookies for 10-12 minutes. You’ll know they’re ready when the edges are set and slightly golden, while the centers remain soft. Keep an eye on them to avoid overbaking; they’ll firm up as they cool.
Step 7: Cool Cookies
After baking, let the cookies rest on the baking sheet for about 2 minutes. This will allow them to firm up slightly. Then, carefully transfer the Zebra Cookies to a wire rack using a spatula, giving them ample space to cool completely. The cooling process helps to enhance their delightful texture.
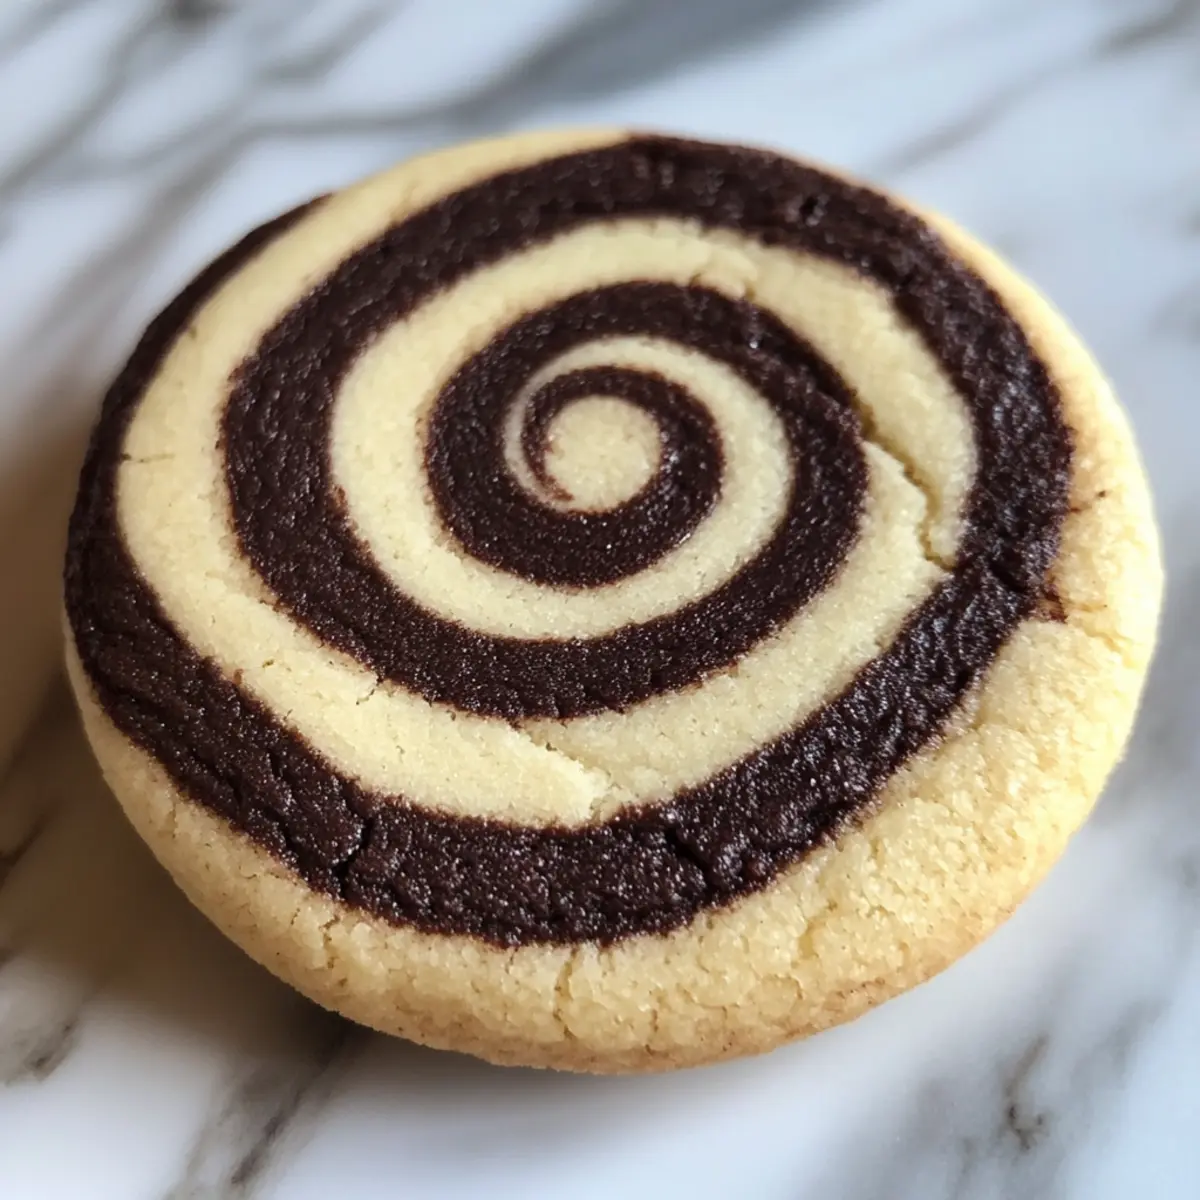
How to Store and Freeze Zebra Cookies
Airtight Container: Store your Zebra Cookies in an airtight container at room temperature for up to 5 days to maintain their freshness.
Freezer: For longer storage, freeze the cookies in a single layer on a baking sheet. Once frozen solid, transfer them to a freezer-safe bag for up to 3 months.
Reheating: When ready to enjoy, thaw at room temperature, or warm them briefly in the microwave for a few seconds to regain that soft, chewy texture.
Softness Tip: To keep the cookies soft, place a slice of bread in the airtight container along with the Zebra Cookies; it works like a charm to maintain moisture!
Expert Tips for Zebra Cookies
-
Room Temperature Ingredients: Ensure butter and eggs are at room temperature before use. This helps achieve a smooth, well-blended dough for your Zebra Cookies.
-
Mixing Technique: Avoid overmixing the dough after adding flour, as this can make the cookies tough. Blend until just combined for soft and chewy results.
-
Swirling Skills: When swirling the dough, use a light hand to prevent overmixing. The goal is to create a visually appealing marbled effect while keeping the distinct flavors intact.
-
Baking Watch: Keep a close eye on the baking time. Overbaked cookies lose their soft texture; those edges should be set but the centers will slightly underbake for that chewy finish.
-
Cool Down: Allow the cookies to cool on the baking sheet before transferring them to a wire rack. This extra step ensures they hold their shape beautifully without crumbling.
Make Ahead Options
These Zebra Cookies are perfect for busy home cooks looking to save time without compromising on flavor! You can prepare the dough up to 24 hours in advance; simply wrap it tightly in plastic wrap and refrigerate. Alternatively, you can shape the cookies and freeze them for up to 3 days. When you’re ready to bake, preheat your oven and simply increase the bake time by a couple of minutes if baking directly from frozen. To maintain the cookies’ wonderful texture, store them in an airtight container once cooled, and they will stay just as delicious until you’re ready to serve!
What to Serve with Zebra Cookies
Nothing complements the delectable swirl of chocolate and vanilla quite like a few delightful side options to round out your snack time or celebration.
-
Creamy Vanilla Ice Cream: The smooth, cool texture pairs perfectly with the warm cookies, making each bite a heavenly experience.
-
Fresh Berries: Juicy strawberries or raspberries add a pop of freshness and tartness that balances the sweetness of the cookies.
-
Savory Cheese Platter: A selection of cheeses with a slight tang can create an intriguing contrast to the sweet zebra cookies, making every taste memorable.
The mix of sweet and savory elevates your treat experience, creating a well-rounded indulgence that everyone will love.
-
Hot Brewed Coffee: A warm cup of coffee enhances the flavors of the cookies while providing a comforting companion to the sweet treat.
-
Milkshake Delight: An indulgent milkshake, whether classic vanilla or chocolate, complements the cookie’s rich flavors in a delightful, nostalgia-filled way.
-
Nutty Trail Mix: A blend of nuts and dried fruits can provide a crunchy, salty counterpart to the soft, chewy cookies, creating a delightful texture contrast.
Each option adds a unique twist, ensuring that every bite of your Zebra Cookies feels like a celebration!
Zebra Cookies: Customize Your Own Batch
Feel free to express your creativity in the kitchen as you customize these delightful cookies to your liking!
-
Nutty Twist: Incorporate ground almonds instead of half the flour for a rich, nutty flavor that complements the chocolate. This change adds a delicious depth, making every bite unforgettable.
-
Add Chocolate Chips: Toss in a handful of chocolate chips to the chocolate dough for extra indulgence and a delightful texture contrast that’s hard to resist. Those gooey chips elevate the overall cookie experience!
-
Dairy-Free: Substitute unsalted butter with coconut oil or a vegan butter alternative for a dairy-free version that doesn’t compromise on flavor. Your friends will be none the wiser, enjoying every soft bite!
-
Flavor Boost: Sprinkling in almond or hazelnut extract can lend an exciting twist, enhancing the cookies’ depth and elevating their gourmet appeal. These subtle flavors make a world of difference!
-
Fruit Infusion: Mix in dried fruits like cherries or cranberries for a sweet and tangy note that balances the rich chocolate and vanilla beautifully. The fruit adds visual elegance and a fruity burst in each morsel!
-
Sugar Substitute: For a healthier option, consider using coconut sugar instead of granulated sugar, imparting a hint of caramel flavor while making these cookies slightly healthier. It’s an easier indulgence!
-
Spicy Kick: Incorporate a dash of cayenne or cinnamon for a warming kick that contrasts the sweetness—perfect for those who enjoy adventurous flavors. The subtle heat creates a memorable cookie experience!
For even more delightful flavors, check out variations like Nutty Apricot Cookies or German Style Cookies to inspire your next baking adventure!
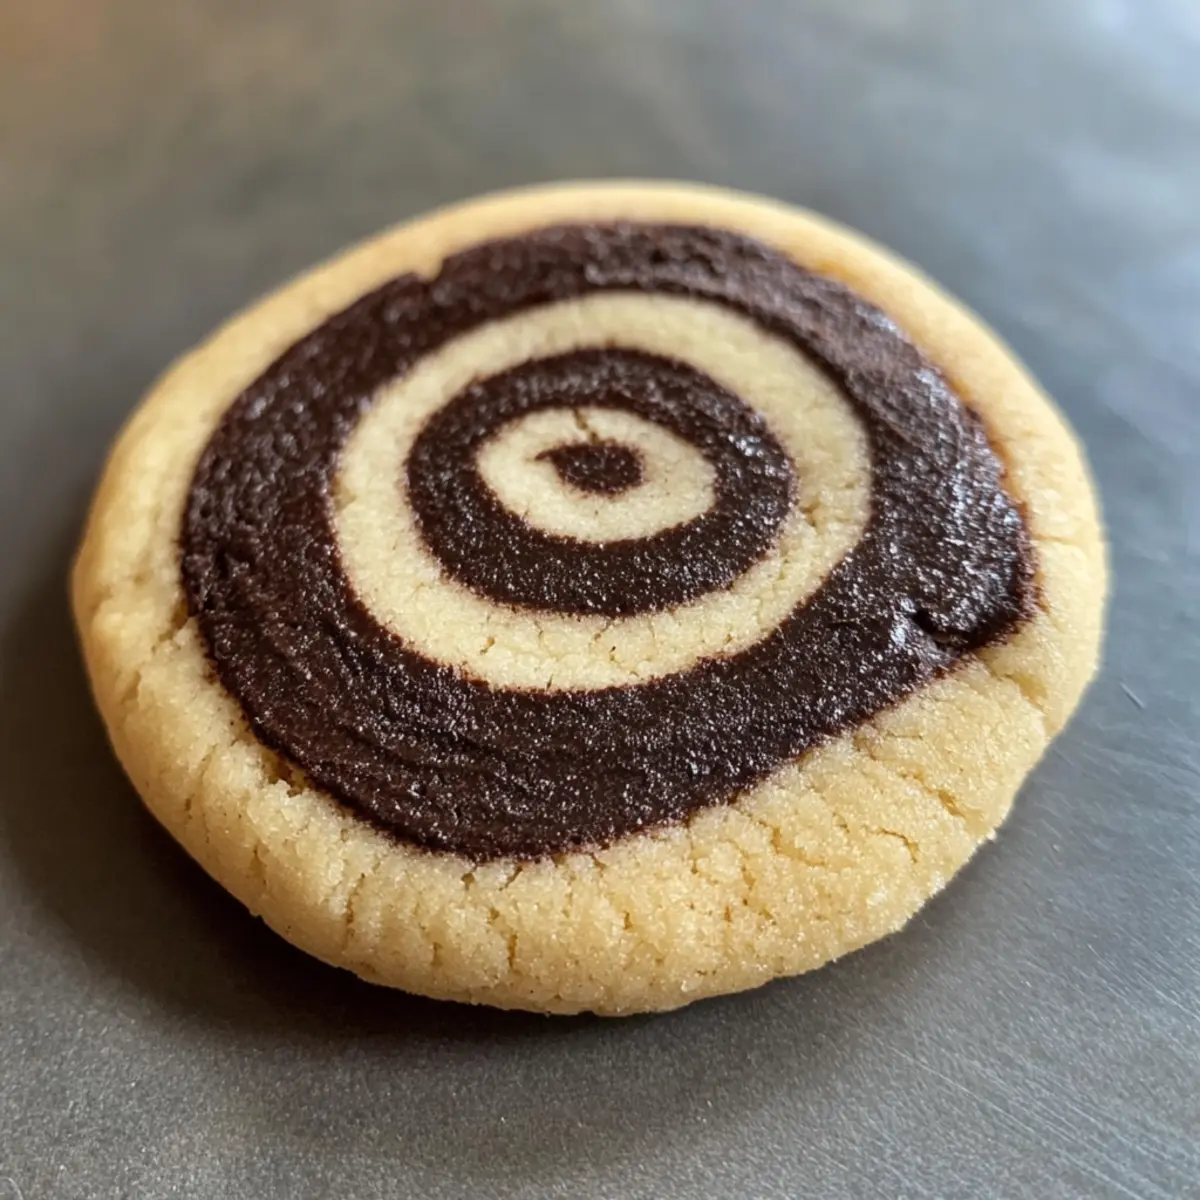
Zebra Cookies Recipe FAQs
What kind of butter should I use for Zebra Cookies?
Absolutely! Always opt for unsalted butter when making Zebra Cookies. This allows you to have better control over the salt levels in your recipe. Make sure the butter is softened to room temperature for easy creaming with sugar, which is key for achieving that melt-in-your-mouth texture.
How long can I store my Zebra Cookies?
You can store your Zebra Cookies in an airtight container at room temperature for up to 5 days. To help keep them soft and fresh, pop a slice of bread in the container with the cookies; it’s a wonderful trick that helps maintain moisture!
Can I freeze Zebra Cookies?
Very much! To freeze your Zebra Cookies, first lay them in a single layer on a baking sheet. Freeze until they are solid, then transfer them to a freezer-safe bag or container where they can be stored for up to 3 months. When you’re ready to enjoy them, simply thaw at room temperature or warm them briefly in the microwave for that freshly-baked taste.
What should I do if my cookies spread too much while baking?
If you notice your cookies spreading too much, it could be due to a few factors. Make sure to chill your cookie dough for about 30 minutes before baking, which can prevent excessive spreading. Additionally, ensure your baking sheets are not too warm when placing your dough on them. If you’ve altered the recipe (like adding more sugar or using a different type of butter), those changes could contribute to spreading as well.
Are there any dietary considerations for Zebra Cookies?
For those with allergies, it’s essential to note that these cookies contain gluten (from flour) and dairy (from butter and eggs). If gluten is a concern, you can substitute the all-purpose flour with a gluten-free blend. Also, be mindful of egg allergies; in that case, consider using a suitable egg replacer, such as flaxseed meal mixed with water. Always check with friends and family to ensure your delicious treats can be enjoyed safely!
Can I customize Zebra Cookies with different ingredients?
Absolutely! I often add a splash of almond or hazelnut extract to enhance the flavor profile. You can also fold in chocolate chips to either the vanilla or chocolate dough for extra richness and texture. Feel free to experiment with these variations to suit your taste!
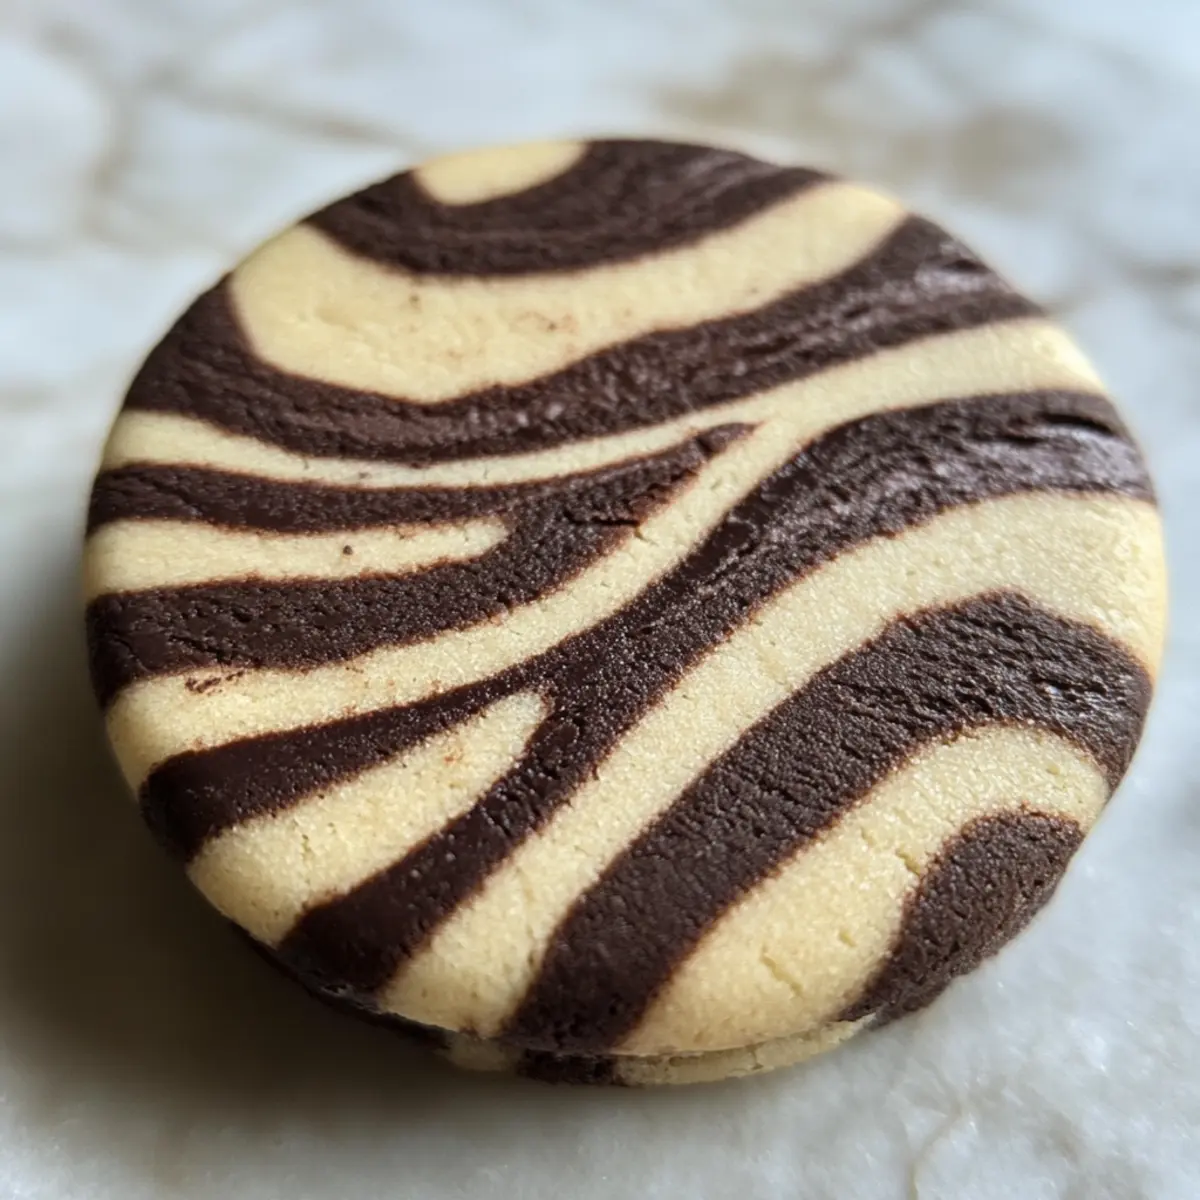
Zebra Cookies: Irresistible Swirls of Chocolate and Vanilla
Ingredients
Equipment
Method
- Preheat your oven to 350°F (175°C) and line a baking sheet with parchment paper.
- Cream softened unsalted butter and granulated sugar in a mixing bowl for 2-3 minutes until light and fluffy.
- Add eggs one at a time to the mixture, blending well after each addition.
- Divide the dough into two bowls; mix cocoa powder into one for chocolate dough.
- Drop spoonfuls of both vanilla and chocolate dough onto the baking sheet, alternating them. Swirl with a toothpick.
- Bake for 10-12 minutes until edges are set and centers are soft.
- Cool on the baking sheet for 2 minutes before transferring to a wire rack.