

As the sweet smell of peanut butter wafts through my kitchen, it’s impossible not to feel a rush of nostalgia. I think of carefree childhood afternoons spent with friends, crafting the ultimate fluffernutter sandwiches. Now, I’ve transformed those beloved flavors into Fluffernutter Cookies—a delightful combination of soft and chewy goodness that’s surprisingly easy to make. With just a handful of pantry staples, these cookies reveal gooey pockets of marshmallow fluff that make every bite a delightful surprise. They’re perfect for gatherings or simply as a treat to enjoy with a glass of milk. What cozy memories will you create as you indulge in these delectable cookies?
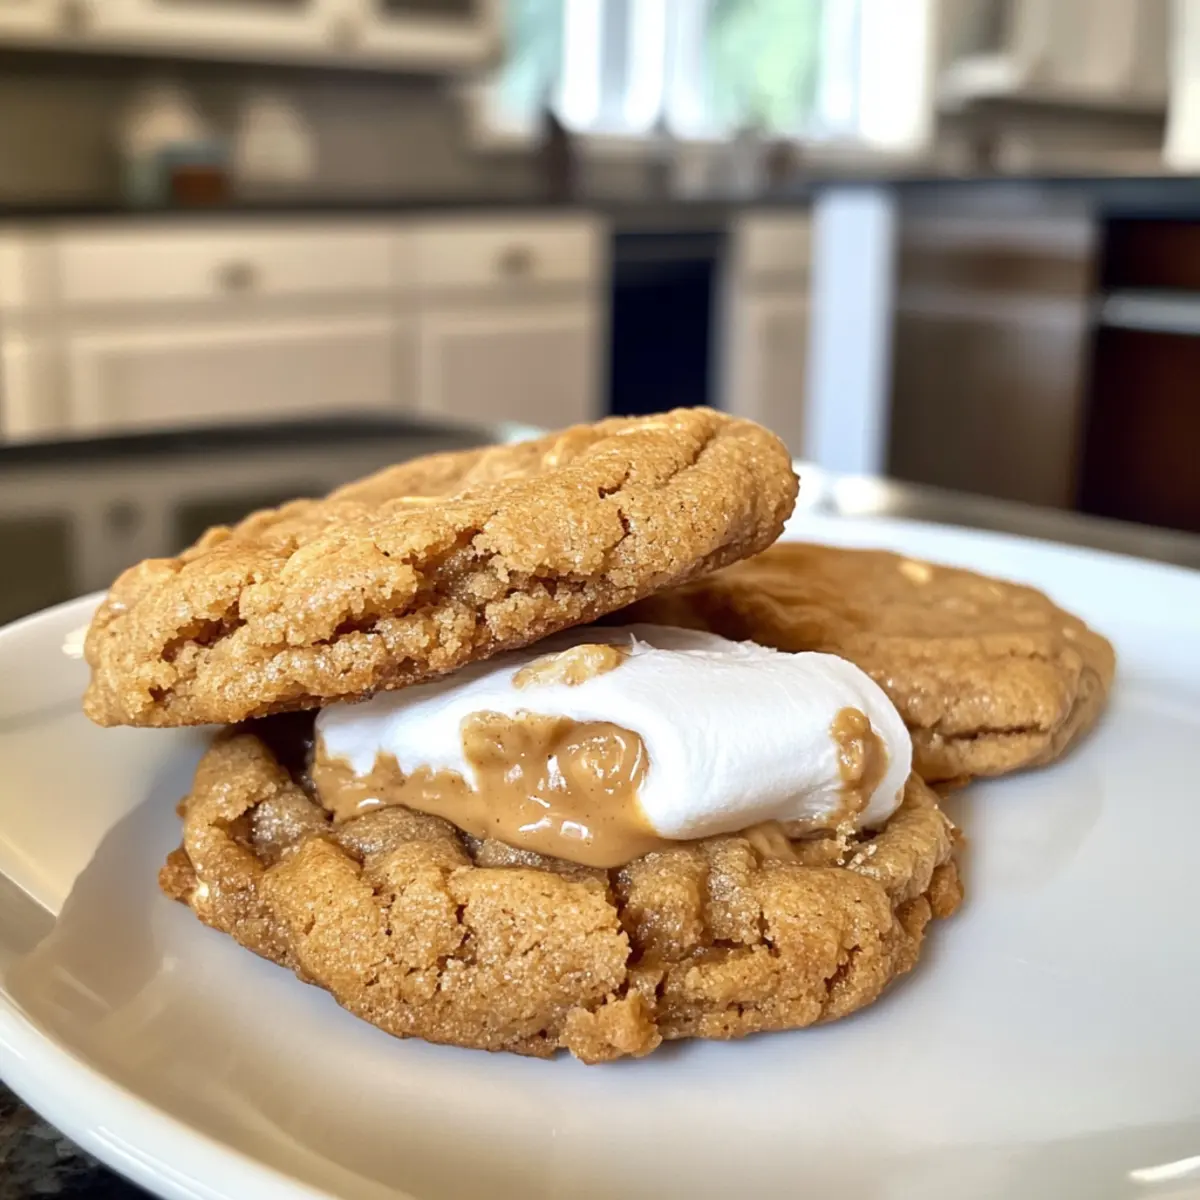
Why Are Fluffernutter Cookies So Irresistible?
Nostalgic Flavors: These cookies transport you back to childhood, evoking sweet memories of the classic fluffernutter sandwich.
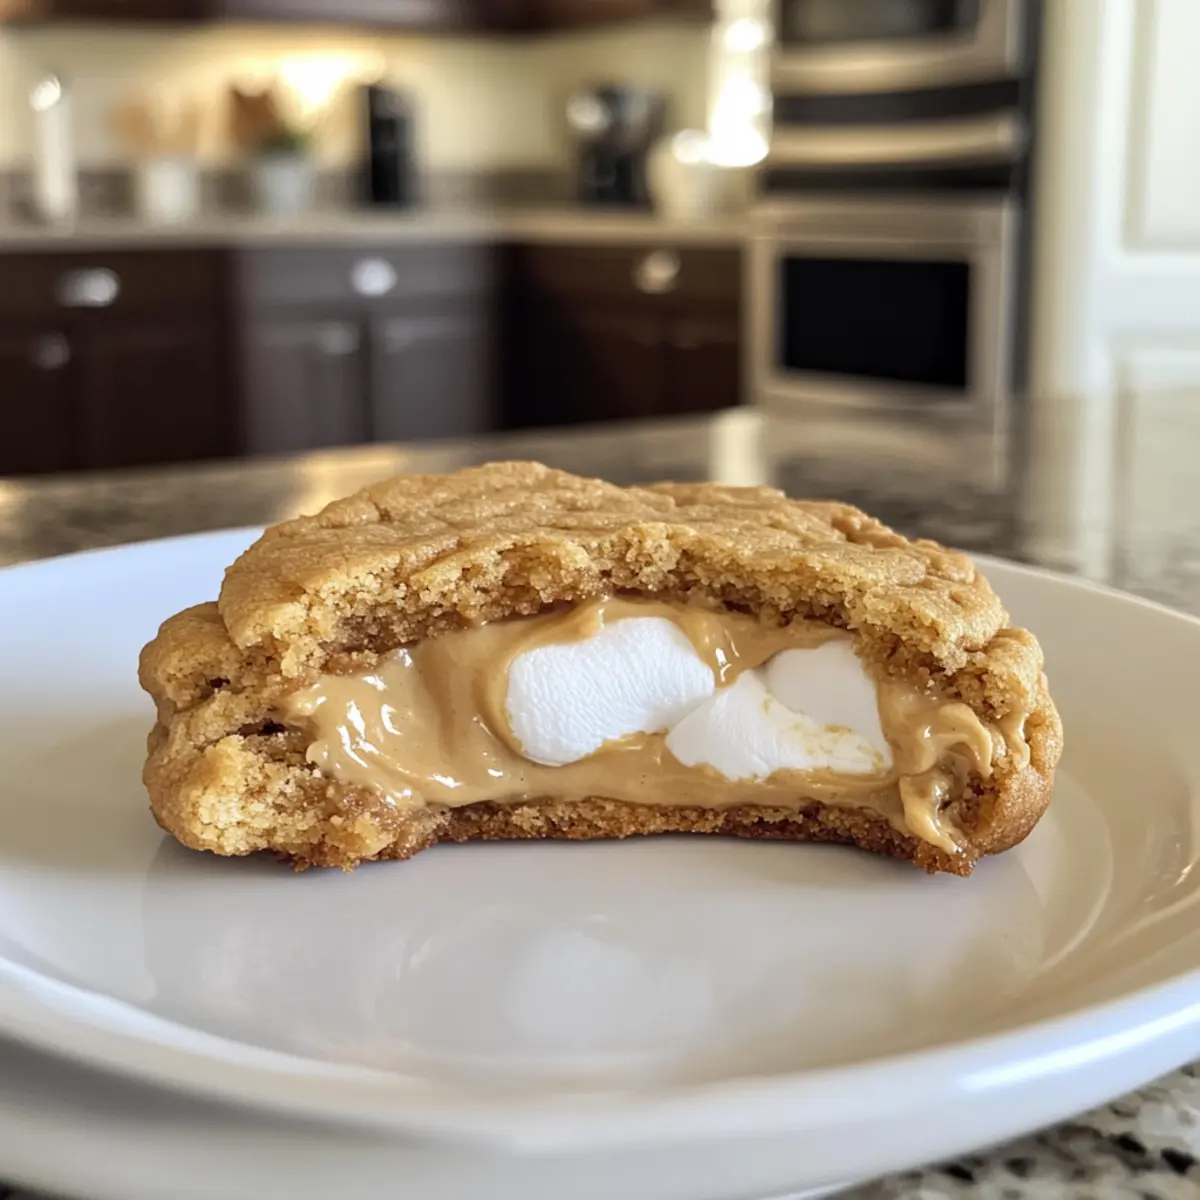
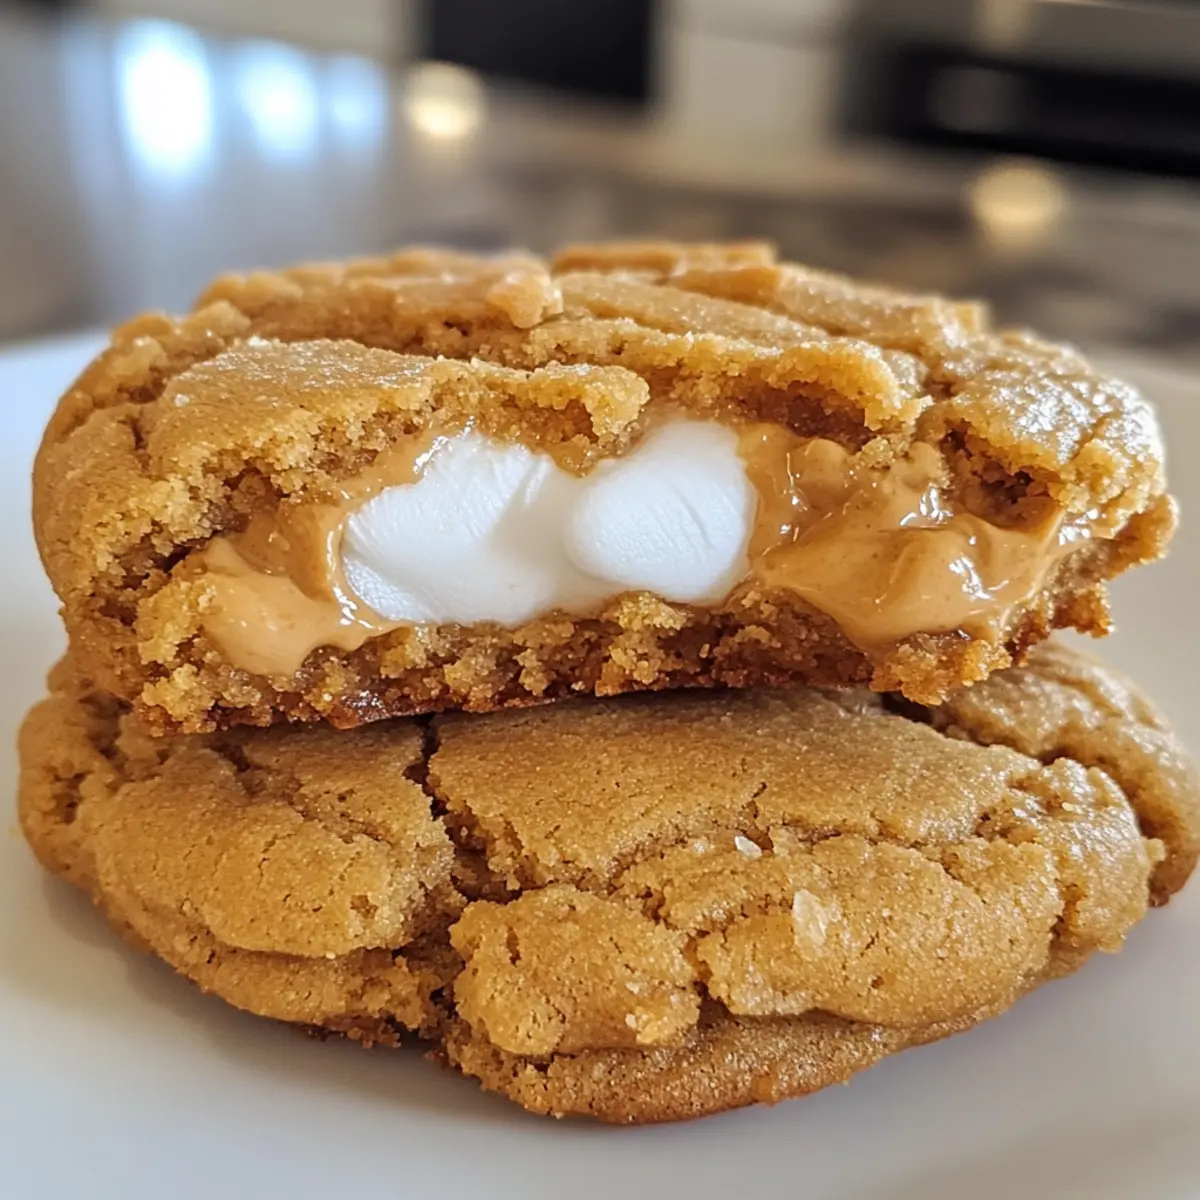
Soft and Chewy Texture: The perfect balance of soft, chewy cookies with gooey marshmallow pockets creates an irresistible experience.
Easy to Make: With just a handful of pantry staples, you’ll have deliciously baked cookies in no time.
Customizable Delight: Whether you add chocolate chips or try a crunchy peanut butter twist, make them your own! Want more cookie inspiration? Click here for Nutty Apricot Cookies or explore Banana Seed Cookies.
Crowd Pleaser: Perfect for gatherings, these cookies will disappear quickly and leave everyone craving more!
Fluffernutter Cookies Ingredients
For the Cookie Base
• Butter – Provides richness and contributes to the tenderness of the cookies; use unsalted for better control of salt levels.
• Peanut Butter – Delivers the rich, nutty flavor essential to the cookies; creamy peanut butter works best, but crunchy variants can add delightful texture.
• Granulated Sugar – Adds sweetness and contributes to the cookies’ structure for that perfect chew.
• Brown Sugar – Increases moisture and chewiness, enhancing the overall texture, making each bite blissful.
• Eggs – Bind the ingredients and help the cookies rise; introduce them one at a time for the best results.
• Vanilla Extract – Adds depth of flavor; a high-quality extract will elevate the taste of your cookies.
For the Dry Mixture
• Flour – The main structure provider; all-purpose flour is standard, but you can substitute with a gluten-free blend if needed.
• Baking Soda and Baking Powder – Leavening agents to help the cookies rise; essential for achieving that perfect texture.
• Salt – Enhances flavor and balances sweetness for a well-rounded taste.
For the Marshmallow Filling
• Marshmallow Fluff – The signature filling that creates gooey pockets inside the cookie; lightly coat the spoon with cooking spray to avoid sticking.
Step‑by‑Step Instructions for Fluffernutter Cookies
Step 1: Preheat the Oven
Begin by preheating your oven to 350°F (175°C) while you prepare the cookie dough. Line baking sheets with parchment paper to prevent sticking and ensure even baking. This step sets the scene for your Fluffernutter Cookies, allowing them to bake perfectly as you whip up the dough.
Step 2: Cream the Butters and Sugars
In a large mixing bowl, cream together ½ cup of softened unsalted butter and ½ cup of creamy peanut butter. Use an electric mixer on medium speed for about 2–3 minutes until the mixture is light, fluffy, and well combined. This step is crucial to incorporating air, which gives your cookies a delightful texture.
Step 3: Add Eggs and Vanilla
Next, beat in two eggs, one at a time, ensuring each is fully incorporated before adding the next. Pour in 1 teaspoon of high-quality vanilla extract and mix until smooth. The eggs will help bind the ingredients while infusing your Fluffernutter Cookies with a rich flavor.
Step 4: Mix Dry Ingredients
In a separate bowl, whisk together 1½ cups of all-purpose flour, 1 teaspoon of baking soda, 1 teaspoon of baking powder, and ½ teaspoon of salt. This dry mix creates the foundation of your cookie dough. Ensure there’s a uniform consistency without lumps, so your cookies bake evenly.
Step 5: Combine Wet and Dry Mixtures
Gradually add the dry ingredient mixture to your wet ingredients, mixing on low speed until just combined. Be careful not to overmix; the dough should be soft and slightly sticky, with no visible flour streaks. This careful mixing will ensure your Fluffernutter Cookies retain their chewy texture.
Step 6: Portion the Dough
Using a medium cookie scoop, portion out the dough onto your prepared baking sheets, spacing them about 2 inches apart. Flatten each cookie slightly in your hand to create a uniform shape. This step will help them bake evenly, giving your Fluffernutter Cookies those lovely golden edges.
Step 7: Add the Marshmallow Fluff
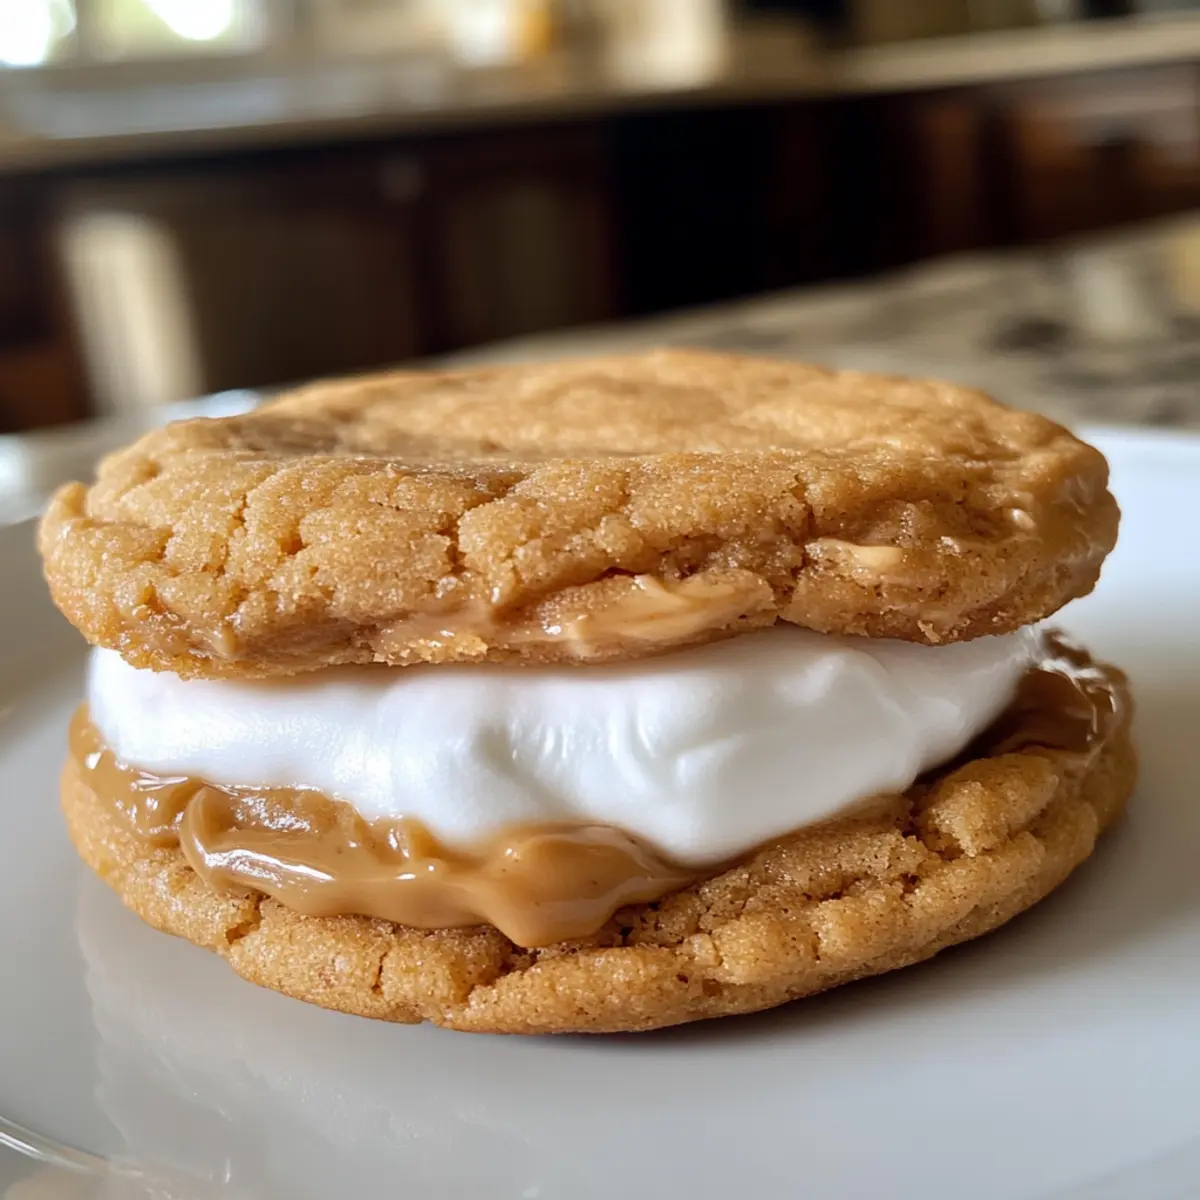
Place 1 teaspoon of marshmallow fluff in the center of each flattened cookie. Carefully wrap the dough around the fluff, sealing the edges to create a ball. Make sure to encase the filling well; this will keep the gooey marshmallow from overflowing while baking, ensuring delightful surprises in every bite.
Step 8: Prepare for Baking
Before placing the cookies in the oven, consider sprinkling mini marshmallows or chopped peanuts on top for an extra treat. Then, transfer the baking sheets to your preheated oven and bake for 10–12 minutes. You’re looking for golden edges while the centers remain soft—this is the key to perfect Fluffernutter Cookies.
Step 9: Cool and Transfer
Once baked to perfection, remove the baking sheets from the oven and let the cookies sit for 5 minutes. This resting time allows them to firm up slightly before transferring them to a wire rack. Cooling them properly ensures they maintain their soft and chewy texture, showcasing the delicious marshmallow fluff within.
Make Ahead Options
Fluffernutter Cookies are an excellent choice for meal prep, allowing you to enjoy these delightful treats any time with minimal effort! You can prepare the cookie dough up to 24 hours in advance. Simply follow the mixing instructions, wrap the dough tightly in plastic wrap, and refrigerate it until you’re ready to bake. Additionally, you can scoop and fill the cookies with marshmallow fluff and freeze them before baking; this keeps them fresh for up to 3 months. When it’s time to serve, just bake from frozen, adding a couple of extra minutes to the baking time. This way, your Fluffernutter Cookies will be just as delicious and gooey as if made fresh!
Storage Tips for Fluffernutter Cookies
- Room Temperature: Store Fluffernutter Cookies in an airtight container at room temperature for up to 5 days to keep them soft and chewy.
- Fridge: If you prefer, you can store the cookies in the fridge for up to a week, but they may lose some of their softness.
- Freezer: For longer storage, place cookies in freezer-safe containers or bags; they can last up to 3 months in the freezer while retaining their delicious flavor.
- Reheating: To enjoy them warm, microwave individual cookies for about 10-15 seconds or place them in a preheated oven at 350°F (175°C) for a few minutes.
Fluffernutter Cookies Variations & Substitutions
Get ready to unleash your creativity in the kitchen with delightful twists on the classic Fluffernutter Cookies!
-
Chocolate Chip Twist: Add ½ cup of semi-sweet chocolate chips to the dough for a rich, chocolatey experience. The combination of chocolate and peanut butter is simply irresistible!
-
Crunchy Peanut Butter: Swap the creamy peanut butter for crunchy to bring in an extra layer of texture. The added crunch elevates each bite, making these cookies even more enjoyable.
-
Homemade Marshmallow Cream: Replace the store-bought fluff with homemade marshmallow cream for a personal touch. The fresh flavors create a whole new level of deliciousness!
-
Nutty Add-In: Mix in ½ cup of chopped nuts like pecans or walnuts for added crunch and flavor. This twist not only enhances the cookies’ texture but also adds a nutty richness.
-
Peanut Butter Banana: Top each cookie with a thin slice of banana before baking for a delightful peanut butter and banana fusion. This twist adds a fruity freshness that perfectly complements the rich flavors.
-
Oatmeal Variation: Stir in 1 cup of quick oats for a chewier texture and wholesome flavor. This variation is not only delicious but also provides a hearty touch to your cookies.
-
Spicy Kick: Add ½ teaspoon of cinnamon or a pinch of cayenne pepper for a surprising heat element. The warmth of spices offers a delightful contrast to the sweet marshmallow filling.
-
S’mores Style: Before sealing the cookie, add a few broken pieces of graham cracker and chocolate to create a s’mores-inspired cookie. The gooey marshmallow and chocolate create a nostalgic treat reminiscent of summer campfires.
If you’re looking for more cookie ideas, try out the delicious Nutty Apricot Cookies or experiment with the unique flavors of Banana Seed Cookies. Enjoy indulging in these creative variations!
What to Serve with Fluffernutter Cookies
Indulging in Fluffernutter Cookies opens the door to a world of delightful pairings perfect for elevating your homemade treats.
- Glass of Milk: A classic choice, the creaminess of milk balances the sweetness of the cookies while enhancing their tender texture. Every bite tastes like a comforting childhood memory.
- Creamy Vanilla Ice Cream: A scoop of creamy vanilla ice cream pairs exquisitely, adding a refreshing contrast to the warm cookies and making for an indulgent dessert experience.
- Fresh Fruit Salad: Lighten the mood with bright, juicy fruits like strawberries and bananas. Their natural sweetness complements the cookies beautifully and adds a refreshing touch.
- Peanut Butter Hot Chocolate: For a cozy twist, serve a cup of rich peanut butter hot chocolate that enhances the cookie’s nutty flavors while creating a warm, inviting atmosphere.
- S’mores Dip: Dip your cookies in a gooey s’mores dip for a fun party treat! The melted chocolate and toasted marshmallows play nicely with the Fluffernutter’s flavor.
- Chai Latte: The warm spices of chai tea create a beautiful contrast to the sweetness of the cookies, providing a delightful sensory experience ringing with cozy flavors.
- Marshmallow Fluff Dip: Keep it fun and dip your cookies into a bowl of marshmallow fluff mixed with a hint of chocolate. It’s an indulgent, gooey experience that brings joy with every bite.
- Chocolate Drizzle: Melt some chocolate and drizzle it over the top of fresh cookies for a delightful presentation, adding an elegant touch that enhances the overall flavor.
Expert Tips for Fluffernutter Cookies
- Avoid Overfilling: Keep marshmallow fluff to a teaspoon in each cookie; overfilling can lead to messy overflow while baking.
- Chill the Dough: If the dough becomes too sticky to handle, chill it in the refrigerator for 30 minutes to make portioning easier.
- Perfect Baking Time: For that ideal soft center, slightly underbake by 1–2 minutes; they’ll firm up as they cool.
- Storage Secrets: To maintain moisture, place a slice of bread in the container with your Fluffernutter Cookies after baking.
- Flavor Boost: Use high-quality vanilla extract for a richer flavor that elevates your sweet treats.
Fluffernutter Cookies Recipe FAQs
How do I select ripe ingredients for Fluffernutter Cookies?
Absolutely! For the best flavor, choose creamy peanut butter that is fresh and has no added sugars or oils. Make sure your butter is softened but not melted; this will ensure it blends smoothly with sugars for that perfect texture. Fresh eggs are essential too, as they bind the ingredients effectively.
What is the best way to store Fluffernutter Cookies, and how long do they last?
To maintain their chewiness, store your Fluffernutter Cookies in an airtight container at room temperature for up to 5 days. If placed in the fridge, they can last about a week but may lose some of their soft texture. For optimal freshness, use the freezer method; they can be kept in a freezer-safe container for up to 3 months!
Can I freeze Fluffernutter Cookies, and how should I do it?
Definitely! To freeze your Fluffernutter Cookies, let them cool completely first. Then, place them in a single layer on a baking sheet and freeze until solid. Once frozen, transfer the cookies into a freezer-safe container or bag, separating layers with parchment paper. When you’re ready to enjoy them, simply thaw at room temperature or reheat in the oven!
What should I do if my cookie dough is too sticky to handle?
Very! If the dough becomes sticky, don’t worry; this can happen due to humidity or temperature. I recommend chilling the dough in the refrigerator for about 30 minutes. This will firm it up, making it easier to portion and shape without it sticking to your hands.
Are there any dietary considerations for Fluffernutter Cookies?
Absolutely! If you or someone you’re baking for has gluten allergies, you can easily make a gluten-free version by substituting all-purpose flour with a gluten-free blend. Always check labels for allergens, especially with marshmallow fluff, as it may contain allergens such as eggs or gelatin.
Fluffernutter Cookies: Soft, Chewy Nostalgia in Every Bite
Ingredients
Equipment
Method
- Preheat your oven to 350°F (175°C) and line baking sheets with parchment paper.
- Cream together the unsalted butter and creamy peanut butter in a large mixing bowl until light and fluffy.
- Add the eggs one at a time, mixing until fully incorporated, then add the vanilla extract.
- Whisk together the flour, baking soda, baking powder, and salt in a separate bowl before combining with the wet ingredients.
- Gradually incorporate the dry mixture until just combined and slightly sticky.
- Use a medium cookie scoop to portion the dough onto baking sheets, flattening each cookie slightly.
- Add marshmallow fluff into the center of each cookie and wrap the dough around it to encase the filling.
- Sprinkle mini marshmallows or chopped peanuts on top if desired, then bake for 10–12 minutes.
- Let the cookies cool for 5 minutes on the baking sheets before transferring to a wire rack.