

As I rummaged through my pantry, I was pleasantly surprised to find just three simple ingredients: yogurt, peanut butter, and chocolate chips. A light bulb went off—why not recreate the nostalgic Peanut Butter Buster Bars I loved from Dairy Queen? With a healthy twist, this recipe makes it easy to whip up a treat that’s not only delicious but also packed with over 15 grams of protein and a mere 200 calories per bar. Making them is a breeze, and they can be customized for any dietary lifestyle, whether you’re vegan or keto. Trust me, you’ll want to try these healthier Buster Bars; they’re the perfect way to satisfy your sweet tooth without the guilt! Curious to see how these come together? Let’s dive into this delightful recipe!

Why Are These Buster Bars So Irresistible?
Simplicity at its finest: With just three ingredients, making these bars is a breeze, perfect for busy nights or last-minute dessert cravings.
High-protein goodness: Each bar packs over 15 grams of protein, turning your sweet treat into a guilt-free snack option.
Customizable choices: Whether you’re vegan, keto, or just looking for healthier alternatives, this recipe adapts to suit your dietary needs effortlessly.
Decadent flavor: Rich peanut butter wrapped in smooth chocolate brings indulgent taste without the unnecessary calories—only 200 calories per bar!
Crowd-pleaser: Whip these up for gatherings and watch them disappear, satisfying everyone’s sweet tooth while keeping health in mind.
Dive into these delightful Healthy Peanut Butter Buster Bars and experience the magic!
Buster Bars Ingredients
For the Base
- Yogurt – Provides creaminess and structure; use plain yogurt, vanilla ice cream, or vegan yogurt to fit your taste.
- Peanut Butter – Adds richness and protein; feel free to swap in almond or sunflower seed butter for allergies.
- Sweetener – Enhances flavor if you’re using unsweetened yogurt; options include coconut sugar, maple syrup, honey, or a sugar-free substitute like stevia.
For the Coating
- Chocolate Chips – Creates a delicious chocolate shell; consider using dairy-free or sugar-free chips for vegan or keto options.
- Coconut Oil (optional) – Improves the chocolate coating’s smoothness; omit if you’re looking to keep it low-fat.
For Texture
- Peanuts (optional) – Adds a delightful crunch; skip this ingredient if nut-free is your goal.
Get ready to whip up these delightful Buster Bars, and enjoy a healthier version of a classic treat!
Step‑by‑Step Instructions for Healthy Peanut Butter Buster Bars
Step 1: Mix Base
In a medium bowl, combine 1 cup of your chosen yogurt with ½ cup of creamy peanut butter and any desired sweetener. Use a hand mixer or whisk to blend until the mixture is smooth and creamy. This should take about 2-3 minutes. For an extra treat, fold in a handful of mini chocolate chips before moving on to shaping your bars.
Step 2: Shape Bars
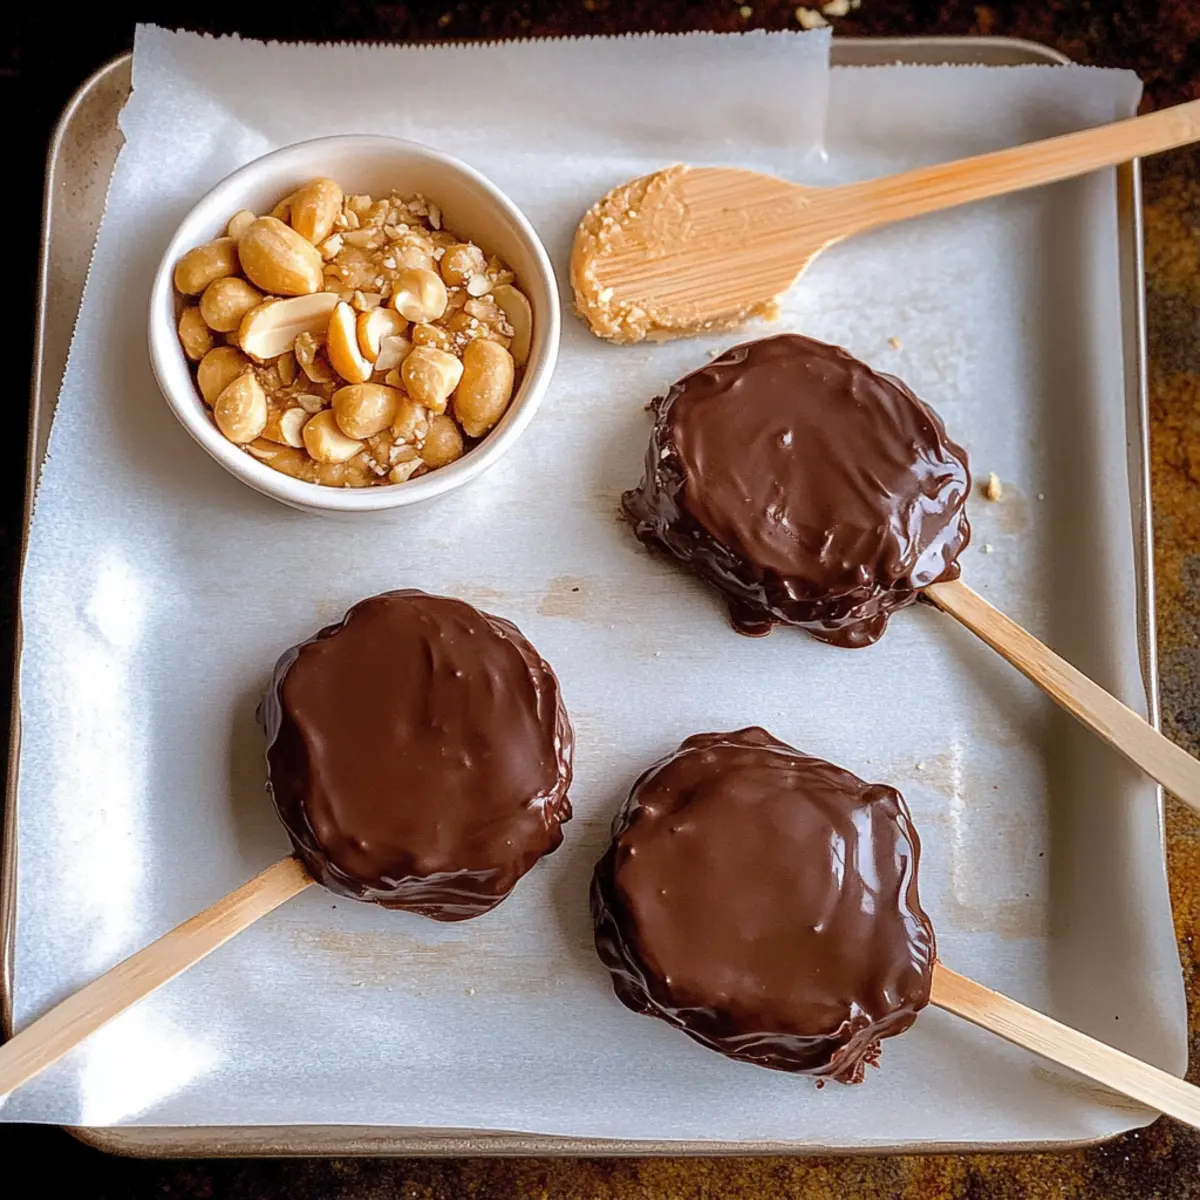
Line a baking tray with parchment paper to prepare for your Buster Bars. Using a spoon, drop generous dollops of the peanut butter mixture onto the tray, spacing them apart. Insert popsicle sticks into the center of each dollop, then smooth the tops for an even shape. If you’d like, sprinkle chopped peanuts on top for added texture before freezing.
Step 3: Freeze
Carefully place the tray in your freezer and allow the bars to freeze for about 2-3 hours, or until they become firm. This step is key, as it helps maintain the shape of your Buster Bars. Once solid, they’ll be ready for the delightful chocolate coating that follows.
Step 4: Melt Chocolate
While your bars are freezing, prepare the chocolate coating. In a microwave-safe bowl, add 1 cup of chocolate chips and, if desired, a teaspoon of coconut oil for smoothness. Microwave on high for about 30 seconds, then stir. Repeat in 15-second intervals until completely melted and glossy, ensuring no water comes into contact with the chocolate.
Step 5: Coat Bars
Once the Buster Bars are firmly frozen, gently dip each one into the melted chocolate, ensuring it’s fully coated. Lift the bar out and let excess chocolate drip off before returning it to the parchment-lined tray. For an extra crunch, sprinkle some chopped peanuts on top before they freeze again to set the chocolate shell.
Step 6: Freeze Again
Return the coated bars to the freezer for an additional 30 minutes to 1 hour, allowing the chocolate coating to harden completely. This final freeze ensures your Healthy Peanut Butter Buster Bars have that delightful crunch when you bite into them, making for a perfect healthy dessert or snack.
Step 7: Serve and Store
Once the chocolate is set, your Buster Bars are ready to enjoy! Remove them from the parchment and store any leftovers in a sealed container in the freezer for up to a month. These bars make a healthy treat that you can quickly grab anytime you’re craving something sweet.

Buster Bars Variations & Substitutions
Feel free to let your creativity shine as you customize these Buster Bars to make them uniquely yours!
-
Nut-Free: Substitute your peanut butter with sunbutter for a delicious nut-free alternative that still offers creamy goodness.
-
Vegan Delight: Use maple syrup instead of honey and opt for dairy-free chocolate chips to make these bars completely vegan.
-
Flavor Infusion: Swap plain yogurt with flavored varieties like strawberry or chocolate for a unique twist that adds extra excitement.
-
Keto-Friendly: Replace the sweetener with a sugar-free substitute like erythritol or stevia to keep your bars low-carb while enjoying the same decadent taste.
-
Crunchy Alternatives: For a delightful change in texture, add unsweetened shredded coconut or chia seeds to the mixture before freezing.
-
Extra Chocolate: Want to fit in more chocolate? Drizzle some melted chocolate on top of the bars after coating them for an even richer finish!
-
Fruitiness: Add in small pieces of dried fruits like cranberries or cherries for a burst of flavor and a hint of natural sweetness that pairs beautifully with peanut butter.
-
Protein Boost: Stir in a scoop of your favorite protein powder before mixing the base. This adds even more protein without sacrificing taste.
Whatever variation you choose, your homemade Buster Bars will not only tantalize your taste buds but also align wonderfully with your dietary preferences. Enjoy the joy of creating your own delightful treat!
What to Serve with Healthy Peanut Butter Buster Bars
Elevate your dessert experience by pairing these indulgent yet healthy bars with delightful accompaniments that harmonize their rich flavors.
- Fresh Berries: Their tartness beautifully contrasts the creamy sweetness of the bars, providing a refreshing burst of flavor.
- Whipped Coconut Cream: Light and airy, this non-dairy topping adds an indulgent richness that complements the peanut butter perfectly.
- Banana Slices: The soft sweetness of bananas enhances the peanut flavor and adds a touch of natural sweetness for a wholesome treat.
- Nutty Granola: A sprinkle of crunchy granola not only adds texture but also a wholesome element, making your snack feel hearty.
- Dark Chocolate Drizzle: For extra decadence, drizzle melted dark chocolate over the bars to intensify their chocolatey appeal.
- Chilled Almond Milk: This light and nutty beverage pairs wonderfully with the bars, making for a satisfying snack that’s dairy-free.
- Protein Shake: For a post-workout indulgence, enjoy these bars alongside a protein shake for a nutrient-packed boost that feels rewarding.
- Coffee: The rich, robust flavors of coffee create a delightful contrast to the sweet bars, making it a perfect dessert accompaniment.
Storage Tips for Buster Bars
Room Temperature: Keep Buster Bars at room temperature for a maximum of 1-2 hours. To maintain freshness, it’s best to store them in a cool place away from direct sunlight.
Fridge: If you plan to enjoy them within 3-5 days, place the Buster Bars in an airtight container in the refrigerator. This helps preserve their texture and flavors.
Freezer: For longer storage, keep your Buster Bars in a sealed container in the freezer for up to a month. Allow them to thaw in the fridge for a few hours before serving for the best taste and texture.
Reheating: Since these bars are best enjoyed cold, there’s no need to reheat. Simply remove from the fridge or freezer and enjoy straight away for a refreshing treat!
Expert Tips for Healthy Buster Bars
Perfect Yogurt Choice: Use Greek yogurt for a creamier texture; it adds protein while keeping the bars light and fluffy.
Nut Butter Substitutes: If allergies are a concern, try using sunflower seed butter instead of peanut butter; it works wonderfully!
Coating Tips: Make sure your bars are super cold before dipping into chocolate to avoid melting; this keeps the shape intact.
Smooth Chocolate Coating: Add a touch of coconut oil while melting chocolate for an extra-smooth coating; it makes a big difference in texture!
Customize to Taste: Experiment with flavored yogurts or add-ins like chia seeds for added health benefits and variety in your Buster Bars!
Make Ahead Options
These Healthy Peanut Butter Buster Bars are perfect for meal prep enthusiasts! You can prepare the base (yogurt, peanut butter, and sweetener) and freeze it up to 24 hours in advance. Simply mix the ingredients and shape the bars as directed, then place them in the freezer; this helps maintain their firm texture. Once you’re ready to finish the recipe, melt the chocolate chips and coat the frozen bars, then freeze again for 30 minutes to 1 hour before serving. For the best taste, be sure to keep the bars stored in an airtight container in the freezer for up to one month—they’ll still be just as delicious whenever you indulge!

Healthy Peanut Butter Buster Bars Recipe FAQs
How do I choose the right yogurt for this recipe?
Absolutely! I recommend using Greek yogurt for its creaminess and higher protein content, which contributes to a satisfying texture in your Buster Bars. If you’re going vegan, look for unsweetened coconut or almond yogurt to fit seamlessly into the recipe.
What’s the best way to store leftover Buster Bars?
To keep your delicious Buster Bars fresh, store them in a sealed container in the freezer for up to a month. This method preserves their texture and flavor. If you prefer to enjoy them within a shorter timeframe, they can be placed in the refrigerator and eaten within 3-5 days.
Can I freeze the Buster Bars after making them?
Definitely! After you’ve shaped and frozen your bars, you can either enjoy them immediately or store them. For the best chocolate coating, freeze the bars until they’re firm (about 2-3 hours). Once coated in chocolate, refreeze for an additional 30 minutes to 1 hour for a perfect crunch.
What if my chocolate coating doesn’t melt smoothly?
No worries! If your chocolate seizes, it could be due to water contact or overheating. Be sure to use a microwave-safe bowl and heat in short intervals, stirring frequently. If it still isn’t melting smoothly, try adding a teaspoon of coconut oil for added fluidity and gloss.
Are there any dietary considerations for the ingredients?
Very much so! This recipe is wonderfully adaptable. If you have nut allergies, you can easily substitute peanut butter with sunflower seed butter. For a vegan twist, ensure all ingredients, especially the chocolate chips, are dairy-free. Always check labels to avoid allergens.
How long do the Buster Bars last once made?
Once prepared, you can keep your Healthy Peanut Butter Buster Bars stored in the freezer for up to a month. Just remember to keep them in an airtight container. For maximum freshness, thaw the bars in the refrigerator before enjoying; they’ll maintain their delicious texture!
Delicious Buster Bars You Can Make Healthy at Home
Ingredients
Equipment
Method
- In a medium bowl, combine 1 cup of yogurt, 1/2 cup of peanut butter, and any desired sweetener. Blend until smooth and creamy.
- Line a baking tray with parchment paper and drop dollops of the peanut butter mixture onto the tray, inserting popsicle sticks into each.
- Freeze the tray for about 2-3 hours or until the bars are firm.
- Melt 1 cup of chocolate chips with 1 teaspoon of coconut oil in a microwave-safe bowl, stirring until glossy.
- Dip each frozen bar into the melted chocolate, coating fully, and return to the tray.
- Freeze again for 30 minutes to 1 hour to harden the chocolate coating, then enjoy!
- Store any leftovers in a sealed container in the freezer for up to a month.