

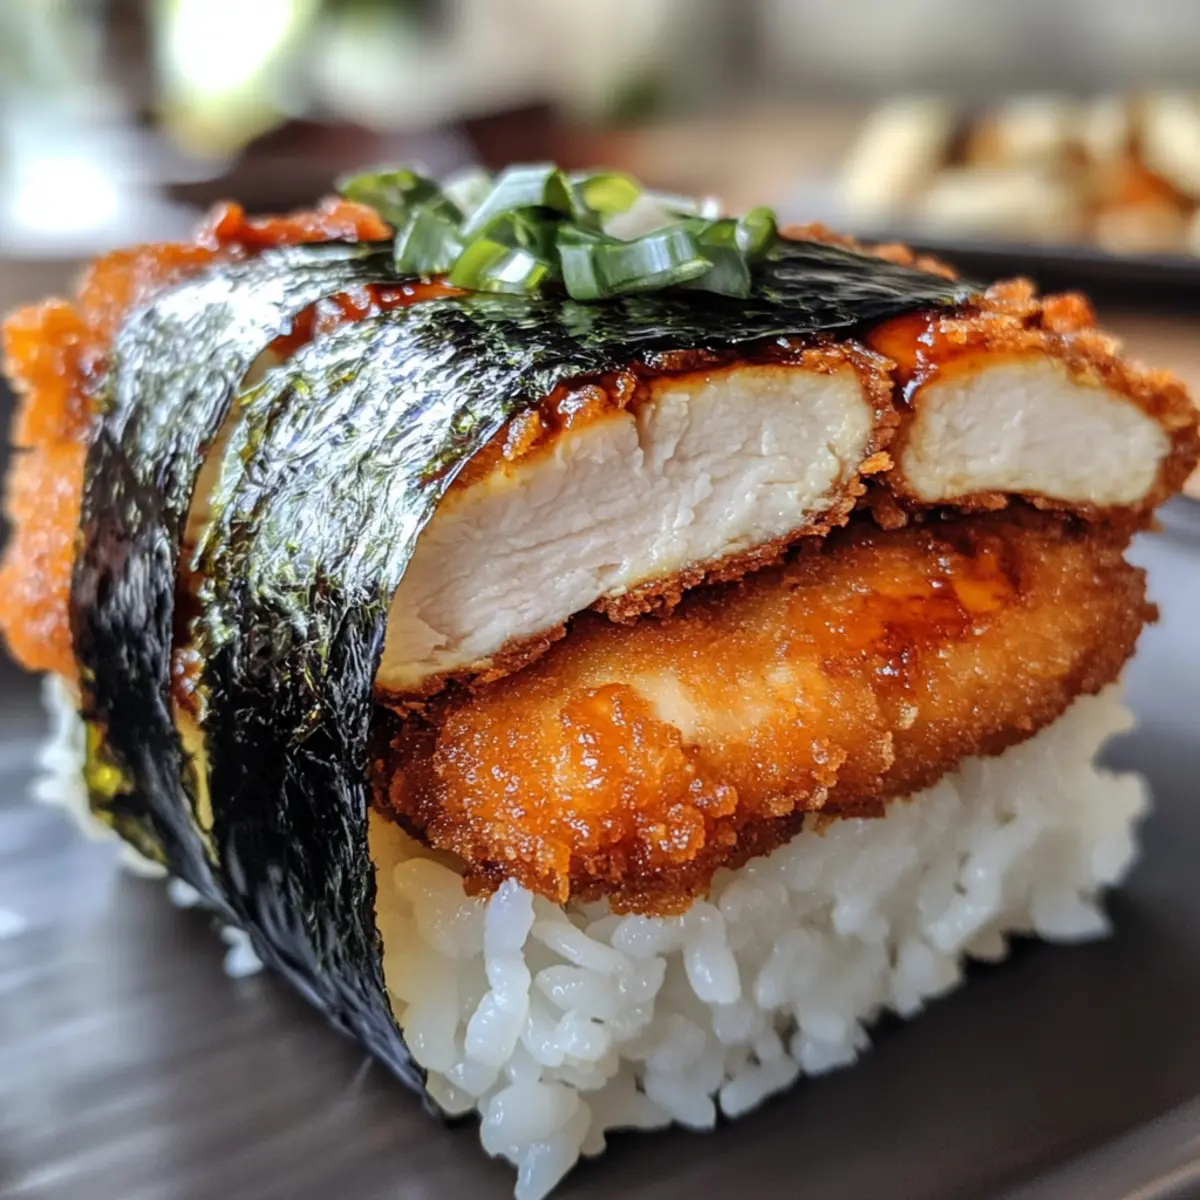
As I craved something crispy yet comforting, a picture of Chicken Katsu Musubi danced in my mind. This delightful snack offers a tempting twist on traditional sushi, featuring juicy fried chicken enveloped in a warm embrace of seasoned sushi rice and wrapped tightly in flavorful nori. Trust me when I say, it’s perfect for a quick lunch or a satisfying snack that keeps you away from fast-food temptations. In just a few simple steps, you can whip up this delicious fusion dish that’s not only easy to make but also delivers that comfort-food vibe we all love. Curious to learn how to bring a taste of Japan to your kitchen? Let’s dive into this mouthwatering recipe together!
Why is Chicken Katsu Musubi so special?
Quick and Easy: This recipe allows you to enjoy a delicious meal without spending hours in the kitchen. With just a few steps, you can create something impressive!
Savory Deliciousness: The combination of crispy fried chicken, perfectly seasoned rice, and umami-rich nori results in a flavor explosion. It’s a taste that you won’t forget!
Versatile Option: Whether you’re serving it as a light lunch or packing it for a picnic, Chicken Katsu Musubi fits any occasion. Try pairing it with pickled vegetables for a balanced meal!
Comforting Snack: This treat brings that comforting, crispy texture that will make it a family favorite, effectively keeping fast food at bay.
Make-Ahead Friendly: Prepare these delicious musubi ahead of time for quick bites throughout the week. Just remember to reheat briefly for that fresh-out-of-the-pan crunch!
Chicken Katsu Musubi Ingredients
For the Chicken
• Boneless Skinless Chicken Thighs – The juicy star of the dish, offering rich flavor; feel free to use chicken breasts for a leaner alternative.
• Large Eggs – Essential for binding the coating to the chicken, ensuring a crispy texture; a vegan egg alternative can serve if desired.
• All-Purpose Flour – Helps create a wet batter for dredging the chicken, adding texture; gluten-free flour works as a great substitute.
• Salt – Enhances all flavors; adjust to your dietary preferences.
• Ground Black Pepper – Adds warmth and depth; optional based on taste preference.
• Panko Breadcrumbs – Provides the deliciously crispy crust; regular breadcrumbs can be used for a different texture.
• Neutral Oil (for frying) – Crucial for frying the chicken, with canola or vegetable oil being excellent options; ensure enough oil for proper frying.
For the Musubi
• Nori Sheets (cut into thirds) – Wraps the musubi while imparting umami flavor; soy paper serves as a gluten-free alternative if you prefer.
• Cooked Sushi Rice – The hearty base for musubi, offering substance; swap for brown rice for a healthier twist.
• Tonkatsu Sauce – Adds a delightful sweetness and tang; barbecue sauce makes for a good substitute in a pinch.
Dive into making your Chicken Katsu Musubi and enjoy a satisfying, delicious snack that you and your loved ones will crave!
Step‑by‑Step Instructions for Chicken Katsu Musubi
Step 1: Pound the Chicken
Begin by placing the boneless skinless chicken thighs between two pieces of plastic wrap. Use a meat mallet to pound the chicken to an even ½-inch thickness, ensuring uniform cooking. This step is key for achieving that tender, juicy texture in your Chicken Katsu Musubi.
Step 2: Prepare the Batter
In a shallow dish, whisk together large eggs, all-purpose flour, salt, and ground black pepper until the mixture mimics pancake batter consistency. This wet batter will cling to the chicken, creating that desired crunchy coating. Make sure there are no lumps for an even application on the chicken.
Step 3: Coat the Chicken
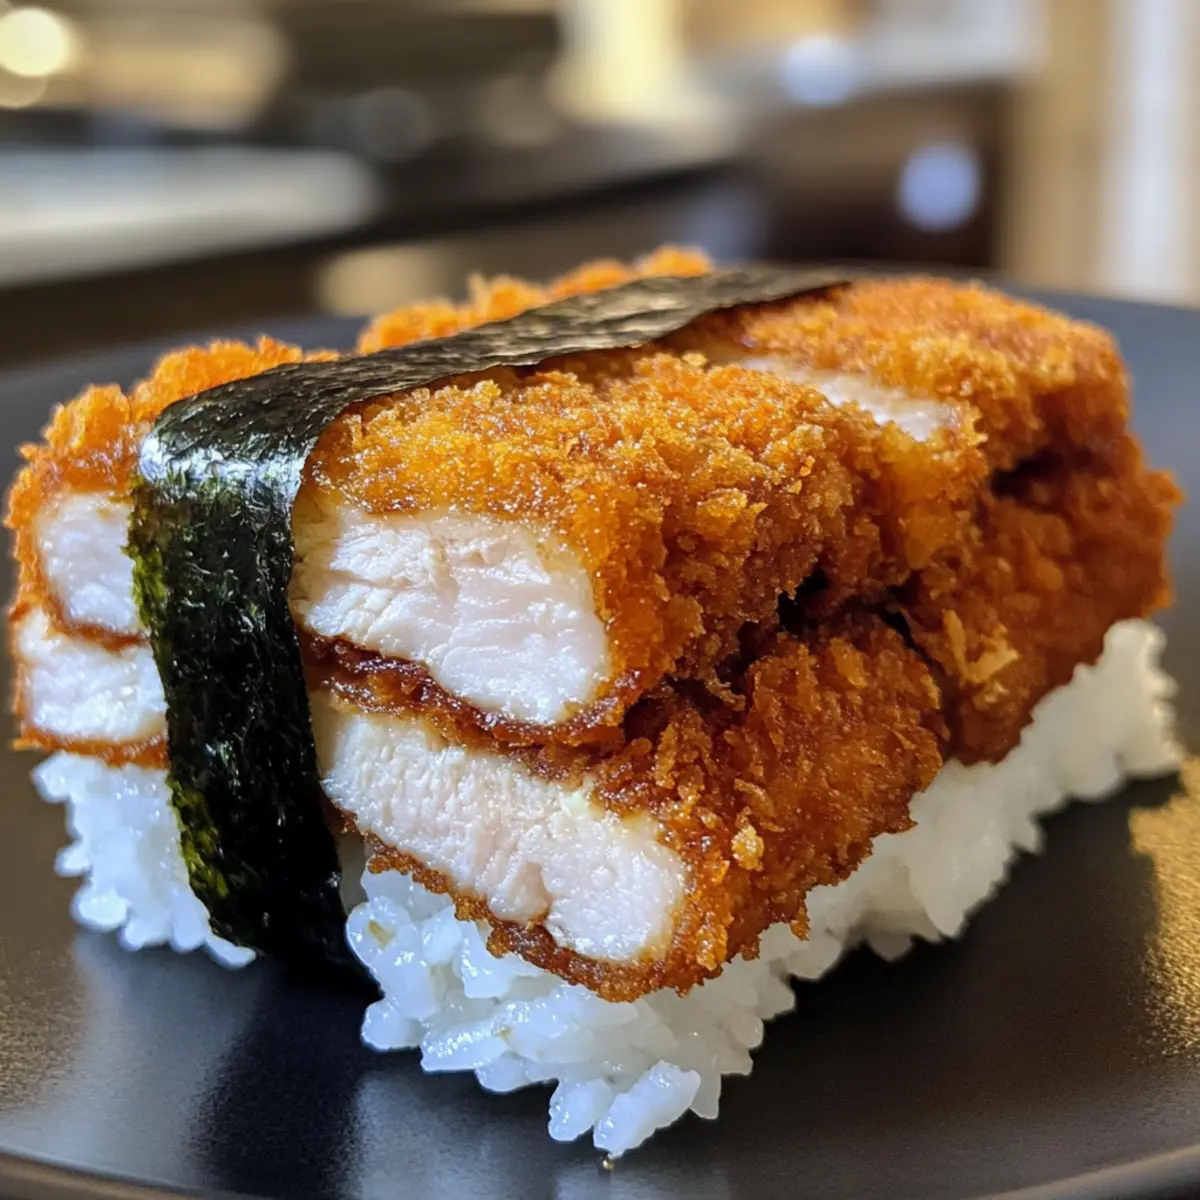
Take each pounded chicken thigh and dip it into the wet batter, allowing any excess to drip off. Then, roll the batter-coated chicken in panko breadcrumbs until evenly coated. This step is crucial for getting that light and crispy crust that’s essential to the Chicken Katsu Musubi.
Step 4: Fry the Chicken
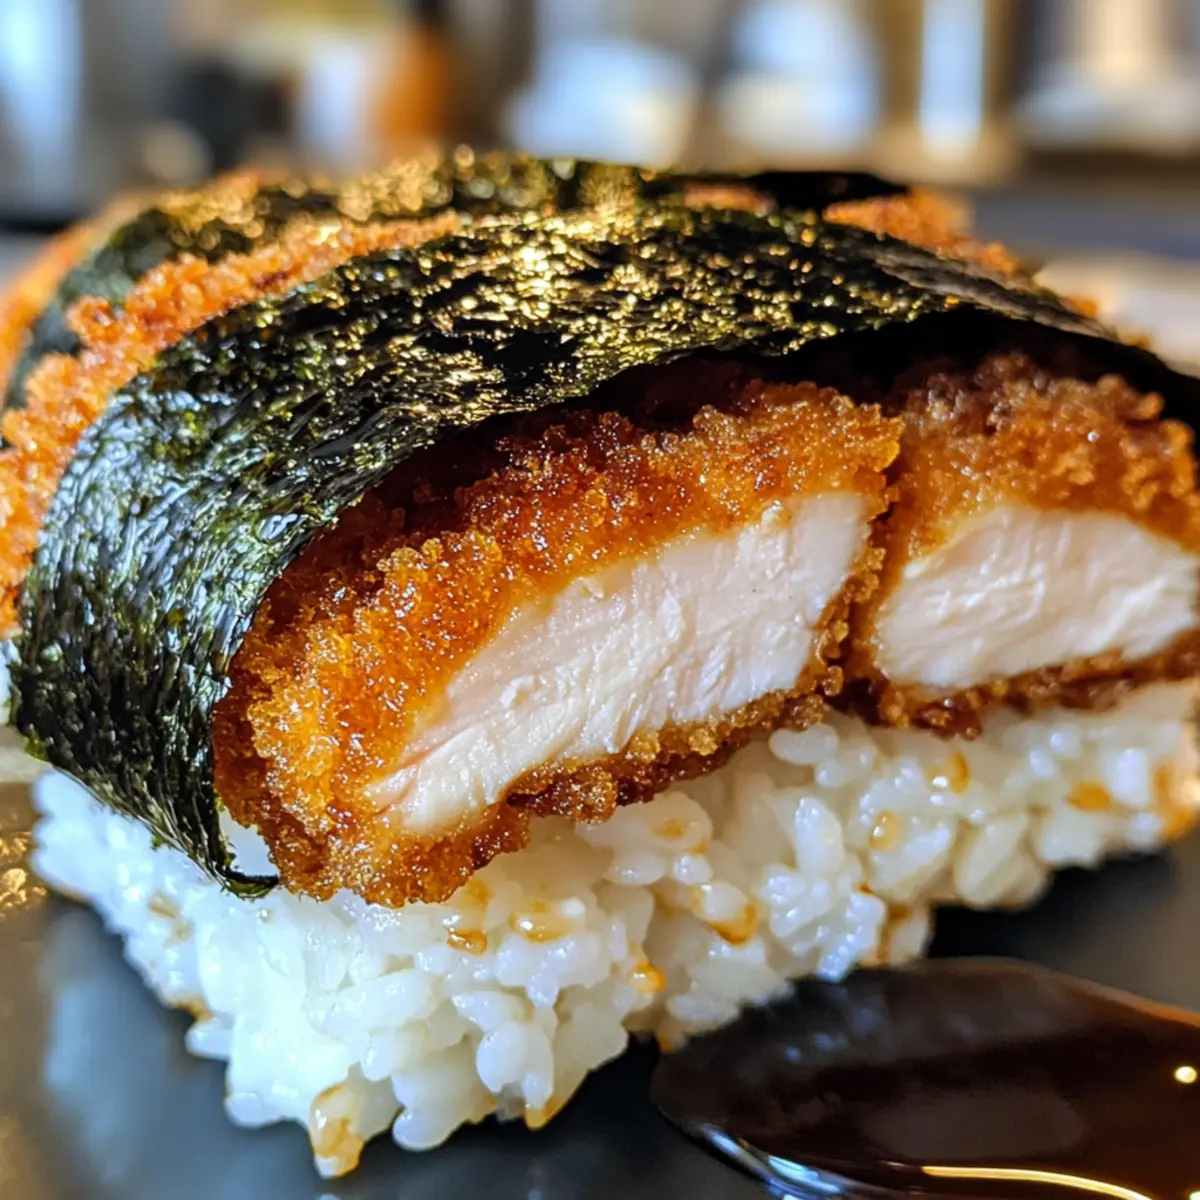
Heat a generous amount of neutral oil in a large skillet over medium-high heat, reaching a temperature of 350°F. Carefully place the coated chicken thighs into the hot oil, frying for 4-6 minutes on each side, or until golden brown and the internal temperature reaches 165°F. Transfer the cooked chicken to a wire rack to cool.
Step 5: Shape the Rice
On a clean surface, take an empty Spam can or a musubi mold and moisten the inside with water to prevent sticking. Place the can horizontally on a strip of nori. Scoop in ½ cup of cooked sushi rice, pressing it down firmly to form a compact layer. Gently remove the can, leaving the rice shaped and ready for assembly.
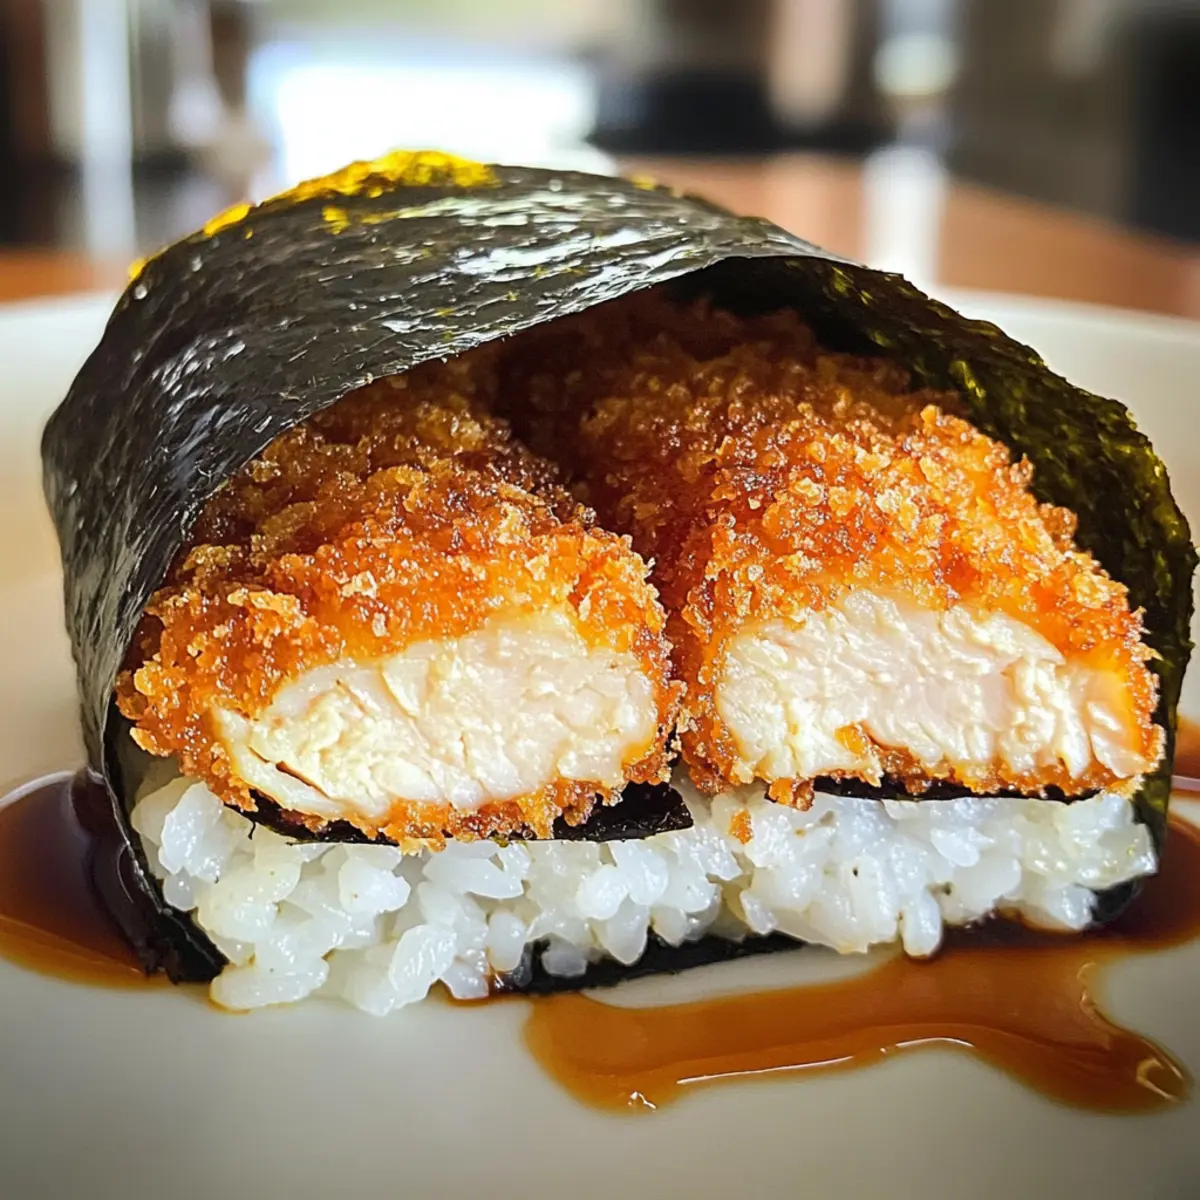
Step 6: Assemble the Musubi
Spread a layer of tonkatsu sauce over the rice, then place a piece of the crispy fried chicken on top. Carefully wrap the nori around the musubi, ensuring each layer is tight to keep everything together. Use a little water to seal the edges of the nori, making sure the delightful Chicken Katsu Musubi is secure and ready to enjoy.
How to Store and Freeze Chicken Katsu Musubi
-
Room Temperature: Chicken Katsu Musubi is best enjoyed fresh, but if necessary, it can be held at room temperature for up to 1 hour.
-
Fridge: Store any leftovers in an airtight container in the refrigerator for up to 3 days. This keeps the musubi fresh while maintaining its flavors.
-
Freezer: For longer storage, wrap each musubi tightly in plastic wrap followed by aluminum foil, then freeze for up to 1 month. Reheating is best done in a toaster oven for crispy results.
-
Reheating: To maintain the crispy texture, reheat the Chicken Katsu Musubi in a toaster oven at 350°F for about 10-12 minutes, or until heated through.
Chicken Katsu Musubi Variations
Feel free to mix and match flavors and ingredients to make this Chicken Katsu Musubi your own and take it to the next level!
-
Vegetarian: Swap chicken for tofu or a meat alternative, marinating for a few minutes to boost flavor. The crispy texture of the tofu will still create that satisfying crunch in every bite.
-
Flavored Rice: Incorporate some furikake or sesame seeds into the sushi rice for an added burst of umami. This will elevate the flavor profile, creating a delightful surprise with each mouthful.
-
Spicy Kick: Drizzle sriracha or spicy mayo on the chicken before wrapping. For heat lovers, this adds a fiery twist that complements the savory elements beautifully.
-
Crispy Addition: Use tempura flakes alongside the panko for extra crunch. This little addition will add a delightful texture that takes the musubi to a whole new level.
-
Sauce Alternatives: Instead of tonkatsu sauce, experiment with a sweet chili sauce for a different flavor experience. This delightful change will give your musubi a zesty, sweet finish that you won’t forget!
-
Garnish Upgrades: Before wrapping, top with green onions or avocado slices for a fresh twist. These ingredients not only add color but also contribute an additional layer of flavor that refreshes the palate.
-
Rice Substitution: Feel free to use quinoa or cauliflower rice for a healthier, low-carb version. Your Chicken Katsu Musubi will still deliver on flavor without the extra carbs!
While you’re at it, consider serving your Chicken Katsu Musubi alongside some homemade pickled vegetables for a colorful, nutritious companion. More ideas to explore include the comfort of Savory Chicken Cheesy Potato Drumsticks or the sweetness of Tropical Chicken Pineapple.
Expert Tips for Chicken Katsu Musubi
-
Perfect Temperature: Ensure the oil is heated to 350°F for optimal frying; too cool and the chicken will be greasy, too hot and it will burn.
-
Even Coating: When dredging the chicken, ensure it’s coated evenly with batter and panko breadcrumbs to achieve that perfect crispy texture.
-
Don’t Overcrowd: Fry chicken in batches; overcrowding the pan can lower the oil temperature, causing the coating to become soggy and unevenly cooked.
-
Firm Pressing: Press the sushi rice firmly into the mold to help form a compact shape; this prevents the musubi from falling apart when you wrap it in nori.
-
Clean Cuts: Use a wet knife to slice the assembled Chicken Katsu Musubi for clean edges; this helps prevent tearing and keeps the presentation neat.
What to Serve with Chicken Katsu Musubi?
Enhance your meal experience with these delightful pairings that complement the crispy, juicy flavors of Chicken Katsu Musubi.
- Pickled Vegetables: These tangy bites balance the richness of fried chicken and add a refreshing crunch, enhancing every mouthful.
- Side Salad: A mix of greens tossed with sesame dressing provides a light contrast to the hearty musubi—perfect for brightening up your plate!
- Miso Soup: The warm, comforting essence of miso soup rounds out your meal, adding depth without overpowering the musubi’s unique flavor.
- Edamame: Lightly salted edamame brings a nutty taste and a fun texture that pairs beautifully with the umami notes of tonkatsu sauce.
- Furikake Rice: Elevate your sushi rice by adding furikake, a Japanese seasoning mix, to reinforce the flavors and introduce delightful hints of umami.
- Chilled Green Tea: Refresh your palate with a cup of chilled green tea, offering a clean and crisp counterpoint to the meal’s savory elements.
- Chocolate Mochi: End your meal on a sweet note with a soft, chewy chocolate mochi that beautifully contrasts the crispiness of Chicken Katsu Musubi.
- Teriyaki Chicken Wings: If you’re feeling adventurous, serve some sticky teriyaki wings alongside for a party-perfect platter that’s a sure crowd-pleaser!
Make Ahead Options
These Chicken Katsu Musubi are perfect for busy home cooks looking to save time! You can prepare the fried chicken and sushi rice up to 24 hours in advance. Simply cook the chicken and let it cool completely before storing it in an airtight container in the refrigerator. The sushi rice can also be made ahead; just ensure it cools to room temperature before sealing. To maintain quality, avoid assembling the musubi until you’re ready to serve. When it’s time to enjoy, simply reheat the chicken in a toaster oven for that fresh crunch, shape your rice, and wrap it all together with nori for a delightful snack that’s just as delicious as when freshly made!
Chicken Katsu Musubi Recipe FAQs
How do I select the best chicken for Chicken Katsu Musubi?
Absolutely! When choosing chicken, opt for boneless skinless chicken thighs, which offer juiciness and flavor. If you prefer a leaner choice, chicken breasts can also be used. Look for thighs that are firm and free of dark spots; freshness is key for that delicious crispy outcome!
What’s the best way to store leftover Chicken Katsu Musubi?
Very! To keep your Chicken Katsu Musubi fresh, store leftovers in an airtight container in the refrigerator for up to 3 days. This will help maintain its flavors. If you’ve got more than you can eat, you can even wrap each musubi tightly in plastic wrap and aluminum foil to freeze for up to 1 month!
Can I freeze Chicken Katsu Musubi, and if so, how?
Absolutely! To freeze, first let the musubi cool completely. Next, wrap each piece tightly in plastic wrap, followed by aluminum foil to prevent freezer burn. When you’re ready to enjoy it, reheat in a toaster oven at 350°F for about 10-12 minutes to regain that lovely crispiness.
What should I do if my chicken coating becomes soggy?
I understand how frustrating that can be! To avoid soggy coating, ensure the oil is heated to a perfect 350°F before adding the chicken. If you’ve already cooked it and it’s soggy, try briefly reheating in a preheated toaster oven; this can help restore some of the crispiness.
Is Chicken Katsu Musubi safe for those with allergies?
Very! If you or someone you’re serving has allergies, you can make adjustments to accommodate. For example, use gluten-free flour and breadcrumbs, and a vegan egg alternative if you desire a plant-based dish. Always check the labels of your ingredients to ensure they meet any dietary restrictions.
How long can I keep Chicken Katsu Musubi at room temperature?
Great question! Chicken Katsu Musubi is best enjoyed fresh, but it can be held at room temperature for up to 1 hour. If you need to hold it longer, take care to keep it in a cool place to prevent spoilage.
Crispy Chicken Katsu Musubi: Your New Favorite Lunch Snack
Ingredients
Equipment
Method
- Pound the chicken thighs between plastic wrap to an even ½-inch thickness for uniform cooking.
- In a shallow dish, whisk together eggs, flour, salt, and pepper until pancake batter consistency.
- Dip each pounded chicken thigh into the wet batter, then roll in panko breadcrumbs until evenly coated.
- Heat neutral oil in a skillet over medium-high heat to 350°F. Fry chicken for 4-6 minutes per side until golden.
- Use a musubi mold to shape the cooked sushi rice firmly into compact layers.
- Spread tonkatsu sauce over the rice, place a piece of fried chicken on top, and wrap with nori.