

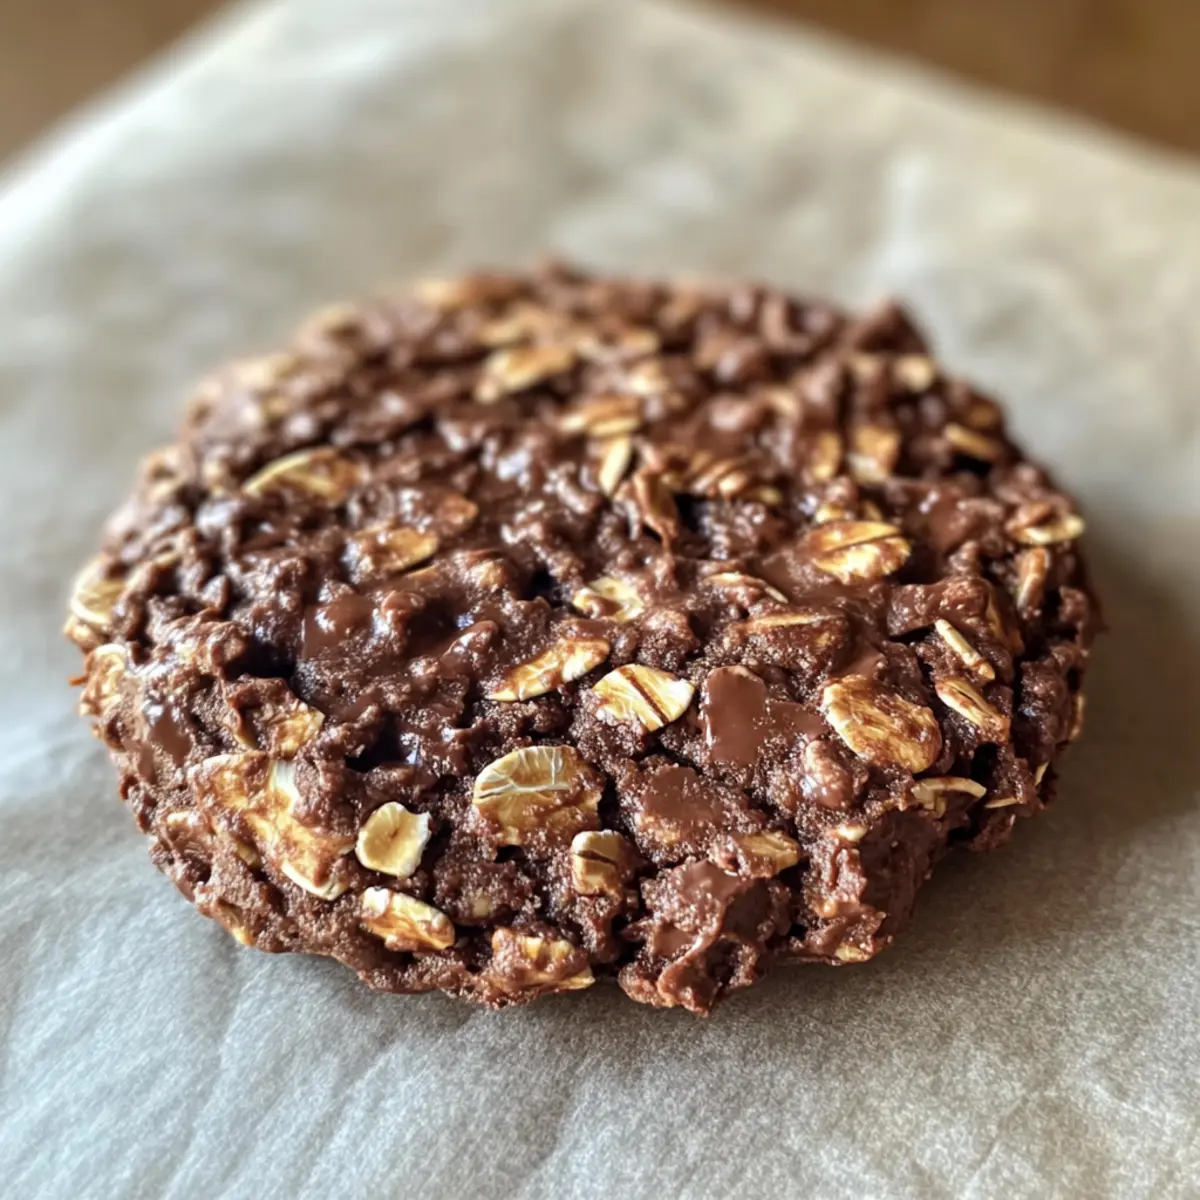
It’s fascinating how something as simple as oats and chocolate can transform into a delightful memory, isn’t it? With just four ingredients, my crispy Chocolate Oat Cookies have become a go-to recipe whenever I crave a sweet treat that doesn’t come with a long list of complicated steps. Not only are they incredibly quick to whip up, but they also cater to health-conscious snackers, making them both guilt-free and satisfying. The blend of chewy oats and rich cocoa delivers a crunchy exterior paired with a soft bite that’s simply irresistible. Plus, they’re gluten-free and can be personalized with various mix-ins to suit every palate! Ready to discover how these cookies can become your new favorite? Let’s dive in!
Why Are These Cookies a Must-Try?
Simplicity at Its Best: With just four simple ingredients, these cookies are a breeze to make, requiring minimal kitchen fuss.
Healthy Indulgence: Packed with gluten-free oats and nut butter, they offer a guilt-free way to satisfy your sweet tooth without the junk!
Versatile Options: Customize your treats with mix-ins like nuts or chocolate chips, making this recipe a fun canvas for creativity.
Quick and Easy: Bake them in under 12 minutes, making it perfect for last-minute cravings or unexpected guests – paired wonderfully with a Refreshing Avocado Tomato Salad on the side!
Nutritional Boost: They’re not just tasty but also loaded with fiber and protein, ensuring your snack time is both satisfying and nutritious.
Try this delightful recipe, and watch these cookies become a staple in your kitchen!
Chocolate Oat Cookie Ingredients
- For the Cookies
- Rolled Oats – Provides structure and a chewy texture; use certified gluten-free oats for a gluten-free version.
- Cocoa Powder – Adds rich chocolate flavor; opt for unsweetened cocoa for better control of sweetness.
- Maple Syrup – Acts as a natural sweetener and binder; honey or agave syrup can be substituted.
- Nut Butter (e.g., almond or peanut) – Offers creaminess and additional flavor; sunflower seed butter is a great nut-free option.
With these simple ingredients, these Chocolate Oat Cookies are sure to steal your heart and delight your taste buds!
Step-by-Step Instructions for 4-Ingredient Crispy Chocolate Oat Cookies
Step 1: Preheat the Oven
Begin by preheating your oven to 350°F (175°C). This crucial first step ensures that your Chocolate Oat Cookies bake evenly and develop a delightful crunch. While the oven heats, you can prepare the baking sheet lined with parchment paper for the cookies.
Step 2: Mix Ingredients
In a large mixing bowl, combine the rolled oats, cocoa powder, maple syrup, and your choice of nut butter. Stir vigorously until the mixture reaches a uniform consistency, ensuring that all ingredients are well-integrated. This step should take about 2-3 minutes, and the mixture may become thick but should still be manageable.
Step 3: Form Cookies
Using a spoon or a cookie scoop, portion out the mixture onto the prepared baking sheet. Flatten each mound slightly with the back of the spoon to help achieve the desired texture; the cookies will not spread much during baking. Aim for about 12 cookies on your sheet, giving them some space to breathe.
Step 4: Bake
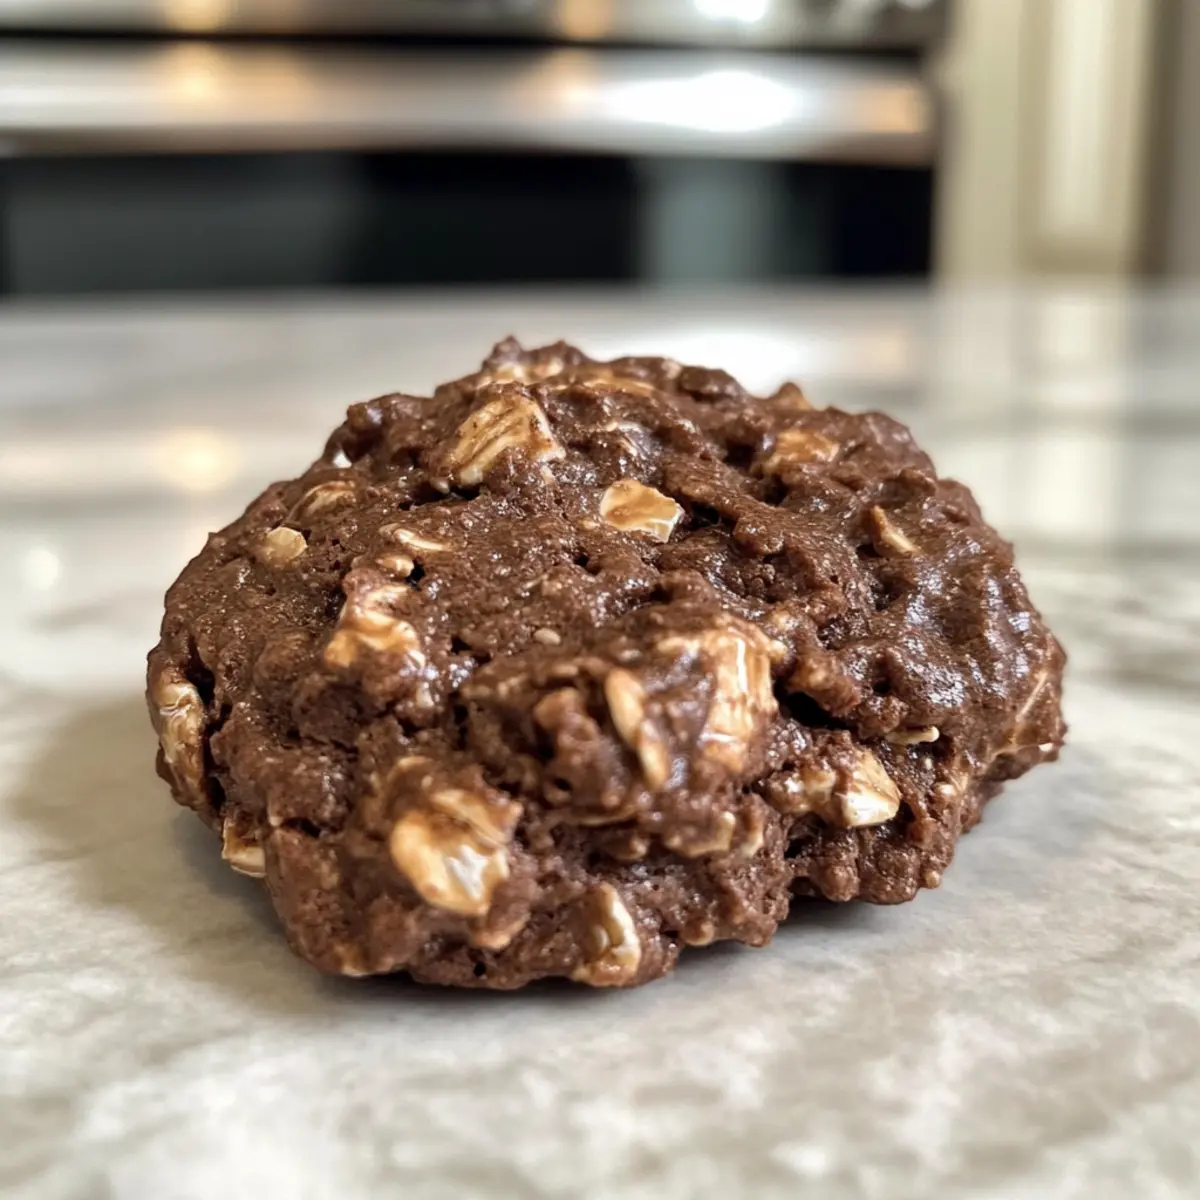
Place the baking sheet in the preheated oven and bake for 10-12 minutes. Keep an eye on the cookies as they bake; you’ll want the edges to become crispy while the center remains soft but set. The aroma of chocolate will fill your kitchen, signaling that they are nearly ready!
Step 5: Cool
Once baking is complete, remove the cookies from the oven and let them cool on the baking sheet for about 5 minutes. This cooling period allows them to firm up a bit before transferring. After that, carefully move them to a wire rack to cool completely. Enjoy your warm Chocolate Oat Cookies!

Make Ahead Options
These Chocolate Oat Cookies are perfect for meal prep enthusiasts looking to save time in the kitchen! You can mix the dough and store it in the refrigerator for up to 24 hours before baking, ensuring freshness without compromising flavor. Alternatively, you can form the cookies and freeze them on a baking sheet. Once frozen solid, transfer them to an airtight container, and they will keep well for up to 3 months. When you’re ready to enjoy these cookies, bake them straight from the freezer, adding a couple of extra minutes to the baking time. This way, you’ll always have a quick and delightful treat on hand, just as delicious as when freshly made!
Variations & Substitutions for Chocolate Oat Cookies
Feel free to mix things up and create a delightful twist on these cookies that’ll tickle your taste buds!
-
Sweetener Swap: Use honey or agave syrup instead of maple syrup for a different flavor profile. Each sweetener adds its own nuance, elevating your cookie experience to new heights.
-
Oats Choice: Opt for quick oats if you prefer a finer texture. They lend a different mouthfeel, making these cookies even more enjoyable with each bite.
-
Nut-Free Option: Choose sunflower seed butter as a nut-free alternative. This maintains the creamy consistency while introducing a subtly toasted flavor that pairs beautifully with chocolate.
-
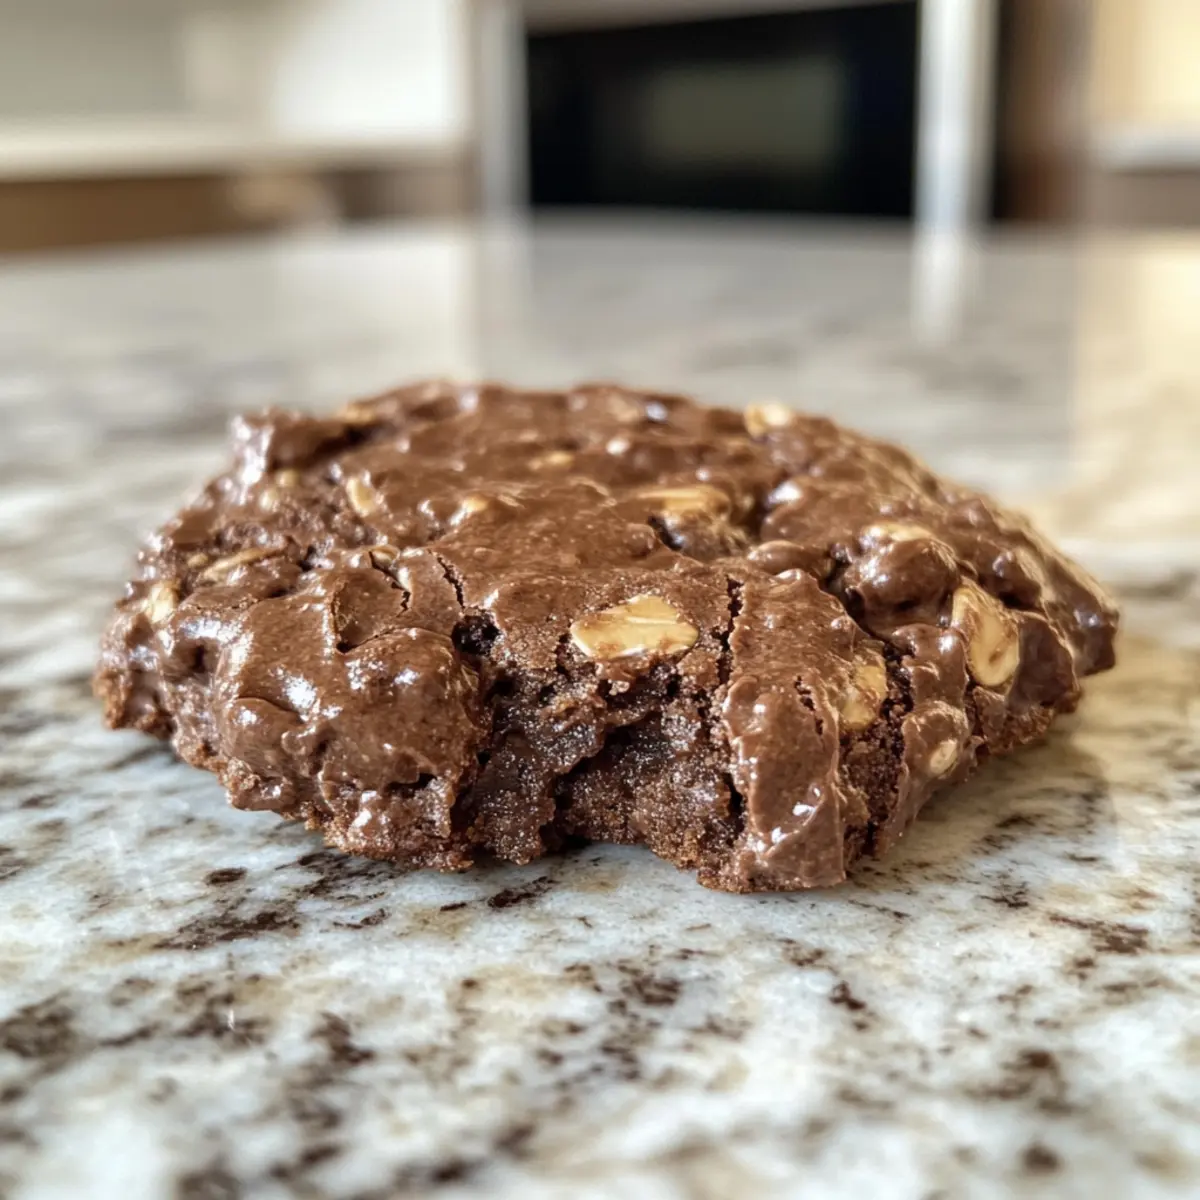
Chocolate Chips: Add dark chocolate chips or white chocolate chunks for a decadent touch. The melty pockets of chocolate will make each cookie feel extra indulgent, bringing a lovely surprise to your treats.
-
Flavor Enhancers: Incorporate a splash of vanilla extract or a sprinkle of cinnamon for an aromatic boost. Both options add another layer of warmth and comfort to these cookies, reminiscent of cozy family gatherings.
-
Dried Fruit: Toss in some dried cranberries or raisins to add a chewy texture and a pop of sweetness. This combination creates a delightful contrast and keeps every bite exciting, just like in a classic Persian Tomato Rice dish.
-
Nutty Crunch: Consider adding chopped nuts, such as walnuts or pecans, for a lovely crunch. They not only provide added texture but also bring healthy fats into the mix, making these cookies even more nourishing.
-
Spicy Kick: If you enjoy a bit of heat, sprinkle a pinch of cayenne pepper or chili powder into the mix. This unexpected twist will surprise your palate and make your cookies truly unforgettable!
Embrace your culinary creativity and let these variations inspire you! You’ll find that every bite takes you on a new flavor journey with your Chocolate Oat Cookies.
How to Store and Freeze Chocolate Oat Cookies
Room Temperature: Store your cookies in an airtight container at room temperature for up to 7 days to maintain their crispy texture and delightful flavor.
Freezer: For longer storage, freeze the cookies by placing them in a single layer in a freezer-safe bag or container; they can last for up to 3 months.
Reheating: To enjoy your frozen Chocolate Oat Cookies, simply bake them directly from the freezer for an additional 2-3 minutes until warmed through and slightly crisp.
Make-Ahead Tips: Prepare the cookie dough ahead of time, freeze it in portions, and bake fresh cookies whenever the craving strikes!
Expert Tips for the Best Chocolate Oat Cookies
-
Mix Well: Thorough mixing ensures every cookie has an even flavor; don’t rush this step for the best results.
-
Keep an Eye on Time: Watch the cookies closely towards the end of baking to avoid burning; they can go from perfect to overdone quickly!
-
Flatten for Texture: Remember to flatten the cookie mounds slightly before baking; a little pressure helps achieve the ideal cookie crunch.
-
Experiment Freely: Feel free to swap ingredients! For gluten-free chocolate oat cookies, use certified gluten-free oats and your favorite nut butter or a nut-free alternative.
-
Storage Savvy: Store cookies in an airtight container at room temperature for freshness and longevity; they can last up to a week—if they last that long!
What to Serve with 4-Ingredient Crispy Chocolate Oat Cookies
Indulge your senses and create a delightful meal by pairing these crispy treats with some complementary favorites.
- Creamy Yogurt: Provides a cool, refreshing contrast to the warm cookies, enhancing their chocolatey goodness while adding a light, tangy flavor.
- Sliced Bananas: The natural sweetness and soft texture of bananas complement the cookies beautifully, making for a nutritious and satisfying snack combo.
- Nutty Granola: A crunchy granola brings additional texture and flavor, creating a delightful contrast to the chewy chocolatey oats. Add it to yogurt for a power-packed morning!
- Fresh Berries: Their tartness balances the sweetness of the cookies, brightening up each bite with a burst of freshness—perfect for a light dessert.
- Glass of Milk: Whether almond, oat, or classic cow’s milk, a chilled glass is the ideal companion that soaks into the cookies, enhancing their magical flavors.
- Chocolate Chia Pudding: Rich in nutrients, this creamy pudding echoes the chocolate flavor while introducing a delightful texture, making it a perfect partner for your sweet treats.
Each pairing will elevate your experience, making those crispy cookies all the more unforgettable!
Chocolate Oat Cookies Recipe FAQs
What type of oats should I use?
I recommend using rolled oats for this recipe as they provide the best chewy texture. If you’re looking for a gluten-free option, make sure to opt for certified gluten-free rolled oats to ensure there’s no cross-contamination.
How should I store my cookies?
Store your Chocolate Oat Cookies in an airtight container at room temperature for up to 7 days. This will help keep them crispy on the outside while maintaining their delicious flavor. If you find they start to soften, simply pop them back in the oven for a couple of minutes to regain their crunch!
Can I freeze the cookies?
Absolutely! To freeze your Chocolate Oat Cookies, arrange them in a single layer in a freezer-safe bag or container. They can be stored like this for up to 3 months. When you’re ready to enjoy them, just bake them straight from the freezer; add an extra 2-3 minutes to the baking time. It’s a great way to always have a treat on hand!
What if my cookies turn out too soft?
If your cookies are too soft, it may be due to underbaking them. Keep an eye on them during the last few minutes of baking. Those edges should get crispy while the centers firm up. If you had already baked them correctly but they still come out soft, try flattening them a bit more before baking next time to help achieve that ideal texture.
Are there any dietary considerations for pets or allergies?
Yes, these cookies are gluten-free if you use certified gluten-free rolled oats! However, be cautious with nut allergies—opt for sunflower seed butter if there are nut sensitivities in your household. As for pets, chocolate is toxic to dogs and other animals, so keep these cookies out of their reach!
Savory Persian Tomato Rice That Will Steal Your Heart
Ingredients
Equipment
Method
- In a large pot, heat ghee or butter over medium heat.
- Add chopped onions and sauté until translucent.
- Stir in the tomato puree, salt, turmeric, cinnamon, and black pepper.
- Bring the mixture to a simmer.
- Add the soaked and rinsed basmati rice, and water, stirring well.
- Cover the pot and reduce heat to low, cooking for about 20 minutes.
- Remove from heat and let the rice sit covered for 5 minutes before serving.