

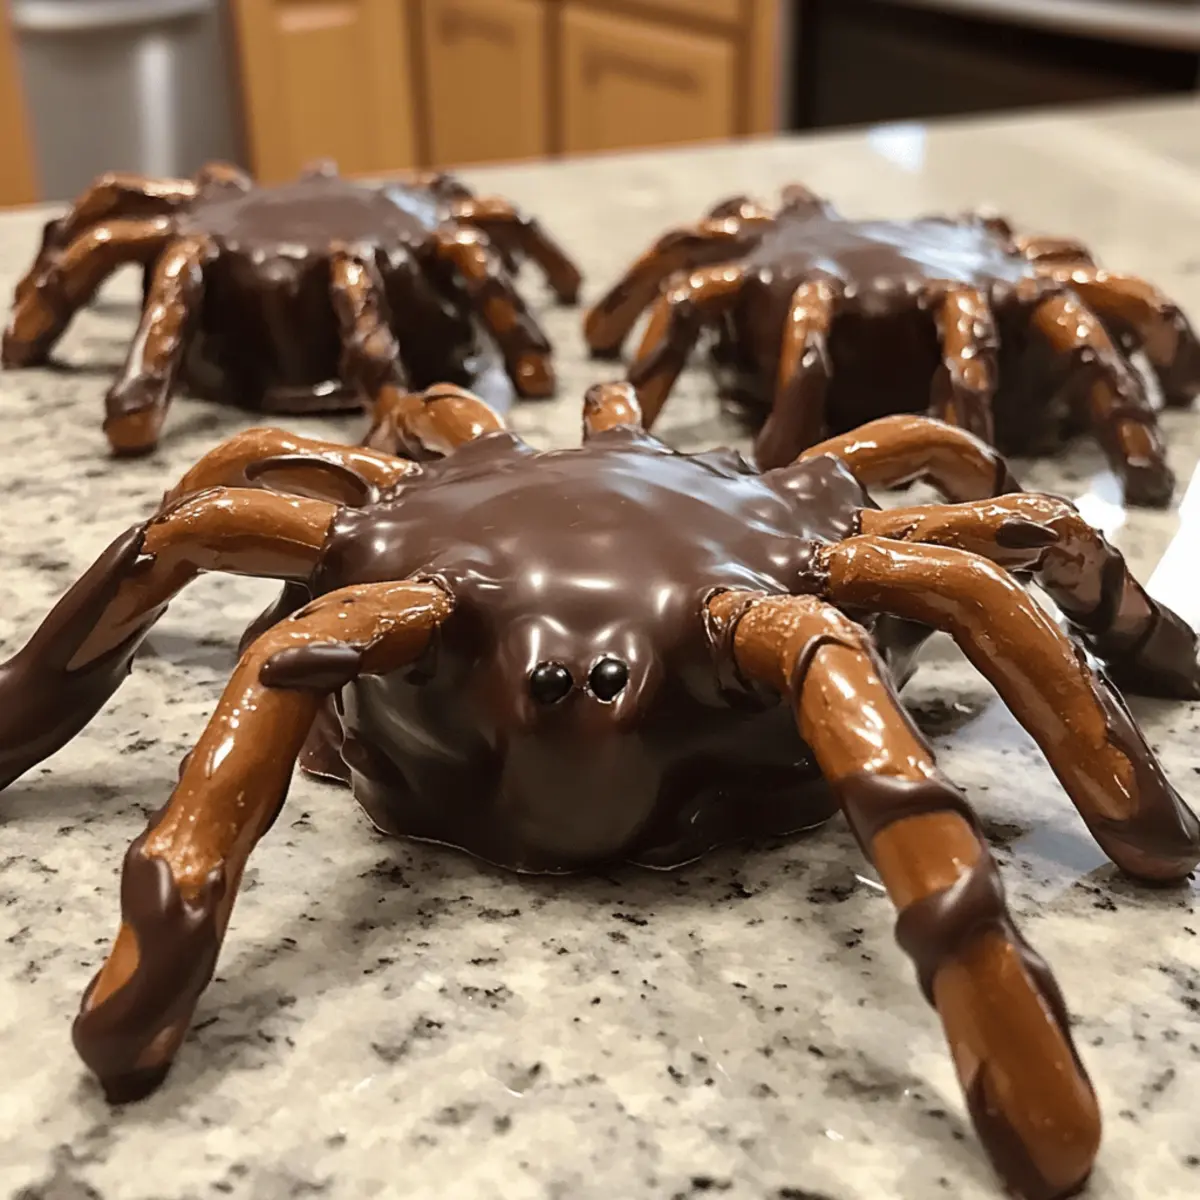
As I unwrapped the glossy dark chocolate, a mischievous idea crept into my mind—what if I could turn a few simple ingredients into creepy-crawly delights? Enter the world of Chocolate Tarantulas, a fun and slightly spooky recipe that invites you and your kids to craft your very own edible arachnids for Halloween. With just three easy-to-find ingredients—Milk Duds, pretzel sticks, and melting chocolate—you’ll be amazed at how quickly these tacky treats come together. Not only are they an exciting project to whip up, but they also add a playful twist to your Halloween festivities, keeping fast-food cravings at bay. So, are you ready to dive into this deliciously crafty adventure? Let’s get started!
Why Are Chocolate Tarantulas So Fun?
Easy to Make: With just three simple ingredients, these Chocolate Tarantulas can be assembled in no time, making them ideal for a quick kitchen adventure with the kids.
Creative Fun: Each creation can be uniquely designed, allowing your children to unleash their creativity while forming their spooky spiders.
Perfect for Halloween: They’re not just treats; they’re show-stoppers at any Halloween gathering, sure to delight both kids and adults alike!
Sweet & Salty Delight: The combination of chewy Milk Duds and crunchy pretzels gives a satisfying blend of textures and flavors.
Endless Variations: Feel free to experiment by adding edible eyes or different types of chocolate for a personalized touch, just like my delicious Coconut Chocolate Rolls or Nutty Chocolate Date Cookies.
Chocolate Tarantulas Ingredients
Here’s everything you’ll need to craft these adorable creepy-crawlies!
For the Spider Body
- Milk Duds – Adds sweetness and forms the spider body; you can substitute with similar round candies like Whoppers for variety.
For the Legs
- Pretzel Sticks – Provide crunch and mimic the legs of the spider; break them in half to create the perfect eight legs.
For Coating
- Dark Melting Chocolate – Used for coating the pretzel legs and connecting them to the spider body; opting for brands like Ghirardelli or CandiQuik ensures smooth melting.
Enjoy making these whimsical Chocolate Tarantulas! Your kids will have a blast as they dive into this fun Halloween treat.
Step‑by‑Step Instructions for Chocolate Tarantulas
Step 1: Prepare the Workspace
Start by clearing a clean, flat surface and covering it with wax paper. This will prevent the chocolate from sticking and make for easy cleanup later. Gather all your ingredients: Milk Duds, pretzel sticks, and dark melting chocolate. Having everything ready will help streamline the process as you create your fun Chocolate Tarantulas.
Step 2: Break Pretzel Sticks
Carefully break the pretzel sticks in half to form the spider legs. You should end up with sixteen pieces, as each tarantula will have eight legs. Set these aside on your wax paper so they’re easy to grab when you start assembling your tarantulas. Make sure the pieces are of even length for a neat appearance.
Step 3: Melt the Chocolate
Follow the package instructions to melt the dark chocolate, using a microwave-safe bowl for convenience. Heat in short bursts of about 30 seconds, stirring in between, until the chocolate is smooth and glossy. Be careful not to overheat, as this can cause the chocolate to seize. This melted chocolate will serve as the coating for your pretzel legs.
Step 4: Coat the Pretzel Halves
Using a fork, gently dip each pretzel half into the melted chocolate, ensuring they are fully coated. Lift them out, letting the excess chocolate drip off before placing them in a “V” shape on the wax paper to form the spider legs. This should create a pleasing, realistic shape for your Chocolate Tarantulas, so take your time to position them well.
Step 5: Allow Legs to Set
Let the coated pretzel legs sit on the wax paper for about 10–15 minutes, or until the chocolate hardens. This step is crucial for ensuring that the legs stay intact when you attach them to the spider body later. While waiting, you can prep the Milk Duds that will form the body of your tarantulas.
Step 6: Assemble the Spider Body
Take two Milk Duds and dip each in the remaining melted chocolate, coating them thoroughly. Place them side by side on the wax paper to form the body of your Chocolate Tarantulas. The warm chocolate will act as adhesive, making it easier to attach the legs once they’re ready. Make them snugging them together for a more cohesive look.
Step 7: Attach the Spider Legs
Once the legs have set, gently lift them and dip the ends into the melted chocolate. Attach them to the sides of the Milk Dud body, holding each leg in place for about 20 seconds until the chocolate secures them firmly. Repeat this process with all eight legs, ensuring they are evenly spaced for a lifelike appearance.
Step 8: Final Set and Enjoy
Once all the legs are attached, allow your Chocolate Tarantulas to dry completely for about 15–20 minutes. After they are fully set, you can move them to a serving platter. They’re now ready to be enjoyed as a spooky Halloween treat that dazzles both kids and adults alike!
Expert Tips for Chocolate Tarantulas
-
Perfectly Melting Chocolate: Make sure to melt the chocolate in short bursts; overheating can cause it to seize, ruining your Chocolate Tarantulas.
-
Use a Fork for Dipping: Dipping pretzel sticks in melted chocolate with a fork helps ensure even coating and makes cleanup easier.
-
Be Patient with Assembly: Allow coated legs to fully set before attaching them to the body, preventing them from falling off during the process.
-
Create Fun Variations: Don’t hesitate to swap Milk Duds for other candies, like Whoppers, to keep your Chocolate Tarantulas exciting and unique.
-
Add Personal Touches: Enhance the spooky appeal by adding edible googly eyes or sprinkles before the chocolate sets—your kids will love the creativity!
What to Serve with Chocolate Tarantulas
Elevate your Halloween gatherings with these delightful treats, perfect for both playful munching and spooky snacking.
-
Crispy Apple Slices: The tartness of fresh apple slices offers a refreshing contrast to the rich, sweet tarantulas and makes for a balanced autumn snack.
-
Pumpkin Spice Cookies: These soft, spiced cookies bring the essence of fall right to your table, creating a cozy vibe that pairs beautifully with chocolate treats.
-
Caramel Dip: A drizzle of warm caramel adds a luscious sweetness that enhances the Chocolate Tarantulas, providing extra decadence that kids will love.
-
Ghostly Cupcakes: Create whimsical cupcakes topped with ghostly frosting for a fun dessert display, adding both a festive touch and additional sweetness to the spread.
-
Monster Milkshakes: Serve up playful monster milkshakes in vibrant colors; their creaminess complements the crunchy texture of the tarantulas wonderfully.
-
Spooky Fruit Salad: A mix of seasonal fruits like oranges, grapes, and berries provides a healthy counterpoint, brightening the plate with color and flavor.
-
Black Magic Smoothies: Blend up some dark chocolate or berry smoothies in keeping with the Halloween theme; they’re fun, nutritious, and help wash down these treats!
These pairings not only enhance the festive atmosphere but also ensure that every bite is a little celebration of a spooky, sweet Halloween!
Storage Tips for Chocolate Tarantulas
Room Temperature: Enjoy your Chocolate Tarantulas fresh for the best taste, but they can be stored at room temperature for up to 2 days in an airtight container.
Fridge: If you’d like them to last longer, refrigerate the Chocolate Tarantulas for up to 5 days. Just make sure to keep them in a sealed container to avoid moisture.
Freezer: For extended storage, wrap Chocolate Tarantulas individually in plastic wrap and keep them in a freezer-safe bag for up to 2 months.
Reheating: If needed, let them thaw at room temperature for a couple of hours before enjoy-ing; avoid reheating as it may affect the texture of the chocolate coating.
Make Ahead Options
These Chocolate Tarantulas are perfect for meal prep, allowing you to save time during the busy Halloween season! You can prep the pretzel legs by breaking them and coating them in chocolate up to 24 hours in advance; simply store them in an airtight container at room temperature to maintain their crunch. Additionally, you can dip the Milk Duds in chocolate and assemble the spider bodies up to 3 days ahead. For the best quality, store the completed Chocolate Tarantulas in the refrigerator, but allow them to return to room temperature before serving for that delightful chewiness. When you’re ready to enjoy, simply arrange them on a platter for a spooky treat that will impress everyone!
Chocolate Tarantulas Variations & Substitutions
Feel free to let your creativity shine and customize these Chocolate Tarantulas to match your family’s tastes and preferences!
-
Chocolate-Covered Pretzels: Swap regular pretzel sticks for chocolate-covered ones to enhance the chocolate flavor. This delicious twist adds an extra layer of sweetness that is sure to please every palate.
-
White Chocolate Coating: Use white melting chocolate instead of dark for a visually striking and sweeter flavor profile. These ghostly tarantulas will stand out at any Halloween gathering!
-
Nut Butter Filling: For an added surprise, fill the Milk Duds with nut butter before dipping them in chocolate. This delicious twist adds creaminess and richness, creating an unforgettable treat.
-
Sprinkle Decor: After coating, sprinkle the Chocolate Tarantulas with colorful edible sprinkles for a festive touch. This playful addition makes them visually appealing and adds a fun crunch.
-
Spicy Surprise: Want a little heat? Add a dash of cayenne to the melted chocolate for a surprising sweet and spicy combination. It’s unexpected but oh-so-delicious!
-
Mini Tarantulas: For bite-sized versions, use mini chocolate-covered treats instead of Milk Duds. These petite creations are perfect for little hands and Halloween parties.
-
Add Edible Eyes: Complete the spooky vibe by placing edible googly eyes on your tarantulas. This simple step transforms your treats into fun characters that both kids and adults will adore.
-
Fun Fillings: Consider using different chocolates inside like caramel-filled candies or soft toffees as an alternative to Milk Duds. Each bite will deliver a delightful surprise!
Once you’ve created your Chocolate Tarantulas, why not explore more delicious treats? You can find delightful inspiration in my Homemade Bake Chocolate or whip up some delicious Coffee Chocolate Truffles. Enjoy crafting!
Chocolate Tarantulas Recipe FAQs
What type of pretzel sticks should I use?
You can use standard pretzel sticks for a crunchy texture, or opt for chocolate-covered pretzels for a sweeter touch. Breaking them in half gives you the perfect spider legs, so make sure they’re evenly sized for a nice presentation!
How long can I store Chocolate Tarantulas?
For the best flavor, enjoy your Chocolate Tarantulas fresh, but they can be stored in an airtight container at room temperature for about 1 to 2 days. If you’d like to keep them longer, refrigerate them for up to 5 days, ensuring they stay well-sealed.
Can I freeze Chocolate Tarantulas?
Absolutely! To freeze, wrap each Chocolate Tarantula individually in plastic wrap and place them in a freezer-safe bag. They will stay fresh for up to 2 months. When you’re ready to enjoy, simply let them thaw at room temperature for a couple of hours—no need to reheat, as this could change the chocolate texture.
What should I do if the chocolate seizes while melting?
If your chocolate becomes thick and grainy while melting, don’t worry! You can salvage it by adding a small amount of vegetable oil or coconut oil—about 1 teaspoon at a time—mixing until it becomes smooth again. Remember to melt slowly, in short bursts, to avoid this issue in the first place.
Are Chocolate Tarantulas safe for kids with allergies?
It’s essential to check the labels of all ingredients used, especially the chocolates. Some brands may contain allergens like dairy or nuts. If you’re accommodating specific dietary restrictions or allergies, consider using allergen-free chocolate or pretzels to create a safe treat for all children!
Can I customize these Chocolate Tarantulas further?
Absolutely! There are plenty of fun ways to add your unique spin. You can decorate them with edible googly eyes, sprinkle them with colored sugar, or use various types of melting chocolate for added flavor. Experimenting with these ideas makes the crafting process even more enjoyable for you and your kids.
Chocolate Tarantulas: Easy Halloween Treats Kids Will Love
Ingredients
Equipment
Method
- Prepare the workspace by covering a flat surface with wax paper and gathering all ingredients.
- Break the pretzel sticks in half to create eight legs for each tarantula.
- Melt the dark chocolate in a microwave-safe bowl, stirring every 30 seconds until smooth.
- Dip each pretzel half into the melted chocolate, then arrange in a 'V' shape on the wax paper.
- Let the coated legs sit for about 10–15 minutes until the chocolate hardens.
- Coat two Milk Duds in melted chocolate and position them side by side for the spider body.
- Attach the pretzel legs to the Milk Dud body using more melted chocolate as adhesive.
- Allow the assembled Chocolate Tarantulas to dry completely for 15–20 minutes before serving.