

A Sweet Tradition of Easter Baking
When I think of Easter, I think of pastel colors, blooming flowers, and the warmth of family gatherings. But more than anything, I think of the kitchen filled with the aroma of sugar cookies baking in the oven. As a child, my grandmother would invite all the grandkids over a few days before Easter for what she called our “Bunny Baking Day.” She’d pull out her old tin cookie cutters—some slightly bent from years of use—and we’d roll out the dough, pressing in the shapes with eager hands. Our bunnies rarely looked perfect, but that never mattered. What mattered was the laughter, the flour-dusted countertops, and the sense of togetherness.
Now, I carry on that tradition with my own family. Easter Bunny Sugar Cookies aren’t just a recipe; they’re a memory in the making. They offer the perfect balance of buttery crispness and sweet icing, making them as delicious as they are adorable. Whether you’re baking with kids, preparing treats for an Easter gathering, or simply indulging in a bit of festive creativity, these cookies are a must-have for the season.
Why These Easter Bunny Cookies Stand Out
There’s no shortage of sugar cookie recipes out there, but this one is special. Here’s why:
- Holds Its Shape Perfectly – One of the biggest frustrations with sugar cookies is when they spread in the oven and lose their design. This dough is firm enough to retain crisp bunny outlines while staying tender inside.
- Not Overly Sweet – The cookies have a lightly sweet, buttery flavor that pairs beautifully with the icing. They’re not overly sugary, making them enjoyable even without decorations.
- Great for Decorating – The icing is smooth and easy to work with, making these cookies a fun canvas for creativity. Whether you go for simple or elaborate designs, they’ll look beautiful every time.
- Make-Ahead Friendly – Easter can be a busy holiday, but these cookies store well. You can prepare them in advance and decorate them at your convenience.
Creative Ways to Decorate Your Easter Bunny Cookies
One of the best parts of baking these cookies is the decorating. Whether you prefer a classic, simple look or something more intricate, here are a few fun ideas to try:
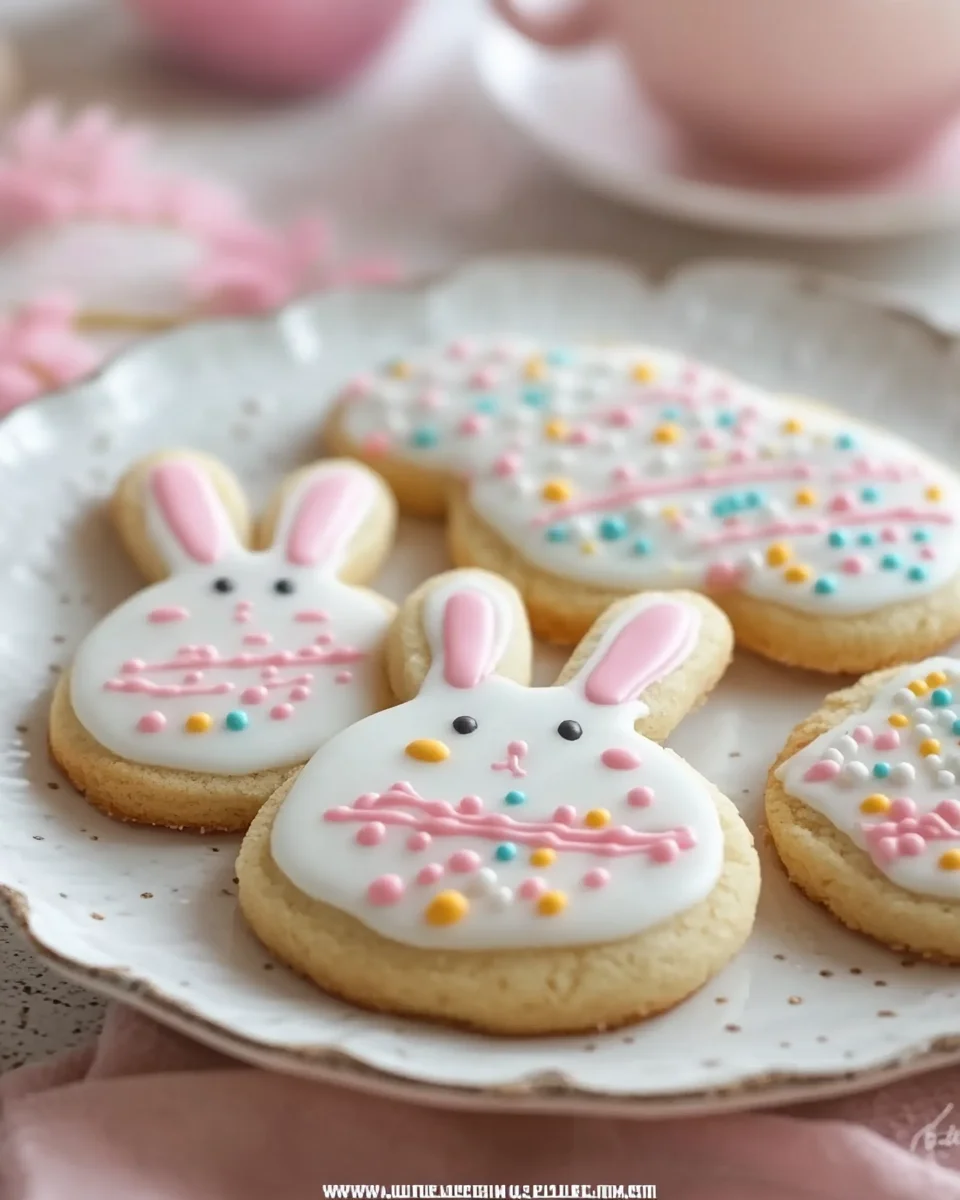
- Classic Easter Bunny – Use white icing for the body, pink for the ears and nose, and a tiny dot of black for the eyes.
- Fluffy Tail Bunnies – Add a small dollop of icing on the tail and press in some shredded coconut or a mini marshmallow for a cute fluffy effect.
- Pastel Patterns – Instead of sticking to realistic bunny colors, get creative with pastel blues, purples, and yellows for a whimsical springtime look.
- Floral Bunnies – Pipe on tiny flowers along the edges or a small floral crown on top of the bunny’s head for an elegant touch.
- Chocolate-Dipped Bunnies – Dip half of the bunny in melted white or dark chocolate and sprinkle with crushed nuts or colorful sprinkles for a sophisticated twist.
Ingredients for the Cookies
- 3 cups all-purpose flour
- 1 teaspoon baking powder
- 1/2 teaspoon salt
- 1 cup unsalted butter, softened
- 1 1/2 cups granulated sugar
- 2 large eggs
- 2 teaspoons vanilla extract
Ingredients for the Icing
Hopping into Baking
- Prep the Butter – Let the butter sit out for about an hour until soft but not greasy.
- Mix Dry Ingredients – Whisk together the flour, baking powder, and salt in a medium bowl.
- Cream Butter & Sugar – Beat butter until creamy, then mix in sugar until light and fluffy (2-3 minutes).
- Incorporate Eggs & Vanilla – Add eggs one at a time, mixing well after each, then blend in vanilla.
- Combine Wet & Dry – Gradually mix the dry ingredients into the wet until a dough forms.
- Chill the Dough – Divide dough into two discs, wrap in plastic wrap, and refrigerate for at least 2 hours.
- Preheat & Roll – Set oven to 350°F. Roll out dough on a floured surface to 1/4 inch thick.
- Shape & Bake – Cut out bunny shapes, place on a baking sheet, and bake for 10-12 minutes until edges are slightly golden. Cool on a wire rack.
Icing Magic
- Mix Icing – Stir powdered sugar, milk, and vanilla until smooth, adjusting milk for desired consistency.
- Color & Decorate – Divide icing and add food coloring. Pipe outlines first, let set, then fill in the centers.
- Let It Set – Allow icing to dry completely (4-6 hours) before stacking or packaging.
Nutritional Snapshot (Per Cookie)
Approximate values based on a batch of 30 cookies.
- Calories: 180
- Fat: 8g
- Carbohydrates: 25g
- Sugar: 15g
- Protein: 2g
Perfect for Easter celebrations, these cookies balance a crisp texture with buttery sweetness. Enjoy them with milk, tea, or as festive gifts!
Common Questions About Easter Bunny Sugar Cookies
1. Can I Make These Cookies Without Chilling the Dough?
While it might be tempting to skip the chilling time, it’s a crucial step. Chilling firms up the dough, which helps the cookies hold their shape during baking. If you’re short on time, you can speed up the process by placing the dough in the freezer for about 30 minutes instead of refrigerating for two hours.
2. How Can I Make the Icing Thicker or Thinner?
Royal icing consistency is key to perfect decorating. If your icing is too thick, add milk or water a teaspoon at a time until it flows smoothly. If it’s too thin, mix in a little more powdered sugar until you reach the desired consistency. For outlining cookies, you want the icing to be thick enough to hold its shape. For flooding (filling in the design), it should be slightly thinner so it spreads smoothly.
3. Can I Use Buttercream Instead of Royal Icing?
Absolutely! If you prefer a softer, creamier icing, buttercream works well. Just keep in mind that buttercream doesn’t harden like royal icing, so the cookies will be more delicate when stacking or transporting.
4. How Long Do These Cookies Stay Fresh?
Undecorated cookies can be stored in an airtight container for up to a week. Decorated cookies should be eaten within five days for the best taste and texture. If you need to store them longer, you can freeze the undecorated cookies for up to three months. Just make sure they’re completely cool before freezing, and layer them between sheets of parchment paper to prevent sticking.
5. What’s the Best Way to Package These as Gifts?
These cookies make excellent Easter gifts! Once the icing is completely dry, stack them in clear cellophane bags and tie them with pastel-colored ribbons. You can also place them in decorative tins or Easter-themed boxes for a more festive presentation.
Making These Cookies a Family Tradition
Baking Easter Bunny Sugar Cookies is more than just an afternoon in the kitchen—it’s an experience that brings people together. If you have kids, let them be in charge of rolling the dough or adding sprinkles. If you’re baking solo, put on your favorite spring playlist and take your time decorating each bunny with care. No matter how they turn out, they’ll be perfect because they were made with love.
For me, every time I bake these cookies, I think back to those childhood Easter baking sessions with my grandmother. I remember the way she’d hum while rolling out the dough, the way she’d let us “accidentally” eat the broken cookies before they could be decorated, and the way she always made sure everyone felt included—no matter how messy their cookies looked. Now, as I continue this tradition with my own family, I realize that baking isn’t just about food. It’s about joy, creativity, and making memories that last a lifetime.
Conclusion: A Recipe to Celebrate Easter with Love
Easter Bunny Sugar Cookies are more than just a dessert; they’re a celebration of the season, a tribute to tradition, and a chance to create something beautiful. Whether you’re making them for an Easter brunch, as gifts for loved ones, or just for the simple joy of baking, these cookies will bring a little extra magic to your holiday. So roll out the dough, grab your favorite cookie cutters, and get ready to make a batch of sweet memories this Easter.
Easter Bunny Sugar Cookies: A Delightful Treat for the Season
Ingredients
Method
- Let the butter sit out for about an hour until soft but not greasy.
- Whisk together the flour, baking powder, and salt in a medium bowl.
- Beat butter until creamy, then mix in sugar until light and fluffy (2-3 minutes).
- Add eggs one at a time, mixing well after each, then blend in vanilla.
- Gradually mix the dry ingredients into the wet until a dough forms.
- Divide dough into two discs, wrap in plastic wrap, and refrigerate for at least 2 hours.
- Set oven to 350°F. Roll out dough on a floured surface to 1/4 inch thick.
- Cut out bunny shapes, place on a baking sheet, and bake for 10-12 minutes until edges are slightly golden. Cool on a wire rack.
- Stir powdered sugar, milk, and vanilla until smooth, adjusting milk for desired consistency.
- Divide icing and add food coloring. Pipe outlines first, let set, then fill in the centers.
- Allow icing to dry completely (4-6 hours) before stacking or packaging.
Notes
- Chilling the dough helps maintain shape when baking.
- For extra flavor, swap vanilla extract for almond or lemon extract.
- Use piping bags for precise decoration, or dip cookies for a rustic look.
- Store in an airtight container for up to a week.
- Freeze dough discs for up to 2 months and bake fresh!