

A Childhood Memory in Every Bite
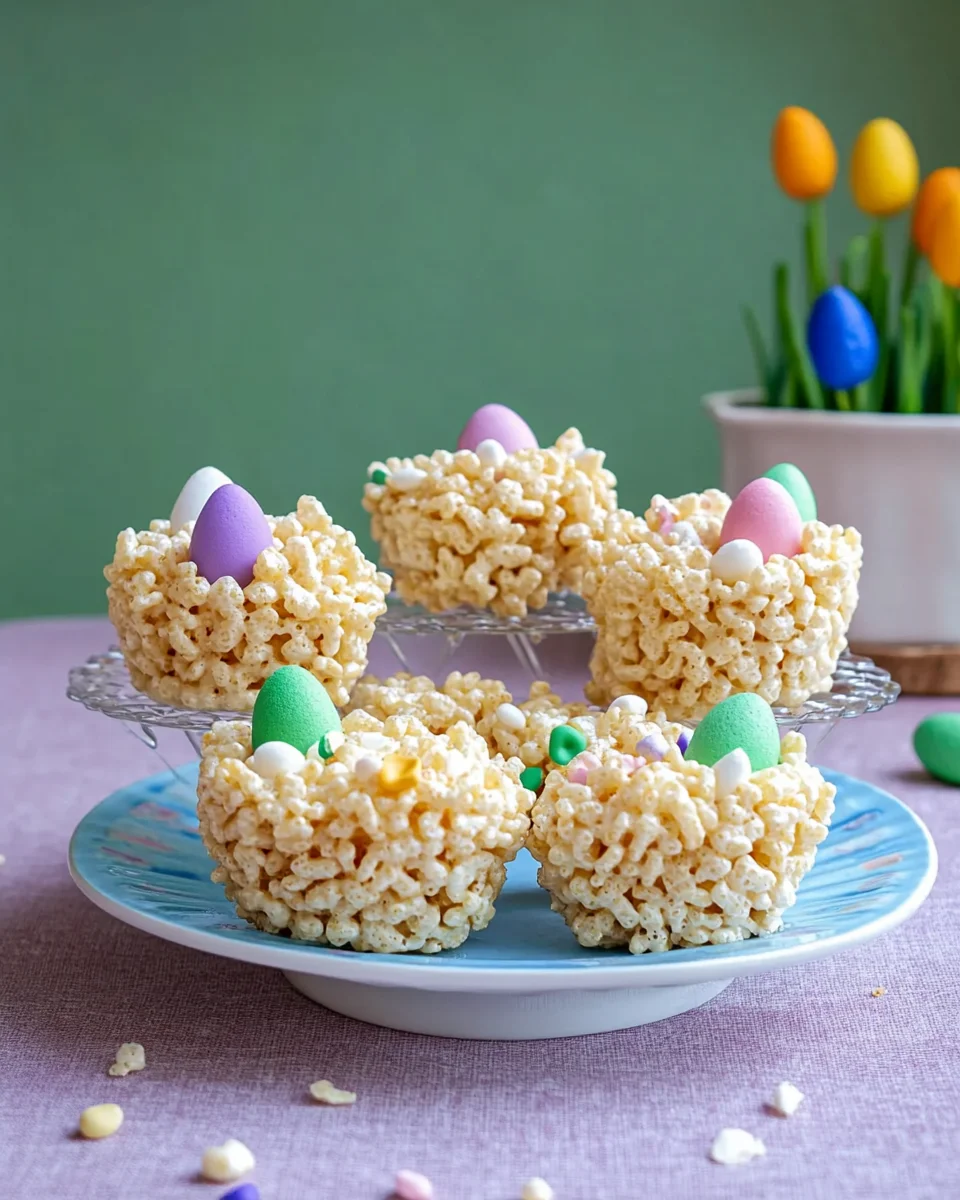
Every year, as the first signs of spring would emerge—daffodils blooming and birds chirping—my grandmother would gather us in the kitchen to make Easter treats. Among our favorite traditions was making Rice Krispie Nests. The warm, buttery scent of marshmallows melting on the stove signaled the beginning of something magical. My siblings and I would eagerly mix in the cereal, our small hands sticky with the gooey mixture. The real fun began when we shaped the warm mixture into tiny nests, carefully placing pastel-colored chocolate eggs inside, imagining we were creating little homes for Easter chicks.
Now, as an adult, I continue this tradition with my own children. Watching their eyes light up as they press their tiny fingers into the soft, warm cereal mixture brings back the same joy I felt all those years ago. These Easter Rice Krispie Nests are more than just a festive treat; they are a symbol of childhood nostalgia, family togetherness, and the simple pleasures of holiday baking. Whether you’re making them with little ones or as a fun seasonal dessert, these no-bake nests are guaranteed to bring smiles to faces both young and old.
Why These Easter Nests Are the Ultimate Spring Dessert
1. No Oven, No Hassle
Spring is the perfect time to embrace no-bake desserts, and this recipe makes it easier than ever. Without the need to turn on the oven, you can enjoy the process without heating up your kitchen. This makes it a fantastic choice for families looking for quick, mess-free holiday baking.
2. A Fun and Interactive Recipe for Kids
One of the biggest joys of Easter is getting kids involved in the kitchen. This recipe is perfect for little hands—whether they’re stirring the gooey marshmallow mixture, shaping the nests, or decorating with colorful candies. It’s a great way to introduce young ones to baking without the complications of precise measurements or baking times.
3. Customizable and Versatile
While mini chocolate eggs are the classic filling, there are endless ways to get creative. From jelly beans and peanut butter cups to pastel-colored sprinkles and edible flowers, you can customize these nests to match any Easter theme. You can even add a touch of green food coloring to the icing to resemble grass, creating an even more realistic nest effect.
4. Light Yet Indulgent
Unlike heavy cakes and rich chocolate treats, these Rice Krispie Nests have an airy, crispy texture that keeps them from feeling too rich. They’re sweet enough to satisfy a sugar craving but light enough that you won’t feel overly full after indulging.
Creative Ways to Elevate Your Rice Krispie Nests
1. Make Them Extra Chocolatey
If you want to add a chocolatey twist, mix in a handful of melted white or milk chocolate with the marshmallow mixture. You can also drizzle melted chocolate over the nests before adding the candy eggs for a richer flavor.
2. Add a Nutty Crunch
For those who enjoy a little extra texture, consider mixing in chopped nuts like almonds, hazelnuts, or pecans. This gives the nests a slightly crunchy contrast to the soft marshmallow binding.
3. Experiment with Different Cereals
While Rice Krispies are the classic choice, you can try using Cocoa Krispies for a chocolate version, Fruity Pebbles for a colorful twist, or even cornflakes for a slightly different texture.
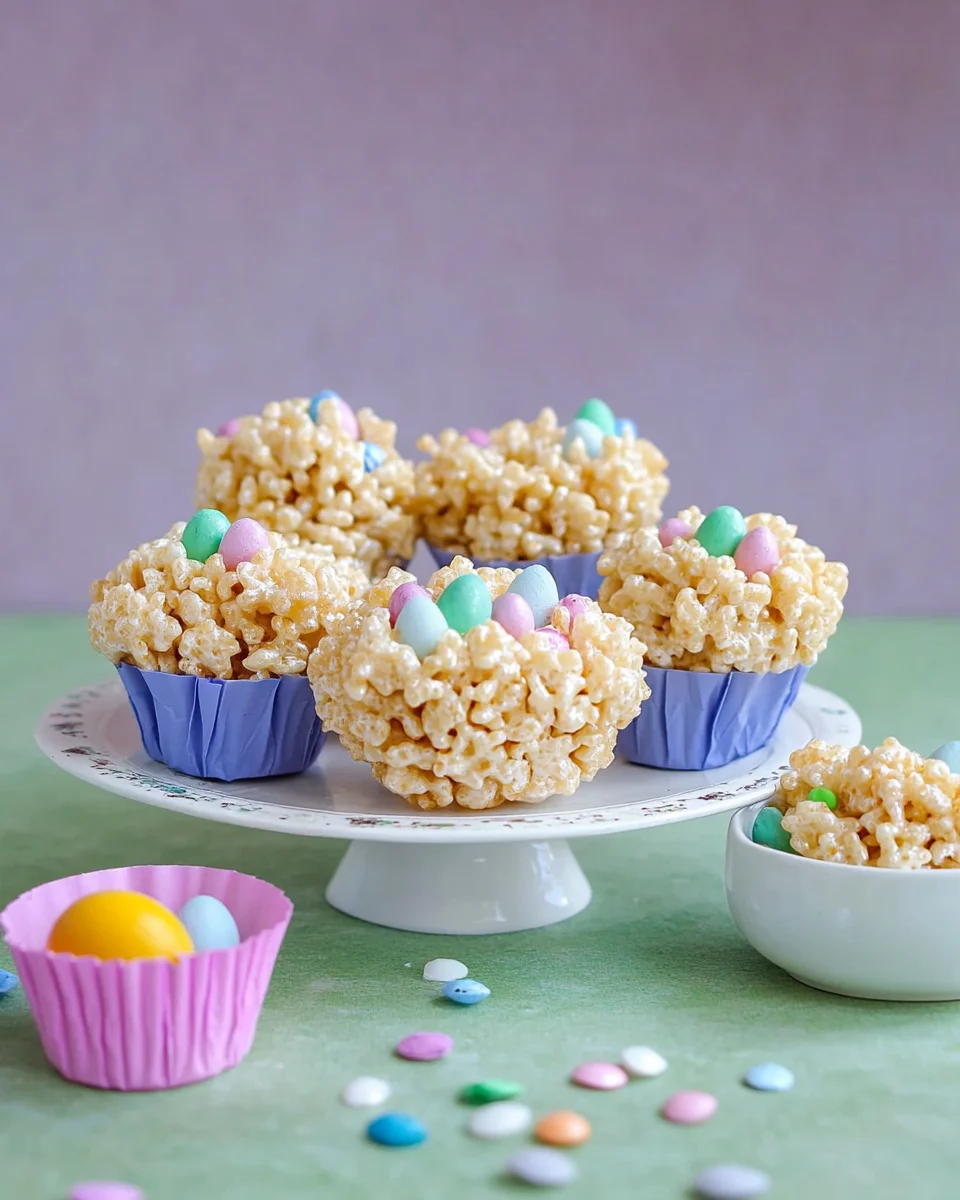
4. Turn Them Into Bite-Sized Treats
Instead of using a muffin tin, try shaping smaller nests by hand or using mini cupcake liners. This makes them perfect for party trays, Easter baskets, or quick grab-and-go snacks.
5. Make It Vegan or Allergy-Friendly
For those with dietary restrictions, swap out the butter for a dairy-free alternative and use vegan marshmallows. Double-check that your cereal and decorations are gluten-free if needed, and opt for dairy-free chocolate eggs or jelly beans as a substitute.
Storage and Make-Ahead Tips
Since these nests are made with simple ingredients, they are best enjoyed fresh. However, with proper storage, they can last for a few days.
- Room Temperature Storage: Keep the nests in an airtight container at room temperature for up to 3 days. Beyond that, they may start to harden.
- Refrigeration: While not necessary, refrigerating them can help them hold their shape better, especially in warmer climates.
- Freezing: These treats do not freeze well, as the texture becomes too hard when frozen. It’s best to make them fresh.
If making them ahead of time for a party or event, assemble the nests but wait to add the icing and candies until just before serving to keep them looking and tasting their best.
Ingredients:
For the Nests:
- 2 tablespoons butter
- 8 oz (220g) marshmallows (small or chopped large ones)
- 4 cups (110g) Rice Krispies cereal
For Decorating:
- 6 tablespoons powdered icing sugar
- 4 teaspoons water
- Green food coloring (optional)
- Mini egg candies
- Sprinkles
Directions:
- Lightly grease a 12-cup muffin tin with oil or non-stick spray.
- Melt the butter in a large pan over medium-low heat.
- Add the marshmallows and stir until fully melted.
- Remove from heat and mix in the Rice Krispies until fully coated.
- Spoon the mixture into the muffin tin, pressing down slightly to form a nest shape. Use a lightly buttered teaspoon to create an indentation in the center.
- Let the nests cool completely before removing from the tin.
To Decorate:
- Prepare a thick icing by mixing powdered sugar with 2 teaspoons of water (adjust as needed for consistency).
- Add a few drops of green food coloring to resemble grass (optional).
- Spoon a little icing into each nest and place mini eggs inside.
- Top with sprinkles and serve!
Nutritional Information (Per Nest):
- Calories: 128 kcal
- Carbohydrates: 27g
- Protein: 1g
- Fat: 2g
- Saturated Fat: 1g
- Trans Fat: 1g
- Cholesterol: 5mg
- Sodium: 81mg
- Potassium: 13mg
- Fiber: 1g
- Sugar: 16g
- Vitamin A: 679 IU
- Vitamin C: 6mg
- Calcium: 2mg
- Iron: 3mg
These adorable, no-bake Easter treats are fun to make and perfect for holiday celebrations!
Frequently Asked Questions
1. What can I use instead of marshmallows to bind the cereal together?
If you prefer not to use marshmallows, you can try using a mixture of honey and almond butter or maple syrup and peanut butter as a sticky, natural alternative.
2. Can I make these without a muffin tin?
Absolutely! While a muffin tin helps create uniform shapes, you can easily shape the nests by hand on a parchment-lined tray. Just coat your hands lightly with butter or oil to prevent sticking.
3. How do I keep the mixture from sticking to my hands?
To avoid sticky hands, lightly grease your hands with butter or spray them with a bit of cooking oil. A buttered spoon also works well for pressing the mixture into the nest shape.
4. Can I make these in advance for an Easter party?
Yes! These nests can be made 1-2 days in advance, but it’s best to store them in an airtight container at room temperature. For the best appearance, decorate them right before serving.
5. What are some fun alternative toppings besides chocolate eggs?
There are so many fun ways to customize your nests! Try filling them with:
- Jelly beans for a colorful surprise
- Mini marshmallows for a fluffy look
- Crushed graham crackers for a nest-like texture
- Edible flowers for a springtime aesthetic
6. Can I make these in different sizes?
Yes! You can create mini nests using a mini muffin tin or shape them into larger nests using a small bowl instead of a muffin tin. Just adjust the amount of cereal mixture accordingly.
7. How can I make them healthier?
For a slightly healthier version, use brown rice cereal instead of traditional Rice Krispies and opt for dark chocolate eggs or dried fruit instead of candy. You can also reduce the sugar by using unsweetened nut butter as a binding agent.
A Sweet Tradition Worth Keeping
Easter Rice Krispie Nests are more than just a festive dessert—they are a reminder of childhood memories, family traditions, and the joy of simple, creative baking. Whether you make them for an Easter party, as a fun activity with kids, or just to satisfy your own sweet tooth, these no-bake treats will always bring a little extra magic to the season.
So gather your loved ones, melt some marshmallows, and start shaping your own edible nests. Because sometimes, the best memories are made in the kitchen, one sticky hand at a time.
Easter Rice Krispie Nests: A Nostalgic Springtime Treat
Ingredients
Method
- Start by lightly greasing a 12-cup muffin tin with oil or non-stick spray to ensure easy release later.
- In a large pan over medium-low heat, melt the butter. Once melted, add the marshmallows and stir continuously until they’re fully melted and smooth.
- Remove the pan from the heat and immediately mix in the Rice Krispies until every piece is evenly coated with the marshmallow mixture.
- Spoon the mixture into each muffin cup, pressing down slightly with a lightly buttered teaspoon to shape them into neat nest forms and create a small indentation in the center for decorating.
- Allow the nests to cool completely in the tin before gently removing them.
- In a small bowl, prepare a thick icing by mixing the powdered icing sugar with 2 teaspoons of water (adjust as needed to achieve the desired consistency). If you like, add a few drops of green food coloring to mimic grass.
- Spoon a little of the icing into the center of each nest, then place mini egg candies into the indentation.
- Top with a light sprinkle of extra festive sprinkles, and your nests are ready to serve!
Notes
• For extra fun, try experimenting with different colored icing and decorations for a personalized touch.
• These treats are best enjoyed the day they’re made, but you can store any extras in an airtight container for a couple of days.