

Introduction to Garlic Butter Dinner Rolls
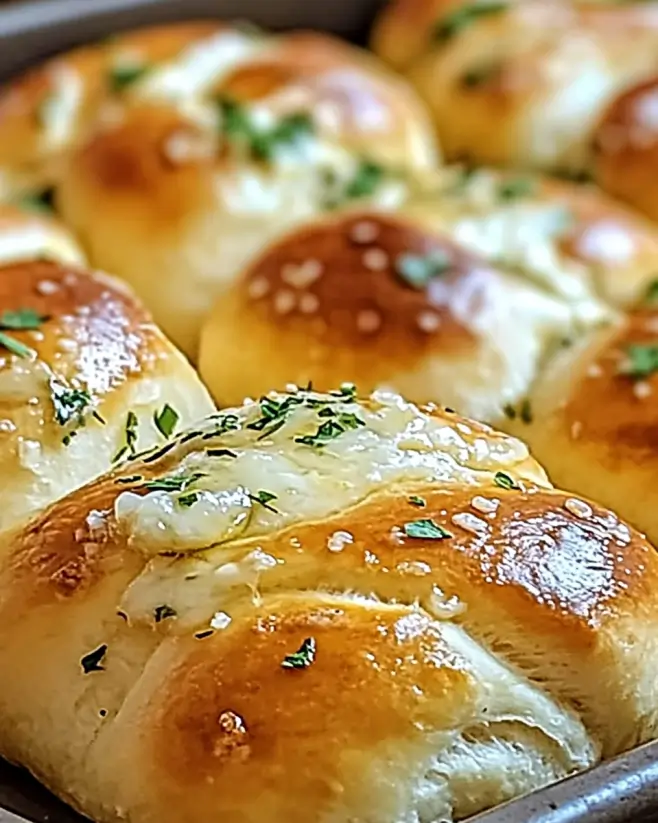
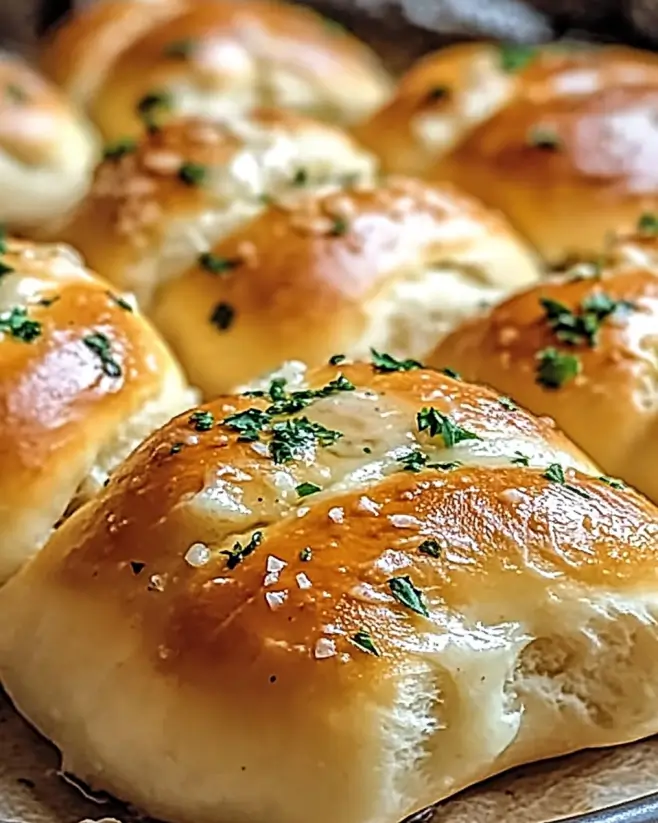
There’s something magical about the aroma of freshly baked bread wafting through the kitchen. Garlic Butter Dinner Rolls are not just any rolls; they’re soft, flavorful delights that can elevate any meal. Whether you’re hosting a family dinner or just looking for a quick solution after a long day, these rolls are your go-to. They’re easy to make and even easier to devour. Picture your loved ones gathered around the table, reaching for these warm, buttery rolls, and you’ll see why this recipe is a must-try!
Why You’ll Love This Garlic Butter Dinner Rolls
These Garlic Butter Dinner Rolls are a game-changer for any home cook. They’re incredibly easy to whip up, making them perfect for busy weeknights or last-minute gatherings. The taste? Absolutely divine! Each bite is a warm hug of buttery garlic goodness. Plus, they pair beautifully with just about any dish, from hearty stews to light salads. Trust me, once you try them, you’ll be hooked!
Ingredients for Garlic Butter Dinner Rolls
Gathering the right ingredients is the first step to creating these delightful Garlic Butter Dinner Rolls. Here’s what you’ll need:
- Active dry yeast: This is the magic ingredient that makes your rolls rise and become fluffy.
- Warm water: It activates the yeast, so make sure it’s just the right temperature—think cozy bath, not boiling hot.
- Granulated sugar: A touch of sweetness helps the yeast do its job and adds flavor.
- Unsalted butter: Both melted and softened, it brings richness and a buttery flavor to the rolls.
- Salt: Essential for enhancing the overall taste of the rolls.
- All-purpose flour: The backbone of your dough, providing structure and texture.
- Minced garlic: This is where the magic happens! Fresh garlic infuses the rolls with that irresistible flavor.
- Fresh parsley (optional): A sprinkle of this adds a pop of color and freshness.
- Garlic powder (optional): For an extra kick of garlic flavor, if you can’t get enough!
- Black pepper (optional): A hint of spice to elevate the flavor profile.
For exact measurements, check the bottom of the article where you can find everything listed for easy printing. Happy baking!
How to Make Garlic Butter Dinner Rolls
Now that you have your ingredients ready, let’s dive into the fun part—making these Garlic Butter Dinner Rolls! Follow these simple steps, and you’ll be rewarded with soft, fluffy rolls that will have everyone asking for seconds.
Step 1: Activate the Yeast
Start by combining warm water, sugar, and yeast in a small bowl. Give it a gentle stir and let it sit for about 5-10 minutes. You’re looking for a frothy layer on top, which means your yeast is alive and ready to work its magic!
Step 2: Combine Ingredients
In a large mixing bowl, mix the melted butter and salt. Once the yeast mixture is frothy, pour it into the bowl. Stir everything together until well combined. This is where the flavor begins to build!
Step 3: Form the Dough
Gradually add the all-purpose flour to the mixture. Use a wooden spoon or your hands to mix until a dough starts to form. It should be slightly sticky but manageable. If it’s too wet, sprinkle in a bit more flour.
Step 4: Knead the Dough
Transfer the dough to a floured surface. Knead it for about 5-7 minutes until it’s smooth and elastic. This step is crucial for developing the gluten, which gives your rolls that perfect texture.
Step 5: Let the Dough Rise
Place the kneaded dough in a greased bowl, cover it with a kitchen towel, and let it rise in a warm spot for about an hour. You want it to double in size. This is the time to relax and maybe sip on a cold drink!
Step 6: Preheat the Oven
Once your dough has risen, preheat your oven to 375°F. This ensures that your rolls will bake evenly and come out golden brown.
Step 7: Shape the Rolls
Punch down the risen dough to release the air. Divide it into 12 equal pieces. Roll each piece into a ball and place them in a greased 9×13-inch baking dish. They should be close but not touching—this allows them to rise beautifully.
Step 8: Second Rise
Cover the shaped rolls with a towel and let them rise for another 30 minutes. This second rise is key for achieving that fluffy texture we all love in soft dinner rolls.
Step 9: Prepare Garlic Butter
While the rolls are rising, mix the softened butter, minced garlic, garlic powder, and black pepper in a small bowl. This garlic butter will be brushed on top of the rolls before baking, adding that irresistible flavor.
Step 10: Bake the Rolls
Once the rolls have risen, brush the garlic butter mixture generously over the tops. Bake them in the preheated oven for 20-25 minutes or until they’re golden brown. The aroma will fill your kitchen, and trust me, it’s worth the wait!
Tips for Success
- Use fresh yeast for the best rise; check the expiration date!
- Keep your water warm, not hot, to avoid killing the yeast.
- Don’t skip the kneading; it’s essential for that fluffy texture.
- Let the dough rise in a warm, draft-free area for optimal results.
- Brush the rolls with garlic butter right before baking for maximum flavor.
Equipment Needed
- Mixing bowl: A large bowl for combining ingredients. A sturdy pot works too!
- Measuring cups and spoons: Essential for accuracy. Use a kitchen scale if you prefer precision.
- Wooden spoon: Great for mixing. A spatula can do the job as well.
- Baking dish: A 9×13-inch dish is ideal. Any oven-safe dish will work.
- Kitchen towel: For covering the dough while it rises. A clean cloth or plastic wrap is fine too.
Variations
- Cheesy Garlic Rolls: Add shredded mozzarella or cheddar cheese into the dough for a gooey, cheesy surprise.
- Herb-Infused Rolls: Mix in dried herbs like oregano or thyme for an aromatic twist.
- Whole Wheat Option: Substitute half of the all-purpose flour with whole wheat flour for a healthier version.
- Sweet Cinnamon Rolls: Brush with melted butter and sprinkle with cinnamon sugar after baking for a delightful dessert twist.
- Gluten-Free Rolls: Use a gluten-free all-purpose flour blend to make these rolls suitable for gluten-sensitive diets.
Serving Suggestions
- Pair with Soups: These rolls are perfect alongside a hearty bowl of minestrone or creamy tomato soup.
- Salad Companion: Serve with a fresh garden salad drizzled with vinaigrette for a light meal.
- Presentation: Arrange rolls in a basket lined with a cloth for a rustic touch.
- Dip Options: Offer olive oil or balsamic vinegar for dipping to enhance the flavor.
FAQs about Garlic Butter Dinner Rolls
Curious about these delightful Garlic Butter Dinner Rolls? Here are some common questions I often hear, along with answers to help you on your baking journey!
Can I make the dough ahead of time?
Absolutely! You can prepare the dough and let it rise, then punch it down and refrigerate it overnight. Just bring it back to room temperature before shaping and baking.
What if I don’t have fresh garlic?
No worries! You can use garlic powder instead. Just add a bit more to the garlic butter mixture for that robust flavor. It’s a great alternative when fresh garlic isn’t on hand.
How do I store leftover rolls?
Store any leftover Garlic Butter Dinner Rolls in an airtight container at room temperature for up to 2 days. For longer storage, freeze them in a zip-top bag. Just reheat in the oven when you’re ready to enjoy!
Can I use whole wheat flour?
Yes! You can substitute half of the all-purpose flour with whole wheat flour for a healthier option. Just keep in mind that the texture may be slightly denser.
What can I serve with these rolls?
These rolls pair wonderfully with soups, salads, or even as a side for your favorite pasta dishes. They’re versatile enough to complement any meal!
Final Thoughts
There’s a certain joy that comes from pulling a tray of Garlic Butter Dinner Rolls from the oven, the golden tops glistening with melted butter and garlic. Each roll is a warm invitation to gather around the table, share stories, and create memories. Whether you’re enjoying them with a hearty meal or savoring one on its own, these rolls bring comfort and satisfaction. They’re not just food; they’re a way to connect with loved ones. So, roll up your sleeves, embrace the process, and let the aroma of garlic and butter fill your home. Happy baking!
Garlic Butter Dinner Rolls: Soft, Flavorful Delights Await!
Ingredients
Method
- In a small bowl, combine warm water, sugar, and yeast. Let it sit for about 5-10 minutes until frothy.
- In a large mixing bowl, combine melted butter, salt, and the yeast mixture.
- Gradually add flour, mixing until a dough forms.
- Knead the dough on a floured surface for about 5-7 minutes until smooth and elastic.
- Place the dough in a greased bowl, cover with a kitchen towel, and let it rise in a warm place for about 1 hour or until doubled in size.
- Preheat the oven to 375°F.
- Punch down the risen dough and divide it into 12 equal pieces.
- Shape each piece into a ball and place them in a greased 9x13-inch baking dish.
- Cover and let them rise for another 30 minutes.
- In a small bowl, mix softened butter, minced garlic, garlic powder, and black pepper.
- Brush the garlic butter mixture over the rolls before baking.
- Bake for 20-25 minutes or until golden brown.
- If desired, sprinkle with chopped parsley before serving.
Notes
- For a cheesy twist, add shredded mozzarella or cheddar cheese into the dough before shaping.
- For a sweeter version, brush the rolls with melted butter and sprinkle with cinnamon sugar after baking.