

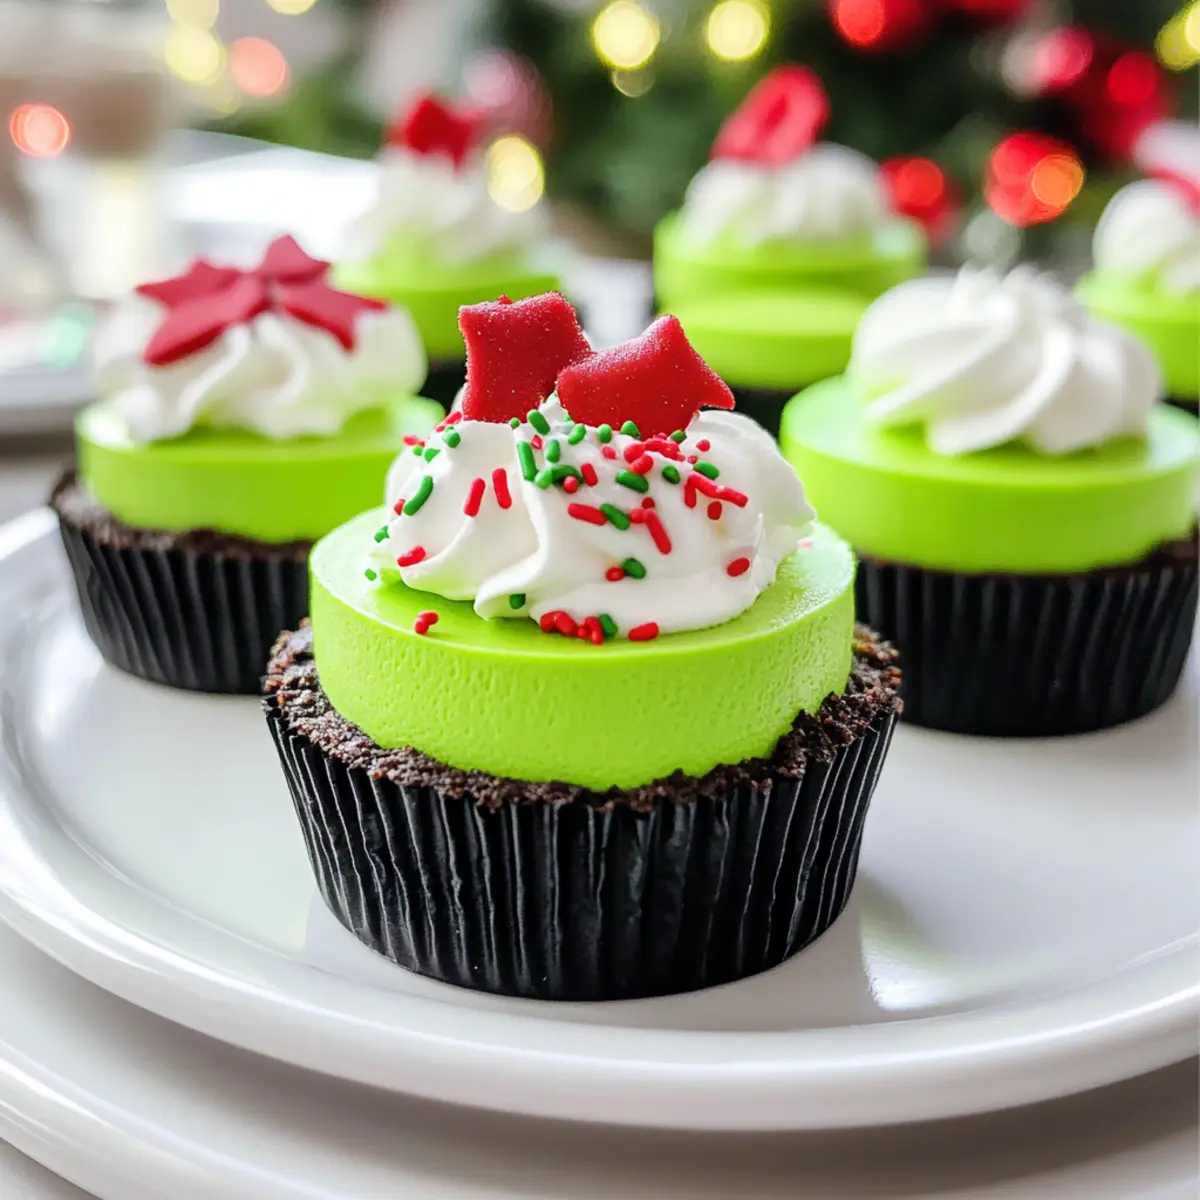
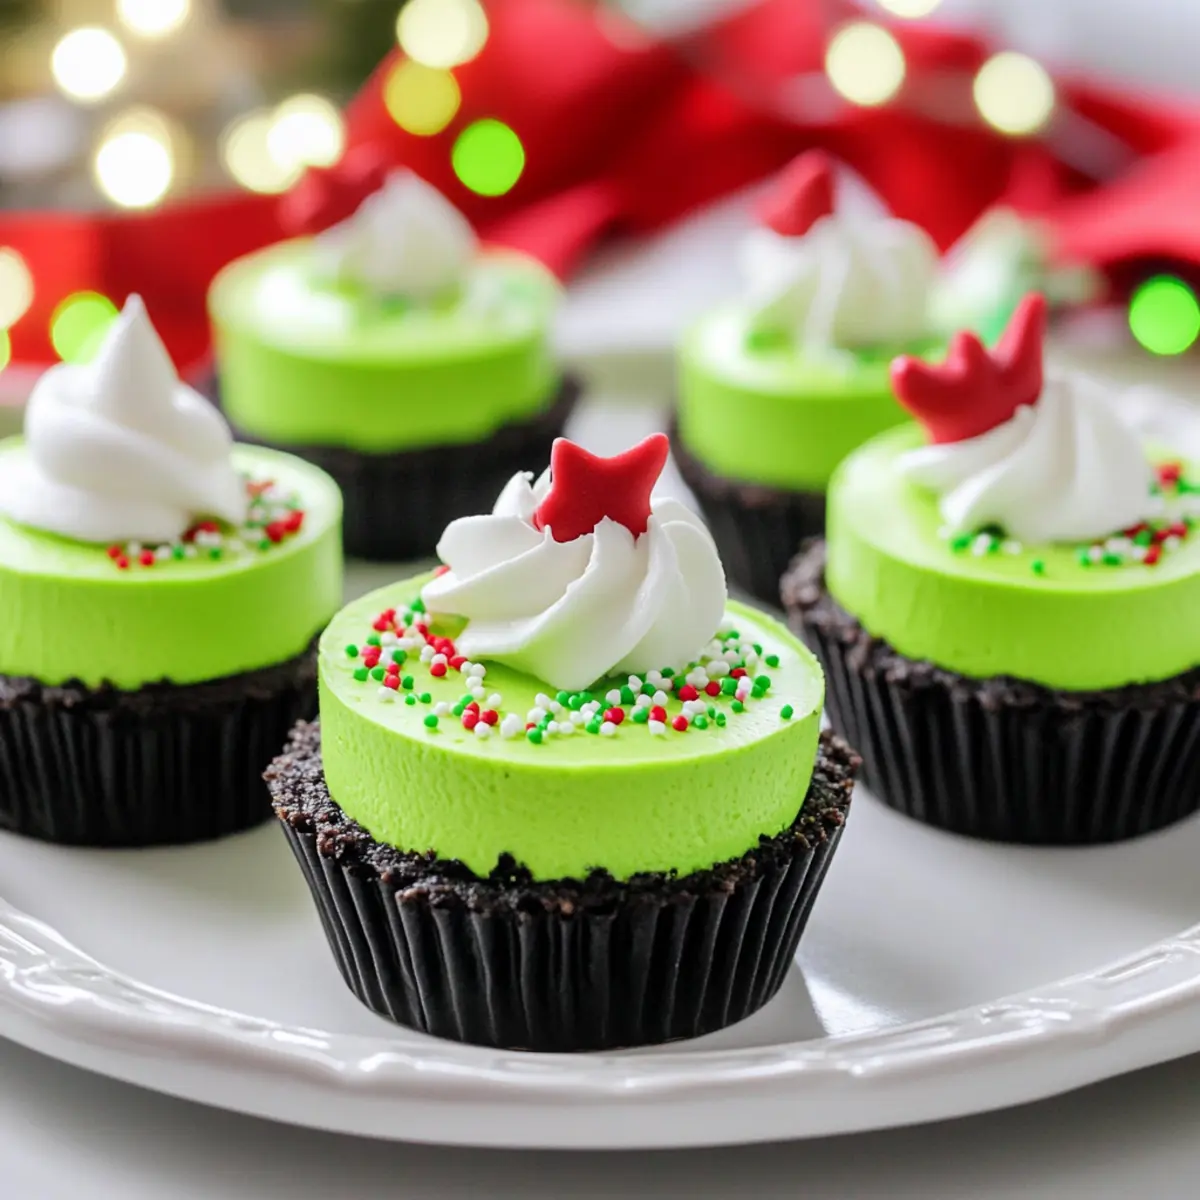
Every whisk and fold in the kitchen brings back a sweet memory for me, especially around the holidays. This year, I found myself dreaming of festive treats, and that’s when the idea for Grinch Mini Cheesecakes blossomed. These delightful bites, with their vibrant neon green colors and luscious cream cheese filling, can transform any holiday gathering into a whimsical celebration! Not only are they a total showstopper for both kids and adults alike, but they also come together quickly, so you can spend less time in the kitchen and more time creating cherished memories. Are you ready to spread some festive cheer with these adorable cheesecakes? Let’s dive into the delightful details!
Why Are Grinch Mini Cheesecakes a Must-Try?
Unique Twist: These Grinch Mini Cheesecakes offer a whimsical and fun approach to a classic dessert, sure to bring smiles all around.
Quick & Simple: With straightforward steps, you’ll whip up these delightful treats in no time, keeping your holiday preparations stress-free.
Kid-Friendly Fun: Children will love the bright green color and can even help in the kitchen, making it a wonderful family activity.
Versatile Touch: Feel free to customize with flavors like peppermint or different crusts to cater to your taste.
Crowd-Pleasing Delight: Ideal for gatherings, these mini cheesecakes are sure to leave your guests asking for the secret recipe!
Make sure to check out some of our other mini recipes like Mini Pancakes and Mini Beef Pies for more fun ideas!
Grinch Mini Cheesecake Ingredients
• For the Cheesecake Filling
- Cream Cheese (2 x 8 oz) – Ensure it’s softened for a smooth, creamy texture that’s perfect for your Grinch Mini Cheesecakes.
- Sugar (1/2 cup) – Adds just the right amount of sweetness; feel free to substitute with a sugar alternative if you’re looking for a healthier option.
- Eggs (2) – These act as the essential binding agents; using room temperature eggs will help achieve a silky filling.
- Vanilla Extract (1 tsp) – Provides a warm, aromatic flavor that enhances the overall richness of the cheesecake.
- Neon Green Food Coloring – The star ingredient for that festive Grinch vibe—adjust to your preferred intensity for a truly eye-catching treat.
• For the Crust
- Oreo Crumbs (1 cup) – Delivers a deliciously chocolatey base that complements the creamy filling perfectly; gluten-free cookies can be substituted for a gluten-free option.
- Butter, Melted (2 1/2 tbsp) – Helps bind the crust ingredients while adding a rich flavor; consider using non-dairy butter if you’re making this vegan!
With these ingredients on hand, you’re just moments away from creating the most delightful Grinch Mini Cheesecakes, guaranteed to impress family and friends!
Step-by-Step Instructions for Grinch Mini Cheesecakes
Step 1: Preheat the Oven
Begin by preheating your oven to 350°F (175°C) and lining a cupcake pan with festive cupcake liners. This simple preparation ensures your Grinch Mini Cheesecakes will bake evenly and release easily once done, saving you from any sticking mishaps.
Step 2: Create the Crust
In a food processor, pulse about 10-11 Oreo cookies until they form about 1 cup of fine crumbs. Transfer these crumbs to a bowl and mix in 2 1/2 tablespoons of melted butter until everything is well combined. The mixture should hold together when pressed, readying it for the next step.
Step 3: Form the Crust
Divide the crumb mixture evenly among the cupcake liners, packing down firmly with your fingers or the bottom of a small glass. This creates a solid foundation for your Grinch Mini Cheesecakes. You should see an even layer that encapsulates the bottom of each liner, holding up beautifully during baking.
Step 4: Mix the Filling
In a medium mixing bowl, combine the softened cream cheese and 1/2 cup of sugar. Beat them together with a hand mixer until smooth and creamy, ensuring there are no lumps. This rich filling brings the essence of the holidays to life in your mini cheesecakes, so take your time to blend it thoroughly.
Step 5: Add Eggs and Flavor
Add 2 room temperature eggs and 1 teaspoon of vanilla extract to the cream cheese mixture. Continue to beat the mixture until completely incorporated and smooth. This stage is crucial as it binds the cheesecakes while enhancing their flavor profile, leading to a delightful overall taste.
Step 6: Color the Filling
Now, add drops of neon green food coloring to the cheesecake filling, mixing until your desired vibrancy is achieved. This step is what transforms your ordinary cheesecake into the whimsical Grinch Mini Cheesecakes that will be the star of any holiday spread!
Step 7: Fill the Crusts
Spoon approximately 1/4 cup of the vibrant cheesecake filling into each prepared crust, filling them evenly. Take a moment to smooth the tops with the back of a spoon or an offset spatula, ensuring that they’re ready to bake to perfection while looking beautiful for presentation.
Step 8: Bake and Cool
Bake the mini cheesecakes in the preheated oven for 15-17 minutes. The centers should be slightly jiggly when you take them out, signaling they will firm up as they cool. Let them sit in the pan until they reach room temperature, which enhances their flavor further.
Step 9: Chill Before Serving
Place the cooled mini cheesecakes in the refrigerator and let them chill for at least 2 hours, allowing them to set properly. This step is essential for achieving that creamy texture, ensuring that your Grinch Mini Cheesecakes are a hit when served at your holiday celebrations.
Step 10: Add the Finishing Touches
Before serving, top these delightful mini cheesecakes with whipped cream and festive sprinkles if desired. This final touch adds a celebratory flair to your Grinch Mini Cheesecakes, making them even more appealing to both kids and adults alike!
How to Store and Freeze Grinch Mini Cheesecakes
Fridge: Store your Grinch Mini Cheesecakes in an airtight container for up to 3 days. This keeps them fresh and ready for those spontaneous holiday dessert cravings!
Freezer: If you want to prepare these ahead of time, freeze them for up to 3 months. Wrap each cheesecake tightly in plastic wrap before placing them in a freezer-safe container.
Thawing: To enjoy frozen mini cheesecakes, thaw them in the refrigerator overnight. This gentle thawing method helps retain their creamy texture.
Reheating: While typically served chilled, if you prefer a warm twist, you can briefly pop them in the microwave for about 10-15 seconds—just be cautious not to overheat!
Grinch Mini Cheesecakes: Personalize Your Delight
Feel free to put your own spin on these festive treats and make them perfect for your gathering.
-
Chocolate Cheesecake: Add 2 tablespoons of cocoa powder to the filling for a delightful chocolatey experience. The combination of chocolate and bright green will be a hit among guests of all ages!
-
Graham Cracker Crust: Swap out Oreo crumbs for crushed graham crackers for a different flavor profile. This light and buttery crust will offer a subtle sweetness that contrasts beautifully with the rich cheesecake.
-
Minty Fresh Twist: Mix in 1/2 teaspoon of peppermint extract to your filling for a refreshing burst of mint. This seasonal addition elevates the holiday spirit and pairs wonderfully with the creamy base.
-
Fruit Toppings: Top the chilled mini cheesecakes with festive fruits like raspberries or strawberries. Not only do they add a pop of color, but they also offer a delightful tartness that complements the sweetness.
-
Vegan Alternative: Substitute cream cheese with a vegan cream alternative and use flax eggs for a delicious plant-based option. You won’t lose the creaminess, and everyone can indulge!
-
Crunchy Toppings: Sprinkle crushed nuts or toffee bits on top for an extra crunch. It’s a great way to add texture and surprise guests with delightful variations in every bite!
-
Different Colored Themes: If you’re feeling adventurous, use different food colorings. Create rainbow mini cheesecakes with layers of color for a vibrant holiday treat that stands out on any dessert table.
-
Decadent Drizzle: Drizzle melted chocolate or caramel sauce over the top just before serving. This sweet finish can elevate the dessert and provide an elegant touch at your holiday parties.
These Grinch Mini Cheesecakes are versatile enough to fit any festive occasion! For more fun inspirations, check out our delightful Mini Cheeseburger Breads and share the joy of cooking with loved ones!
What to Serve with Grinch Mini Cheesecakes
Delight your guests with a festive meal that elevates the joyful spirit of the holidays!
-
Peppermint Hot Chocolate: This warm and cozy drink pairs perfectly with the creamy cheesecakes, adding a festive touch and a hint of minty flavor.
-
Festive Fruit Salad: A refreshing combination of sweet fruits balances the rich sweetness of the mini cheesecakes, adding color and a burst of freshness to your dessert table.
-
Christmas Sugar Cookies: Serve these alongside the cheesecakes for a delightful assortment that captures traditional holiday flavors. Their festive shapes and sugars will entice every guest.
-
Chocolate-Covered Strawberries: A luxurious treat, these add elegance to your spread. Their sweet and tart flavor enhances the creamy richness of the mini cheesecakes.
-
Nutty Biscotti: Crunchy and subtly sweet, these Italian cookies offer a satisfying texture contrast when enjoyed with the smooth cheesecakes. Perfect for dipping in coffee!
-
Sparkling Apple Cider: A fizzy and festive drink that’s suitable for all ages, it complements the flavors of your desserts while keeping the atmosphere joyful.
-
Gingerbread Trifle: Layered with spices and cream, this dessert echoes holiday traditions and adds depth to your dessert options for guests to enjoy.
Prepare a delightful spread that mirrors the whimsical charm of your Grinch Mini Cheesecakes, creating a truly memorable holiday gathering!
Make Ahead Options
These Grinch Mini Cheesecakes are perfect for meal prep enthusiasts looking to save time during the busy holiday season! You can prepare the crusts and cheesecake filling up to 24 hours in advance. Simply follow the crust instructions and press them into the liners, then refrigerate them. You can also mix the cheesecake filling and store it in an airtight container in the refrigerator until you’re ready to bake. When it’s time to bake, simply fill the prepped crusts with the chic green cheesecake mixture and proceed with baking as directed. This way, your Grinch Mini Cheesecakes will be just as delicious as if freshly made, allowing you to enjoy more time with family and friends!
Expert Tips for Grinch Mini Cheesecakes
• Soften the Cream Cheese: Ensure it’s at room temperature to avoid lumps in your Grinch Mini Cheesecakes. A smooth batter yields the best texture!
• Room Temperature Eggs: Always use room temperature eggs for easier mixing. This helps create a silky filling that binds beautifully.
• Check for Doneness: Use a toothpick to test cheesecakes. They should be slightly jiggly in the center when done, ensuring a creamy texture post-chill.
• Adjust Color Gradually: When adding neon green food coloring, start with a few drops. You can always add more to achieve your desired Grinchy hue!
• Chill Well: Refrigerate the mini cheesecakes for at least 2 hours. This crucial step ensures they set properly and enhances their flavor.
• Customize Crusts: Feel free to swap out the Oreo crust for graham cracker or even brownie crusts, adding variety to the Grinch Mini Cheesecakes!
Grinch Mini Cheesecakes Recipe FAQs
What type of cream cheese should I use for the cheesecakes?
I recommend using full-fat cream cheese for a rich and creamy texture. Make sure it’s softened to room temperature for easy mixing. If you’re looking for a lighter option, low-fat cream cheese can work, but it may affect the overall creaminess.
How long can I store Grinch Mini Cheesecakes in the fridge?
You can store your Grinch Mini Cheesecakes in an airtight container in the fridge for up to 3 days. Just make sure to keep them well-covered to prevent them from absorbing odors and maintain their delicious flavor.
Can I freeze Grinch Mini Cheesecakes?
Absolutely! These mini cheesecakes can be frozen for up to 3 months. Wrap each cheesecake tightly in plastic wrap and place them in a freezer-safe container. This ensures they stay fresh and ready for your future cravings!
What should I do if my mini cheesecakes crack while baking?
If your Grinch Mini Cheesecakes crack, don’t fret! This can often happen if they’re baked at too high a temperature or for too long. To avoid this, stick to the recommended baking time and check for doneness by looking for a slight jiggle in the center. Cooling them slowly at room temperature before refrigerating can also help prevent cracks.
Are these mini cheesecakes suitable for people with food allergies?
While these Grinch Mini Cheesecakes are vegetarian, they contain dairy and eggs. If you have allergies, consider using non-dairy cream cheese and flax eggs as alternatives. Additionally, you can use gluten-free cookies for the crust to accommodate gluten sensitivities. Always double-check labels for any specific allergens.
How do I achieve the perfect neon green color for the filling?
Start with a few drops of neon green food coloring, mixing it into the cheesecake filling until you get your desired shade. If the color isn’t vibrant enough, gradually add more drops until it competes with the Grinch’s iconic hue. This creates a festive visual that’s perfect for your holiday celebrations!
Grinch Mini Cheesecakes: Festive Treats to Delight Everyone
Ingredients
Equipment
Method
- Preheat your oven to 350°F (175°C) and line a cupcake pan with festive liners.
- Pulse about 10-11 Oreo cookies in a food processor until they form about 1 cup of fine crumbs. Mix with melted butter.
- Divide the crumb mixture among the cupcake liners, packing down firmly.
- In a medium bowl, combine softened cream cheese and sugar, beating until smooth.
- Add room temperature eggs and vanilla extract, mixing until well incorporated.
- Add drops of neon green food coloring until desired vibrancy is achieved.
- Spoon approximately 1/4 cup of filling into each prepared crust and smooth the tops.
- Bake for 15-17 minutes until centers are slightly jiggly. Let cool to room temperature.
- Chill in the refrigerator for at least 2 hours.
- Before serving, top with whipped cream and festive sprinkles.