

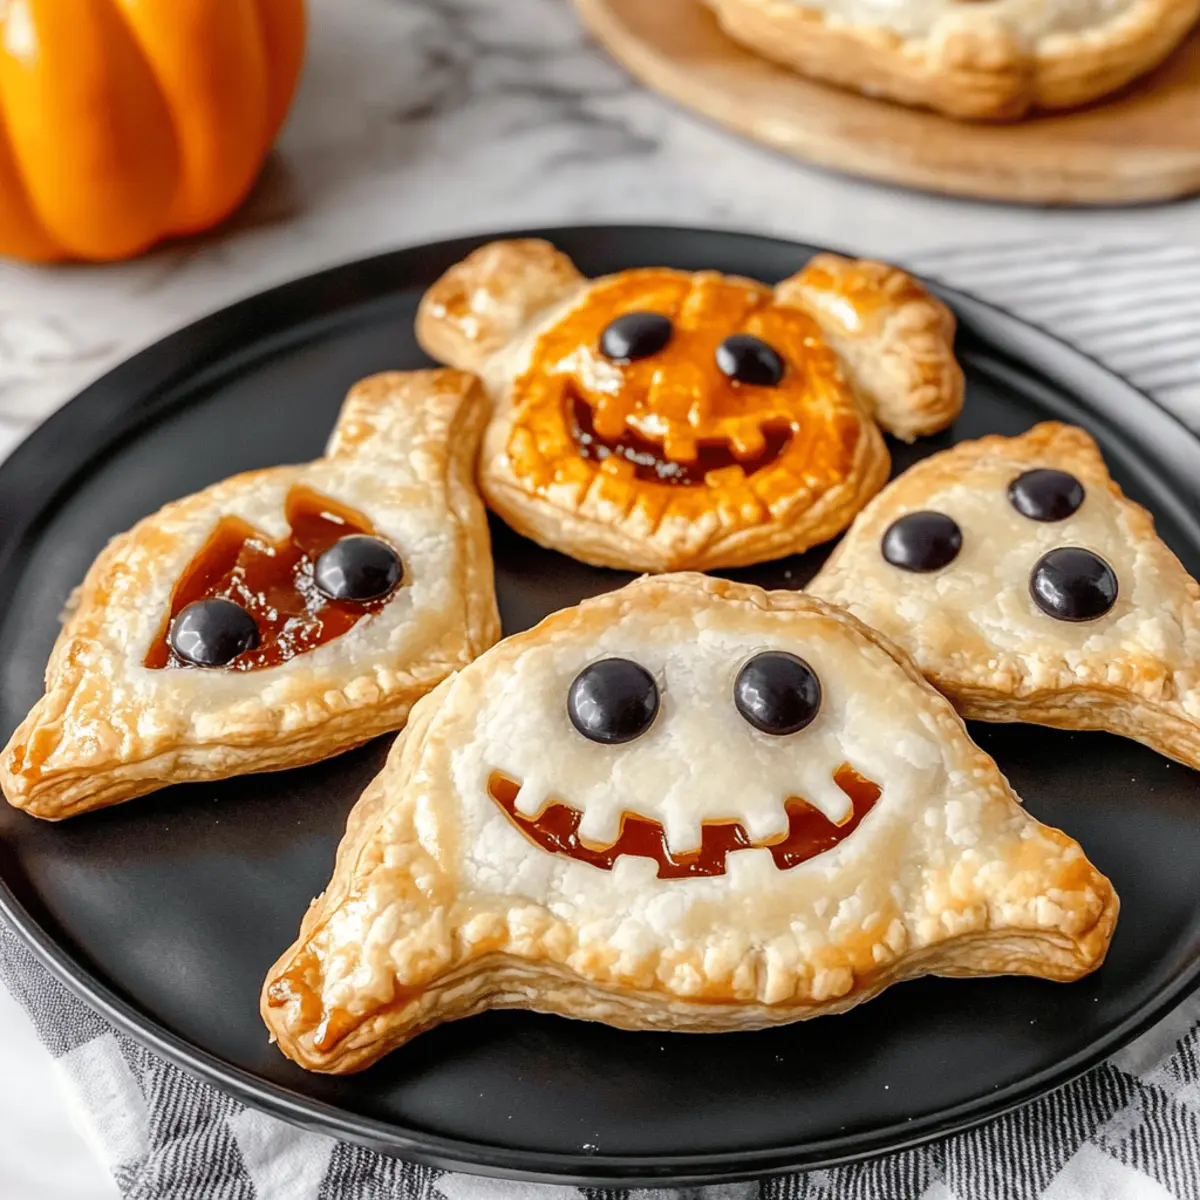
As autumn creeps in and Halloween decorations start to fill our homes, I can’t help but feel a rush of excitement for the spooky treats that await. There’s something magical about creating playful delights, and these Spooky Halloween Hand Pies are no exception! Shaped like ghosts, pumpkins, and mummies, they not only make for a fabulous centerpiece at any party but also serve as a fun family activity to get everyone involved in the kitchen. With customizable fillings ranging from sweet pumpkin to tangy cherry, these hand pies offer a delightful twist on classic desserts, proving that homemade treats can be both simple and festive. So, are you ready to frightfully impress your friends and family with these charming creations? Let’s dive in!
Why Are These Halloween Hand Pies a Must-Try?
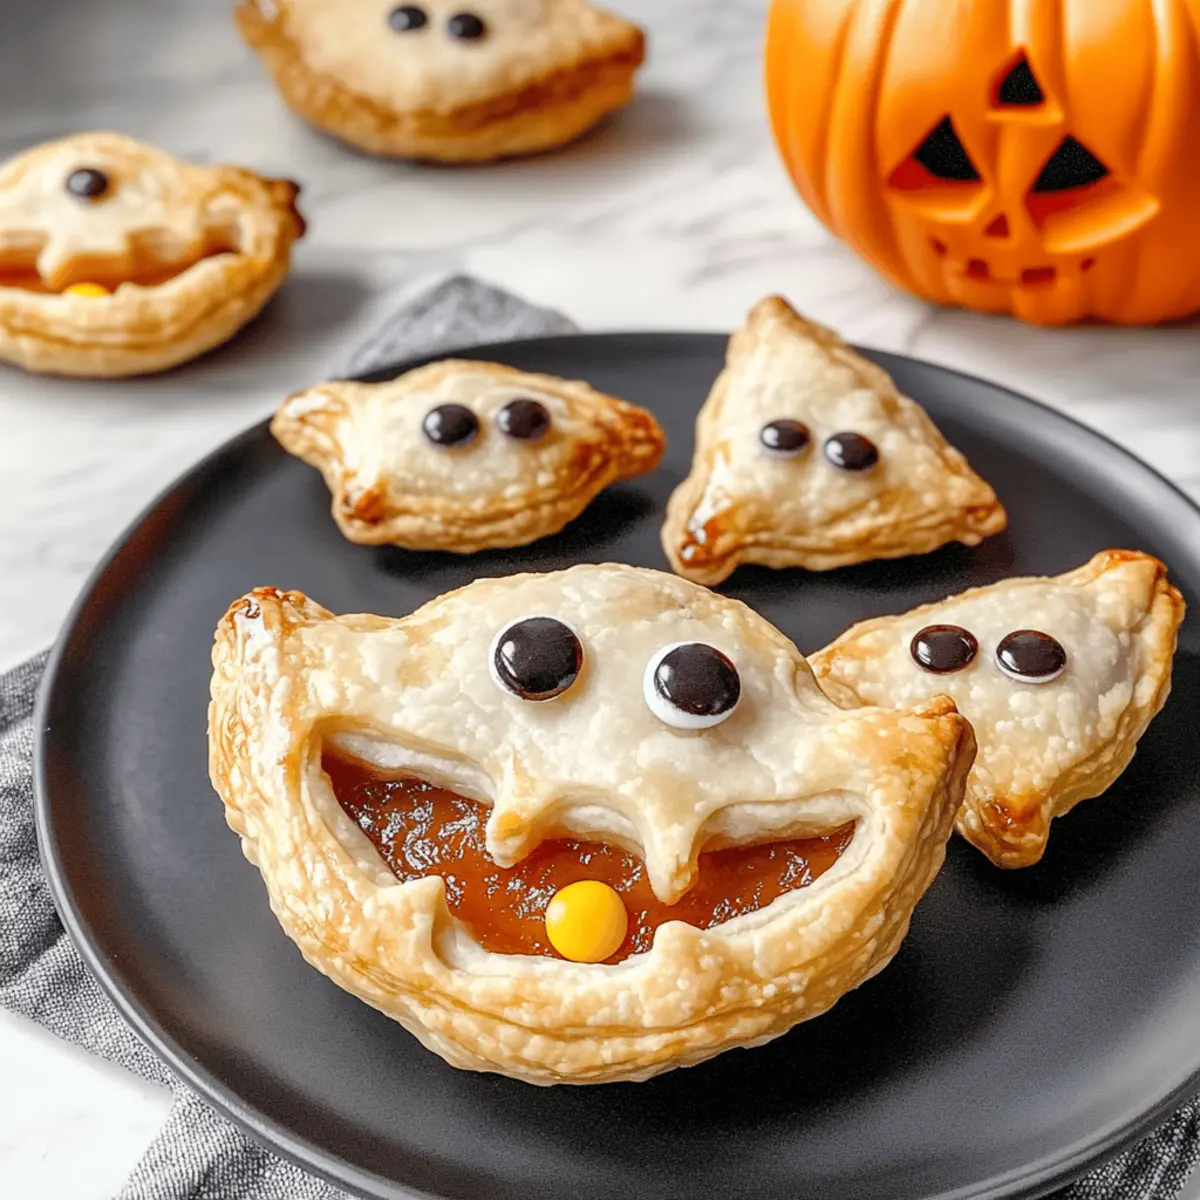
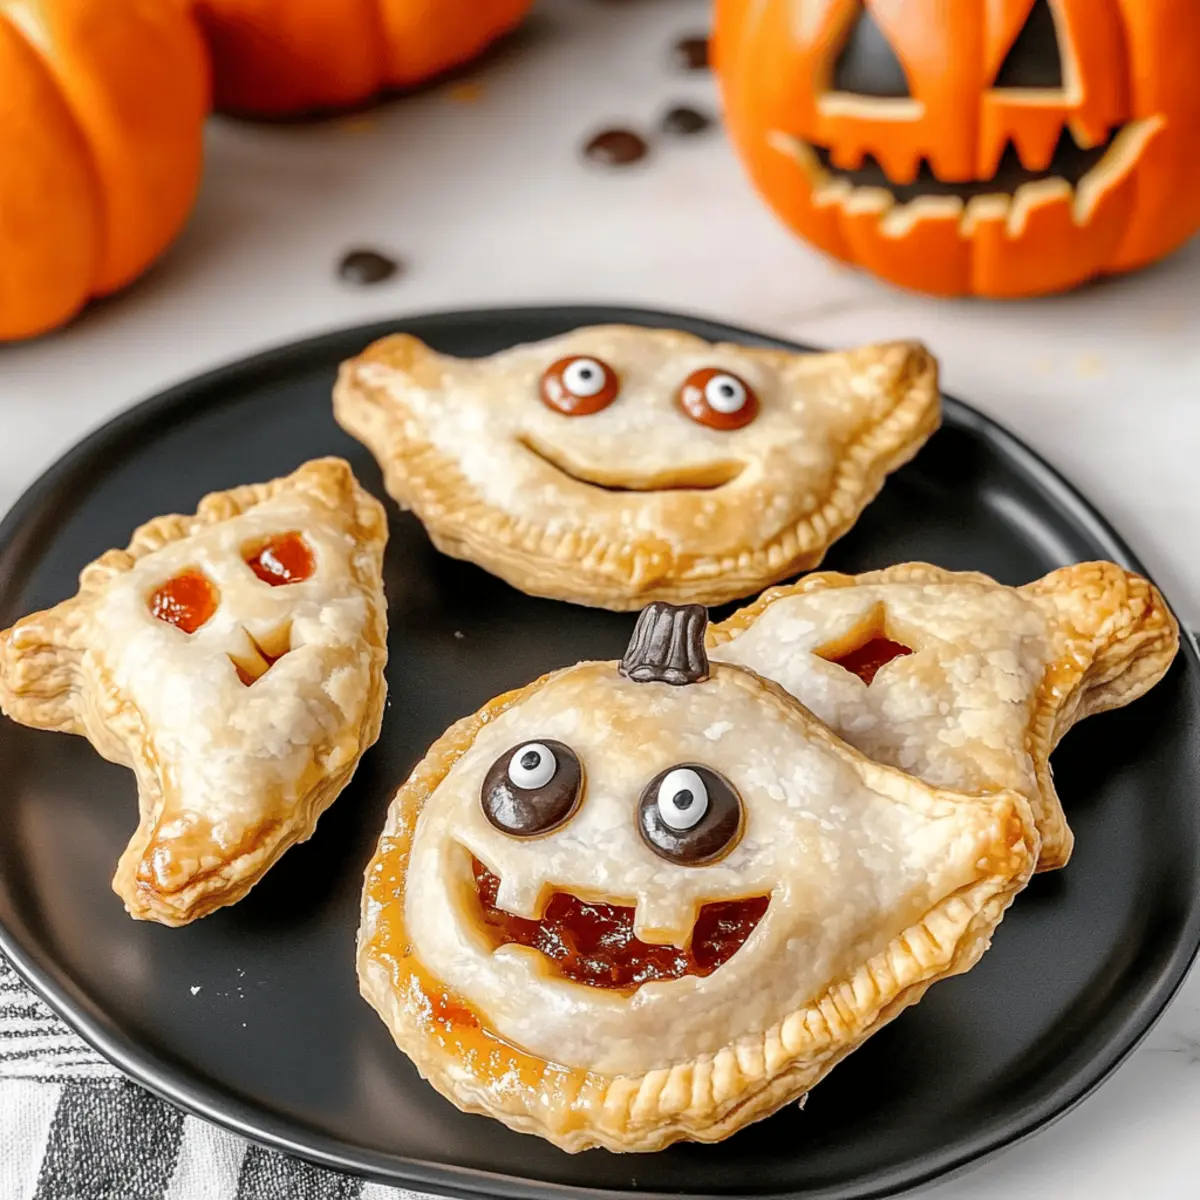
Spooky Shapes: These hand pies come in the most fun shapes—ghosts, pumpkins, and mummies—that will bring joy to both kids and adults alike.
Customizable Fillings: Choose from pumpkin, cherry, or blueberry to cater to everyone’s taste preferences. Why not get adventurous with some variations before Halloween arrives?
Simple to Make: Whether you use homemade or store-bought crusts, the process is quick and friendly for any skill level.
Crowd-Pleasing Treats: Perfect for Halloween parties, cozy movie nights, or festive gatherings, these hand pies are sure to impress your guests!
Fun Family Activity: Get everyone involved in the kitchen! Assembling these pies can be a delightful bonding activity that adds to the festive spirit.
Halloween Hand Pies Ingredients
For the Crust
• Pie Crusts – Either homemade or store-bought, ensure it’s cold for that perfect flaky texture.
For the Pumpkin Filling
• Pumpkin Puree – ½ cup; adds a moist, flavorful base; homemade pumpkin filling is a great substitute.
• Brown Sugar – 2 tablespoons; brings sweetness and richness to the mix.
• Pumpkin Pie Spice – ¼ teaspoon; infuses warmth and a hint of spice; cinnamon and nutmeg can work as alternatives.
• Ground Cinnamon – ¼ teaspoon; optional but recommended to enhance flavor.
• Egg – 1, divided; use the yolk for filling and the white for an egg wash to achieve a golden finish.
For the Fruit Fillings
• Cherry Pie Filling – ¾ cup; provides a sweet-tart burst; feel free to substitute with another fruit filling you love.
• Blueberry Pie Filling – ¾ cup; gives a fruity sweetness that pairs so well with the crust. You can swap this with any berry filling for variety.
For the Glaze
• Powdered Sugar – ½ cup; essential for sweetening the glaze.
• Heavy Whipping Cream – 2 tablespoons; this helps create a thick, luscious glaze—using milk will lead to a runnier consistency.
With these ingredients, your Halloween Hand Pies are just a step away from making your festivities utterly delightful!
Step‑by‑Step Instructions for Halloween Hand Pies
Step 1: Prepare the Pumpkin Filling
In a medium bowl, combine the pumpkin puree, brown sugar, pumpkin pie spice, ground cinnamon, and the egg yolk. Stir these ingredients together until they form a smooth mixture, making sure the brown sugar is fully dissolved. This flavorful filling will be the heart of your Halloween Hand Pies, so set it aside while you work on the crust.
Step 2: Roll Out the Dough
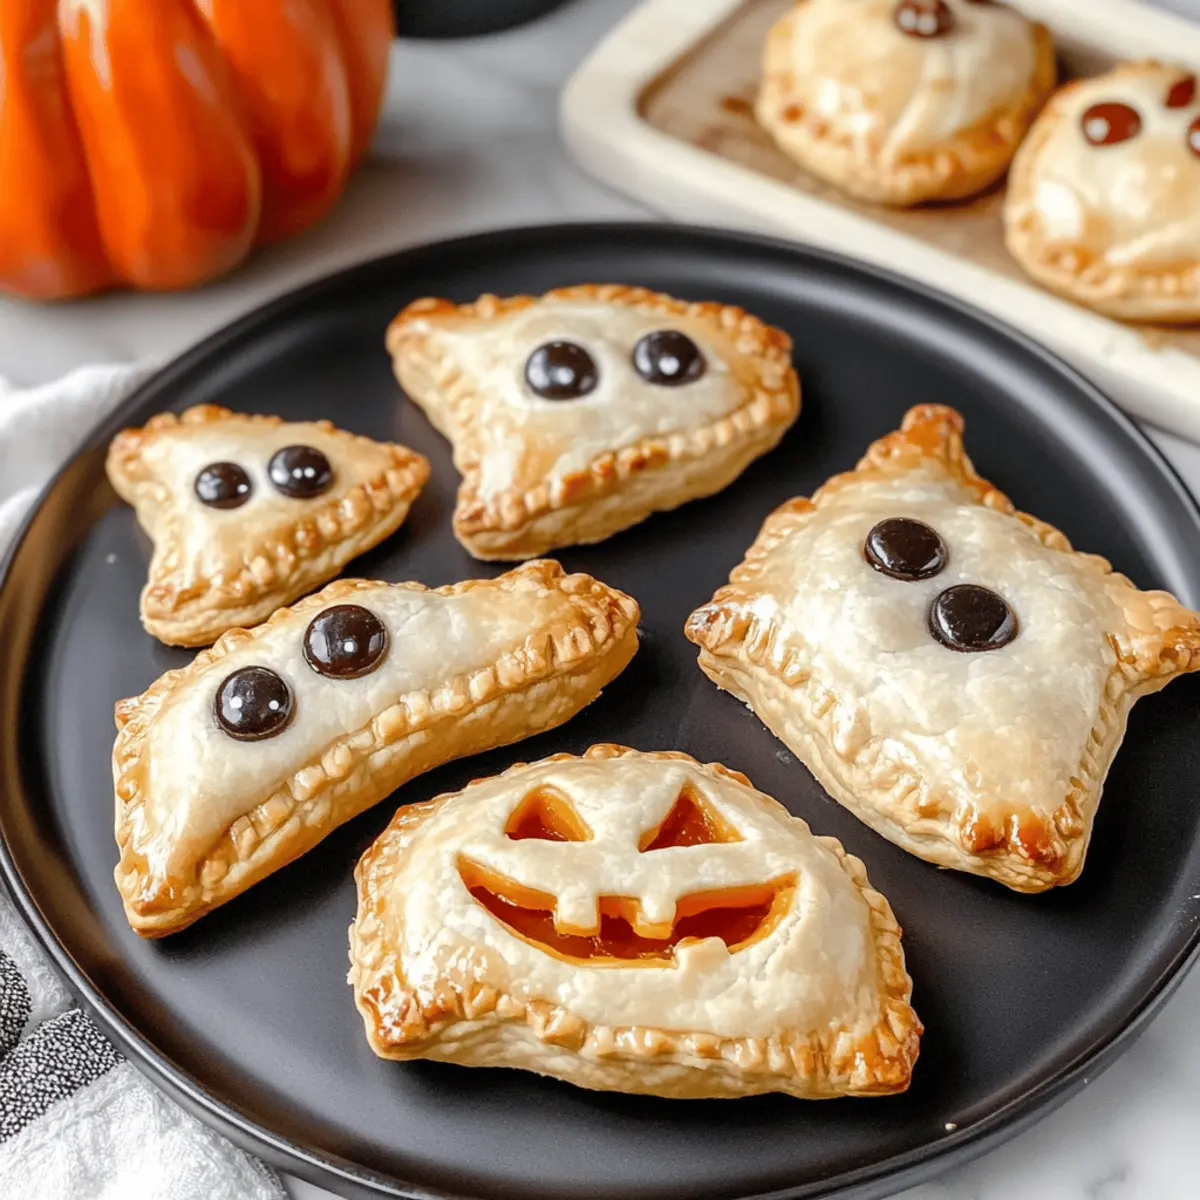
On a clean, floured surface, roll out your pie crusts to about ⅛ to ¼ inch thick. Use a sharp knife or a cookie cutter to cut out fun shapes like pumpkins, ghosts, and mummies. Aim for a total of 12 pumpkins, 12 ghosts, and 4 mummies. This step will help create the perfect base for your Halloween Hand Pies, allowing you to get creative with spooky designs!
Step 3: Assemble the Pies
Take the cut-out dough shapes and begin filling them. For the pumpkins, place a spoonful of the pumpkin filling on half of the shapes, then cover with another shape and crimp the edges to seal. For the ghosts, fill with blueberry pie filling, pinch shut, and cut out eyes and mouths. Lastly, for the mummies, fill with cherry filling, crimp the edges, and add little strips of leftover dough to create bandages for a fun effect.
Step 4: Chill and Bake
Once assembled, place the hand pies in the freezer for about 10 minutes to help them hold their shape while baking. Preheat your oven to 400°F (200°C) during this time. After chilling, brush the tops with egg wash to give them a beautiful golden finish. Bake for 15 to 25 minutes until they puff up and turn golden brown, filling your kitchen with a heavenly aroma.
Step 5: Glaze and Cool
While the Halloween Hand Pies are baking, prepare the glaze by mixing powdered sugar and heavy whipping cream in a small bowl until smooth. Once the pies are out of the oven and have cooled slightly, brush the glaze over the top for an extra touch of sweetness. Add candy eyes to the mummies for a fun finishing touch, and allow the pies to cool completely before serving, ensuring that every bite is just as delightful as it looks!
Make Ahead Options
These Halloween Hand Pies are perfect for busy home cooks looking to save time during the spooky season! You can prepare the pie crusts and filling up to 24 hours in advance—just refrigerate them separately in airtight containers to maintain freshness. Additionally, assembled but unbaked pies can be frozen for up to 3 months. To keep the crust flaky, ensure they are frozen flat on a baking sheet before transferring to a freezer bag. When ready to bake, there’s no need to thaw; simply brush with egg wash and bake directly from the freezer as directed. This way, you can enjoy delicious Halloween Hand Pies with minimal effort on the big day!
Halloween Hand Pies: Creative Swaps
Feel free to get playful with your Halloween Hand Pies by experimenting with these fun and tasty variations.
-
Fruit Fillings: Switch cherry for apple or raspberry for a delightful surprise inside each pie.
-
Chocolate Delight: For a sweeter twist, opt for chocolate pudding as your filling, bringing a rich, festive flavor to the table.
-
Savory Option: Transform these sweet pies into a savory snack by using chicken pot pie filling, perfect for a different party vibe that everyone will love!
-
Icing Faces: Get creative with some colorful decorative icing to draw unique facial expressions on your spooky shapes!
-
Nutty Crunch: Add a tablespoon of chopped nuts (like pecans or almonds) to your fruit fillings for unexpected texture and flavor combinations.
-
Spiced Up: Enhance your pumpkin filling with a pinch of cayenne for a subtle spicy kick that will intrigue adventurous taste buds.
-
Sugar-Free Alternative: Use a sugar substitute for the glaze to make these health-friendly without compromising flavor.
-
Store-Bought Shortcuts: If time is of the essence, you can always grab store-bought fillings to save on prep time and still make a festive treat.
With these ideas in mind, you can truly customize your Halloween Hand Pies, making them uniquely yours. Try pairing your spooky creations with a Witches Brew Mocktail for the perfect festive treat!
Expert Tips for Halloween Hand Pies
Cold Dough: Always work with chilled dough: This ensures your Halloween Hand Pies have the ultimate flakiness and structure when baked.
Thick Fillings: Avoid runny fillings: Using thick fillings helps prevent leaks during the baking process, keeping your hand pies intact and delicious.
Chill Before Baking: Freeze assembled pies: Giving them a quick freeze for 10 minutes before baking helps maintain their shape and creates a crispier crust.
Watch Baking Time: Keep an eye on color: Bake until golden brown; overbaking can lead to a dry texture, while underbaking can leave them soggy.
Flavor Variations: Don’t hesitate to customize: Experiment with different fillings like chocolate or various fruit options for a uniquely festive twist on your Halloween Hand Pies.
How to Store and Freeze Halloween Hand Pies
Room Temperature: Store cooled Halloween Hand Pies in an airtight container at room temperature for up to 5 days to keep them fresh and delightful.
Fridge: You can refrigerate the pies for up to 9 days. Make sure they are covered well to prevent them from absorbing other odors.
Freezer: Unbaked Halloween Hand Pies can be frozen for up to 3 months. To bake, just preheat your oven and pop them in directly from the freezer—no thawing necessary!
Reheating: For reheating, place baked pies in a preheated oven at 350°F (175°C) for about 10 minutes to restore their crispy texture. Enjoy the warmth of your spooky treats!
What to Serve with Halloween Hand Pies?
Embrace the spirit of Halloween with delightful accompaniments that enhance your spooky treat experience.
-
Witches Brew Mocktail: This festive drink combines fruity flavors with a hint of fizz, creating a fun and seasonal pairing for your hand pies.
-
Black Magic Mocktail: A spooky blend of dark soda and fruit juice, it adds a mysterious twist to your Halloween spread, captivating both kids and adults.
-
Pumpkin Soup: Velvety and comforting, a warm pumpkin soup pairs beautifully with the sweetness of the hand pies, making for a cozy fall meal.
-
Spooky Salad: A fresh green salad with seasonal toppings like cranberries and pumpkin seeds provides a refreshing contrast to the rich hand pies.
-
Caramel Apples: These classic Halloween treats bring an extra crunch and sweetness that complements the delicious flavors of your hand pies.
-
Roasted Vegetables: A medley of roasted seasonal vegetables adds earthy flavors that balance the sweetness of the pies, creating a well-rounded meal.
-
Vanilla Ice Cream: Serve a scoop alongside the hand pies for a delightful dessert pairing. The creamy texture perfectly contrasts the flaky crust.
-
Hot Apple Cider: The warm, spiced notes of apple cider evoke fall comfort and enhance the festive atmosphere, making it a perfect drinkable pairing.
Halloween Hand Pies Recipe FAQs
What is the best way to choose ripe ingredients for my Halloween Hand Pies?
Absolutely! When selecting pumpkin puree, look for a can that has a label reading “100% pumpkin” without additives. For the fruit fillings, choose brands that list fruit as the first ingredient. Ripe fruits such as fresh blueberries or cherries should be plump and vibrant, avoiding any with dark spots or mushy textures.
How should I store my Halloween Hand Pies, and how long do they last?
You can store cooled Halloween Hand Pies in an airtight container at room temperature for up to 5 days. If you choose to refrigerate them, they’ll stay fresh for about 9 days. Just make sure they are covered to protect them from absorbing any other flavors or odors in the fridge.
Can I freeze my Halloween Hand Pies, and how do I do it properly?
Very! You can freeze unbaked Halloween Hand Pies for up to 3 months. To do this, assemble the pies and place them on a lined baking sheet. Freeze them until solid, then transfer them to a freezer-safe bag or container. When you’re ready to bake, preheat your oven and pop them in from the freezer—no need to thaw! Bake as per the instructions, but you may need to adjust the baking time slightly.
How can I troubleshoot soggy Halloween Hand Pies?
If your hand pies end up soggy, it could be due to a few reasons. Firstly, ensure you use thick, non-runny fillings to prevent leakage, which can lead to a soggy crust. Additionally, make sure to roll your dough thick enough—about ⅛ to ¼ inch works best. A quick freeze before baking can also help solidify any moist fillings and create a nice crisp on the crust. If all else fails, consider baking them a little longer to help dry out the moisture.
Are these Halloween Hand Pies safe for dogs or pets?
While the Halloween Hand Pies are delightful for humans, it’s best to keep them away from pets. The sugar content and some ingredients, such as certain spices, can be harmful to dogs. If you’re looking to include your furry friends in the festivities, consider making a separate batch of pet-friendly treats with safe ingredients like pure pumpkin and oats.
What if someone has a nut allergy – can I still make these Halloween Hand Pies?
Absolutely! The recipe is naturally nut-free, but it’s essential to double-check the labels on your ingredients, especially if you’re using store-bought pie crusts or fillings. Look for products that are labeled as nut-free to ensure that everyone can enjoy these spooky treats worry-free!
Delicious Halloween Hand Pies: Spooky Treats to Delight You
Ingredients
Equipment
Method
- Prepare the Pumpkin Filling by combining pumpkin puree, brown sugar, pumpkin pie spice, ground cinnamon, and the egg yolk until smooth.
- Roll Out the Dough on a floured surface, cutting it into spooky shapes.
- Assemble the Pies by filling the shapes with pumpkin filling, blueberry filling, or cherry filling, and crimping the edges.
- Chill and Bake the assembled hand pies in the freezer for 10 minutes, then bake in a preheated oven at 400°F for 15 to 25 minutes.
- Glaze and Cool the pies with a mixture of powdered sugar and heavy cream and allow them to cool before serving.