

The other day, while savoring a cup of coffee and enjoying a sunlit afternoon, I decided it was time to elevate my dessert game. Enter the Irresistible Hawaiian Ube Butter Mochi—a delightful treat that seamlessly blends tradition with a twist! With its gorgeous violet hue and chewy, buttery texture, this gluten-free dessert is a feast for the eyes and the palate. Not only is it incredibly simple to whip up, but it also guarantees to impress at gatherings or serve as a cozy indulgence when you need a little pick-me-up. Each bite takes you on a flavorful journey, celebrating the unique essence of ube, making it a must-try for any home chef longing to explore new culinary horizons. Ready to unlock this delicious adventure? Let’s dive in!
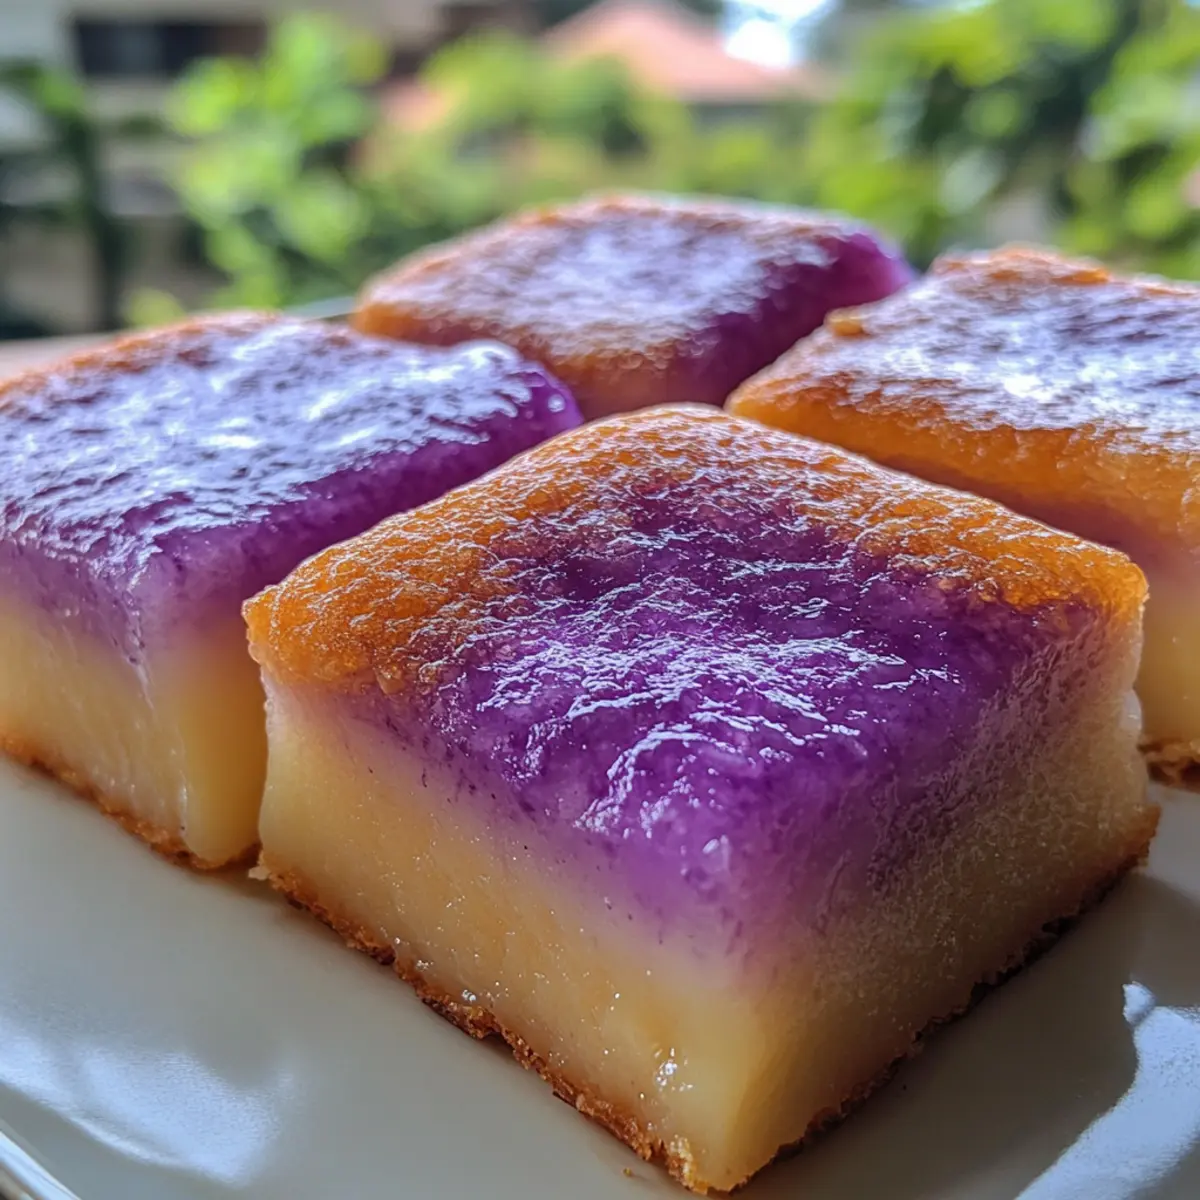
Why is Ube Butter Mochi a Must-Try?
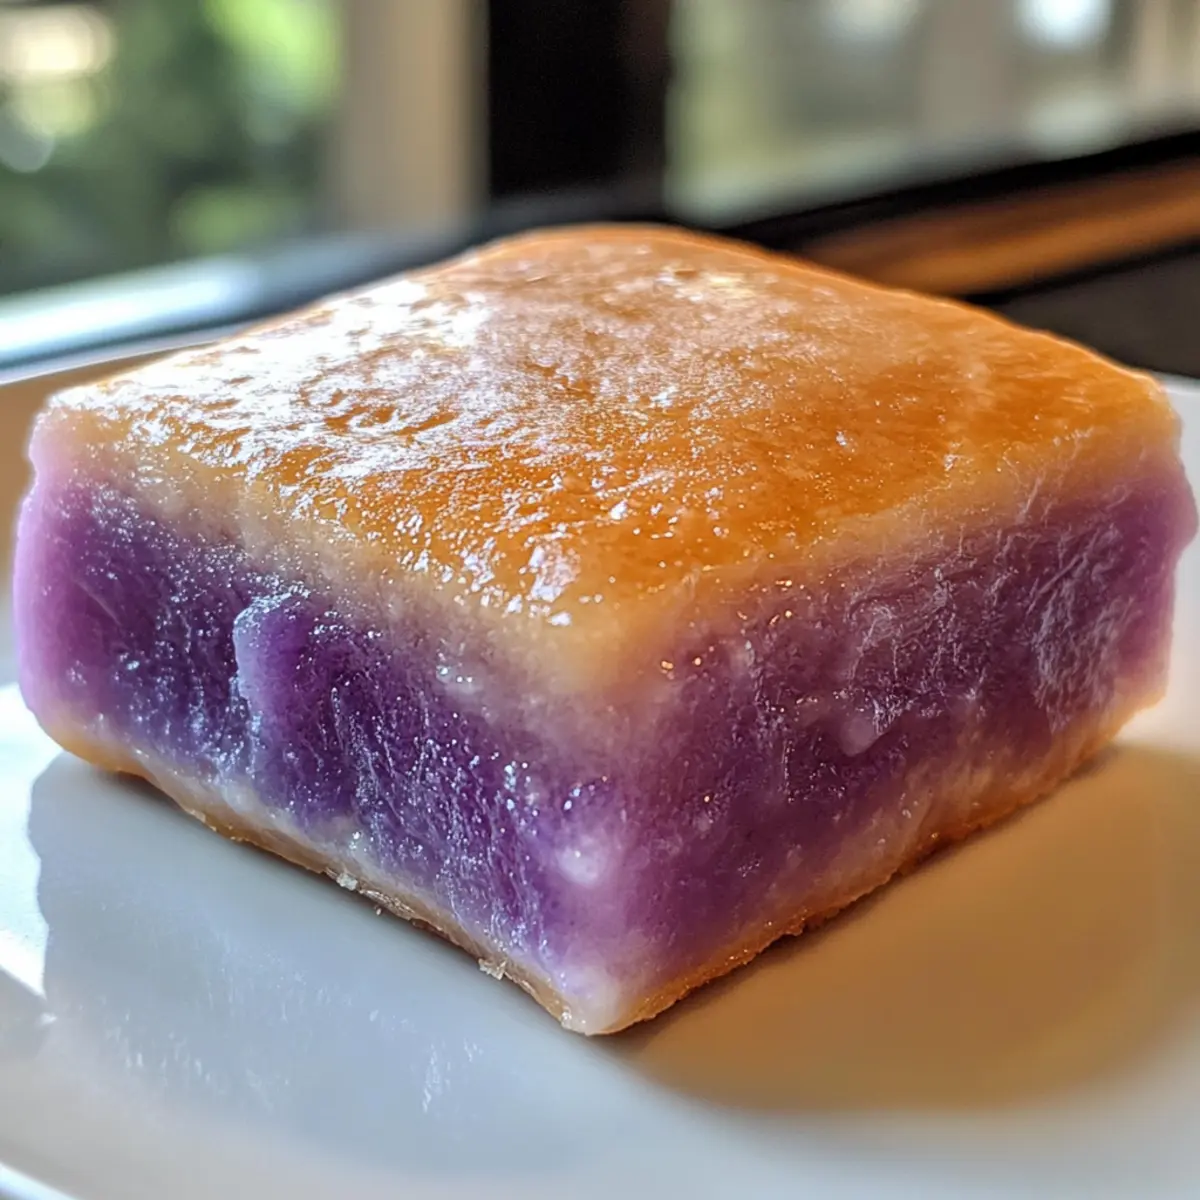
Unique Flavor: The vibrant ube gives this mochi a stunning purple hue and a flavor profile that is both sweet and subtly nutty, captivating anyone who takes a bite.
Easy to Make: With just a few simple steps, you’ll find it’s as easy as pie to whip up this gluten-free delight in no time.
Crowd-Pleasing Treat: Perfect for potlucks or any gathering, these chewy squares are sure to be the highlight of any dessert table, leaving guests asking for the recipe!
Versatile Options: Feel free to get creative—substituting ube with other flavors like pandan or matcha can lead to delicious new twists. And if you’re looking for more delicious dessert ideas, don’t forget to check out our Garlic Butter French fries recipe for something that pairs wonderfully with sweet treats.
Quick Storage: Storing your leftovers is a breeze; just keep them in an airtight container for freshness without any fuss.
Cultural Fusion: This dish beautifully reflects Hawaiian and Filipino influences, making it not just a dessert but a delightful cultural experience on your plate.
Hawaiian Ube Butter Mochi Ingredients
• Here’s what you need to create this delightful treat!
For the Mochi Base
- Glutinous Rice Flour – Provides the chewy texture characteristic of Hawaiian Ube Butter Mochi; no substitutions.
- Granulated Sugar – Adds sweetness; adjust to your taste preference.
- Baking Powder – Helps the mochi rise slightly, ensuring a light and airy texture.
- Salt – Enhances flavor; a pinch can be adjusted based on taste.
- Ube Extract – Infuses the mochi with its signature purple color and unique flavor; essential for the recipe.
- Butter – Adds richness and moisture; can be swapped with coconut oil for a dairy-free version.
- Coconut Milk – Contributes depth of flavor; substitute with any plant milk for a non-dairy alternative.
- Egg – Acts as a binding agent and moistener; for eggless versions, consider applesauce as a substitute.
- Water – Adjusts batter consistency for the perfect mochi texture.
These carefully chosen ingredients ensure that each bite of your Hawaiian Ube Butter Mochi is a delightful experience!
Step‑by‑Step Instructions for Hawaiian Ube Butter Mochi
Step 1: Preheat and Prepare
Begin by preheating your oven to 350°F (175°C) and lightly greasing a 9×9-inch baking pan with butter or cooking spray. This helps the Hawaiian Ube Butter Mochi to release easily once baked. Set the prepared pan aside as you gather the ingredients for the batter, ensuring a smooth cooking process.
Step 2: Combine Dry Ingredients
In a large mixing bowl, whisk together 2 cups of glutinous rice flour, 1 cup of granulated sugar, 1 tablespoon of baking powder, and 1/2 teaspoon of salt. Mix these dry ingredients until well incorporated, carefully breaking up any lumps to create a smooth blend. This is crucial for achieving the chewy texture characteristic of Hawaiian Ube Butter Mochi.
Step 3: Mix Wet Ingredients
In a separate bowl, combine 1/2 cup of melted butter, 1 cup of ube extract, 1 teaspoon of coconut milk, and 1 large beaten egg. Stir these ingredients together until they form a smooth mixture without lumps. Visualize a vibrant purple hue developing, a sign that your Hawaiian Ube Butter Mochi will be both beautiful and delicious!
Step 4: Combine Wet and Dry Mixtures
Gradually add the dry ingredient mixture into the wet ingredients, gently mixing until just combined. Be careful not to overmix; a few lumps are okay as too much mixing can affect the mochi’s texture. The batter should be thick and well-blended, showcasing the delightful color of the ube.
Step 5: Pour and Smooth
Pour the final batter into the prepared baking pan, using a spatula to spread it evenly across the surface. Smooth the top with care, ensuring there are no air pockets. This step is essential for even baking, resulting in a beautifully textured top for your Hawaiian Ube Butter Mochi.
Step 6: Bake to Perfection
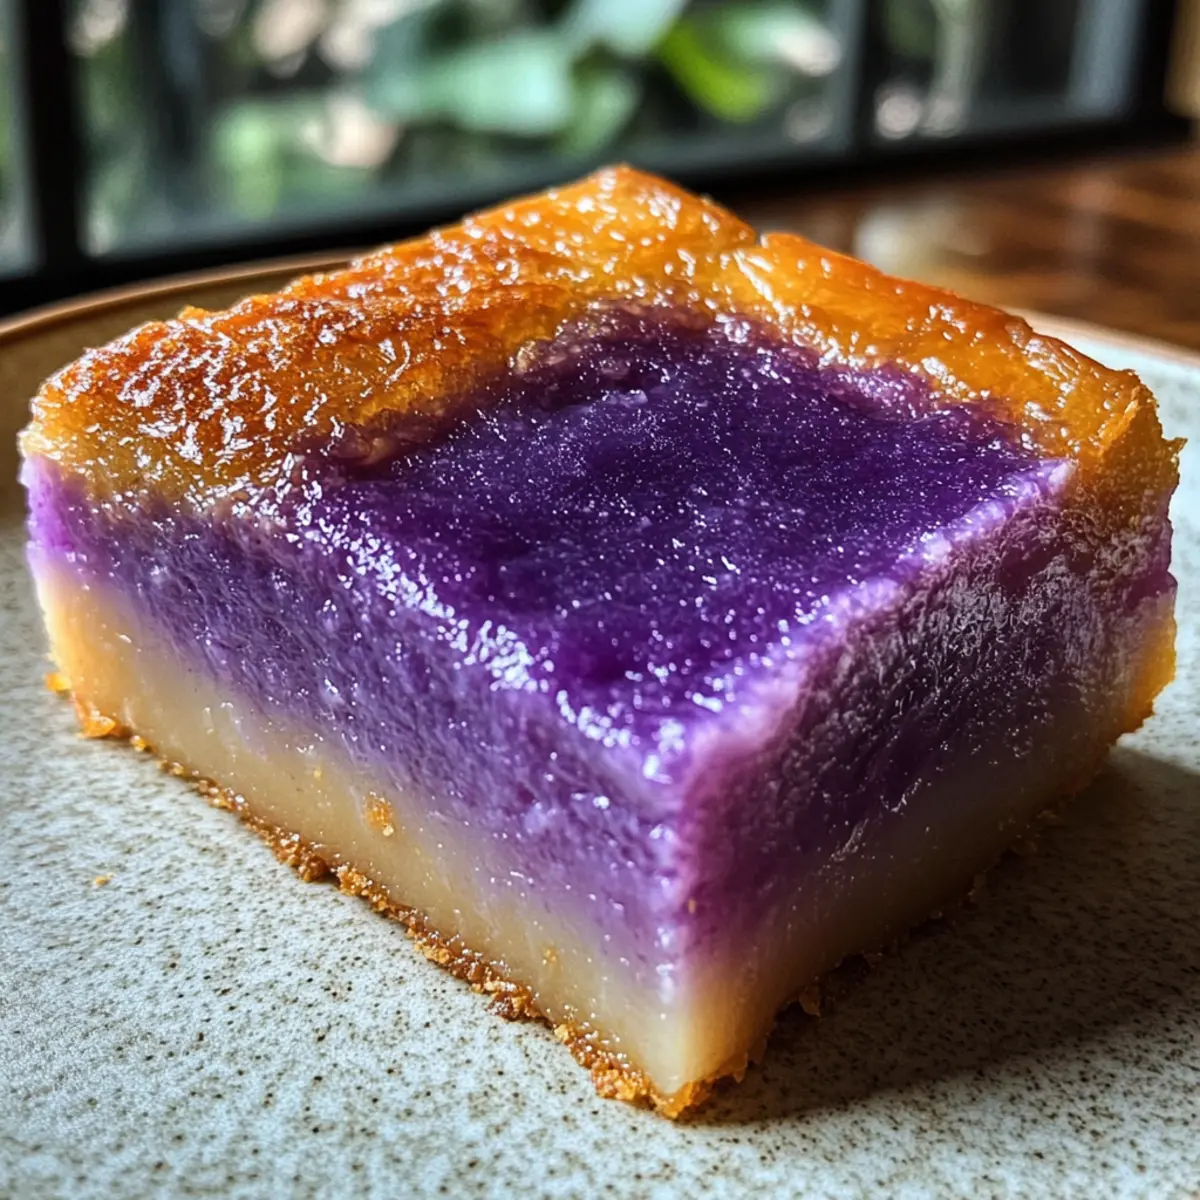
Place the pan in the preheated oven and bake for 60 to 75 minutes. Keep an eye on the mochi, looking for a golden-brown top that jiggles slightly when shaken. This visual cue indicates your Hawaiian Ube Butter Mochi is ready, balancing that perfect chewy texture with a rich outer crust.
Step 7: Cool and Slice
Once baked, remove the pan from the oven and allow it to cool completely in the pan. This is important for achieving clean cuts. After cooling, slice the Hawaiian Ube Butter Mochi into squares, using a plastic or greased metal knife to avoid sticking. Enjoy the stunning presentation of your delicious creation!
Expert Tips for Hawaiian Ube Butter Mochi
- Avoid Overmixing: Gently combine the wet and dry ingredients—overmixing can lead to tough, chewy mochi instead of the delightful texture you want.
- Use Fresh Ube Extract: Always opt for quality ube extract to ensure the vibrant color and rich flavor shine through in your Hawaiian Ube Butter Mochi.
- Cool Completely Before Cutting: Allow your mochi to cool entirely in the pan to improve slices and maintain its structure; warm or hot mochi can be messy to cut.
- Greased Knife for Slicing: To achieve clean cuts, use a greased metal or plastic knife; sticky mochi can cling to regular knives, making slices uneven.
- Texture Check While Baking: Look for a golden-brown top that jiggles slightly when shaken—this indicates your Hawaiian Ube Butter Mochi is perfectly baked!
- Storage Tips: Keep leftovers in an airtight container at room temperature for up to 3 days or refrigerate to maintain freshness; just warm slightly before enjoying.
Make Ahead Options
These Hawaiian Ube Butter Mochi are a fantastic choice for meal prep enthusiasts! You can prepare the batter up to 24 hours in advance by mixing the dry and wet ingredients separately, then refrigerating the wet mixture. This not only saves time but also allows the flavors to meld together beautifully. Just remember to bring the mixture back to room temperature before combining them and pouring it into the pan for baking. Alternatively, you can bake the mochi in advance and store it in an airtight container at room temperature for up to 3 days to maintain that delightful chewiness. When you’re ready to serve, simply slice and enjoy the same irresistible flavor!
Hawaiian Ube Butter Mochi Variations
Feel free to explore these creative twists to personalize your Hawaiian Ube Butter Mochi and elevate your dessert game!
- Dairy-Free: Use coconut oil instead of butter for a creamy, vegan-friendly touch that keeps the rich flavor intact. The subtle coconut notes enhance the overall profile beautifully!
- Flavor Boost: Experiment with pandan or matcha extracts for an exotic twist that complements the ube, creating a stunning visual and taste contrast. Don’t hesitate to get imaginative with your flavoring!
- Nutty Delight: Fold in crushed macadamia nuts or toasted coconut before baking for an irresistible crunch and nuttiness, giving your mochi an extra layer of texture. The added flavors scream tropical paradise!
- Chocolate Chip: Add semi-sweet or dark chocolate chips to the batter for an indulgent chocolatey surprise in each bite. Who wouldn’t love a burst of chocolate with their sweet, chewy mochi?
- Spiced Ube: Introducing a pinch of cinnamon or nutmeg into the batter creates a warm, comforting spiced flavor that brings coziness to your treat. It’s like a hug in dessert form!
- Tropical Topping: Consider drizzling a coconut or fruit glaze on top after baking for a tropical flair that brightens both flavor and appearance. It serves both as a delicious enhancement and a stunning presentation element!
- Citrus Zest: Mix in lemon or lime zest to the batter for a bright, zesty punch that contrasts beautifully with the sweetness of ube. The zing will awaken your taste buds in the best way!
And if you’re looking for more delightful inspiration, make sure to try our Garlic Butter French fries; they pair wonderfully with sweet treats like this!
How to Store and Freeze Hawaiian Ube Butter Mochi
Room Temperature: Keep your Hawaiian Ube Butter Mochi in an airtight container at room temperature for up to 3 days. This ensures it remains fresh and chewy.
Fridge: For longer freshness, refrigerate the mochi in an airtight container for up to 1 week. Allow it to come to room temperature before enjoying for the best texture.
Freezer: Freeze cut pieces wrapped individually in plastic wrap, then place them in a freezer-safe bag. They can last up to 2 months. Thaw in the fridge before serving.
Reheating: To reheat leftovers, warm them slightly in the microwave for about 10-15 seconds. This revives the mochi’s delightful chewy texture!
What to Serve with Irresistible Hawaiian Ube Butter Mochi
Imagine a delightful table spread where your sweet, chewy mochi takes center stage, complemented by a medley of flavors and textures.
-
Rich Coconut Ice Cream: The creamy texture of coconut ice cream balances the chewy mochi perfectly, creating an indulgent dessert experience.
-
Tropical Fruit Salad: A zesty mix of pineapple, mango, and kiwi adds a refreshing contrast to the sweetness of the mochi, enhancing its vibrant flavors.
-
Whipped Coconut Cream: Light and fluffy, a dollop of whipped coconut cream underneath or on top of your mochi offers a lovely, tropical flair.
-
Macadamia Nut Cookies: Crunchy and buttery, these cookies add a satisfying contrast that pairs well with the mochi’s chewy texture.
-
Green Tea: A warm cup of green tea provides a slightly bitter contrast, balancing the sweetness of the mochi while enhancing its flavors.
-
Mango Sticky Rice: For an exotic twist, serve with sticky rice topped with ripe mango, creating a delightful medley of chewy textures.
-
Pineapple Juice: This refreshing and sweet beverage pairs wonderfully, giving a taste of the tropics and cleansing the palate after each sweet bite.
-
Lemon Tart: A tangy lemon tart adds a zesty element that brightens up the dessert, making for an appealing contrast with the richness of the mochi.
-
Chocolate Dipping Sauce: For a decadent option, serve a small bowl of warm chocolate sauce on the side for drizzling or dipping, elevating the dessert experience.
Hawaiian Ube Butter Mochi Recipe FAQs
How do I select ripe ube for my mochi?
Absolutely! When selecting ube, look for firm tubers with smooth skin and a vibrant purple color. Avoid ones with dark spots or blemishes, as these can indicate spoilage. Fresh ube should feel heavy for its size, which means it’s packed with moisture and flavor.
How should I store leftover Hawaiian Ube Butter Mochi?
Very! Keep your Hawaiian Ube Butter Mochi in an airtight container at room temperature for up to 3 days. If you need it to last longer, refrigerate it for up to 1 week. Just remember to let it come to room temperature before enjoying to keep that delightful chewy texture.
Can I freeze Hawaiian Ube Butter Mochi? How?
Yes, you can! To freeze, cut the mochi into squares, wrap each piece tightly in plastic wrap, then place them in a freezer-safe bag. They’ll maintain their quality for up to 2 months. When you’re ready to enjoy, simply thaw in the fridge overnight or microwave briefly for a quick treat.
What should I do if my mochi is too chewy?
If your Hawaiian Ube Butter Mochi turns out too chewy, it may be due to overmixing the batter or baking too long. For next time, make sure to mix just until combined, and check the mochi after 60 minutes of baking. Look for that golden-brown top with a slight jiggle – that’s the sweet spot for perfect texture!
Is this recipe safe for anyone with dietary restrictions?
Absolutely! This Hawaiian Ube Butter Mochi is naturally gluten-free, thanks to glutinous rice flour. However, those with egg allergies can substitute the egg with 1/4 cup of unsweetened applesauce or a flax egg. If you’re aiming for a dairy-free option, simply swap butter with coconut oil and use plant-based milk. Always check your ingredients for added allergens, just to be safe!
Can pets eat ube?
Very! While small amounts of cooked ube are generally safe for dogs and cats, it’s best to consult with your veterinarian before sharing any human food. Rich desserts like Hawaiian Ube Butter Mochi should be kept for human enjoyment, so your furry friends don’t get any tummy troubles!
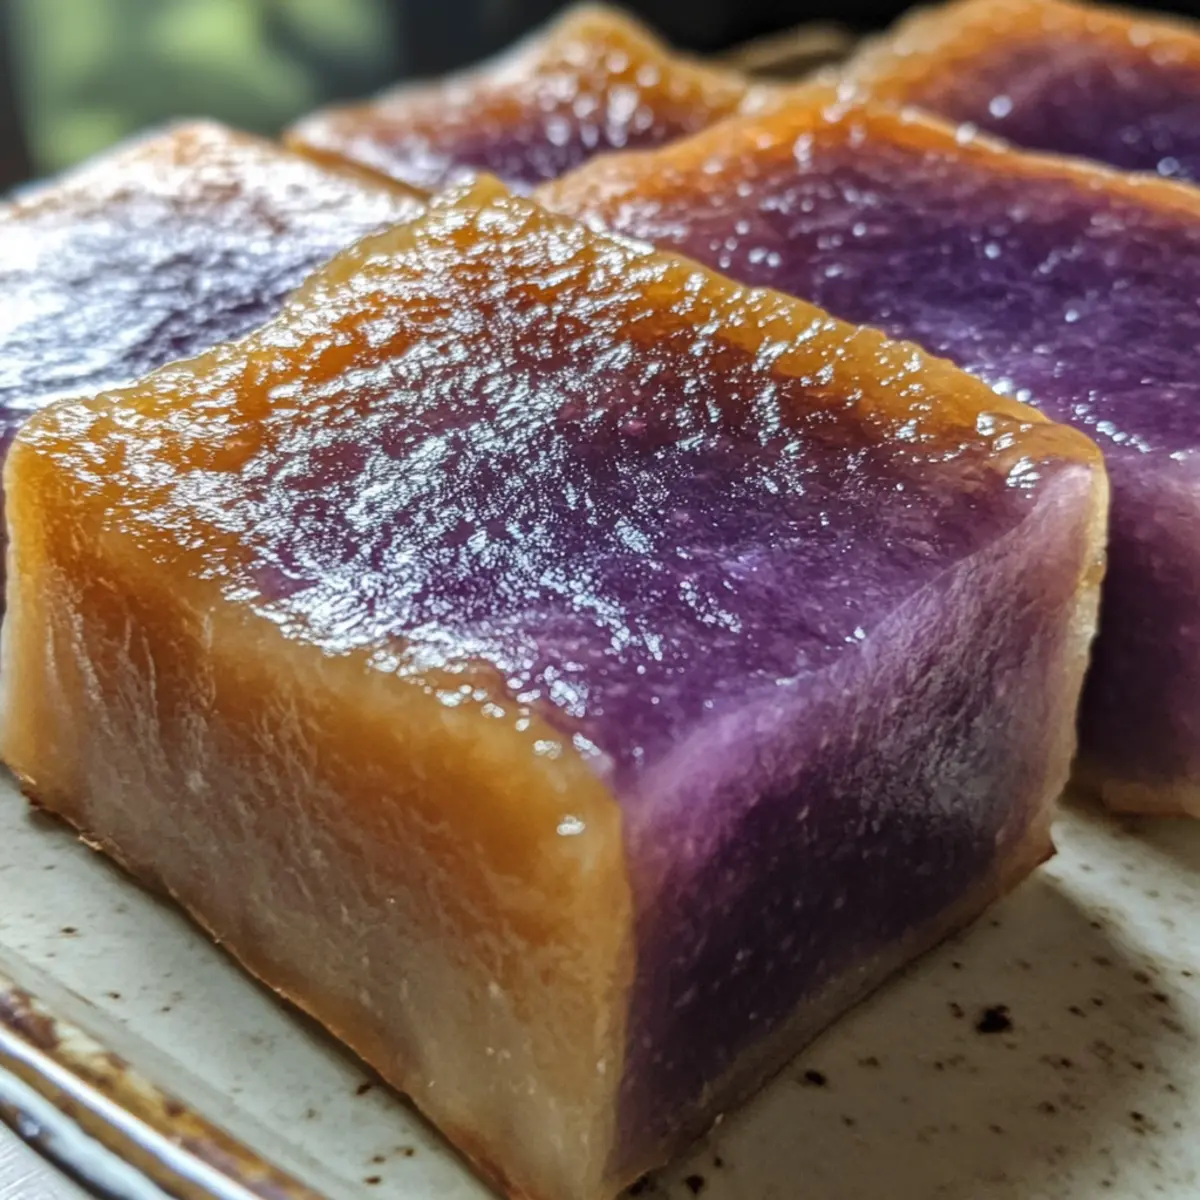
Delicious Hawaiian Ube Butter Mochi for Chewy Sweet Bliss
Ingredients
Equipment
Method
- Preheat your oven to 350°F (175°C) and grease a 9x9-inch baking pan.
- In a large bowl, whisk together glutinous rice flour, granulated sugar, baking powder, and salt.
- In another bowl, mix melted butter, ube extract, coconut milk, and the beaten egg until smooth.
- Gradually add the dry mixture to the wet mixture, mixing until just combined.
- Pour the batter into the baking pan, smoothing the top without air pockets.
- Bake in the preheated oven for 60 to 75 minutes until golden brown.
- Remove from the oven, cool completely, and slice into squares.