

A kitchen filled with the sweet aroma of peppermint is truly a holiday blessing. One such delightful treat that embodies this festive spirit is my homemade Christmas mints. Perfectly creamy and wonderfully colorful, these no-bake treats come together with just a handful of pantry staples, making them incredibly fun and quick to whip up. Whether you’re planning a cozy gathering or looking for thoughtful gifts to share, this recipe delivers in both ease and charm. Plus, not only are they gluten-free and vegetarian, but they also allow for endless customization, ensuring that they’ll match any holiday theme. Ready to learn how to create these festive little beauties? Let’s dive into the joy of making these delightful mints!
Why Will You Enjoy Making Them?
Easy to whip up in under two hours, these mints require minimal effort and no baking skills. Delicious with a buttery smooth texture, the refreshing peppermint flavor is perfect for the holidays. Customizable colors and flavors allow you to create festive variations for any occasion. Versatile enough to serve at gatherings or gift in charming packaging, plus they’re gluten-free and vegetarian! If you love homemade treats, these mints will surely become a holiday staple, just like my Homemade Chicken Pot or Hearty Spaghetti with Homemade Meatballs.
Homemade Christmas Mints Ingredients
• Get ready to create these delightful treats with easy-to-find pantry staples!
For the Mint Mixture
- Cream Cheese – Adds creaminess and a smooth texture; ensure it’s softened at room temperature.
- Unsalted Butter – Provides richness; can substitute with margarine for a dairy-free option.
- Clear Corn Syrup – Helps retain moisture and keeps the mints from hardening; honey can be a substitute, but may alter flavor.
- Peppermint Extract – Infuses the mints with refreshing flavor; feel free to add vanilla or other extracts for extra variety.
For the Dough
- Powdered Sugar – Sweetens and forms the dough texture; adjust the amount based on dough consistency.
- Liquid Food Coloring – Used to color the mints (red and green); gel coloring yields more vibrant hues for your homemade Christmas mints.
With these simple ingredients, you’ll be on your way to creating delightful homemade Christmas mints that will warm the hearts of family and friends alike!
Step‑by‑Step Instructions for Homemade Christmas Mints
Step 1: Prep the workspace
Begin by lining a baking sheet with parchment paper to prevent the mints from sticking. This will be your designated cooling area. Next, pour some granulated sugar into a shallow dish to coat the mints later, ensuring each sweet delight has a lovely, sugary crunch.
Step 2: Make the dough
In a large mixing bowl, combine softened cream cheese, unsalted butter, clear corn syrup, and peppermint extract. Use an electric mixer on medium speed for about 2-3 minutes, until the mixture is creamy and smooth. Scrape down the sides of the bowl to ensure all ingredients are well blended, creating a cloud of sweet peppermint goodness.
Step 3: Incorporate sugar
Gradually add powdered sugar to the bowl, starting on low speed to prevent a sugary cloud from escaping. Mix for 3-5 minutes until the dough thickens and pulls away from the sides, achieving a soft but not sticky consistency. At this stage, you will have a luscious mint mixture for your homemade Christmas mints.
Step 4: Divide and color
With your dough ready, divide it into three equal portions. Take two of the portions and add red and green liquid food coloring to each, kneading through your hands until the colors are vibrant and uniform throughout. This step allows you to embrace the festive spirit with colorful mints, brightening your holiday treat platter.
Step 5: Form mints
Now it’s time to roll! Shape each colored portion into long ropes about 18 inches in length, then slice these ropes into half-inch pieces. Take each piece and gently roll them into smooth balls, ensuring they are evenly shaped. These little rounds will transform into delightful treats that embody the joy of homemade Christmas mints.
Step 6: Coat and shape
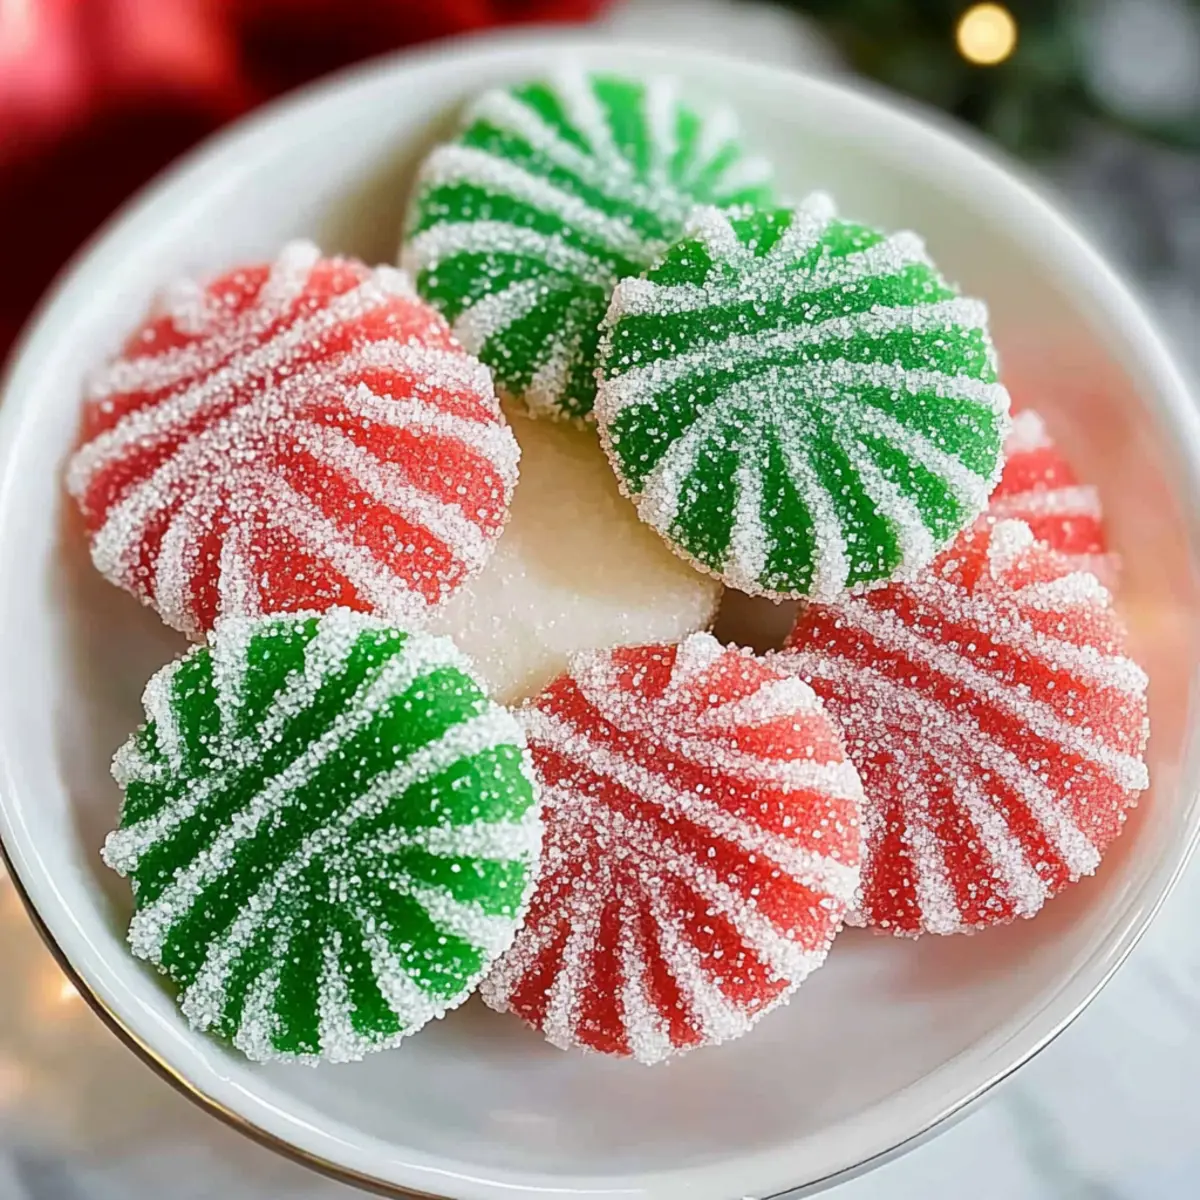
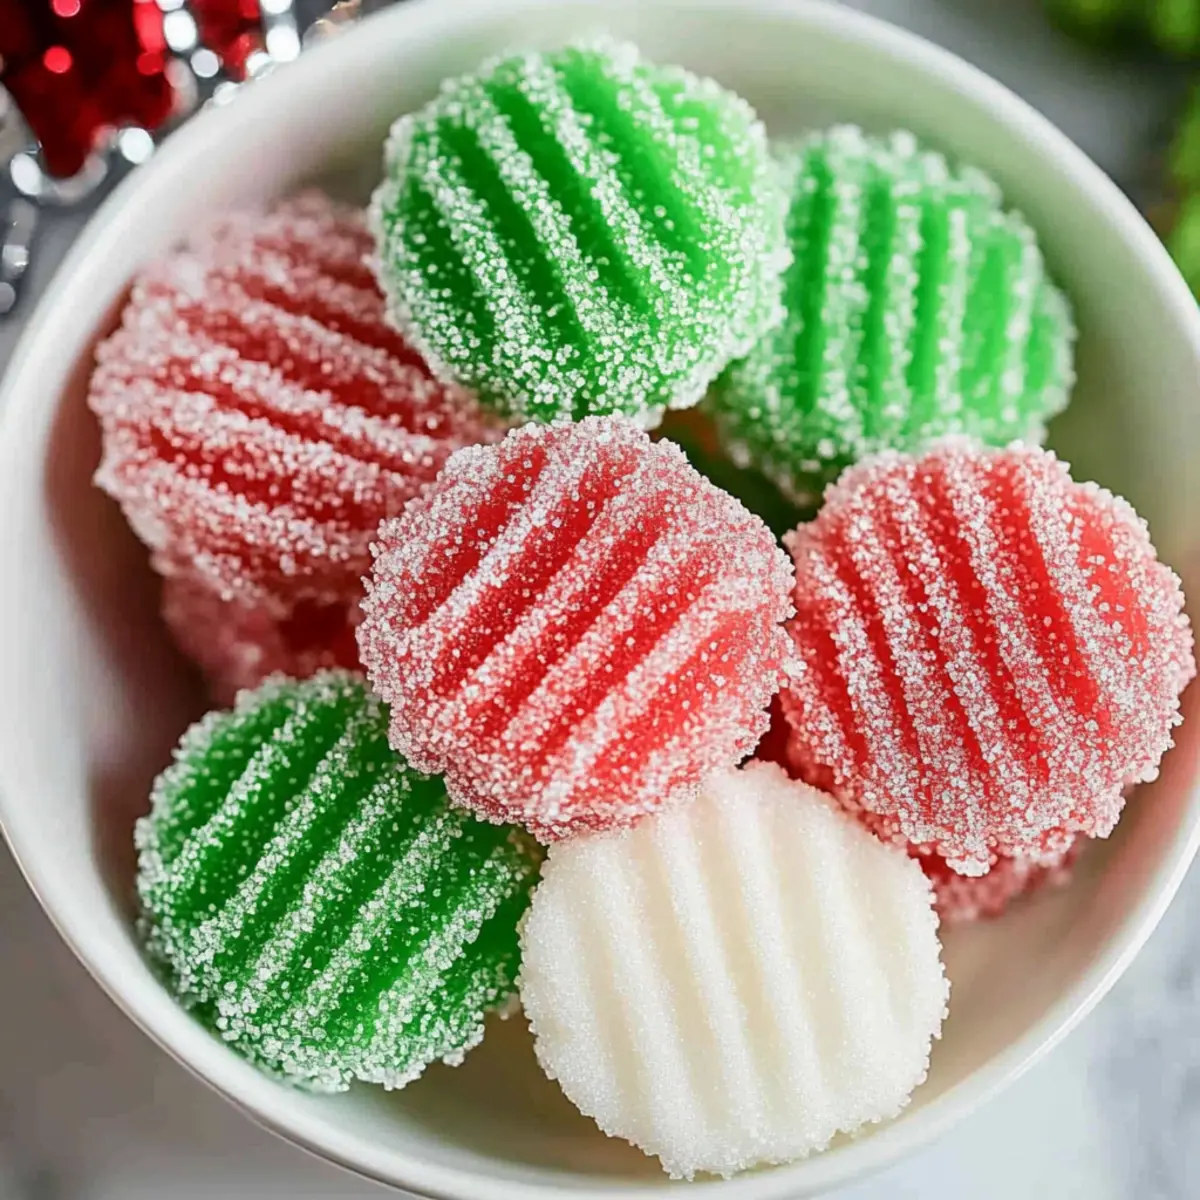
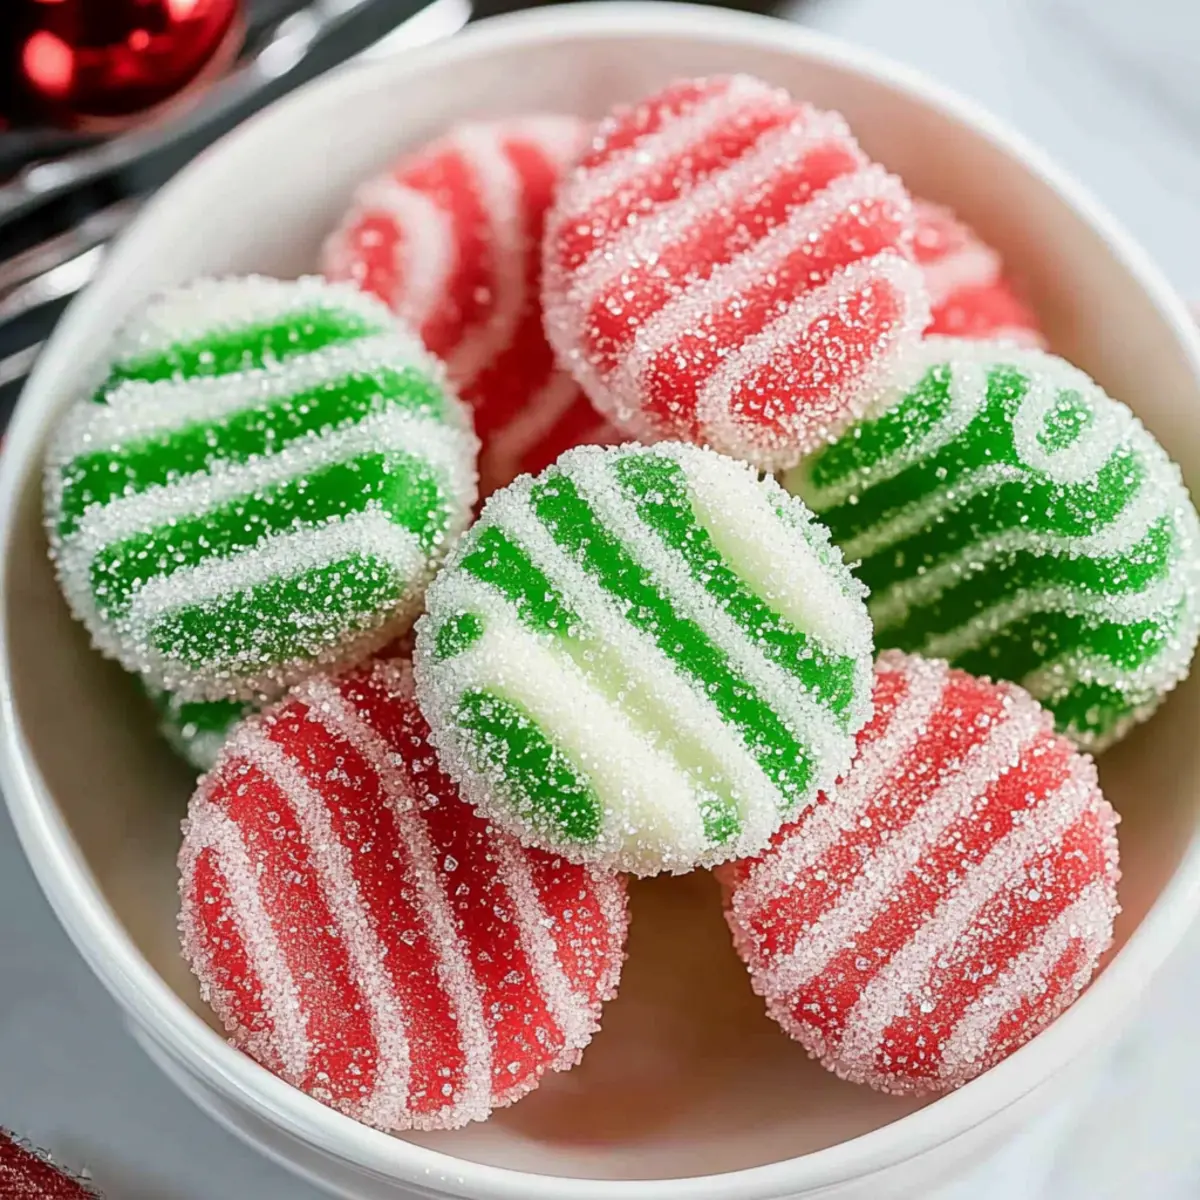
Roll each mint ball in the prepared granulated sugar until thoroughly coated, adding a special crunch to each bite. Place them on the lined baking sheet as you work, then use a fork to gently flatten each ball, creating decorative stripes across the surface. This step adds charm while still keeping your mints cozy and creamy inside.
Step 7: Dry
Allow your mints to rest at room temperature for 24 hours. This drying time is crucial as it develops a firm exterior while the interior remains creamy, enhancing the overall texture of your homemade Christmas mints. Resist the urge to rush this step; a little patience will lead to perfect results.
Step 8: Serve or store
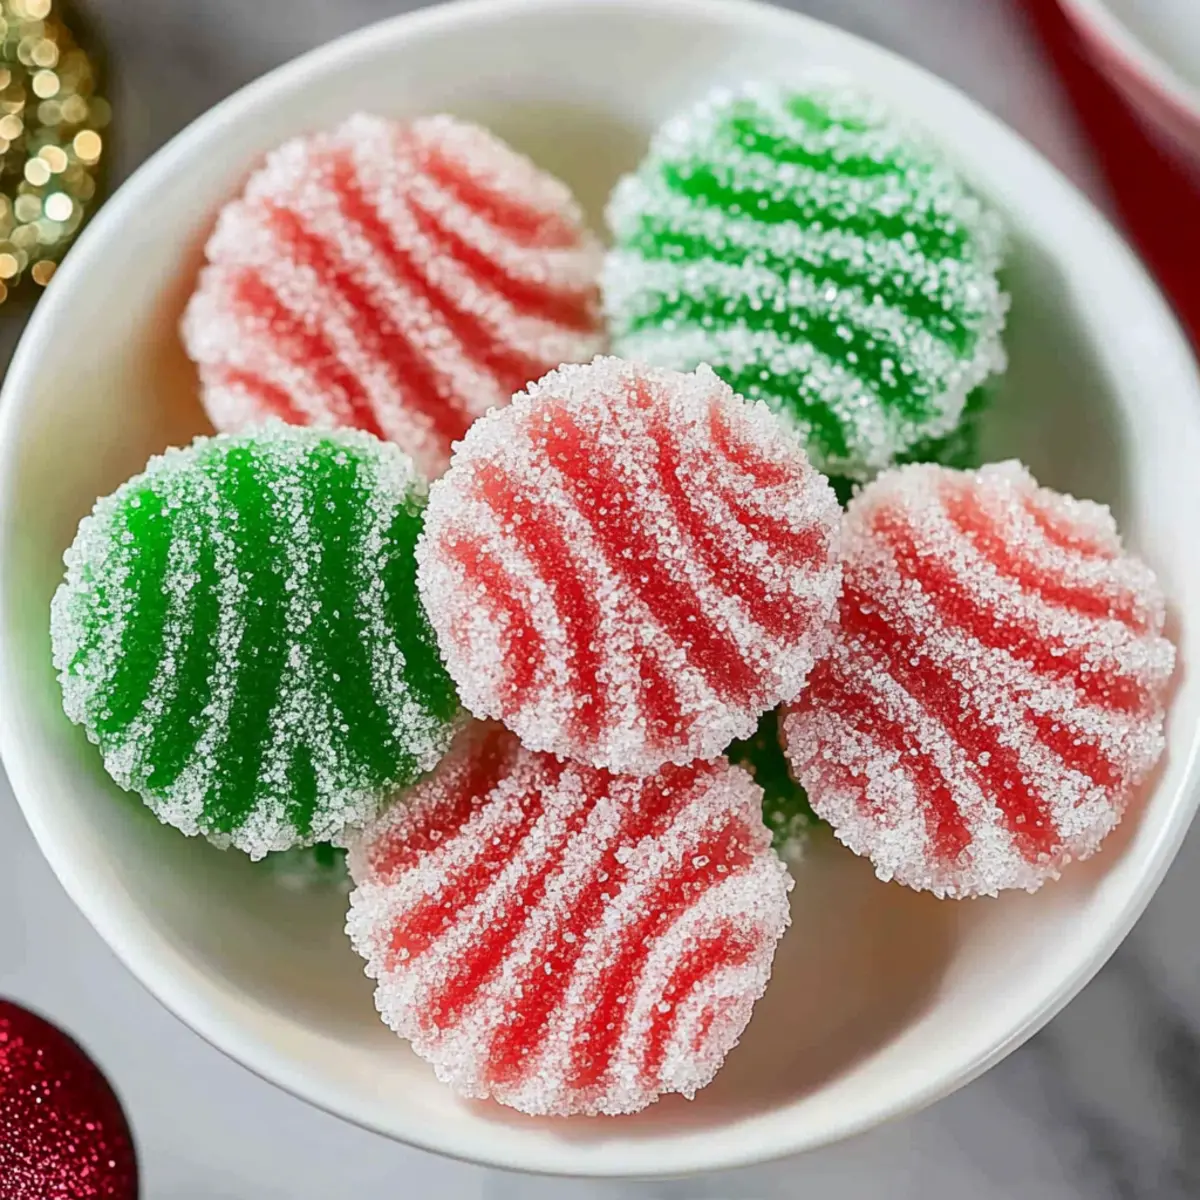
Once dried, your mints are ready to shine! Transfer them to a festive serving platter for immediate enjoyment or store them in an airtight container. If you’re planning to gift them, layer with parchment paper to keep them safe. Enjoy the sweet satisfaction of sharing these cheerful homemade Christmas mints with friends and family!
Storage Tips for Homemade Christmas Mints
-
Room Temperature: Allow your mints to rest at room temperature for up to one day while they dry, helping develop a firm exterior.
-
Fridge: Store the mints in an airtight container in the refrigerator for up to two weeks, ensuring they stay fresh and delicious for holiday enjoyment.
-
Freezer: For longer storage, freeze the mints for up to three months. Layer them carefully with parchment paper to prevent sticking and maintain texture.
-
Reheating: No reheating is needed, as these mints are enjoyed straight from the fridge or at room temperature—perfectly creamy and ready to delight!
Homemade Christmas Mints Variations
Let your creativity shine as you customize these delightful mints to match your festive mood!
-
Chocolate Mint:
Replace peppermint extract with chocolate mint extract for a sweet twist. The rich flavor pairs wonderfully with the creamy base. -
Citrus Burst:
Add a splash of orange or lemon extract for a refreshing zing! These bright flavors complement the mintiness, creating a delightful contrast. -
Seasonal Sprinkles:
Top your mints with colorful holiday sprinkles after coating them in sugar. It adds a festive touch and extra visual appeal! -
Colored Sugar Coating:
Swap granulated sugar for decorated colored sugar to enhance the visual charm. Choose hues that fit your holiday theme! -
Dairy-Free Option:
Use a vegan cream cheese alternative and margarine to create a deliciously creamy, dairy-free treat! You won’t miss the dairy at all. -
Nutty Texture:
Incorporate finely chopped nuts like almonds or pecans into the dough for added crunch. This twist brings a richer texture and flavor profile. -
Personalized Colors:
Mix gel food coloring to create any color you desire. Consider pastel shades for springtime gatherings or bold colors for celebrations. -
Minty Heat:
Add a pinch of cayenne pepper to the dough for an unexpected spicy kick! The heat beautifully balances the sweet peppermint flavor.
As you embark on this candy-making adventure, remember, your imagination is the limit! For more homemade delights, don’t forget to check out my Homemade Sweet Orange Jam for a delightful spread and my recipe for Homemade Crispy French Fries with Chili Sauce to complete your holiday feast!
Make Ahead Options
These No-Bake Christmas Mints are perfect for meal prep enthusiasts! You can prepare the dough up to 24 hours in advance, simply follow steps one through four, then wrap it tightly in plastic wrap before refrigerating. This not only saves you time as you approach the busy holiday season but also allows the flavors to meld beautifully. When you’re ready to roll the mints, just take the dough out, divide, color, and proceed with shaping and coating them. To maintain their soft texture, be sure to let the mints rest at room temperature for that crucial drying period once formed. Enjoy fresh, festive delights just in time for holiday gatherings!
What to Serve with No-Bake Creamy Peppermint Christmas Mints
Embrace the warmth of the holidays with a delightful spread that pairs perfectly with your festive mints.
-
Hot Cocoa Bar: A warm cup of rich hot cocoa complements the cooling peppermint, creating a dreamy contrast for holiday gatherings.
-
Festive Fruit Platter: Fresh fruits like strawberries and citrus brighten the table, adding a refreshing element that balances the creamy sweetness of the mints.
-
Chocolate-Dipped Pretzels: The salty crunch of pretzels coated in chocolate harmonizes beautifully with the mints, offering a delightful mix of flavors and textures.
-
Caramel Sauce: Drizzling a rich, buttery caramel over the mints creates an indulgent treat, elevating the sweetness and adding a sticky decadence you won’t forget.
-
Spiced Almonds: Roasted spiced almonds provide a satisfying crunch and deeper flavors that perfectly contrast with the light mintiness, keeping taste buds excited.
-
Eggnog: A festive glass of eggnog brings creamy warmth, rounding out the holiday experience and making your gathering feel complete.
-
Peppermint Bark: Enhance the peppermint theme with layers of rich chocolate and crunchy peppermint bits, creating a beautiful display alongside these mints.
-
Gingerbread Cookies: The warm spices of gingerbread offer a cozy touch, adding traditional holiday flavors that pair effortlessly with the mints’ refreshing zing.
Expert Tips for No-Bake Christmas Mints
-
Choose the Right Food Coloring: Gel food coloring offers vibrant shades without altering the dough consistency. Avoid liquid food coloring, as it can make the dough too wet.
-
Don’t Rush the Drying: Patience is key! Let the mints dry for 24 hours to achieve the desired texture—a firm exterior with a creamy inside.
-
Adjust for Humidity: Depending on your kitchen’s humidity levels, you might need to increase or decrease the amount of powdered sugar to ensure a smooth, non-sticky dough for your homemade Christmas mints.
-
Experiment with Flavors: Feel free to mix in different extracts like chocolate mint or vanilla to create unique variations, keeping your holiday treats exciting!
-
Store Properly: For optimal freshness, keep the mints in an airtight container in the refrigerator for up to two weeks or freeze them for longer storage, carefully layered with parchment paper.
No-Bake Creamy Peppermint Christmas Mints Recipe FAQs
What type of cream cheese should I use?
Absolutely use full-fat cream cheese for the best creaminess! Ensure it’s softened at room temperature to make mixing easier. If you’re looking for a lighter option, you can use low-fat cream cheese, though it may slightly alter the texture.
How should I store my homemade Christmas mints?
These delightful mints can be stored in an airtight container in the refrigerator for up to two weeks. If you’re making them in advance for the holidays, that’s ideal! For longer storage, freeze them for up to three months. Just layer them carefully with parchment paper to avoid sticking, ensuring they maintain their delightful texture!
Can I customize the colors of the mints?
Very much so! Feel free to experiment with different colors to fit any occasion. Besides traditional red and green, you can create purple mints for a party or pastel shades for spring celebrations. Just remember to use gel food coloring for the brightest results without altering the dough’s consistency.
What if my mint dough is too sticky?
If your dough ends up too sticky during preparation, no worries! Gradually add more powdered sugar, about a tablespoon at a time, and mix thoroughly until you achieve a smooth, workable consistency. This may take a bit of trial and error depending on your kitchen’s humidity, so just keep adjusting until it feels right.
Can pets eat these mints?
Definitely not! The main ingredients, especially cream cheese and peppermint extract, can be harmful to pets. It’s crucial to keep these delectable treats away from furry friends. Enjoy them yourselves, worry-free, but store them safely out of reach!
How can I ensure my mints dry properly?
For that ideal texture, let your mints dry at room temperature for a full 24 hours. Resist any temptation to rush this process; it’s during this time that they develop a firm exterior and that delicious creamy interior. Just find a cozy spot in your kitchen, maybe near a window, and let the magic happen!
Irresistibly Creamy Homemade Christmas Mints to Sweeten Joy
Ingredients
Equipment
Method
- Prep the workspace by lining a baking sheet with parchment paper and pouring granulated sugar into a shallow dish.
- In a large mixing bowl, combine softened cream cheese, unsalted butter, clear corn syrup, and peppermint extract. Use an electric mixer on medium speed for 2-3 minutes until creamy.
- Gradually add powdered sugar, mixing on low speed for 3-5 minutes until dough thickens and pulls away from sides.
- Divide the dough into three portions. Color two portions with red and green food coloring by kneading until well combined.
- Roll each colored portion into ropes about 18 inches long and slice into half-inch pieces; roll into smooth balls.
- Coat each ball in granulated sugar and place on the lined baking sheet; flatten with a fork to create stripes.
- Let the mints dry at room temperature for 24 hours.
- Once dried, transfer to a serving platter or store in an airtight container.