

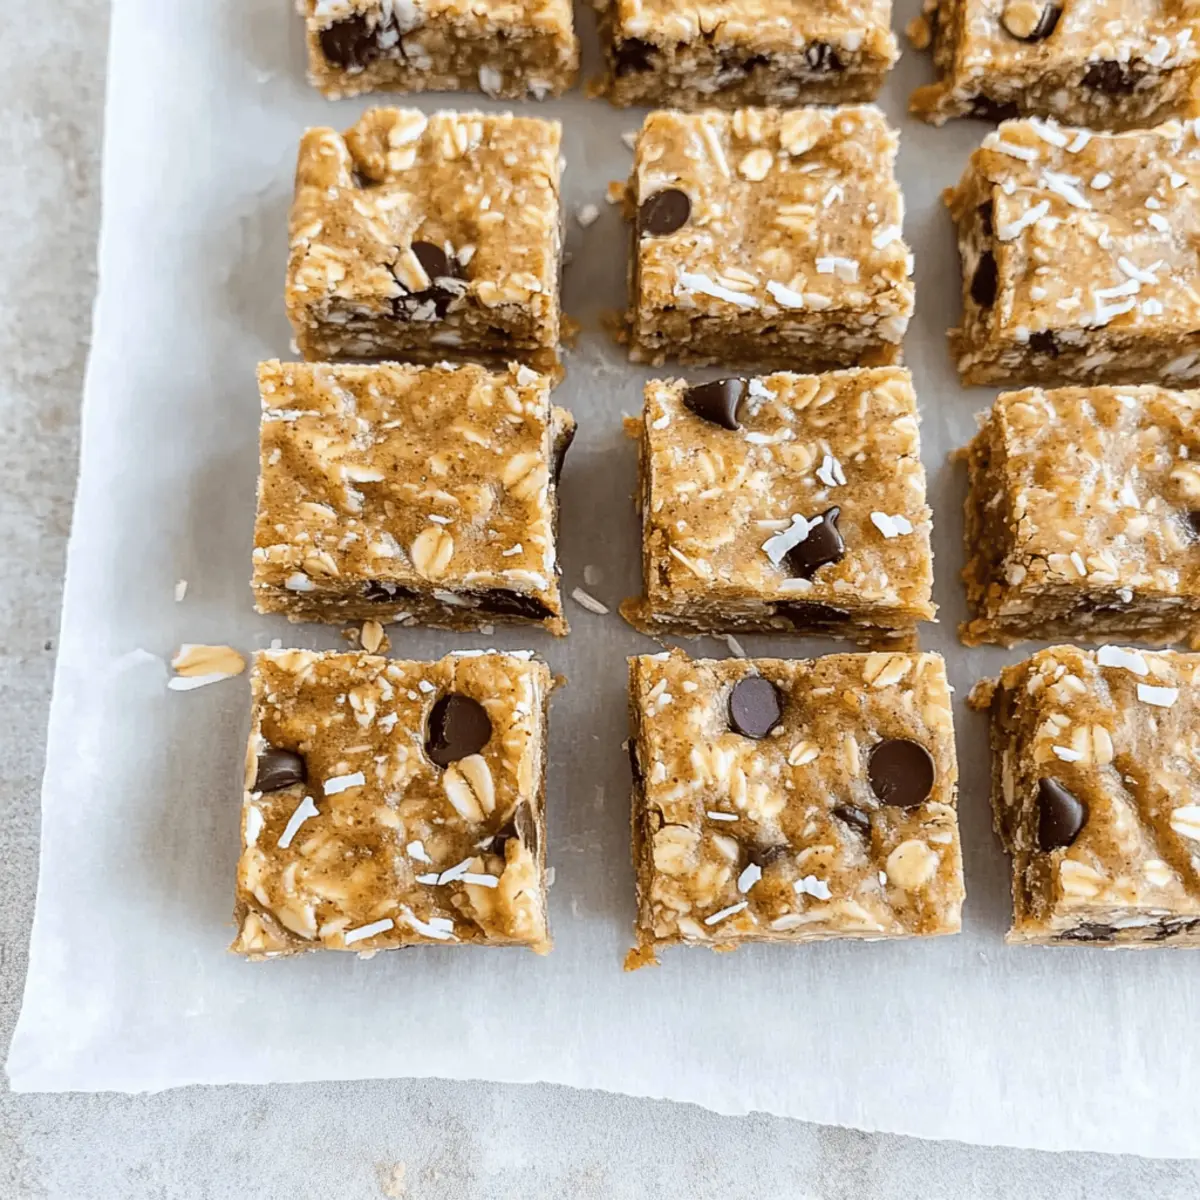
As I stood in my kitchen, the aroma of roasted peanuts wafting through the air, I couldn’t help but feel a wave of nostalgia wash over me. These Chewy Homemade Peanut Butter Protein Bars have become my go-to snack for those hectic days when I crave something tasty and nutritious. Not only are they a delightful blend of chewy goodness, but they’re also packed with wholesome ingredients like oats and coconut. What I love most is their effortless preparation—no baking required! Whether you need a quick pick-me-up post-workout or a satisfying treat for lunch boxes, these bars are your perfect ally. With just a handful of ingredients and minimal prep time, you’ll find yourself creating a snack that rivals store-bought options, all while staying gluten-free and high in protein. Curious how to whip up these delicious bars? Let’s dive in!
Why Make Homemade Peanut Butter Protein Bars?
Nostalgic Comfort: Reminiscent of childhood favorites, these bars offer a familiar taste with a healthy twist.
Nutritious Snacking: Packed with protein and healthy fats, they fuel your day while keeping unhealthy cravings at bay.
Effortless Preparation: No baking means you can whip these up in no time, leaving you with more moments to enjoy.
Customizable Delight: Swap in your favorite toppings like coconut flakes or dried fruit for a snack tailored to your taste.
Perfect for on-the-go: Whether for pre-workout energy or a midday munch, these bars fit seamlessly into any busy lifestyle. Enjoy with a side of yogurt or fresh fruit, and you’ve got a balanced snack! For more snack ideas, check out these Homemade Chicken Pot and Garlic Butter French recipes!
Homemade Peanut Butter Protein Bars Ingredients
For the Base
• Creamy Peanut Butter – Provides a rich, nutty flavor and moisture; substitute almond butter for a different nutty taste.
• Honey – Acts as a natural sweetener and binds the ingredients; maple syrup works well for a vegan option.
• Coconut Oil – Adds richness and healthy fats; feel free to use any neutral oil if preferred.
• Vanilla Extract – Enhances overall flavor; using pure vanilla will yield the best results.
• Salt – Balances sweetness; try sea salt for a more complex flavor profile.
• Cinnamon – Adds warmth and spice; optional but can elevate the taste.
For the Texture
• Flax Meal – Increases fiber content and aids in binding; chia seeds can be used as an alternative.
• Protein Powder – Boosts protein content; choose your favorite flavored protein for added taste.
• Old Fashioned Oats – Provides texture and sustenance; ensure gluten-free oats meet dietary needs.
• Coconut Flakes – Adds chewiness and a hint of tropical flavor; unsweetened is best to control sugar content.
• Mini Chocolate Chips – Delivers sweetness and chocolatey goodness; can be swapped for dried fruit or nuts for a healthier twist.
For Topping
• Flaked Salt – Enhances flavor and adds a delightful crunch; sprinkle on top just before chilling.
Step‑by‑Step Instructions for Homemade Peanut Butter Protein Bars
Step 1: Prepare Pan
Start by spraying or lining your 8×8 or 9×9 pan with parchment paper to prevent sticking. Ensure the paper overhangs the edges slightly, making it easier to lift out the bars later. This simple preparation step will save you time when you’re ready to cut and serve your delicious Homemade Peanut Butter Protein Bars.
Step 2: Melt Mixture
In a microwave-safe bowl, combine the creamy peanut butter, coconut oil, and honey. Microwave this mixture for 30–45 seconds until the coconut oil is melted and everything is warm. Stir until you achieve a smooth consistency, making sure there are no lumps remaining. This creates the luscious base for your chewy protein bars.
Step 3: Combine Ingredients
Once your mixture is smooth, add in the vanilla extract, salt, cinnamon, flax meal, protein powder, and old-fashioned oats. Stir vigorously until all ingredients are fully integrated, creating a sticky and cohesive mixture. This step ensures the nutrients and flavors meld together beautifully in your Homemade Peanut Butter Protein Bars.
Step 4: Fold in Extras
Gently fold in the coconut flakes and mini chocolate chips, being careful not to overmix. The extra ingredients should be evenly distributed throughout the mixture, adding delightful texture and richness. This is where the magic happens, transforming your bars into a treat that’s both nourishing and delicious!
Step 5: Shape Bars
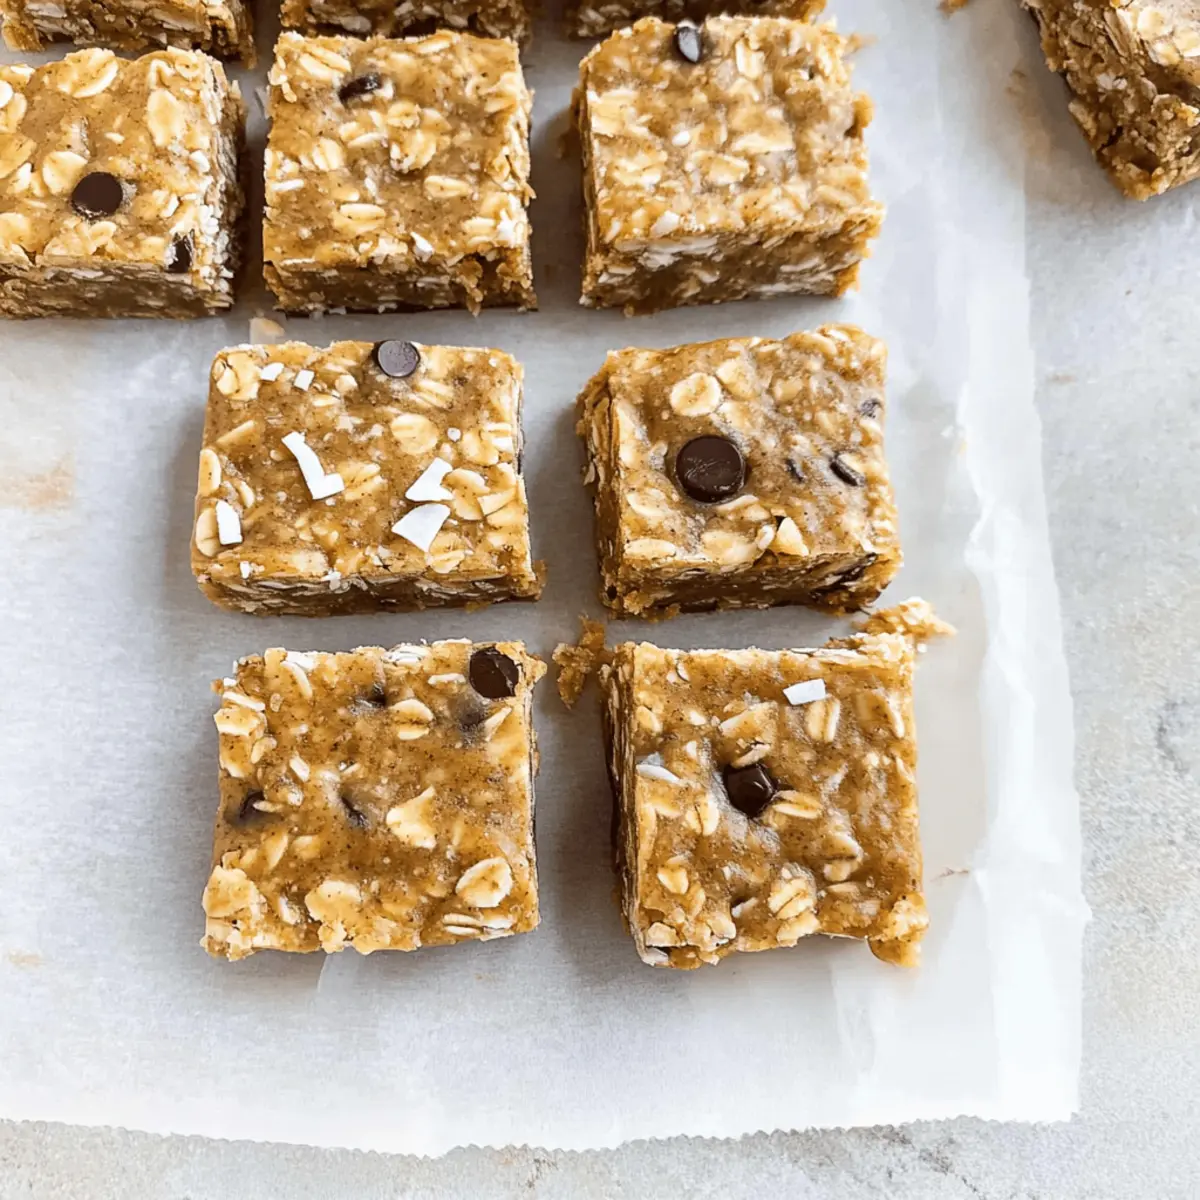
Transfer the mixture into the prepared pan and press it down firmly with a spatula or your hands, smoothing the top for a neat finish. If desired, sprinkle extra chocolate chips and flaked salt over the surface for added appeal. Take a moment to admire the creamy, nutty texture of your Homemade Peanut Butter Protein Bars before moving on.
Step 6: Chill
Refrigerate your pressed mixture for 10–15 minutes, allowing the bars to set. This chilling time helps the ingredients bind together, providing a firmer structure for cutting. When ready, the top should feel slightly firm and hold its shape while still being slightly soft to the touch.
Step 7: Cut and Serve
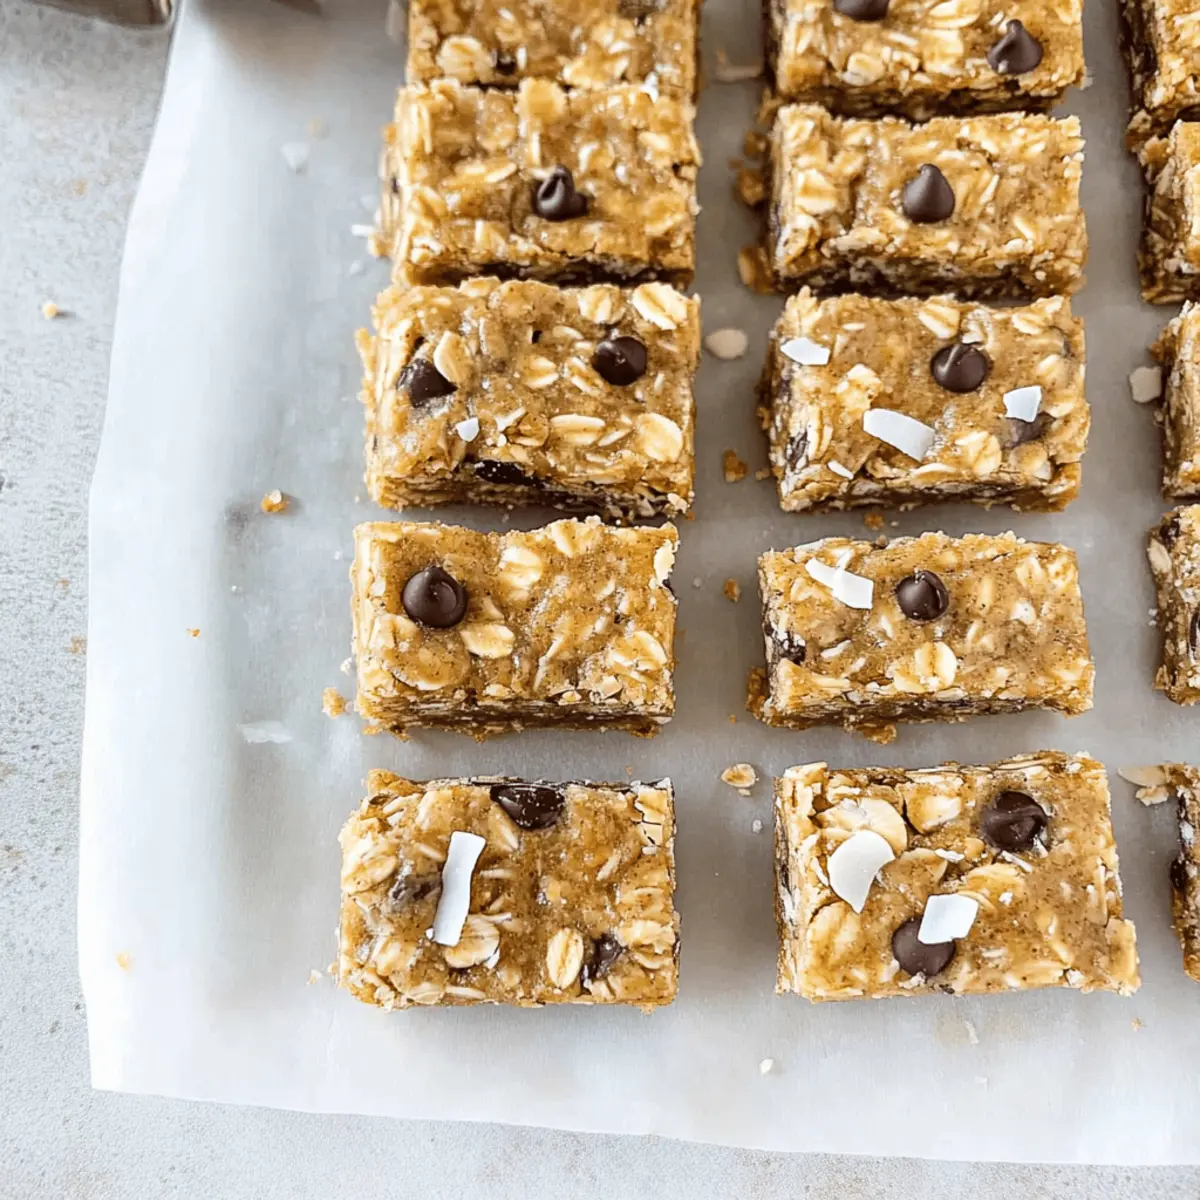
Once your bars are chilled and firm, remove them from the pan using the parchment overhang. Place them on a cutting board and use a sharp knife to cut them into squares or rectangles. With their chewy texture and nutty flavor, these Homemade Peanut Butter Protein Bars are now ready to be enjoyed as a tasty snack or a post-workout boost!

How to Store and Freeze Homemade Peanut Butter Protein Bars
Room Temperature: Store your Homemade Peanut Butter Protein Bars wrapped in parchment paper for up to 3 days in a cool, dry place if consumed quickly.
Fridge: For longer freshness, keep the bars in an airtight container in the fridge for up to 1 month. This helps maintain their chewy texture and flavor.
Freezer: To extend storage, freeze the bars individually wrapped in plastic wrap or in freezer-safe bags for up to 3 months. Thaw at room temperature before enjoying.
Reheating: If you prefer warm bars, pop them in the microwave for about 10-15 seconds; just enough to take the chill off while keeping them chewy!
Homemade Peanut Butter Protein Bars Variations
Feel free to get creative with these delicious bars—there are so many ways to make them your own!
-
Nutty Twist: Add chopped walnuts or almonds for an extra crunch and nutty flavor. This adds a delightful texture while bringing additional nutrients to your snack.
-
Fruit Fusion: Incorporate dried cranberries or apricots to introduce a touch of sweetness and fruity goodness. This not only enhances the flavor but also adds a chewy element that pairs beautifully with peanut butter.
-
Vegan Delight: Swap honey for maple syrup to make these bars completely vegan. This creates a sweet and sticky base while keeping your bars wholesome and inclusive for everyone.
-
Cinnamon Sugar: Sprinkle a mix of cinnamon and coconut sugar on top before chilling for a sweet, spiced kick. This simple addition makes each bite feel like a warm hug.
-
Protein Boost: Try using flavored protein powder for an extra punch! Chocolate or vanilla protein powder can elevate the taste profile and make these bars even more exciting.
-
Spicy Kick: Add a pinch of cayenne pepper or chili flakes for a subtle heat that complements the sweetness. This unexpected twist will wake up your taste buds and keep snacking interesting.
-
Coconut-Lover’s Treat: Swap out the chocolate chips for mini dark chocolate chips and extra coconut flakes for an irresistible coconut chocolate bar. Pair this with a cup of coffee, and you’ve got the perfect treat!
-
Oat Varieties: Use quick oats or even nut flours for a different texture. A mix of oats can yield a unique chewiness, making every bar slightly varied—just like your moods!
For more delightful snack options, check out my recipe for Homemade Chicken Pot or treat yourself to some Garlic Butter French inspiration as you navigate your cooking adventures!
Make Ahead Options
These Homemade Peanut Butter Protein Bars are perfect for meal prep enthusiasts! You can mix and shape the bars up to 24 hours in advance, allowing the flavors to meld beautifully. Simply prepare the mixture, press it into the lined pan, and refrigerate as directed. To maintain their quality, ensure they are stored in an airtight container to keep them fresh. When you’re ready to serve, just cut them into squares straight from the fridge. This saves time during busy weeks while still delivering delicious, nutritious snacks that will keep you fueled and satisfied!
Expert Tips for Homemade Peanut Butter Protein Bars
- Creamy Peanut Butter: Use well-mixed creamy peanut butter to avoid dry bars—stir before measuring.
- Binding Check: If your mixture is crumbly, add a little extra honey or a splash of water to help it bind properly.
- Cutting Ease: For cleaner cuts, use a hot knife when slicing the bars; this prevents them from crumbling.
- Storage Know-How: Keep your Homemade Peanut Butter Protein Bars in an airtight container in the fridge for up to one month for optimal freshness.
- Customize Wisely: Experiment with different mix-ins like nuts or dried fruits, but always ensure they complement the core ingredients.
What to Serve with Chewy Homemade Peanut Butter Protein Bars
These delightful protein bars are not just a snack; they’re the perfect starting point for a balanced meal or a post-workout treat that will leave you feeling satisfied and energized.
-
Fresh Fruit Salad: A mix of vibrant fruits adds a refreshing crunch that contrasts beautifully with the chewy bars. Think juicy berries, crisp apples, and tropical pineapple.
-
Greek Yogurt Parfait: Layering these bars with creamy Greek yogurt and honey creates a luscious breakfast or snack. It’s a wonderful way to boost your protein intake and enjoy different textures.
-
Nutty Granola: A handful of your favorite homemade or store-bought granola provides an extra crunch and complements the nutty flavors of the protein bars perfectly.
-
Nut Milk Smoothie: Blend your favorite nut milk with bananas and spinach for a nourishing drink. This boosts your energy while keeping the theme of healthy, protein-packed options.
-
Chocolate-Covered Almonds: These sweet and salty treats create a delightful contrast to the soft texture of the bars. Plus, they add an extra protein punch!
-
Carrot Sticks with Hummus: A crunchy veggie side like carrots or celery offers a fresh and healthy crunch. Dunking them in creamy hummus makes for a fun and nutritious pairing.
Enjoy crafting the perfect meal around your chewy bars, and dive into a satisfying and wholesome experience!
Homemade Peanut Butter Protein Bars Recipe FAQs
What type of peanut butter should I use?
Absolutely, for the best results, use creamy peanut butter that’s well-mixed to avoid dry bars. Natural peanut butters without added sugars or oils tend to work beautifully, but if you prefer a different taste, almond butter is a delicious substitute.
How should I store my protein bars?
To keep your Homemade Peanut Butter Protein Bars fresh, store them in an airtight container in the fridge for up to 1 month. This method helps maintain their chewy texture while allowing them to stay delicious. If you prefer them at room temperature, you can wrap them in parchment paper; they’ll last about 3 days that way.
Can I freeze these bars?
Certainly! To freeze your Homemade Peanut Butter Protein Bars, wrap each bar individually in plastic wrap or place them in freezer-safe bags. They’ll stay good for up to 3 months in the freezer. When you’re ready to enjoy one, simply thaw it at room temperature for about 30 minutes or enjoy them slightly chilled!
What if my mixture is too crumbly?
If your mixture ends up being crumbly, don’t worry! Just add a splash of water or an extra tablespoon of honey to help bind it together. Mix it well until you achieve a cohesive texture. This is an easy workaround to ensure your bars firm up nicely when chilled.
Are these bars safe for my allergies?
These Homemade Peanut Butter Protein Bars contain peanuts and may not be suitable for those with nut allergies. For a nut-free option, consider using sunflower seed butter instead of peanut butter. Always check for cross-contamination if you’re preparing food for someone with specific dietary restrictions.
Can I customize the ingredients further?
Very! Feel free to add ingredients like chopped nuts, seeds, or dried fruits to enhance both flavor and nutrition. Just be mindful of how these add-ins may affect the overall binding of the mixture. Enjoy experimenting to create a version of these bars that’s perfect for you!
Homemade Peanut Butter Protein Bars Recipe FAQs
Nutty Homemade Peanut Butter Protein Bars for Healthy Snacking
Ingredients
Equipment
Method
- Start by spraying or lining your 8x8 or 9x9 pan with parchment paper to prevent sticking.
- In a microwave-safe bowl, combine the creamy peanut butter, coconut oil, and honey. Microwave for 30–45 seconds until melted and warm, then stir until smooth.
- Once smooth, add vanilla extract, salt, cinnamon, flax meal, protein powder, and oats. Stir vigorously until fully integrated.
- Gently fold in coconut flakes and mini chocolate chips until evenly distributed.
- Transfer the mixture into the prepared pan and press firmly, smoothing the top. Optionally, sprinkle extra chocolate chips and flaked salt on top.
- Refrigerate for 10–15 minutes to allow bars to set.
- Remove from pan using parchment overhang, place on cutting board, and cut into squares or rectangles.