

Racing against the summer sun, I found myself yearning for something cool and refreshing that I could whip up at home. Enter the Homemade Rainbow Sherbet, a delightful frozen dessert that transforms fresh fruit into a symphony of vibrant flavors. With its creamy texture and eye-catching layers of raspberry, orange, and lime, this sherbet is not just a treat; it’s a perfect way to bring joy to any gathering. Not only is it quick to prepare, but it’s also fully customizable, allowing you to showcase your favorite fruits. Whether it’s a backyard barbecue or a lazy afternoon, each scoop of this dreamy dessert is sure to impress. So, are you ready to cool down and create your own colorful masterpiece?
Why is Homemade Rainbow Sherbet a Must-Try?
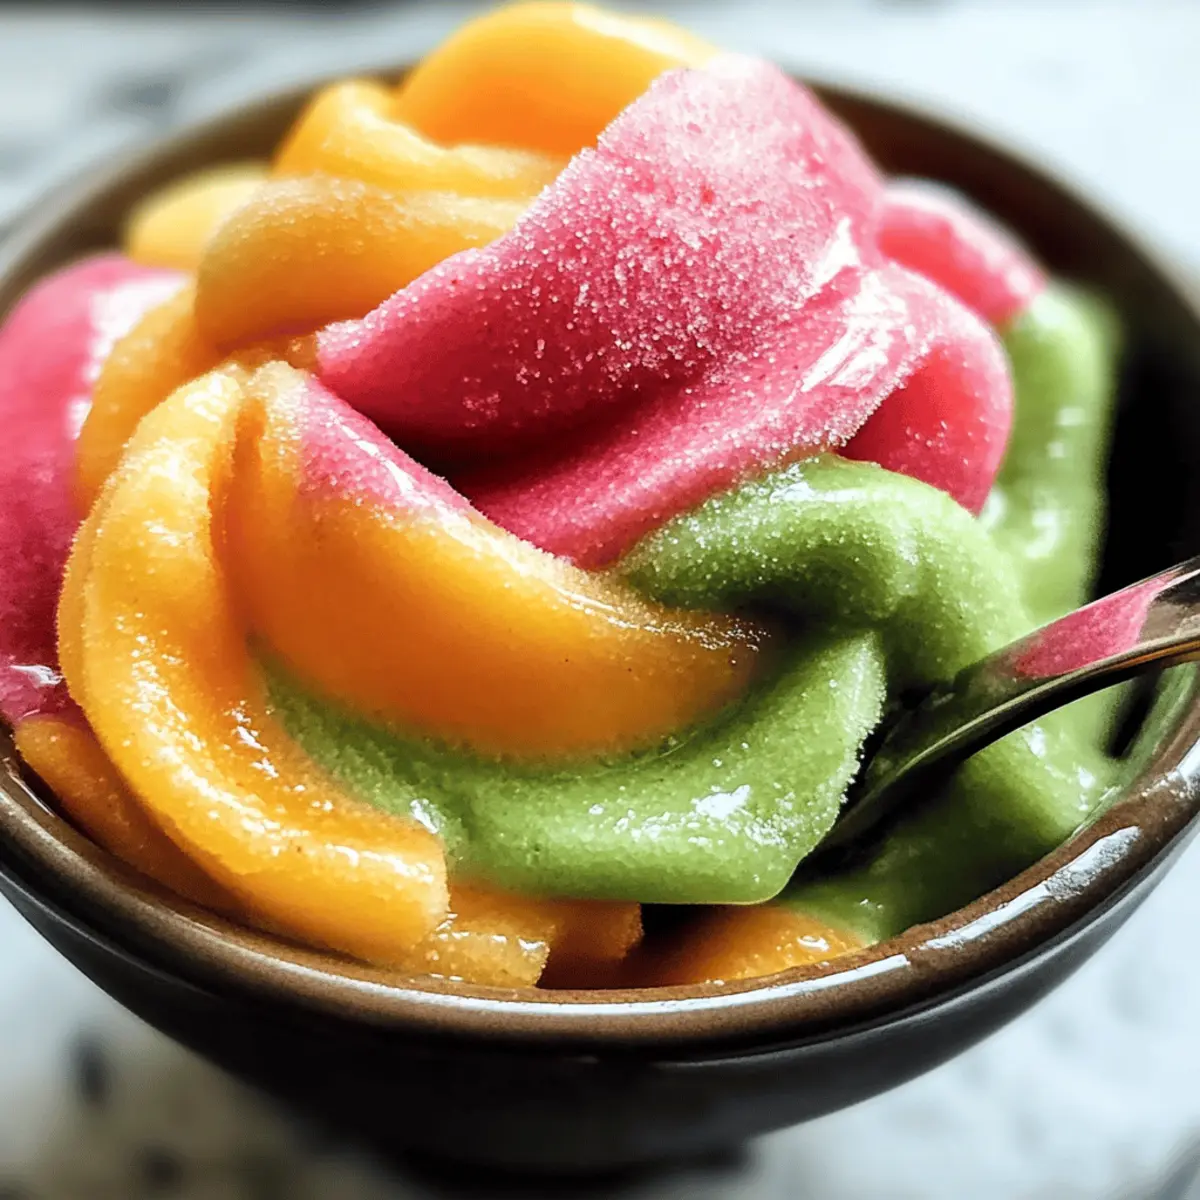
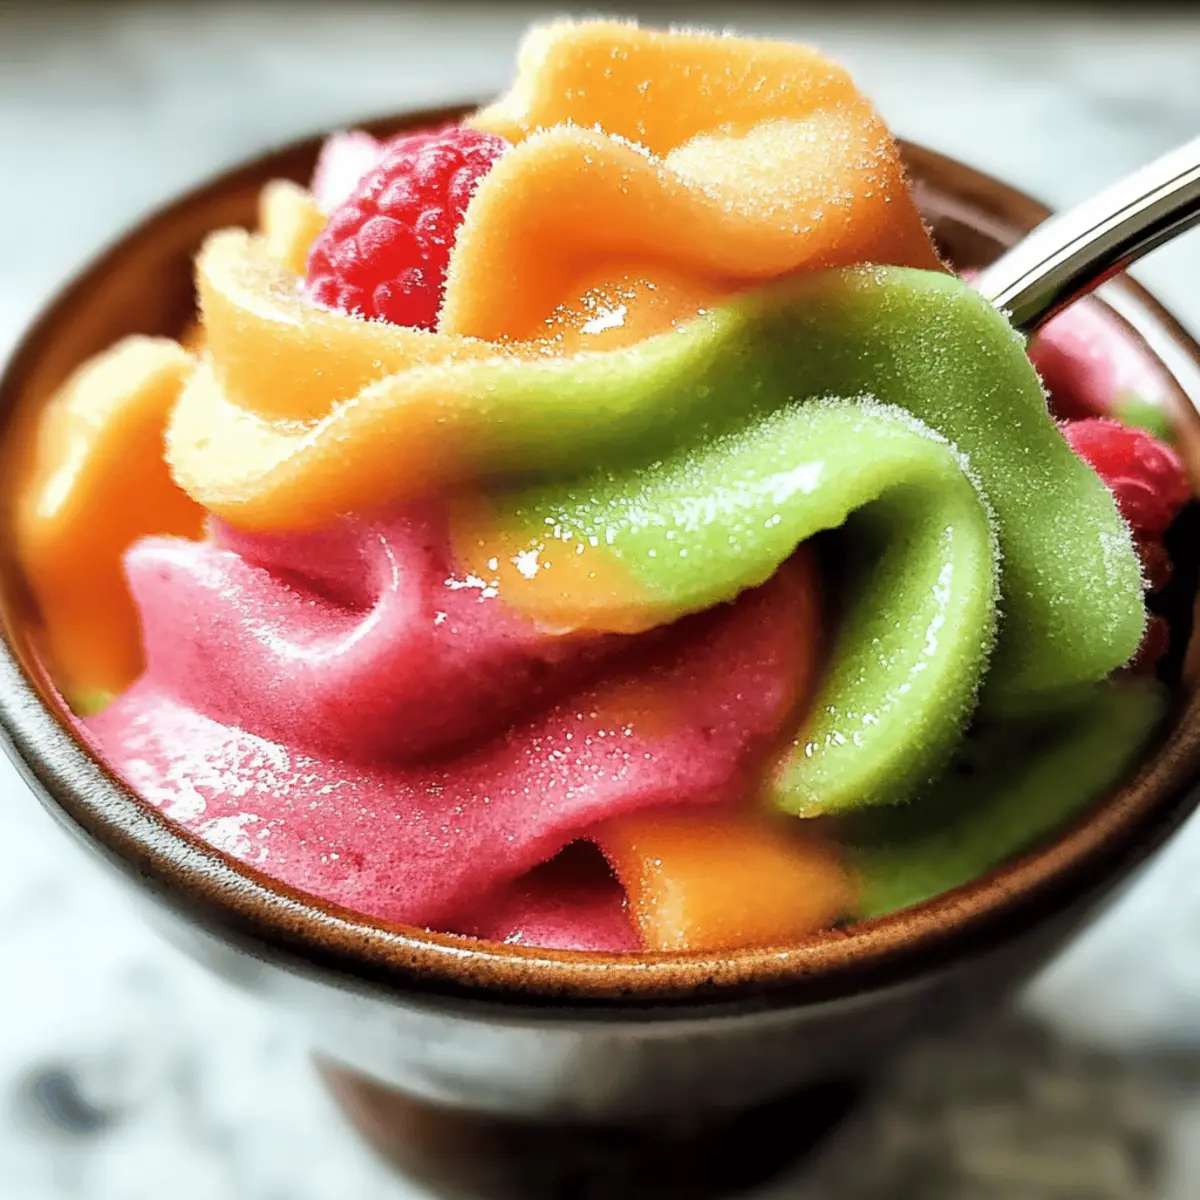
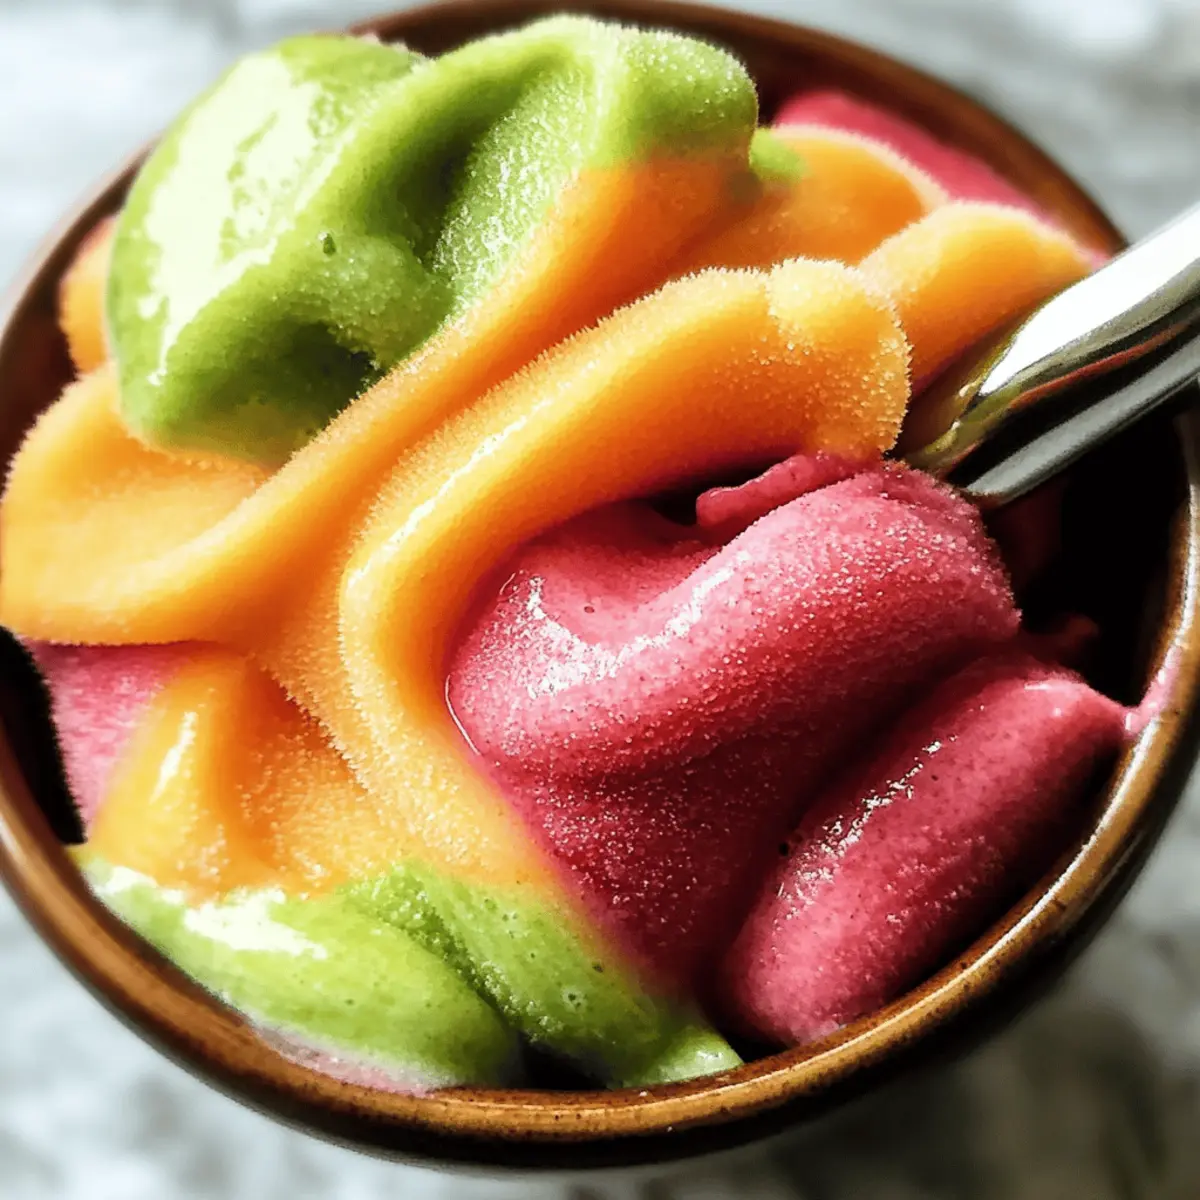
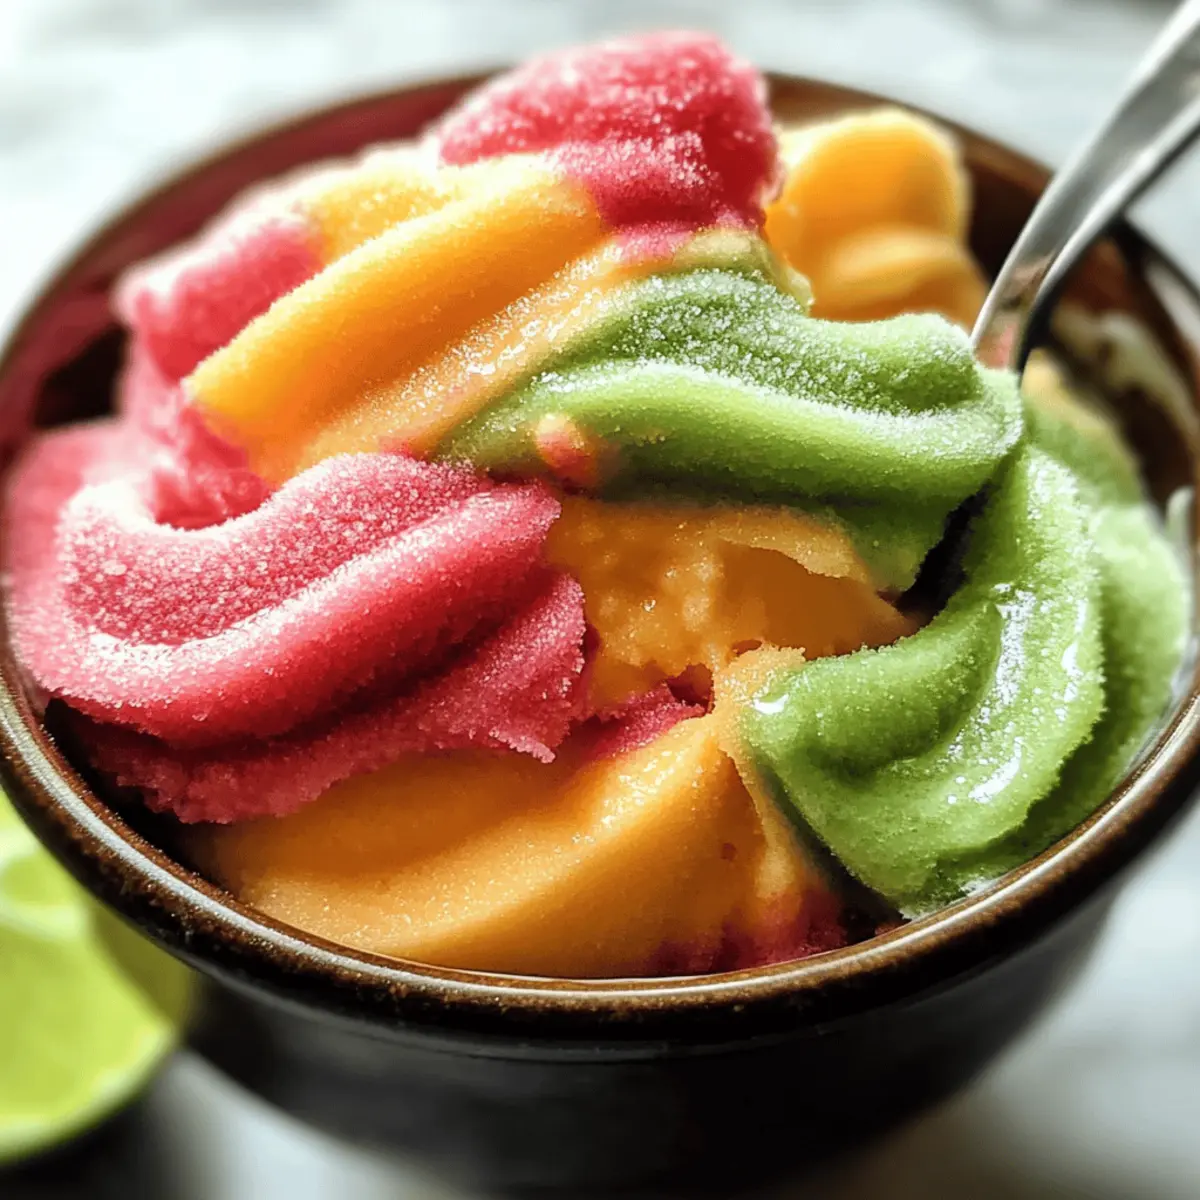
Vibrant Colors: The stunning layers of raspberry, orange, and lime create a feast for the eyes, making it fantastic for summer events.
Refreshing Taste: With real fruit juices, each lick is a burst of flavor that’s perfect for hot days.
Customizable: You can easily mix and match fruits to suit your taste, whether you prefer mango, strawberry, or a mint twist for freshness.
Quick Preparation: It’s easy and fast to make, so you can whip it up and enjoy it within hours!
Crowd-Pleaser: Serve it at parties or gatherings, and watch everyone rave about this delightful treat. For more fun recipes like this, check out our Homemade Chicken Pot or Homemade Sweet Orange.
Homemade Rainbow Sherbet Ingredients
For the Base
- Cream – Provides a creamy texture; substitute with coconut cream for a dairy-free version.
- Milk – Adds creaminess; use whole or 2% milk for optimal results, though non-dairy options may alter the texture.
- Sugar – Sweetens the sherbet; for a healthier variant, consider using honey or agave syrup.
- Vanilla Extract – Enhances the overall flavor; opting for pure vanilla extract yields the best taste.
For the Flavors
- Raspberries – Base flavor for the raspberry layer; frozen raspberries are ideal—just thaw slightly before blending.
- Orange Juice – Adds a refreshing citrus note to the second layer; freshly squeezed is preferred, but store-bought works too.
- Lime Juice – Provides tanginess for the third layer; using fresh lime juice maximizes zestiness.
Optional Ingredient
- Food Coloring – Makes the sherbet visually appealing; consider natural food coloring for a healthier choice.
Each layer of this Homemade Rainbow Sherbet is packed with fresh, fruity goodness—perfect for your summer gatherings!
Step‑by‑Step Instructions for Homemade Rainbow Sherbet
Step 1: Prepare the Base
In a medium saucepan, combine cream, milk, and sugar over medium heat. Stir continually for about 5-7 minutes until the sugar is completely dissolved and the mixture is hot but not boiling. Remove from heat, then stir in the vanilla extract. Allow the mixture to cool to room temperature before proceeding; this step is crucial for a smooth texture in your Homemade Rainbow Sherbet.
Step 2: Make Raspberry Puree
While the base is cooling, prepare the raspberry layer. In a blender, combine the thawed raspberries with sugar and blend until smooth. Once blended, strain the mixture through a fine mesh sieve to eliminate the seeds, creating a lovely smooth puree. Set this raspberry puree aside, as it will be combined with part of the base later.
Step 3: Churn the Base
Once the base has cooled completely, pour it into your ice cream maker. Churn the mixture according to your ice cream maker’s instructions, typically around 20-25 minutes, until it reaches a soft-serve consistency. This process incorporates air into the base, making it light and fluffy for your vibrant Homemade Rainbow Sherbet.
Step 4: Prepare Orange Layer
Divide the churned base into three equal parts. For the first layer, take one third of the base and mix it with fresh orange juice and a few drops of orange food coloring, if desired. Return this mixture to the ice cream maker and churn for an additional 5-8 minutes until well blended and visibly vibrant.
Step 5: Prepare Lime Layer
For the second layer, take another third of the base and mix it with fresh lime juice and lime food coloring, if using. Churn this mixture for about 5 minutes until fully incorporated and the color matches your desired brightness. This lime layer will add a zingy contrast to your Homemade Rainbow Sherbet.
Step 6: Combine Raspberry Layer
Now, return to the last part of the base reserved for the raspberry layer. Mix in the raspberry puree until fully combined. Churn this mixture for about 5 minutes or until it’s smooth and creamy, giving your Homemade Rainbow Sherbet its delightful fruity foundation.
Step 7: Layer and Freeze
Choose a large, freezer-safe container to create the colorful masterpiece. Spoon in layers of the orange, lime, and raspberry mixtures, alternating them. Use a knife or skewer to swirl the layers slightly for a marbled effect. Cover tightly and freeze for at least 4-6 hours until fully set. Enjoy the colorful delight of your Homemade Rainbow Sherbet!
Make Ahead Options
These Homemade Rainbow Sherbet layers are perfect for meal prep enthusiasts! You can make the creamy base and the individual fruit mixtures up to 24 hours in advance, allowing you to save time on busy summer days. To prep ahead, simply follow the base and layer instructions, then refrigerate each layer separately in airtight containers. When you’re ready to serve, just churn the layers according to the recipe, layer them in your container, and freeze for at least 4-6 hours until set. This way, your Homemade Rainbow Sherbet will be just as delightful and fresh, ensuring your summer gatherings are filled with joy and sweetness!
What to Serve with Homemade Rainbow Sherbet?
Transform your delightful dessert into a full sensory experience with the perfect pairings to amplify its summer essence.
-
Fresh Fruit Salad: A mix of seasonal fruits adds a light, refreshing crunch that complements the creamy sherbet beautifully.
-
Chocolate Drizzle: A rich, warm chocolate sauce drizzled over the sherbet brings a decadent contrast, creating a delicious fusion of flavors.
-
Mint Mojitos: The cool, minty notes of this cocktail can enhance the fruitiness of the sherbet, making it a refreshing adult treat.
-
Shortbread Cookies: Crisp, buttery cookies provide a delightful crunch that balances the softness of the sherbet with every bite.
-
Whipped Cream: Light and airy, a dollop of whipped cream adds an extra creaminess that echoes the sherbet’s texture, taking it to the next level.
-
Coconut Flakes: Toasted coconut flakes sprinkled on top introduce a tropical flair that elegantly meshes with the fruity layers of the sherbet.
-
Lemonade: With its zesty brightness, a chilled glass of lemonade pairs perfectly with the sweet and tangy notes of your homemade creation.
-
Berry Compote: A warm, velvety berry sauce enhances the fruity flavors while adding a sumptuous touch that elevates the overall dessert experience.
-
Ginger Ale Float: Pour ginger ale over scoops of sherbet for a fizzy twist that makes for an exhilarating and playful dessert experience.
How to Store and Freeze Homemade Rainbow Sherbet
Fridge: Keep your Homemade Rainbow Sherbet tightly covered in the fridge for up to 3 days; however, for the best texture, it’s recommended to enjoy it fresh.
Freezer: Store in an airtight container for up to 2 months; ensure the container is well-sealed to prevent freezer burn and maintain flavor.
Reheating: Allow the sherbet to soften at room temperature for about 10-15 minutes before serving to achieve the perfect scoopable texture.
Best Practices: Always use a clean scoop each time you serve to maintain the integrity of your Homemade Rainbow Sherbet and avoid contamination.
Expert Tips for Homemade Rainbow Sherbet
Cooling Is Key: Make sure the cream mixture is completely cool before churning; this ensures a smooth, creamy texture for your Homemade Rainbow Sherbet.
Churn Wisely: Avoid over-churning the base; keep an eye on it while processing to prevent ice crystals and achieve that perfect soft-serve consistency.
Layer Smartly: For a vibrant marbled appearance, layer the flavors gently and don’t mix them too thoroughly; the eye-catching swirls are half the fun!
Fruit Freshness: Use ripe, high-quality fruits for the best flavor—fresh ingredients make all the difference in your refreshing dessert.
Store Properly: When freezing, ensure your sherbet is stored in an airtight container; it can last up to 2 months, but it’s unlikely to stick around that long!
Homemade Rainbow Sherbet Variations
Feel free to unleash your creativity and personalize this delightful rainbow treat with these fun twists!
-
Dairy-Free: Swap the cream and milk for coconut cream and almond milk to create a delightful dairy-free version that’s just as creamy.
-
Mango Magic: Replace raspberries with pureed mango for a tropical flavor that dances on the taste buds, bringing the sunshine directly to your dessert bowl.
-
Minty Fresh: Add finely chopped fresh mint to the lime layer for a refreshing herbal zing that enhances the citrus notes beautifully.
-
Berry Blend: Mix in blueberries or strawberries for a mixed berry layer; the color contrast and flavor diversity will elevate your Rainbow Sherbet experience.
-
Less Sweet: Adjust the sugar by reducing it to one-third of the amount, and let the fruit shine without being overpoweringly sweet, perfect for balanced taste buds.
-
Fruity Fusion: Combine different citrus juices like grapefruit or tangerine for a unique twist; the zesty flavors will provide an unexpected delightful surprise.
-
Chocolate Drizzle: Once the sherbet is set, drizzle homemade chocolate sauce over the top for a rich addition that complements the fruitiness perfectly.
-
Spiced Twist: Stir in a pinch of cinnamon or nutmeg into any of your fruit layers for an autumn-inspired flavor that adds warmth to this cool treat.
For more delicious adventures in cooking, don’t miss out on my Hearty Spaghetti with Homemade Meatballs or indulge in some Homemade French Fries with your favorite dipping sauce!
Homemade Rainbow Sherbet Recipe FAQs
How do I choose the right fruit for my sherbet?
Absolutely! When selecting fruit, opt for ripe, fresh produce for the best flavors. Look for vibrant colors and avoid any with dark spots or bruises. Frozen fruits can be a great alternative; just ensure to thaw them slightly before blending to achieve the right consistency in your homemade Rainbow Sherbet.
How should I store my Homemade Rainbow Sherbet?
I often store my sherbet in an airtight container in the freezer, where it can last for up to 2 months. Just make sure the container is well-sealed to prevent freezer burn. For short-term storage, you can keep it in the fridge for up to 3 days, but it’s best enjoyed fresh for a dreamy texture.
Can I freeze my Homemade Rainbow Sherbet?
Certainly! To freeze, simply layer your mixed flavors in a suitable container, making sure to press down slightly to eliminate air pockets. Cap it tightly and let it freeze for at least 4-6 hours or until fully set. If you find it too hard after freezing, let it sit at room temperature for about 10-15 minutes before scooping.
What should I do if my sherbet has ice crystals?
If you notice ice crystals in your sherbet, it may be due to over-churning or not storing it properly. To fix this, you can refreeze it after a good mix, ensuring to churn only until it reaches a soft-serve texture. For future batches, keep an eye during the churning process and avoid taking it out of the freezer frequently.
Can I use non-dairy substitutes in this recipe?
Very! I recommend using coconut cream or almond milk as great dairy substitutes, but be aware that this may slightly impact the final texture. Enjoy experimenting with your favorite non-dairy options, as they can add a unique twist to your Homemade Rainbow Sherbet.
Are there any allergy considerations with this recipe?
Definitely! If you’re accommodating allergies, check any fruit and flavorings used, as citrus and specific berries can trigger reactions in some individuals. Additionally, ensure to use dairy alternatives if necessary. Always communicate clearly with your guests regarding any dietary restrictions to provide a delightful experience for everyone enjoying your homemade Rainbow Sherbet.
Homemade Rainbow Sherbet: Your Ultimate Summer Dessert Delight
Ingredients
Equipment
Method
- In a medium saucepan, combine cream, milk, and sugar over medium heat. Stir continually for about 5-7 minutes until the sugar is completely dissolved and the mixture is hot but not boiling. Remove from heat, then stir in the vanilla extract. Allow the mixture to cool to room temperature before proceeding.
- While the base is cooling, prepare the raspberry layer. In a blender, combine thawed raspberries with sugar and blend until smooth. Strain the mixture through a fine mesh sieve to eliminate the seeds, creating a lovely smooth puree. Set this raspberry puree aside.
- Once the base has cooled completely, pour it into your ice cream maker. Churn the mixture according to your ice cream maker's instructions, typically around 20-25 minutes, until it reaches a soft-serve consistency.
- For the first layer, take one third of the base and mix it with fresh orange juice and a few drops of orange food coloring, if desired. Return this mixture to the ice cream maker and churn for an additional 5-8 minutes.
- For the second layer, take another third of the base and mix it with fresh lime juice and lime food coloring, if using. Churn this mixture for about 5 minutes until fully incorporated.
- Mix in the raspberry puree until fully combined with the last part of the base. Churn this mixture for about 5 minutes or until it’s smooth and creamy.
- Spoon in layers of the orange, lime, and raspberry mixtures into a large, freezer-safe container, alternating them. Use a knife or skewer to swirl the layers slightly. Cover tightly and freeze for at least 4-6 hours until fully set.