

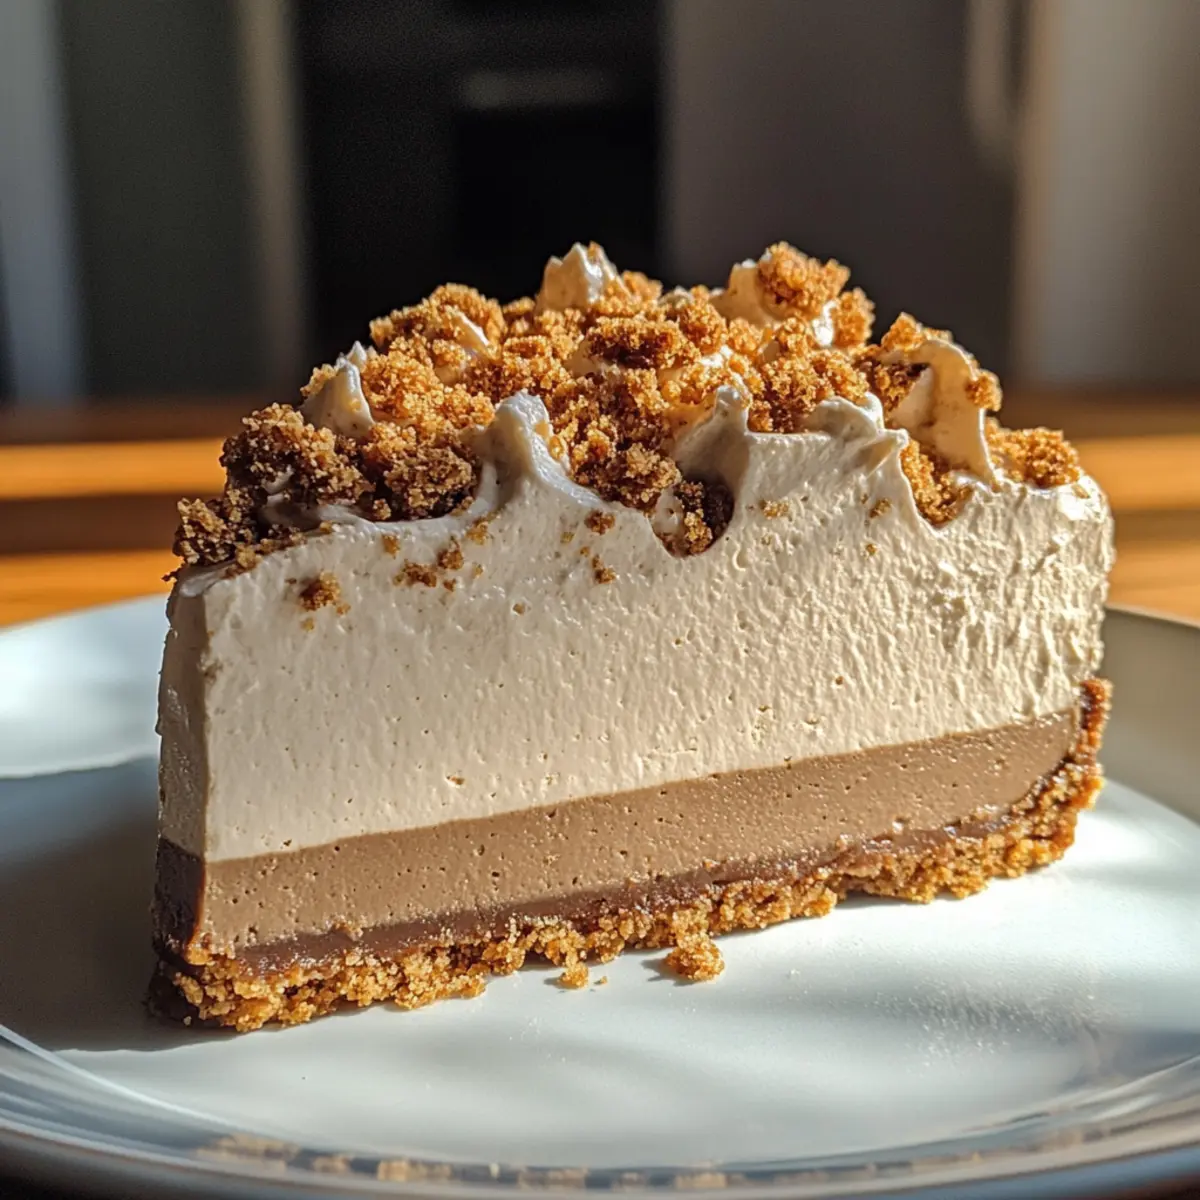
As I savored a cozy afternoon tea, I couldn’t help but think how much I adore desserts that merge elegance with ease. Enter the No-Bake Earl Grey Mousse Cheesecake—a delightful fusion of silky mousse and the aromatic embrace of Earl Grey tea. What sets this dessert apart is its effortless preparation; no oven required, making it perfect for both novice and seasoned bakers. Not only does this cheesecake create a show-stopping centerpiece for your gatherings, it also offers a wonderfully light indulgence that pairs beautifully with your favorite cup of tea or coffee. Ready to impress your friends and family with this sophisticated yet simple dessert? Let’s dive into the recipe!
Why is This Cheesecake a Must-Try?
Simplicity at its finest: Thanks to its no-bake method, this dessert comes together with minimal effort, allowing you to focus on enjoying the experience.
Luxurious flavor: The enchanting aroma of Earl Grey tea blended with cream cheese creates an elevated taste that leaves a lasting impression on your palate.
Crowd-pleaser: Perfect for gatherings, this cheesecake is sure to impress guests and elevate any occasion, from casual teas to elegant parties.
Versatility shines through: Feel free to experiment with different tea flavors like matcha or jasmine for a unique twist—endless possibilities await!
No-fuss presentation: The smooth, velvety texture topped with crunchy biscuit bits makes for a stunning display, ensuring all eyes are on your dessert.
If you’re looking for more delightful no-bake ideas, don’t miss my recipes for the Strawberry Cheesecake Dump and Grandma’s Homemade Bites. You’ll discover how easy and scrumptious no-bake desserts can be!
No-Bake Earl Grey Mousse Cheesecake Ingredients
• Get ready to create a delightful dessert!
For the Biscuit Base
• Caramel Biscuits – Provides flavor and structure; substitute with digestive biscuits if desired.
• Unsalted Butter – Binds the biscuit crumbs together, adding richness.
For the Mousse Layer
• Cream Cheese – The main ingredient for a creamy mousse layer.
• Caster Sugar – Enhances sweetness; divided into two portions for different stages.
• Hot Milk – Dissolves gelatin and incorporates Earl Grey flavor; around 40°C is perfect for mixing.
• Gelatin Sheets – Stabilizes the mousse; soak in ice water before using. Substitute with powdered gelatin if needed (1 sheet = 2g).
• Earl Grey Tea Powder – Infuses the cheesecake with unique flavor; feel free to experiment with other tea powders like matcha.
• Whipping Cream – Whipped and folded to add lightness to the cheese mixture.
For Decoration
• Crushed Caramel Biscuits – Lovely topping to sprinkle over the cheesecake for added crunch.
• Earl Grey Tea Bag (optional for glaze) – Enhances the mirror glaze with extra flavor.
Now, gather your ingredients and let’s create this tempting No-Bake Earl Grey Mousse Cheesecake! 🍰
Step‑by‑Step Instructions for No-Bake Earl Grey Mousse Cheesecake
Step 1: Prepare the Biscuit Base
Begin by crushing caramel biscuits into fine crumbs using a food processor or a rolling pin. Melt unsalted butter and combine it with the biscuit crumbs until evenly coated. Firmly press this mixture into the bottom of a round springform mold to create a stable base. Refrigerate for 10 minutes, allowing the crust to set and firm up nicely.
Step 2: Make the Cheese Mousse Layer
Bring the cream cheese to room temperature for easier mixing, then beat it with 10g of caster sugar until smooth and creamy. In a separate bowl, soak gelatin sheets in ice water while heating 80ml of milk to around 40°C. Squeeze excess water from the gelatin and dissolve it into the hot milk, then combine this tea-infused milk with the cream cheese mixture until fully incorporated.
Step 3: Incorporate the Whipping Cream
In a chilled bowl, whip the cream to soft peaks, being careful not to over-whip. Gently fold this whipped cream into the cheese and tea mixture, ensuring it remains airy and light. Lastly, add any crushed biscuit pieces for texture and flavor, then pour this luscious mousse into the prepared crust. Refrigerate for at least 4 hours, or overnight for best results.
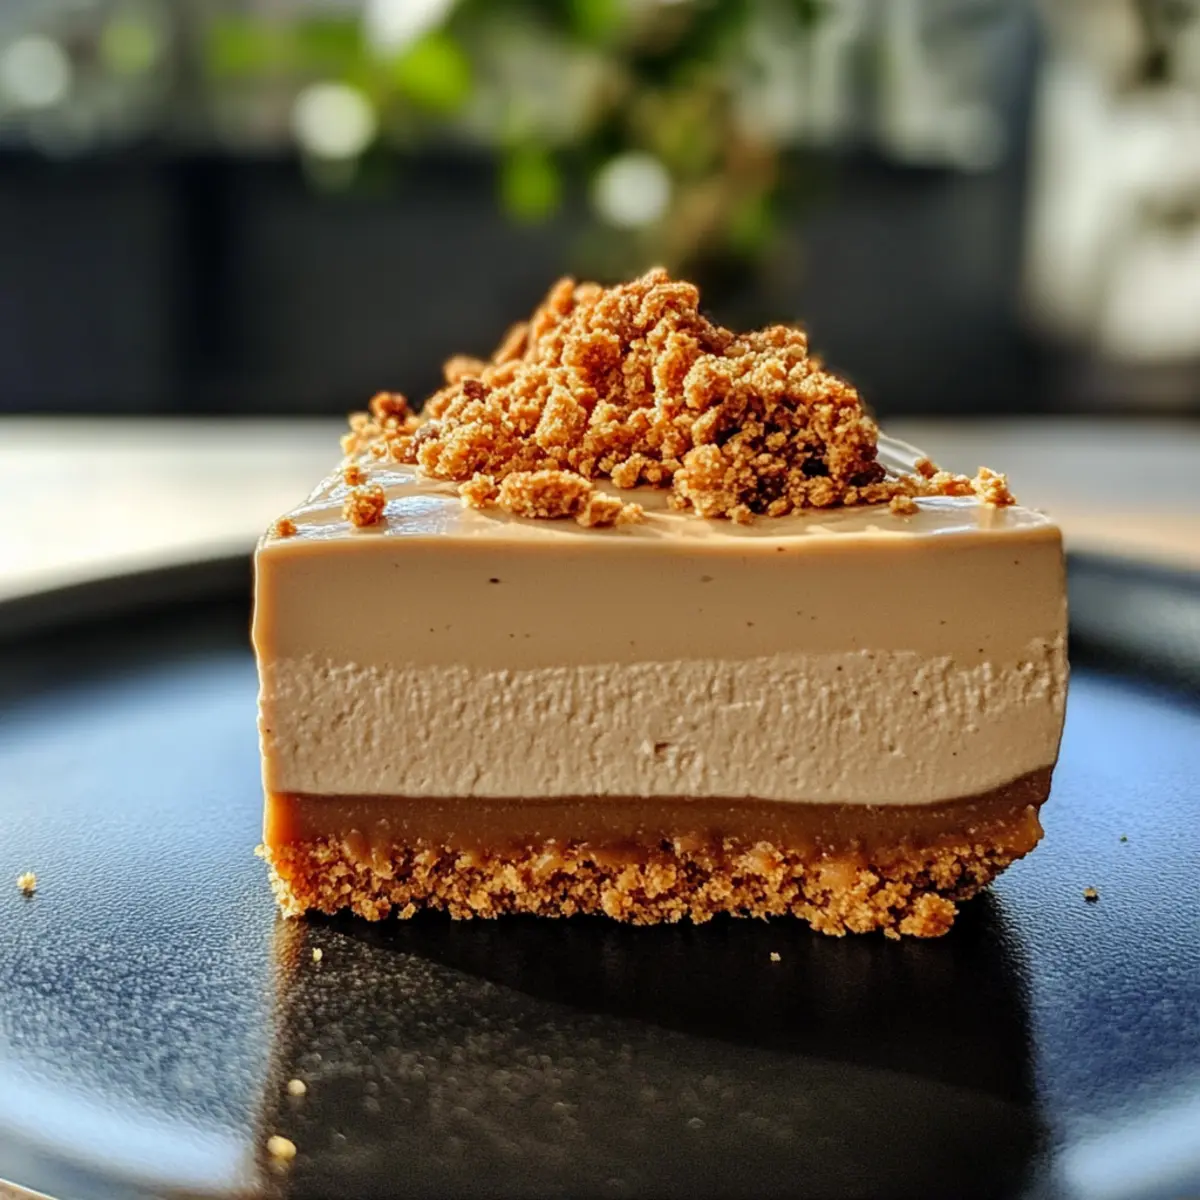
Step 4: Prepare the Earl Grey Mirror Glaze (Optional)
While the mousse sets, prepare the optional Earl Grey mirror glaze by steeping an Earl Grey tea bag in 100ml of hot milk for 5 minutes. Squeeze out the tea bag and stir in caster sugar until dissolved, then immerse the softened gelatin sheets into this warm tea milk mixture, ensuring it blends well and cools slightly before use.
Step 5: Glaze the Cheesecake
Once the mousse has set, carefully pour the cooled tea mixture over the top of the cheesecake for a glossy finish. Give it a gentle shake to settle the glaze and ensure an even coating. Return the entire cake to the refrigerator for an additional 1-2 hours, which allows the glaze to firm up beautifully.
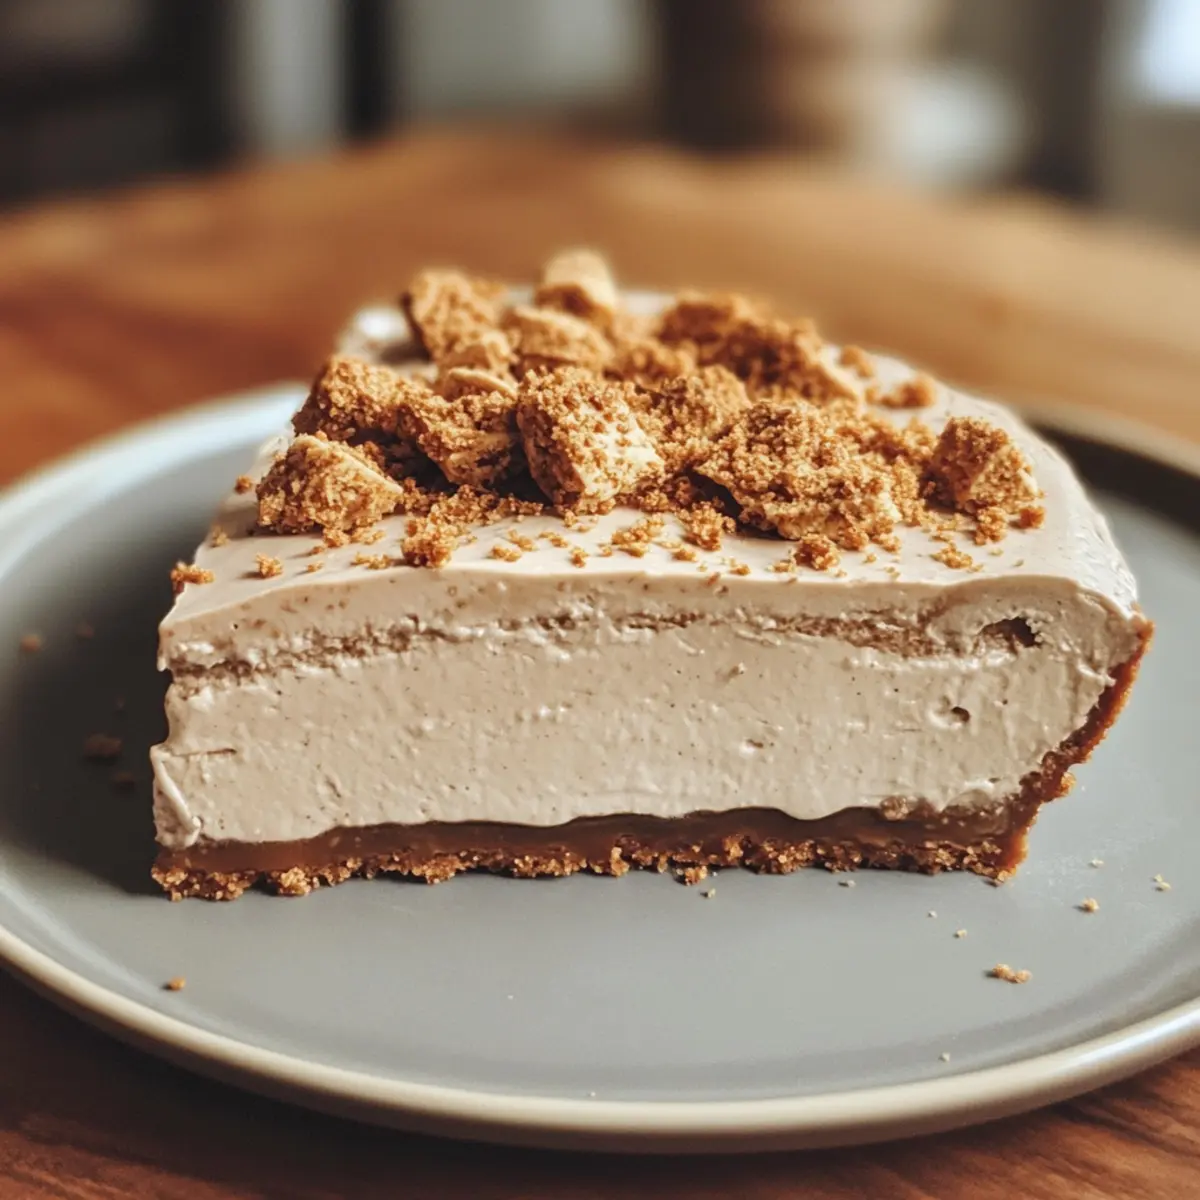
Step 6: Unmold and Decorate
To unmold the cheesecake, gently warm the edges of the springform pan with a hairdryer for a few seconds. Carefully release and remove the mold, revealing your splendid No-Bake Earl Grey Mousse Cheesecake. Decorate the top with crushed caramel biscuits for a delightful crunch and visual appeal, then slice into portions and serve to impress your loved ones!
Expert Tips for No-Bake Earl Grey Mousse Cheesecake
-
Room Temperature Cream Cheese: Ensure the cream cheese is at room temperature for easier mixing; this leads to a smoother mousse.
-
Perfect Whipping: Whip the cream just until soft peaks form; over-whipping can create a grainy texture, ruining your cheesecake’s creaminess.
-
Check Gelatin Soaking: Soak the gelatin sheets in ice water thoroughly before use; this ensures they dissolve completely and stabilize the mousse properly.
-
Avoid Overheating: When using a hairdryer around the mold edges, keep it at a distance to prevent overheating, which could compromise the mousse’s texture.
-
Experiment with Flavors: Don’t hesitate to swap Earl Grey for other tea types like jasmine or matcha for a unique twist on this no-bake cheesecake!
What to Serve with No-Bake Earl Grey Mousse Cheesecake
Elevate your dessert experience by pairing this luxurious cheesecake with delightful accompaniments that enhance its unique flavors.
- Fresh Berries: The bright acidity of strawberries, raspberries, or blueberries complements the creamy mousse, adding a refreshing contrast to each decadent bite.
- Whipped Cream: A dollop of lightly sweetened whipped cream adds an airy texture, making each slice feel even more indulgent. Pair it with a sprinkle of lemon zest for extra brightness.
- Chamomile Tea: The floral notes of chamomile tea harmonize beautifully with the Earl Grey, creating a soothing experience—perfect for afternoon gatherings.
- Chocolate-Covered Espresso Beans: For a delightful crunch, these add a hint of bitterness that balances the sweetness while enhancing the tea flavors in the cheesecake.
- Almond Biscotti: These crunchy cookies provide a satisfying contrast to the creamy dessert, perfect for dipping and enjoying with your cup of tea.
- Sparkling Lemonade: A refreshing citrus fizz offers a vibrant contrast, cutting through the richness of the cheesecake while keeping the overall mood light and elegant.
- Vanilla Ice Cream: A scoop of creamy vanilla ice cream offers a lush companion to the cheesecake, creating a deliciously cold and creamy experience ensemble.
- Honey Drizzle: A light drizzle of honey over the cheesecake provides additional sweetness and floral notes, making for an elegantly simple touch.
Make Ahead Options
These No-Bake Earl Grey Mousse Cheesecakes are perfect for busy home cooks looking to save time! You can prepare the biscuit base and refrigerate it up to 3 days in advance, ensuring a firm foundation for your mousse. The creamy mousse layer can also be made up to 24 hours ahead; simply follow the instructions, pour it into the crust, and refrigerate until set. To maintain quality, avoid adding the mirror glaze until you’re ready to serve; it can be prepared and stored for a few hours but should be applied fresh. When ready to impress, just glaze the cheesecake, let it chill briefly, and it’ll be just as delicious as when freshly made!
No-Bake Earl Grey Mousse Cheesecake Variations
Feel free to customize this dessert and make it your own with these delightful variations!
- Tea Swap: Use matcha, jasmine, or hojicha for a unique flavor twist that suits your palate.
- Gelatin Alternative: Substitute gelatin sheets with powdered gelatin—1 sheet equals about 2g for stabilization.
- Mirror Glaze Omission: Skip the mirror glaze for a more straightforward presentation that still wows.
- Dairy-Free Delight: Try a vegan cream cheese substitute and coconut cream for the mousse, perfect for lactose-intolerant friends.
- Decadent Chocolate: Add chocolate shavings or cocoa powder to the mousse for a rich, indulgent twist.
- Layered Luxury: Create a layered cheesecake with alternating flavors—start with vanilla and top with the Earl Grey mousse.
- Crunchy Topping: Include toasted nuts or a sprinkle of crushed biscuits for added texture and flair.
- Fruit Fusion: Top with fresh berries or a berry compote to balance the creamy richness with fruity freshness.
If you’re interested in more no-bake creations, check out my Heavenly No-Bake Cake for more delightful inspirations!
Storage Tips for No-Bake Earl Grey Mousse Cheesecake
-
Fridge: Store the cheesecake in the refrigerator, covered, for up to 3 days to maintain its creamy texture and flavor.
-
Freezer: Avoid freezing this mousse cheesecake, as freezing can compromise its velvety consistency and delicate flavors of the Earl Grey tea.
-
Reheating: Since this is a no-bake cheesecake, it’s best served chilled straight from the fridge—no reheating required!
No-Bake Earl Grey Mousse Cheesecake Recipe FAQs
How do I choose the right caramel biscuits for the cheesecake?
Absolutely! Look for caramel biscuits that are firm but not overly crumbly to provide a sturdy base for your cheesecake. A good visual cue is to choose biscuits without dark spots or significant cracks—these may crumble too easily. If you’re unable to find caramel biscuits, digestive biscuits make a great alternative that still offers a delightful flavor and texture.
What’s the best way to store the No-Bake Earl Grey Mousse Cheesecake?
The best way to keep your cheesecake fresh is by covering it with plastic wrap or transferring it to an airtight container and storing it in the refrigerator. Enjoy it within 3 days for optimal taste and texture. Avoid leaving it at room temperature for extended periods to maintain its quality.
Can I freeze the No-Bake Earl Grey Mousse Cheesecake?
It’s best not to freeze this cheesecake, as freezing can affect its creamy texture and the delicate flavors of Earl Grey tea. Instead, I recommend enjoying it fresh from the refrigerator. If you do have leftovers, follow the storage tips to keep it delicious for the next few days!
What should I do if my mousse layer doesn’t set properly?
Very good question! If your mousse doesn’t set correctly, it may be due to inadequate gelatin. For next time, ensure the gelatin sheets are soaked properly in ice water and fully dissolved in the hot milk before mixing. If you face a similar situation again, try softly heating the mousse mixture over low heat while stirring gently to activate the gelatin before pouring it into the crust.
Is this cheesecake suitable for those with dietary restrictions?
Yes, this delightful No-Bake Earl Grey Mousse Cheesecake can be adjusted to cater to dietary needs! For a gluten-free version, substitute the biscuits with gluten-free alternatives. Those with lactose intolerance can opt for dairy-free cream cheese and plant-based butter. Moreover, check for allergies to tea types you choose for a twist—use non-caffeinated options like herbal teas if needed.
How long does the cheesecake last once made?
Once prepared, your gorgeous cheesecake can be stored in the refrigerator for up to 3 days. Just make sure it’s covered well to prevent it from absorbing any fridge odors. The longer you leave it, the more the flavors meld—it’s a lovely treat to look forward to later in the week!
No-Bake Earl Grey Mousse Cheesecake
Ingredients
Equipment
Method
- Crush caramel biscuits into fine crumbs and combine with melted butter. Press into the bottom of a round springform mold and refrigerate for 10 minutes.
- Beat room temperature cream cheese with 10g of caster sugar until smooth. Soak gelatin sheets, and heat 80ml milk to 40°C. Dissolve gelatin in hot milk and combine with cheese mixture.
- Whip the cream to soft peaks, then gently fold into the cheese mixture along with any crushed biscuits. Pour mousse into crust and refrigerate for at least 4 hours.
- Steep Earl Grey tea bag in 100ml hot milk for 5 minutes, stir in sugar, and dissolve gelatin in this mixture.
- Pour cooled tea mixture over the cheesecake for a glossy finish. Chill for an additional 1-2 hours.
- Warm the edges of the springform pan to unmold cheesecake. Decorate with crushed caramel biscuits and serve.