

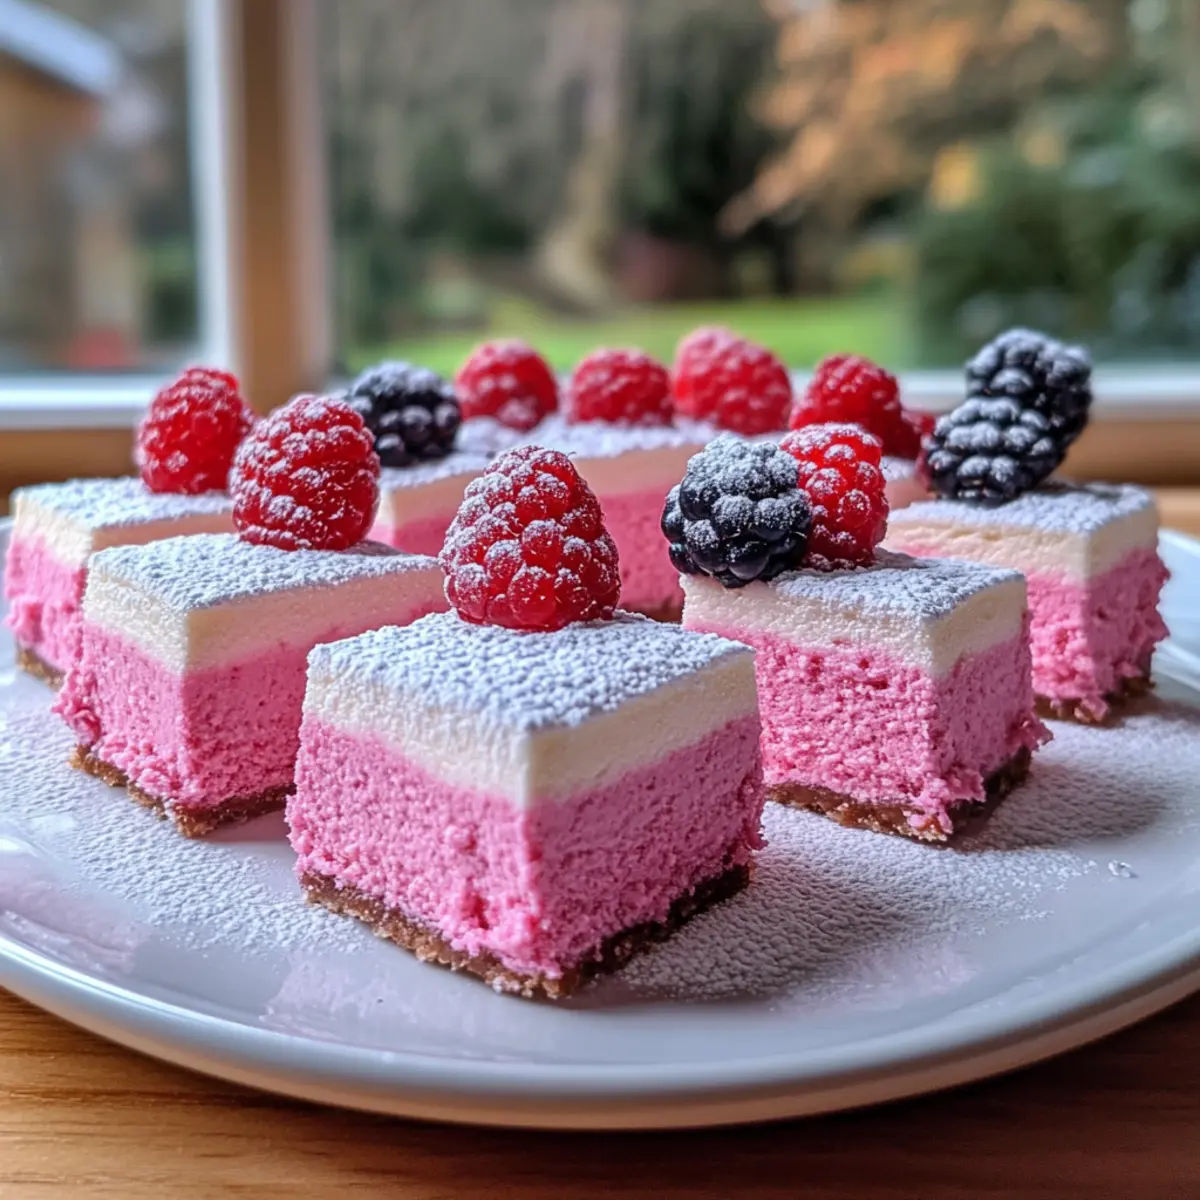
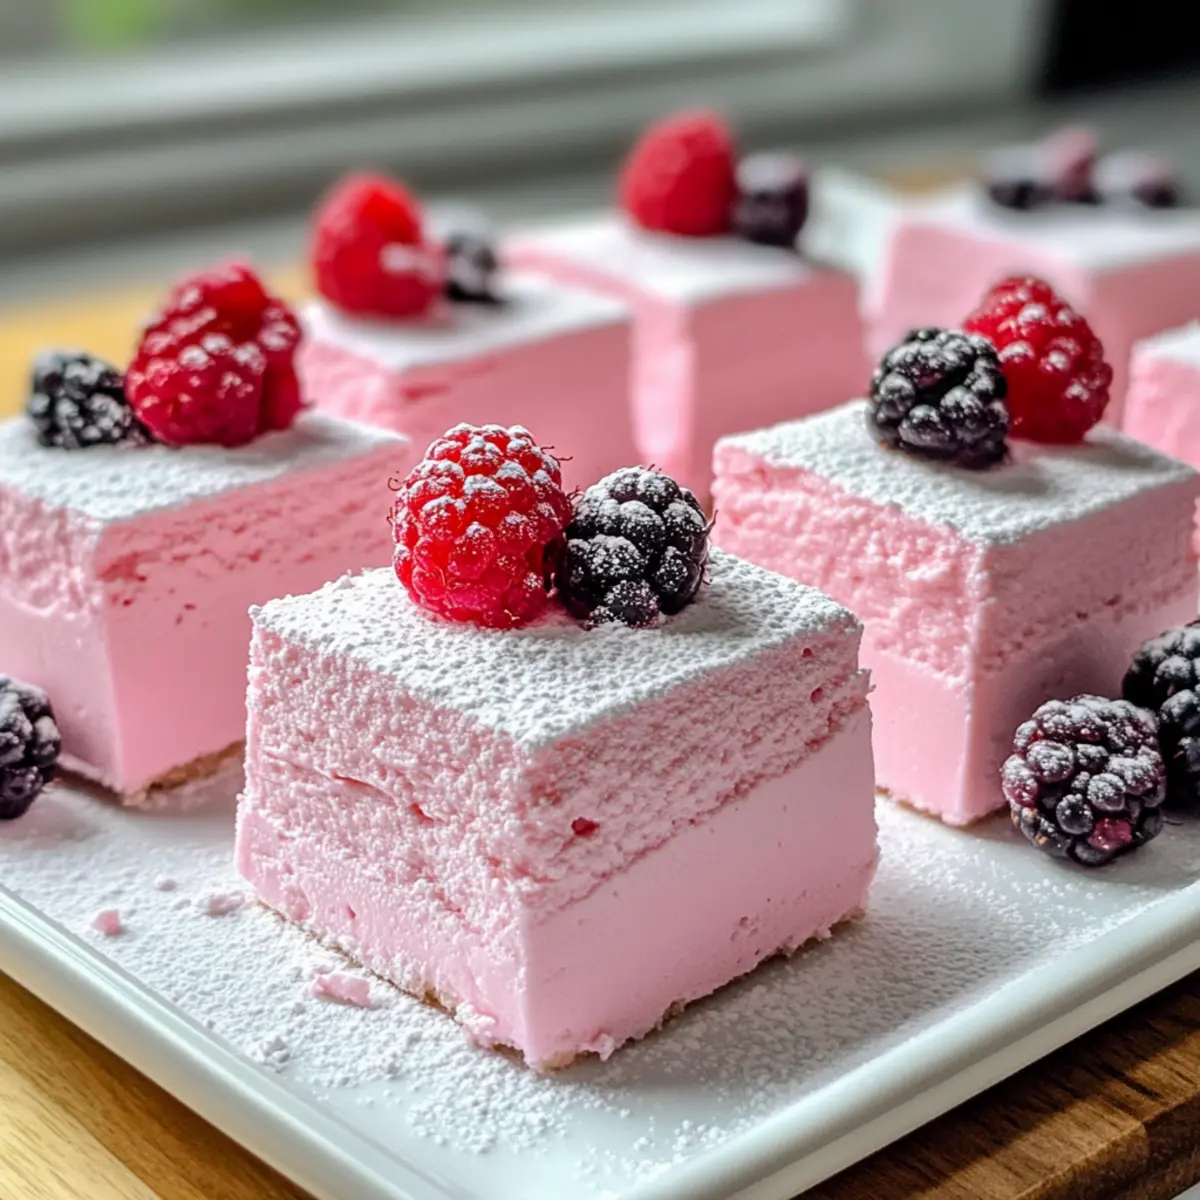
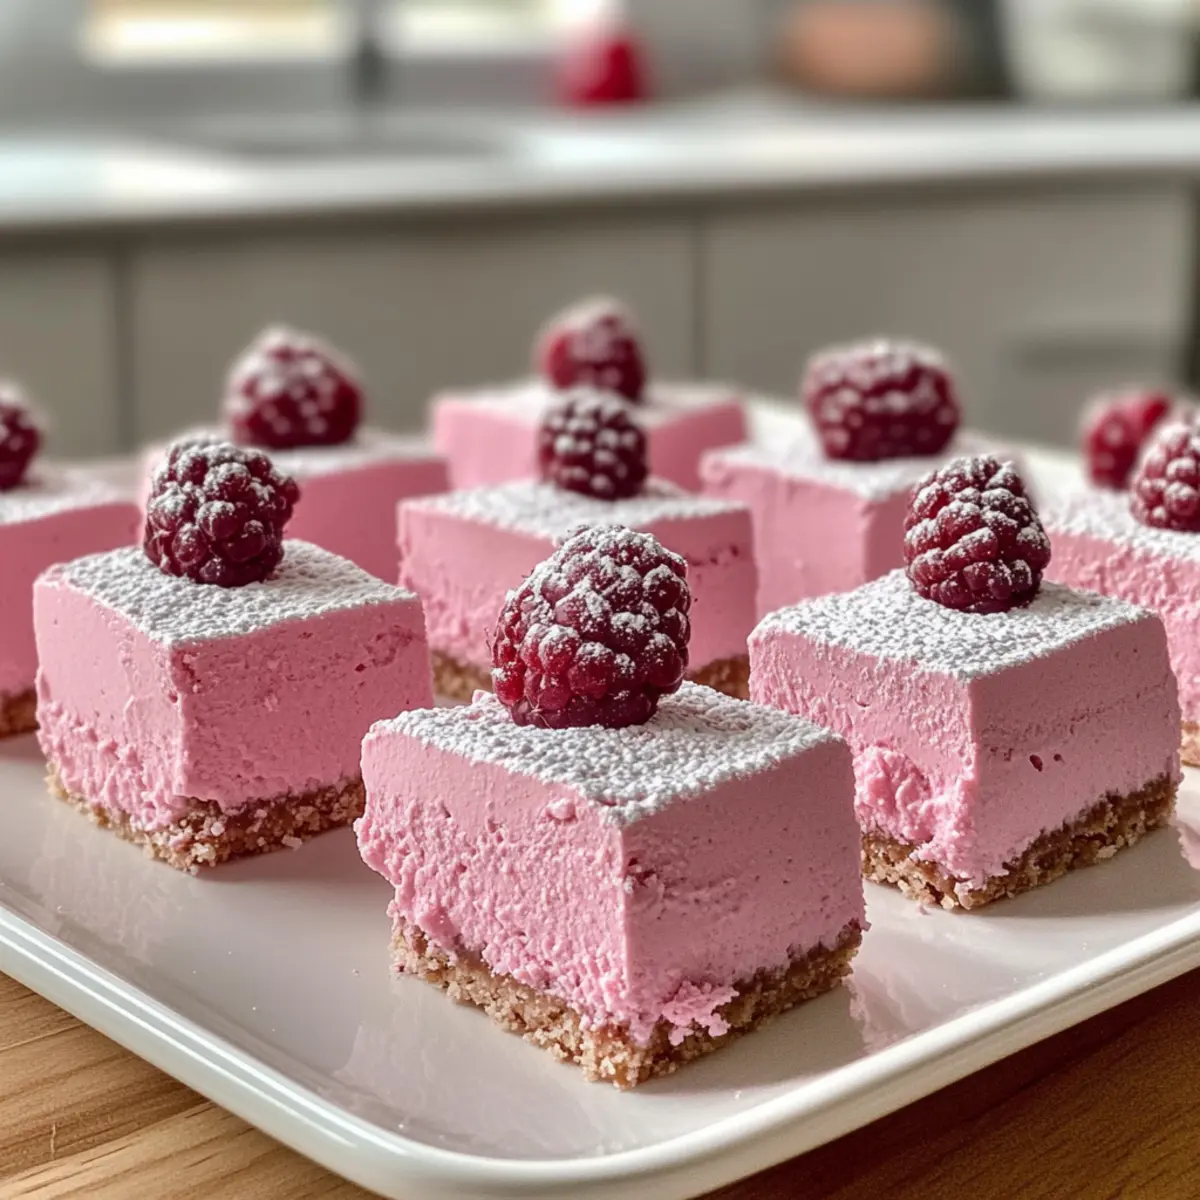
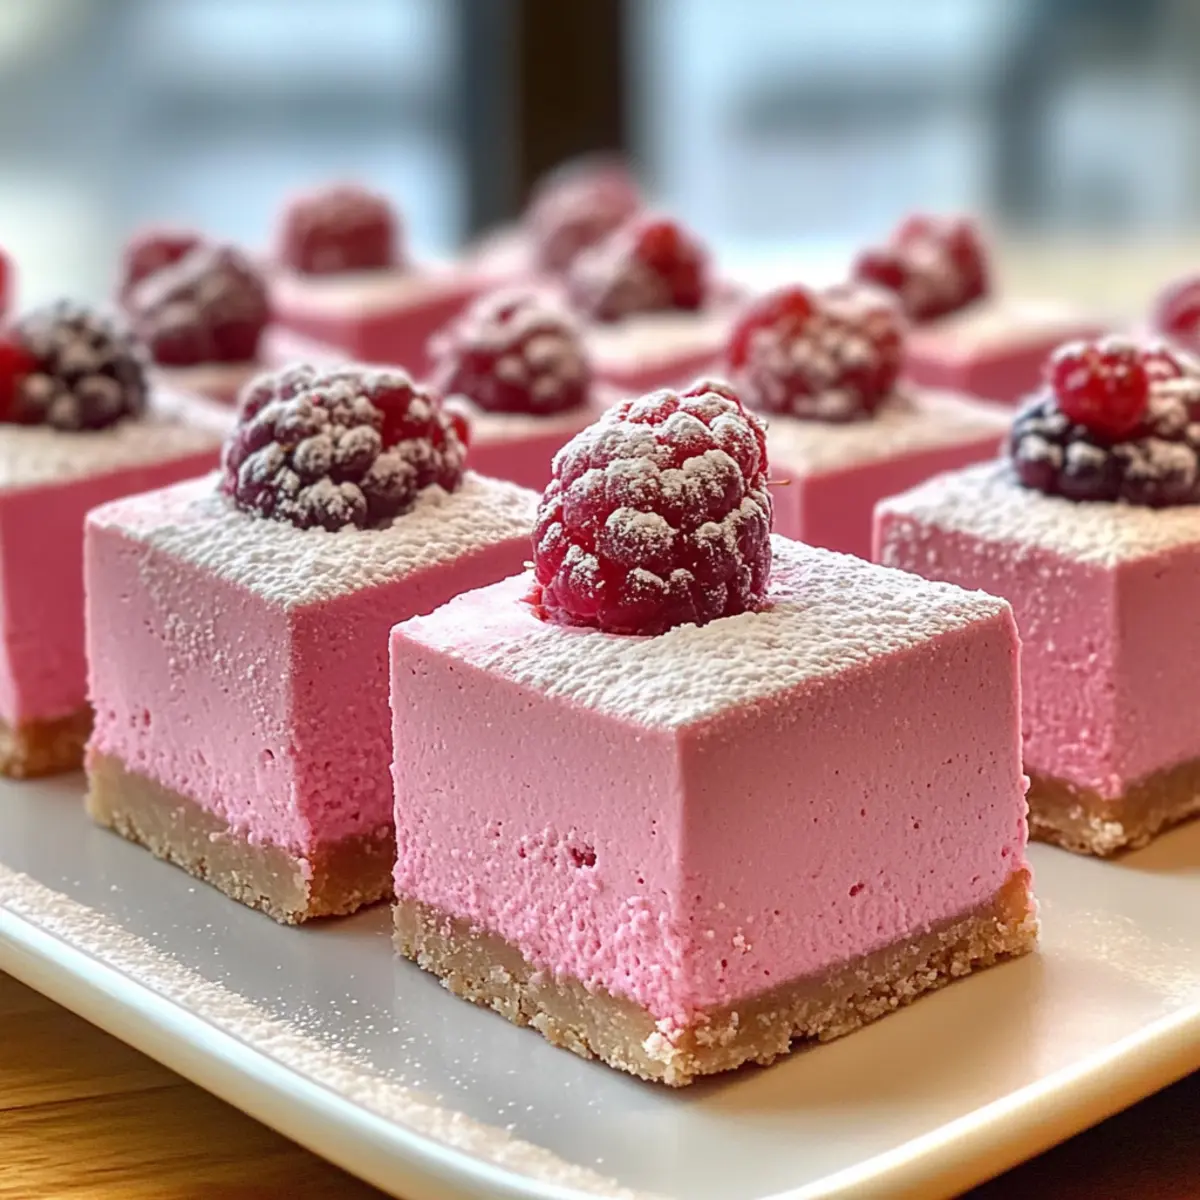
There’s something magical about the blend of creamy textures and playful colors that brings joy to any gathering. Enter the No-Bake Pink Velvet Cheesecake Bites—an irresistible treat that’s simple to whip up and sure to impress. These delightful bites combine the richness of cream cheese with a gentle hint of vanilla, creating a luscious, melt-in-your-mouth experience. Not only are they quick to prepare, but they effortlessly cater to various dietary preferences, making them a versatile option for anyone looking to elevate their dessert game. Perfect for festive occasions or just a sweet indulgence at home, these bites will disappear faster than you can say “cheesecake.” What fun twists would you try with these vibrant treats?
Why Are These Cheesecake Bites Irresistible?
Simplicity at Its Best: They require minimal effort—no baking necessary! Just mix, chill, and enjoy.
Creamy, Dreamy Flavor: Each bite boasts the rich taste of cream cheese with a hint of vanilla, perfect for satisfying your sweet tooth.
Endless Customization: Substitute ingredients for gluten-free or dairy-free options, or get creative by adding fresh berries or citrus zest.
Colorful Presentation: Their vibrant pink hue adds a visually appealing touch to any gathering, making them a hit at parties and celebrations.
Time-Saving Treat: Ready in just a few hours, these bites are perfect for last-minute gatherings or planned festivities.
Crowd-pleaser Appeal: Whether you serve them at a holiday party or enjoy them as a casual weeknight dessert, they’re bound to impress! If you’re looking for more delightful desserts, check out Grandma’s Homemade No-Bake Chocolate Oat Bites or our scrumptious Strawberry Cheesecake Dump Cake Delight.
No Bake Pink Velvet Cheesecake Bites Ingredients
For the Cheesecake Filling
• Cream Cheese – provides a creamy base; ensure it’s at room temperature for easy mixing.
• Confectioners’ Sugar – adds sweetness and helps achieve a smooth texture; granulated sugar can be used as a substitute if needed.
• Vanilla Extract – enhances flavor depth; try almond extract for a unique twist.
• Pink Food Coloring – adds vibrant color; opt for natural food coloring for a healthier alternative.
For the Crust
• Graham Cracker Crumbs – forms the crust; you can use digestive biscuits as a tasty substitute.
• Unsalted Butter – binds the crumb mixture together and adds richness; substitute with coconut oil for a dairy-free option.
Step‑by‑Step Instructions for No Bake Pink Velvet Cheesecake Bites
Step 1: Prep the Dish
Begin by lining an 8-inch square baking dish with parchment paper for easy removal. This will help your No Bake Pink Velvet Cheesecake Bites maintain their shape. Ensure the parchment hangs over the edges slightly, so you can pull the bites out easily once set.
Step 2: Mix the Filling
In a large mixing bowl, beat the cream cheese with confectioners’ sugar using an electric mixer on medium speed for about 2-3 minutes. Stop when the mixture is creamy and smooth, without any lumps. A well-mixed filling ensures a velvety texture that will melt in your mouth, setting the stage for delicious cheesecake bites.
Step 3: Flavor Boost
Next, add the vanilla extract and a few drops of pink food coloring to the cream cheese mixture. Beat again until everything is well combined and the color is evenly distributed, achieving a vibrant pink hue. This step not only enhances the flavor but also gives your cheesecake bites their cheerful appearance, making them visually appealing.
Step 4: Make the Crust
In a separate bowl, combine the graham cracker crumbs with melted butter. Mix thoroughly until the mixture resembles wet sand and holds together when pressed. This crumbly crust will provide a delightful crunch against the creamy filling in your No Bake Pink Velvet Cheesecake Bites.
Step 5: Assemble
Firmly press the crumb mixture into the bottom of the prepared baking dish to create an even layer. Ensure that it’s compact, as this crust will support the filling above. Once the crust is in place, spread the cream cheese mixture evenly over the top, smoothing it out with a spatula for a neat finish.
Step 6: Chill
Cover the assembled cheesecake bites with plastic wrap or foil, and place them in the refrigerator. Chill for a minimum of 4 hours, allowing the filling to firm up. For the best texture and flavor, overnight chilling is ideal, so plan ahead to enhance your No Bake Pink Velvet Cheesecake Bites.
Step 7: Slice & Serve
Once set, gently lift the cheesecake out of the dish using the edges of the parchment paper. Place it on a cutting board and slice it into bite-sized squares. Serve these delicious bites chilled, and watch them disappear at your next festivity, sure to delight everyone with their beautiful color and rich flavor.
Expert Tips for No Bake Pink Velvet Cheesecake Bites
• Check the Cream Cheese: Make sure your cream cheese is at room temperature for smooth mixing. Cold cream cheese can lead to lumps in the filling.
• Chill Thoroughly: Allow your bites ample chilling time; ideally overnight. This helps achieve the perfect texture and enhances the overall flavor.
• Customize Wisely: For filling that’s too soft, consider adding more confectioners’ sugar or cream cheese. Tailor your No Bake Pink Velvet Cheesecake Bites to suit your tastes!
• Slicing Tips: Use a sharp knife to slice the bites cleanly. Wipe the knife between cuts for neat edges and a beautiful presentation.
• Storage Advice: Keep your cheesecake bites in an airtight container to maintain freshness. They can last up to a week in the refrigerator, perfect for satisfying those sweet cravings!
Make Ahead Options
These No-Bake Pink Velvet Cheesecake Bites are perfect for meal prep enthusiasts! You can prepare the entire cheesecake filling and crust up to 24 hours in advance. Simply follow the recipe to mix the filling and crust, then assemble them in the lined baking dish. Cover tightly with plastic wrap and refrigerate. For the best results, let them chill overnight, as this allows the flavors to meld beautifully, making them just as delicious when served. When you’re ready to impress your guests, slice and serve them straight from the fridge for a refreshing treat that saves you time during busy festivities!
How to Store and Freeze No Bake Pink Velvet Cheesecake Bites
Fridge: Store your cheesecake bites in an airtight container for up to 1 week. This keeps them fresh and ready to enjoy whenever your sweet tooth strikes.
Freezer: For longer storage, freeze the bites in a single layer on a baking sheet, then transfer to a container or freezer bag for up to 2 months. Thaw in the fridge before serving.
Reheating: These bites are best served chilled; there’s no need to reheat them. Simply slice and serve directly from the fridge or once thawed from the freezer.
What to Serve with No-Bake Pink Velvet Cheesecake Bites
Serving up a stunning dessert like these cheesecake bites sets the stage for a delightful meal experience that guests will adore.
- Fresh Berries: A mix of strawberries, blueberries, and raspberries pairs beautifully, adding a bright, juicy contrast to the creamy bites.
- Whipped Cream: Light and airy whipped cream enhances the cheesecake flavors, making each bite feel extra indulgent.
- Chocolate Drizzle: A drizzle of rich melted chocolate on top adds a touch of decadence, elevating the visual appeal and taste.
- Fruit Salad: A vibrant, colorful fruit salad with seasonal fruits provides a refreshing balance to the richness of the cheesecake bites.
- Sparkling Water: Serve with garnish of mint or lemon slices for a fizzy, refreshing drink that cleanses the palate between bites.
- Coffee or Tea: A warm cup of coffee or herbal tea complements the sweetness and offers a cozy note to your gathering.
- Cheesecake-Style Truffles: Continue the cheesecake theme with truffles made from your favorite cheesecake flavors, appealing to every sweet tooth.
- Mini Pastries: Consider pairing with mini pastries like éclairs or cream puffs for an extra touch of elegance and indulgence at your dessert table.
No Bake Pink Velvet Cheesecake Bites Variations
Feel free to get creative with your cheesecake bites and make them truly your own!
-
Vegan Option: Swap cream cheese for vegan cream cheese to enjoy a dairy-free treat. They’ll be just as creamy and delicious!
-
Gluten-Free Alternative: Use gluten-free graham cracker crumbs to satisfy gluten-sensitive guests. Everyone can indulge carefree.
-
Berry Infusion: Fold in crushed fresh berries, like raspberries or strawberries, into the cheesecake mixture for a fruity burst of flavor.
-
Zesty Twist: Add a teaspoon of lemon or orange zest to brighten the creamy base. This will elevate the taste with a refreshing kick.
-
Chocolate Drizzle: Melt dark chocolate and drizzle it on top before chilling for a rich and decadent finish that chocolate lovers will adore.
-
Nutty Crunch: Sprinkle chopped nuts, like pecans or walnuts, into the crust mixture for added texture and crunch. It brings a delightful surprise with each bite.
-
Layered Style: Create layers by alternating the crust and cheesecake mixture in a glass dish for a visually stunning presentation that’s perfect for gatherings.
-
Spiced Flavor: Try adding a pinch of cinnamon or nutmeg to the filling for an added depth of flavor that’s perfect for cozy seasons.
If you need more inspiration for delightful desserts, you might want to check out Heavenly No-Bake Cake: A Light and Refreshing Dessert and the delectable Guilt-Free Energy Bites for easy, wholesome treats.
No-Bake Pink Velvet Cheesecake Bites Recipe FAQs
How do I select ripe ingredients for this recipe?
Absolutely! For the best texture, use cream cheese that’s at room temperature for smooth mixing. If using fresh berries as a customization, select ripe, plump berries without dark spots, as they will enhance both flavor and visual appeal in your cheesecake bites.
How should I store my No-Bake Pink Velvet Cheesecake Bites?
Store your cheesecake bites in an airtight container in the refrigerator, where they will stay fresh for up to 1 week. This way, you can enjoy them whenever your sweet tooth strikes! Just remember to keep the bites separated with parchment paper if you’re stacking them to prevent sticking.
Can I freeze No-Bake Pink Velvet Cheesecake Bites?
Yes! To freeze, place the cheesecake bites in a single layer on a baking sheet and freeze until firm. Then transfer them to a freezer-safe container or bag. They can be stored for up to 2 months. Just thaw them in the refrigerator for several hours before serving. Enjoy that delightful creamy texture!
What should I do if my filling is too soft?
If your filling is too soft after mixing, don’t worry! Simply incorporate a bit more confectioners’ sugar or another ounce of cream cheese to help thicken it up. You can also chill it for a little longer to see if it firms up. Remember, chilling is key for achieving that ideal cheesecake texture!
Can these bites accommodate dietary restrictions?
Very much so! You can swap regular cream cheese for vegan cream cheese for a dairy-free option. Additionally, choosing gluten-free graham cracker crumbs will make these bites suitable for gluten-sensitive guests. Just make sure to check for any flavorings or extras to ensure they fit dietary needs.
Are there any pet safety concerns with this recipe?
Yes, be cautious! While the ingredients in your No-Bake Pink Velvet Cheesecake Bites are safe for human consumption, don’t share them with pets, especially those sensitive to dairy products, as they may cause digestive issues. Always keep treats separate from our furry friends!
Delightful No Bake Pink Velvet Cheesecake Bites for Any Occasion
Ingredients
Equipment
Method
- Begin by lining an 8-inch square baking dish with parchment paper for easy removal.
- In a large mixing bowl, beat the cream cheese with confectioners' sugar using an electric mixer on medium speed for about 2-3 minutes.
- Next, add the vanilla extract and a few drops of pink food coloring to the cream cheese mixture.
- In a separate bowl, combine the graham cracker crumbs with melted butter.
- Firmly press the crumb mixture into the bottom of the prepared baking dish.
- Cover the assembled cheesecake bites with plastic wrap or foil, and place them in the refrigerator.
- Once set, gently lift the cheesecake out using the edges of the parchment paper and slice it into bite-sized squares.