

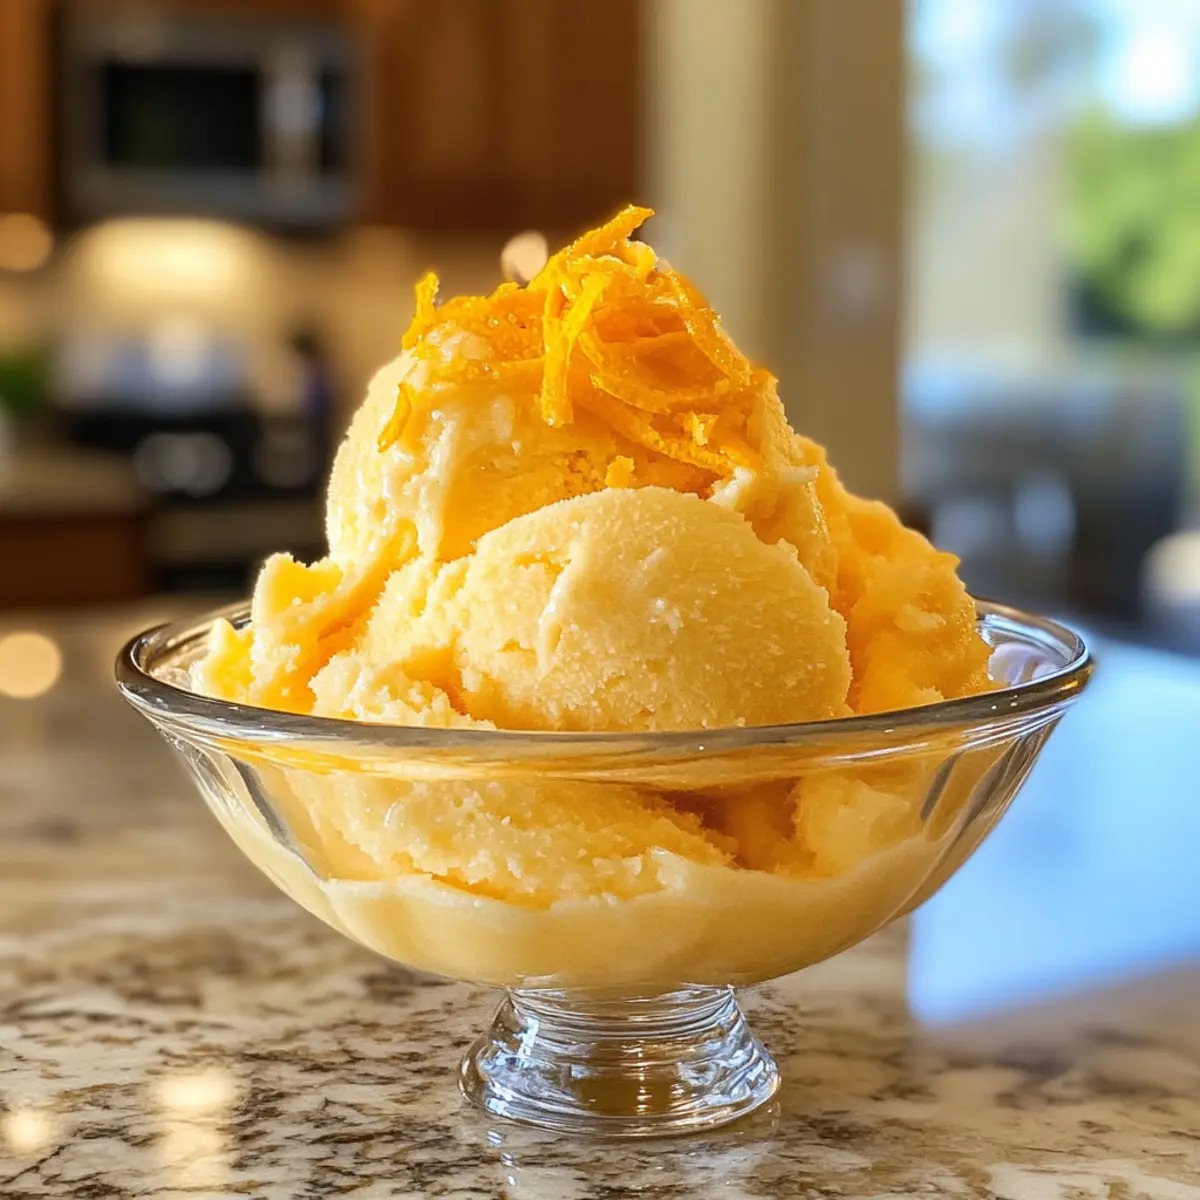
The sun just dipped below the horizon, and the warm summer air beckoned for something sweet and refreshing. That’s when my mind drifted to a classic favorite: homemade orange sherbet. This simple yet delightful treat is not only a perfect remedy for a long, hot day but also an exciting way to bring the incredible flavors of fresh oranges into your kitchen. With just a handful of ingredients—like sunny orange juice and a splash of cream—this orange sherbet comes together in about 30 minutes with the help of an ice cream maker, offering a quick and satisfying escape from ordinary desserts. Plus, it’s easily customizable! If you’re in the mood for a zesty twist, try swapping in lime, lemon, or grapefruit. Are you ready to explore how to create this deliciously creamy sherbet and indulge in a scoop (or two)?
Why is homemade orange sherbet amazing?
Refreshing: This orange sherbet is a cool treat that perfectly captures the essence of summer with its bright, zesty flavor. Easy to Make: You’ll appreciate how simple it is to whip up; just mix, churn, and freeze! Customizable: Swap oranges for limes or lemons for a unique twist that suits your taste. Crowd-Pleasing: Perfect for parties, this sherbet is sure to impress guests of all ages. Guilt-Free Indulgence: At around 196 calories per serving, it’s a delightful dessert without heavy guilt! If you enjoy homemade treats, you might also love Homemade Sweet Orange and Orange Zest Jelly for your next culinary adventure!
Orange Sherbet Ingredients
This homemade orange sherbet is as simple as it is delicious!
For the Base
- Freshly Squeezed Orange Juice – Use about 2 cups for optimal flavor and a refreshing punch.
- Granulated Sugar – Sweetens the sherbet, balancing the tartness of the oranges; adjust to taste if needed.
- Orange Zest – Adds depth to the orange flavor; 1½ tablespoons is recommended for a vibrant twist.
- Kosher Salt – Elevates all the flavors; ⅛ teaspoon is perfect for balance.
- Vanilla Extract – Introduces a warm note; use 1 teaspoon for a lovely aroma.
- Milk – Contributes creaminess; use 1 cup for a smooth texture.
- Heavy Whipping Cream – Enhances richness; ½ cup is ideal for that silky mouthfeel.
Optional Variations
- Lime, Lemon, or Grapefruit Juice – Substitute with these juices for a different flavor twist in your sherbet.
This homemade orange sherbet is perfect for elevating your dessert game while keeping the heat at bay!
Step‑by‑Step Instructions for Orange Sherbet
Step 1: Whisk the Base
In a large mixing bowl, whisk together 2 cups of freshly squeezed orange juice, 1 cup of granulated sugar, 1½ tablespoons of orange zest, ⅛ teaspoon of kosher salt, and 1 teaspoon of vanilla extract. Mix until the sugar is completely dissolved, which should take about 2-3 minutes. The vibrant orange color will brighten your kitchen as you prepare for a delicious homemade orange sherbet.
Step 2: Add Creaminess
Gradually whisk in 1 cup of milk and ½ cup of heavy whipping cream to the orange mixture. Continue stirring until everything is thoroughly combined and you see a smooth, creamy texture forming. This creamy base will provide the luscious mouthfeel that makes the orange sherbet so refreshing as you get ready to churn it.
Step 3: Prepare the Ice Cream Maker
Before you start churning, make sure your ice cream maker’s container is pre-frozen according to the manufacturer’s instructions—typically, it needs to chill for at least 24 hours. Once it’s ready, pour the orange mixture into the ice cream maker’s container, ensuring not to overfill as the mixture will expand as it churns.
Step 4: Churn the Mixture
Turn on your ice cream maker and churn the mixture for about 20-30 minutes. The sherbet will gradually thicken and develop a soft-serve consistency. Keep an eye on it; you know it’s done when it resembles a fluffy milkshake with a smooth, creamy texture.
Step 5: Freeze for Firmness
Once the mixture has reached that perfect soft-serve consistency, transfer it into a freezer-safe container. Cover the top tightly with plastic wrap or wax paper to prevent ice crystals from forming. Place the container in the freezer and let it chill overnight or until solid for the ultimate homemade orange sherbet experience.
Step 6: Serve and Enjoy
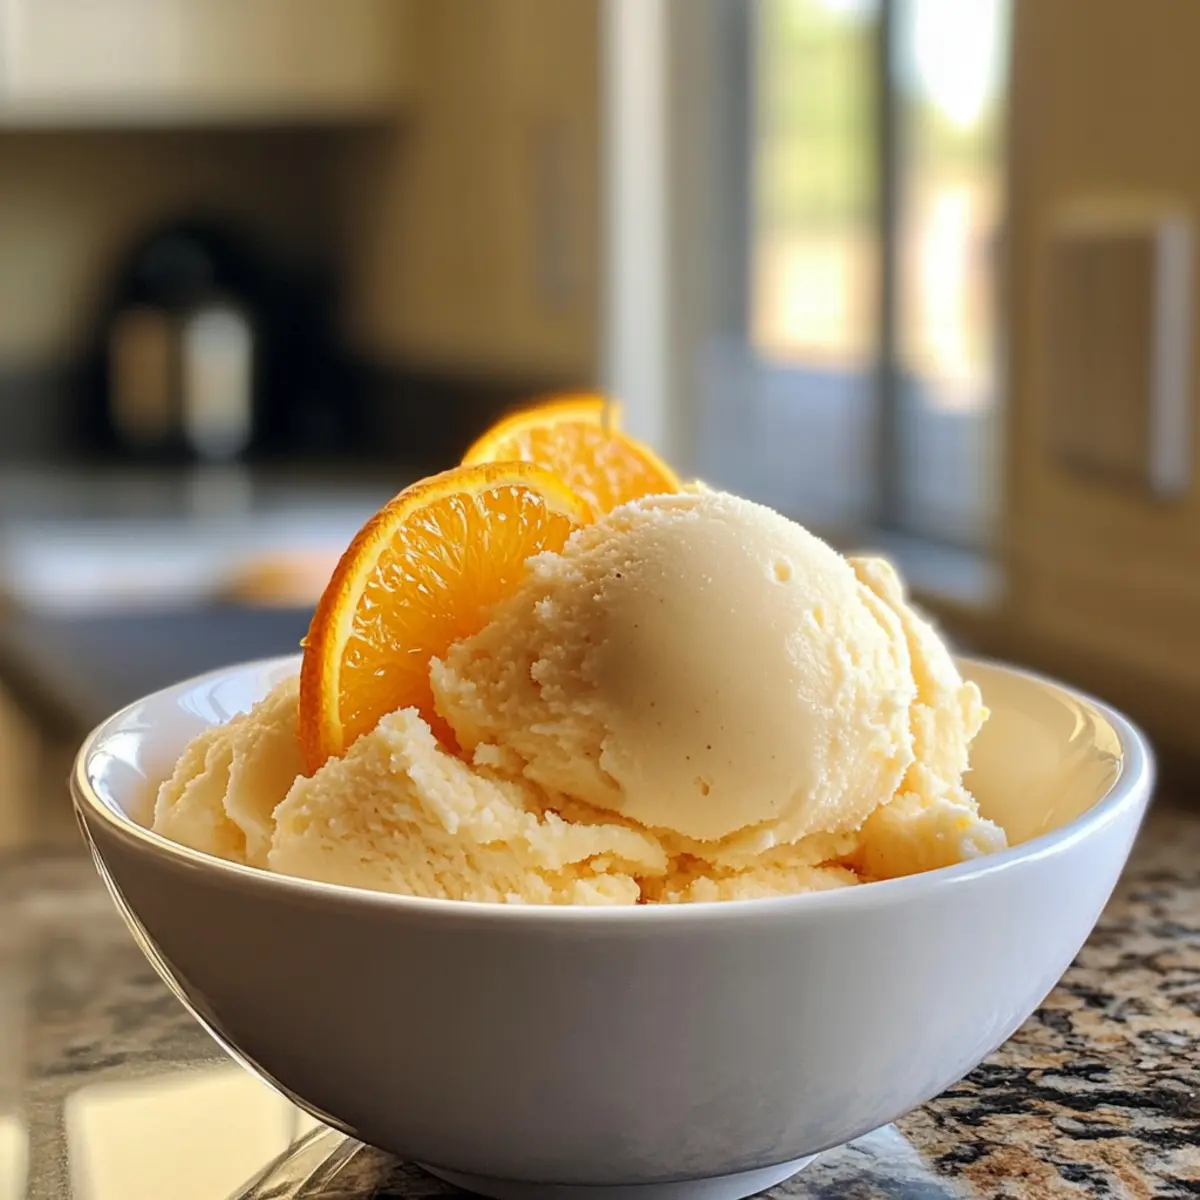
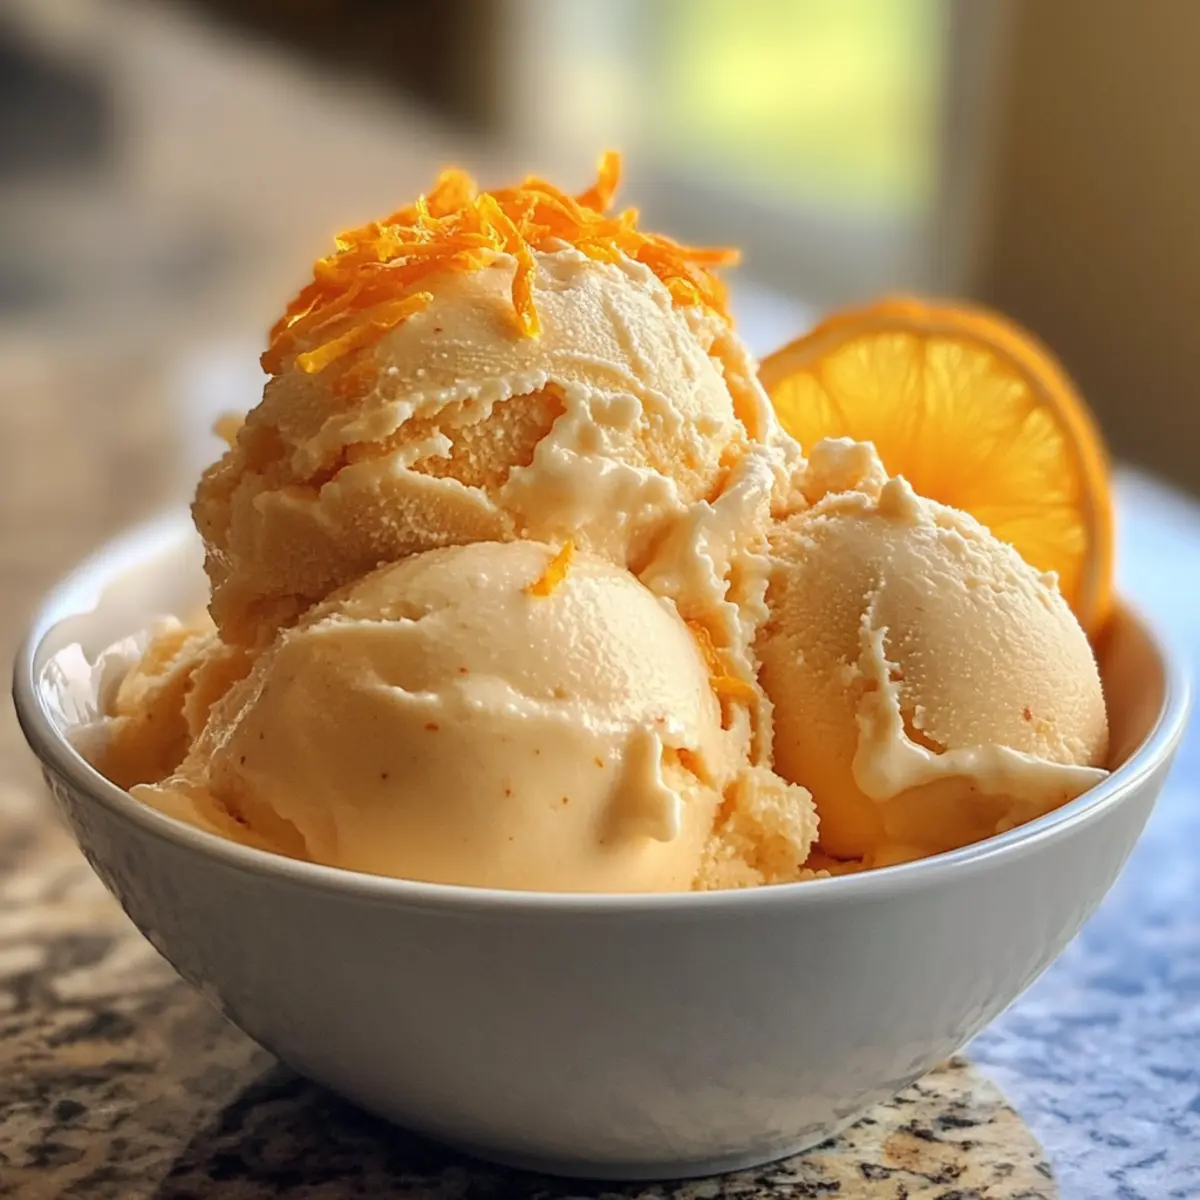
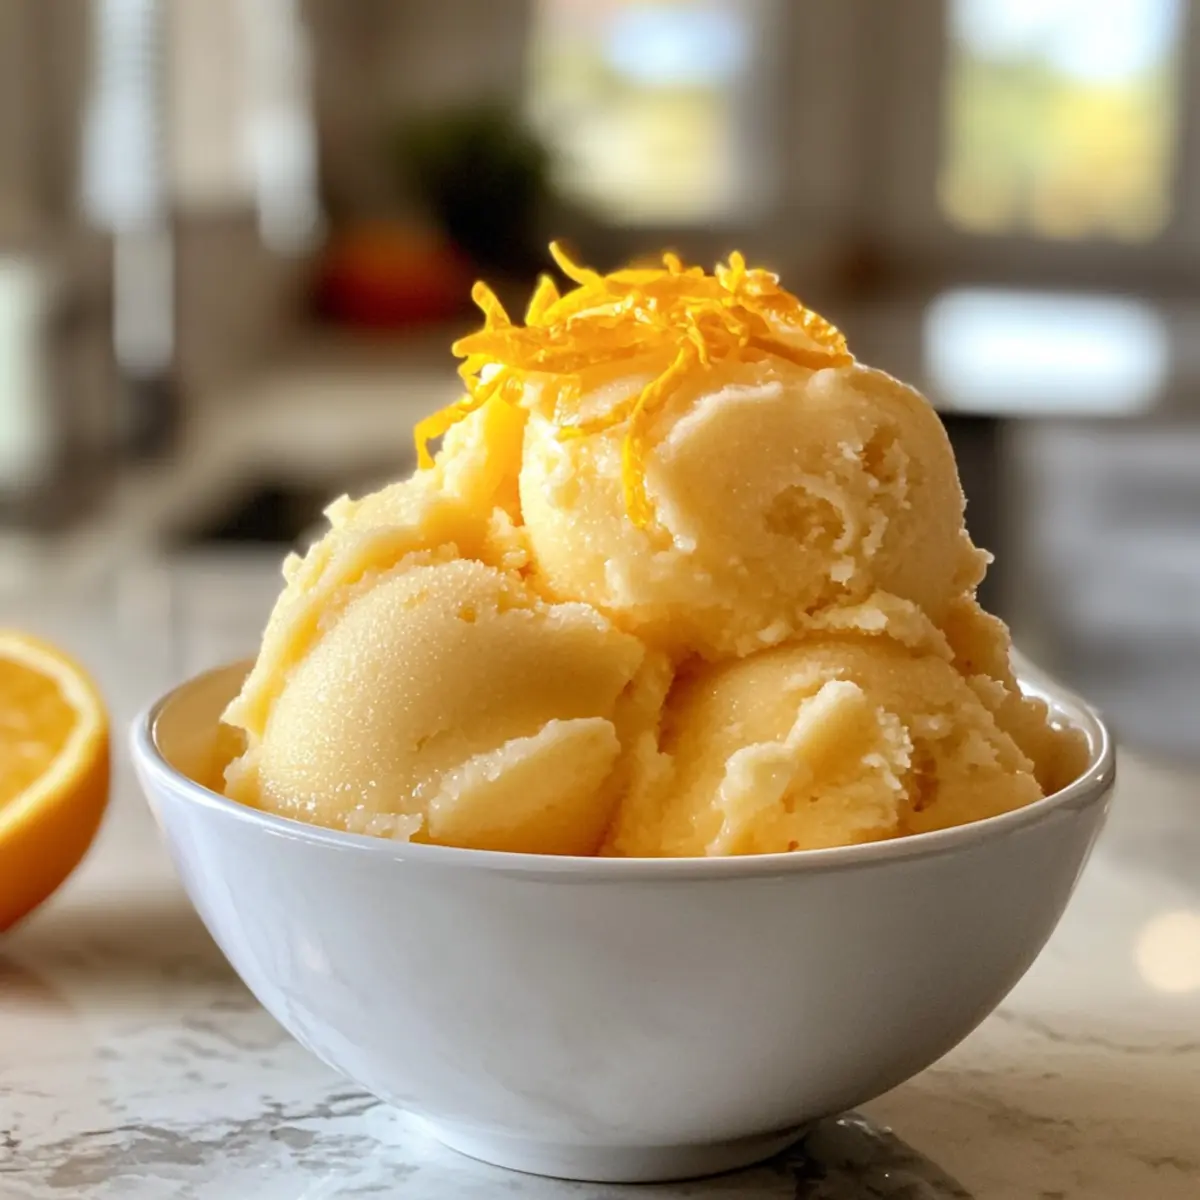
When you’re ready to serve your refreshing orange sherbet, scoop it into bowls or cones. For an enticing presentation, consider garnishing with a sprinkle of extra orange zest or a sprig of fresh mint. Enjoy this delightful dessert on a warm day, and relish the delicious burst of citrus flavor!
What to Serve with Refreshing Homemade Orange Sherbet?
When the summer sun calls for something cool and delightful, it’s time to create a meal that perfectly complements that icy treat!
-
Grilled Chicken Skewers: The savory, smoky flavor of grilled chicken pairs beautifully with the bright and zesty sherbet, creating a harmonious contrast.
-
Crisp Garden Salad: A fresh salad bursting with seasonal vegetables adds a refreshing crunch, balancing the creamy sweetness of the sherbet seamlessly.
-
Spinach and Feta Wraps: These wraps deliver a savory touch that complements the sweetness of your orange sherbet, making for a delightful pairing.
-
Light Pasta Salad: Tossed with veggies and a citrus dressing, this dish can enhance the fruity essence of the sherbet while providing a satisfying bite.
-
Berry Medley: Fresh strawberries, blueberries, and raspberries not only add color and freshness but their tartness complements the sweetness of the sherbet, creating a delightful dessert experience.
-
Sparkling Lemonade: A fizzy drink with a zesty kick is the perfect way to refresh your palate, enhancing the orange flavors of the sherbet.
-
Shortbread Cookies: These buttery cookies bring a satisfying crunch and richness that contrasts beautifully with the light, refreshing texture of the homemade orange sherbet.
Expert Tips for Making Orange Sherbet
-
Use Fresh Juice: Always opt for freshly squeezed orange juice for the best flavor. Bottled juice lacks the vibrant essence that makes homemade orange sherbet truly special.
-
Check Sugar Levels: Different oranges vary in sweetness. Start with the recommended amount of sugar and taste the mixture before churning to ensure it’s just right for your palate.
-
Avoid Ice Crystals: When transferring to the freezer, be generous with plastic wrap or wax paper to seal in the mixture tightly. This helps prevent ice crystallization, ensuring a smooth texture.
-
Pre-chill Your Maker: For a creamy outcome, make sure your ice cream maker’s bowl is thoroughly pre-frozen as per the manufacturer’s guidelines. This step is crucial for achieving the right consistency in your orange sherbet.
-
Experiment Freely: Feel free to switch up the citrus! Lime, lemon, or grapefruit can create delightful variations, keeping your homemade orange sherbet routine exciting and fresh.
Make Ahead Options
Preparing your homemade orange sherbet in advance is a fantastic way to save time on busy days! You can make the orange mixture (2 cups of freshly squeezed juice, sugar, zest, salt, and vanilla) up to 24 hours ahead of time and store it in the refrigerator. This not only allows the flavors to meld but also keeps the juice fresh and vibrant. When you’re ready to serve, simply whisk in the milk and cream, then churn in your ice cream maker until you reach that delightful soft-serve consistency. To maintain the quality of your sherbet, ensure you tightly cover the container with plastic wrap or wax paper before freezing it overnight. By following these tips, you’ll have a refreshing dessert ready to enjoy with minimal last-minute effort!
Orange Sherbet Variations & Substitutions
Customize your homemade orange sherbet with these fun and creative twists!
-
Lime Sherbet: Substitute lime juice and zest for a tart, zesty alternative that’s perfect for summer.
-
Lemon Variations: Replace orange juice with lemon juice and zest for a delightful citrus tang. It’s like summer in a scoop!
-
Grapefruit Delight: Swap in grapefruit juice and zest for a refreshing, slightly bitter taste that’s utterly unique.
-
Dairy-Free Option: Use coconut milk and coconut cream in place of cow’s milk and cream for a tropical, dairy-free treat.
-
Sweetener Swap: Use honey or agave syrup instead of granulated sugar for a natural sweetener option that adds depth to the flavor.
-
Creamier Texture: Replace milk with half and half to amp up the creaminess, making your sherbet even more indulgent.
-
Herb Infusion: Add fresh mint or basil into the mix for an unexpected herbal twist that elevates the citrus flavor beautifully.
-
Spicy Kick: Blend in a pinch of cayenne pepper or a bit of grated fresh ginger to spice things up. It’s a daring move that rewards with a delightful kick.
Don’t forget to explore other homemade delights like Homemade Sweet Orange or Orange Zest Jelly for even more vibrant flavors and family-loved treats!
How to Store and Freeze Orange Sherbet
- Fridge: Enjoy your orange sherbet within 3 days for the best flavor and texture. Store it in an airtight container to maintain freshness.
- Freezer: Keep your orange sherbet in a tightly sealed container or wrapped well in plastic wrap to avoid freezer burn, lasting up to 2 weeks.
- Reheating: If your sherbet becomes too hard in the freezer, let it sit at room temperature for about 10 minutes before scooping to restore its creamy consistency.
- Serving Suggestions: For an elegant touch, garnish with extra orange zest or fresh mint just before serving to elevate your dessert experience!
Orange Sherbet Recipe FAQs
How do I choose the best oranges for homemade orange sherbet?
Absolutely! Opt for oranges that are firm and heavy for their size, indicating juiciness. Look for bright, vibrant skin without any dark spots or blemishes, as these could indicate overripeness. Navel oranges and Valencia oranges are fantastic choices due to their sweetness and richness in juice.
What’s the best way to store orange sherbet?
I often store my homemade orange sherbet in an airtight container placed in the freezer. For optimal freshness, enjoy it within two weeks. To prevent freezer burn, cover the sherbet with plastic wrap before sealing it with a lid. Just remember, if it gets too hard, let it sit out for about 10 minutes before scooping to get that perfectly creamy texture back!
Can I freeze orange sherbet for a longer period?
Yes! You can freezer your homemade orange sherbet for up to 3 months. It’s crucial to seal it well—use plastic wrap directly on the surface before placing a lid on it. This helps to safeguard its luscious flavor and prevent freezer crystallization. When you’re ready to enjoy it, just remember to thaw it for 10-15 minutes at room temperature for easier scooping.
What if my orange sherbet has ice crystals after freezing?
Don’t worry; this can happen sometimes! To avoid ice crystals, it’s vital to wrap your sherbet tightly before freezing. If you find crystals have formed, you can blend or mix the sherbet lightly with a spatula to break them up. Alternatively, you can let it sit out for about 5 minutes to soften before serving, then stir gently to recombine before scooping.
Is this homemade orange sherbet safe for those with dietary restrictions?
Yes, while this recipe generally contains dairy, you can easily make a dairy-free version by substituting milk and cream with coconut milk or a nut-based cream. Always double-check ingredients like vanilla extract for any allergens. For pets, remember that citrus fruits can be harmful to dogs, so keep this treat to yourself!
Can I make other flavors besides orange?
Indeed! You can create delicious variations of orange sherbet by substituting the orange juice and zest with lime, lemon, or even grapefruit juice. The method remains the same, but you’ll experience delightful new flavors that are equally refreshing. The more, the merrier! Enjoy your culinary creativity!
Deliciously Refreshing Orange Sherbet for Hot Days
Ingredients
Equipment
Method
- Whisk together the orange juice, sugar, orange zest, salt, and vanilla extract until the sugar is dissolved.
- Gradually whisk in the milk and heavy cream until smooth and creamy.
- Use a pre-frozen ice cream maker to churn the mixture for 20-30 minutes until it resembles soft serve.
- Transfer to a freezer-safe container, cover, and freeze overnight or until solid.
- Serve in bowls or cones, optionally garnishing with extra orange zest or fresh mint.