

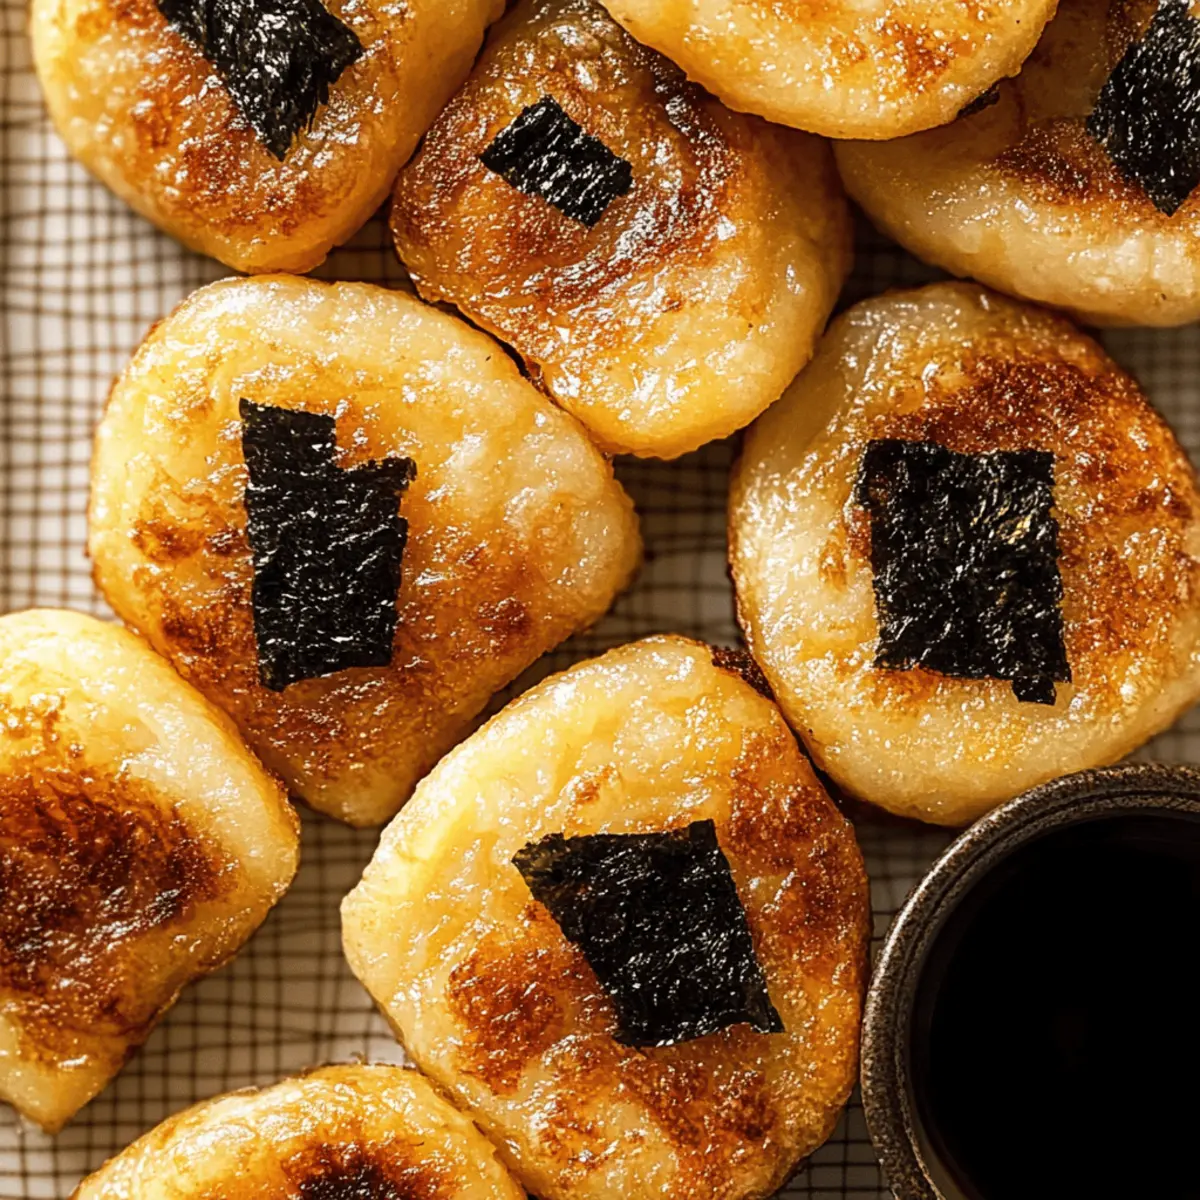
As I stood in my kitchen one afternoon, the delightful aroma of crispy fried goodness wafted through the air, transporting me to a bustling street market in Japan. Those moments sparked my passion for cooking, leading me to create this recipe for Easy Potato Mochi—a versatile vegan snack that can be both sweet and savory. The combination of crispy exteriors and a chewy interior makes these mochi not only satisfying but also a fantastic option for those seeking healthier snacks without sacrificing flavor. They’re quick to whip up, allowing you to indulge in homemade goodness, and perfect for customizing with your favorite toppings or fillings. Ready to explore this delicious journey and elevate your snacking game? Let’s dive into the world of potato mochi together!
Why Is Potato Mochi So Irresistible?
Versatile and fun: This Potato Mochi can be transformed into both sweet and savory delights, accommodating everyone’s tastes. Quick and easy: With simple ingredients and minimal effort, you can enjoy homemade snacks in no time! Crowd-pleaser: Whether for family gatherings or a quiet night in, these mochi are sure to impress guests of all ages. Perfect texture: The delightful contrast of crispy and chewy creates a unique experience you won’t forget. Healthier alternative: Say goodbye to fast food; these mochi are the wholesome, tasty snack you’ve been searching for!
Potato Mochi Ingredients
Here’s everything you need to whip up your delicious potato mochi!
For the Mochi Base
- Potatoes – The main ingredient providing structure and chewiness; starchy varieties are best for results.
- Potato Starch – Essential for binding and achieving that signature texture; tapioca starch can substitute for a unique twist.
- Vegan Butter – Adds richness and moisture; feel free to swap it for coconut oil for a hint of tropical flavor.
- Salt – Enhances overall flavor; adjust or omit for sweet versions to keep them delightful.
For Frying
- Oil (for frying) – Needed for that crispy, golden exterior; choose high smoke point oils like vegetable or canola oil.
Optional Additions
- Nori Sheet – Wrap your savory mochi for an umami punch; keep it out if you’re going the sweet route.
- Soy Sauce – A must for your savory sauce, offering saltiness and depth; tamari works great for a gluten-free option.
- Brown Sugar – Balances flavors in your sauce with a touch of sweetness; maple syrup is a fantastic alternative.
- Mirin – Adds a sweet note to the sauce; replace with rice vinegar and a bit of sugar for a similar taste.
With these simple ingredients, you’ll be just moments away from enjoying warm, chewy potato mochi—your new favorite snack! Don’t forget, these potato mochi can be tailored to your taste buds, sweet or savory; the choice is yours!
Step‑by‑Step Instructions for Easy Potato Mochi
Step 1: Prepare Potatoes
Start by peeling and dicing 2-3 starchy potatoes into roughly 1-inch cubes for even cooking. Place them in a large pot filled with cold water and add a pinch of salt. Bring to a boil over medium-high heat and cook for about 15 minutes, or until the potatoes are fork-tender and can be easily mashed.
Step 2: Drain Potatoes
Once the potatoes are cooked through, carefully drain all excess water using a colander. Allow them to sit for a minute to steam off excess moisture, which helps the texture of your potato mochi. A well-drained potato will yield a firmer consistency, essential for shaping the mochi.
Step 3: Mash Potatoes
Transfer the drained potatoes back to the pot or a large mixing bowl and use a potato masher or fork to mash them until completely smooth and free of lumps. This process should take just a few minutes, and you’ll know it’s ready when you achieve a creamy texture without any visible chunks, setting the stage for your delicious potato mochi.
Step 4: Mix Ingredients
Incorporate 1 cup of potato starch, 2 tablespoons of vegan butter, and a pinch of salt into the mashed potatoes. Stir vigorously until all ingredients are combined thoroughly, forming a cohesive dough. If the mixture feels sticky, don’t hesitate to add a bit more starch until the texture is smooth and pliable, perfect for shaping.
Step 5: Shape Mochi
With clean hands, take about ¼ cup of the potato mixture and roll it into a ball, then gently flatten it into a smooth disc shape, about ½ inch thick. Repeat this process with the remaining dough, placing the shaped potato mochi on a parchment-lined plate. If the dough is especially wet, dust your hands and surface with potato starch to make shaping easier.
Step 6: Heat Oil
In a large frying pan, heat about ½ inch of cooking oil over medium heat. To test if the oil is ready, drop a small piece of the potato mixture in; it should sizzle gently. Once the oil is hot, carefully place your shaped potato mochi into the pan, keeping enough space between them for even frying.
Step 7: Fry Mochi
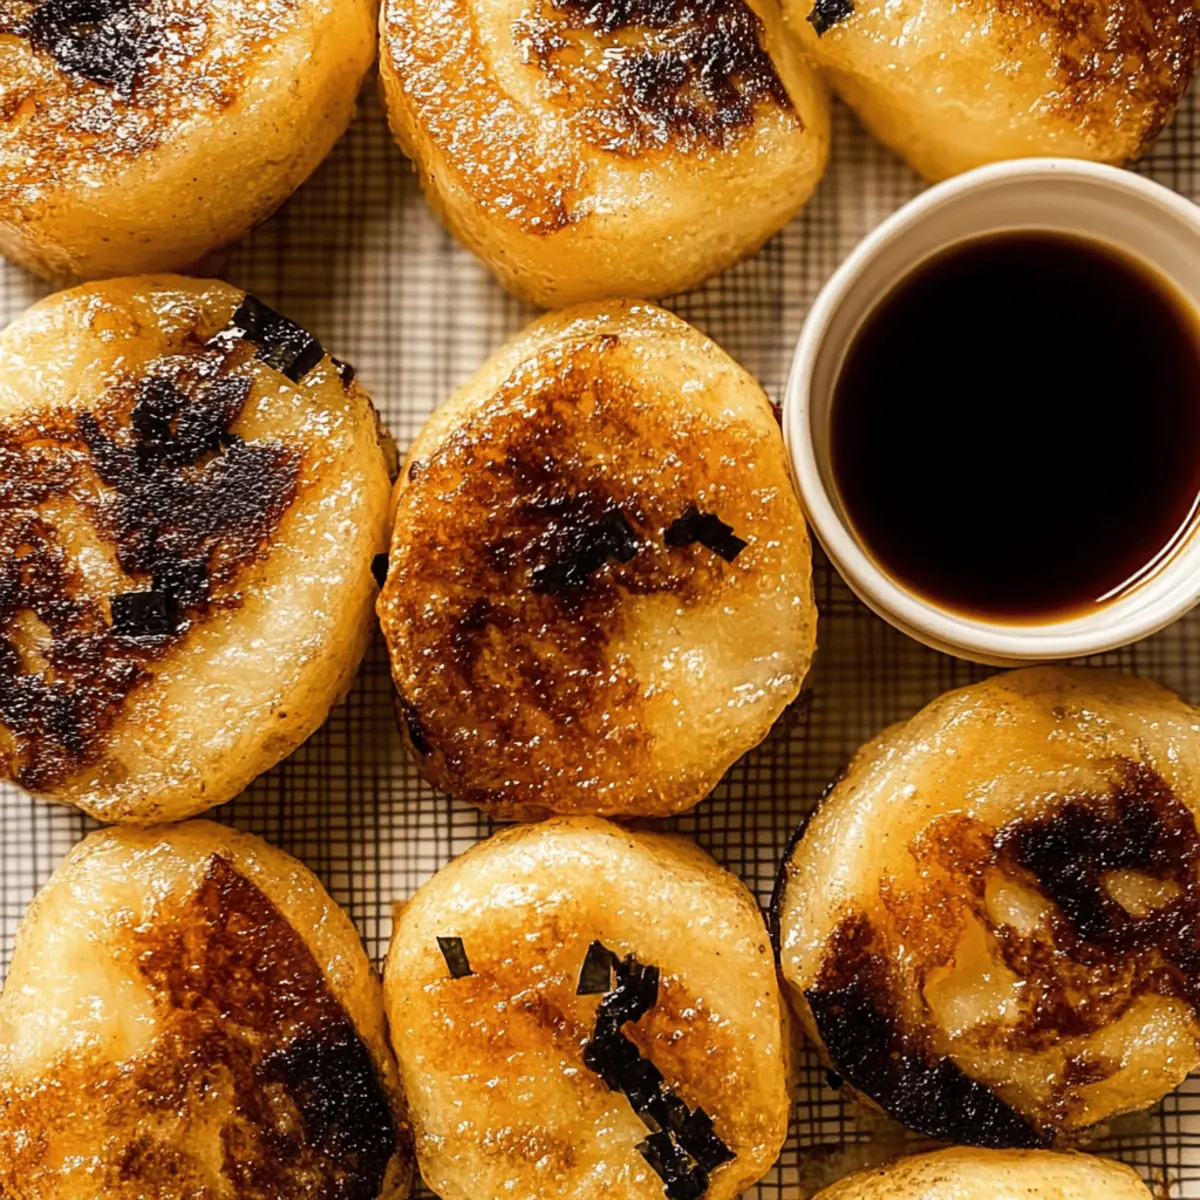
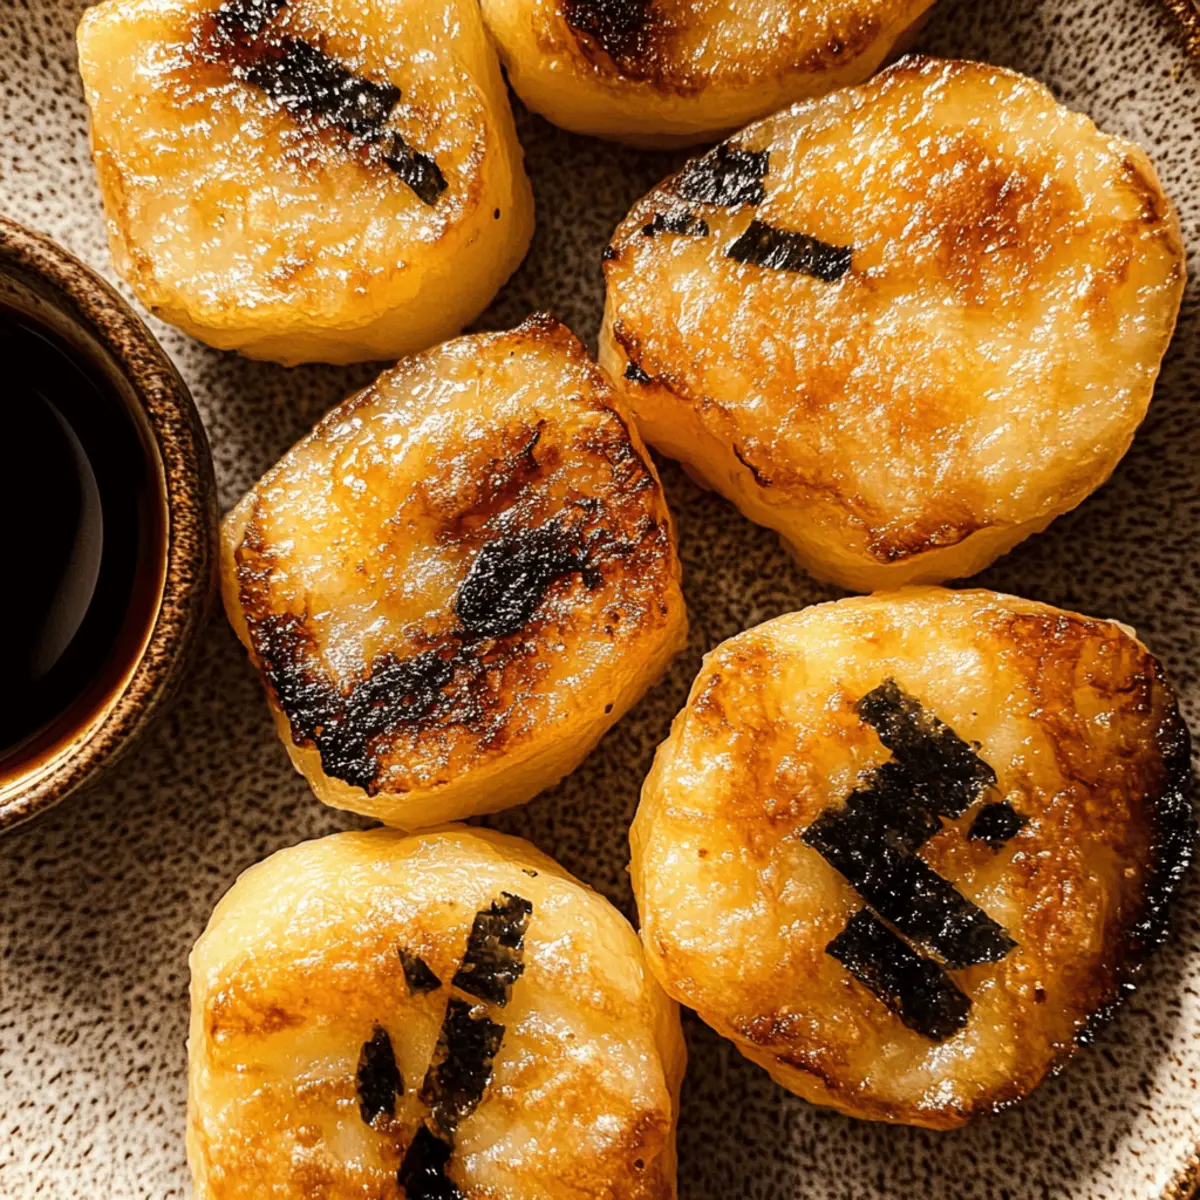
Fry the potato mochi for about 3-4 minutes on each side or until they develop a beautiful golden-brown color and crispy texture. Use a spatula to flip them carefully. As they cook, you’ll notice the delightful crunch forming outside while their soft, chewy insides remain perfectly intact, embodying the essence of delicious potato mochi.
Step 8: Prepare Sauce
While the mochi is frying, mix together ¼ cup soy sauce, 2 tablespoons of brown sugar, and 2 tablespoons of mirin in a small saucepan over low heat. Stir frequently until the sugar dissolves completely, creating a luscious sauce that will add depth to your potato mochi. This savory blend enhances the flavors beautifully, perfect for dipping.
Step 9: Wrap & Serve
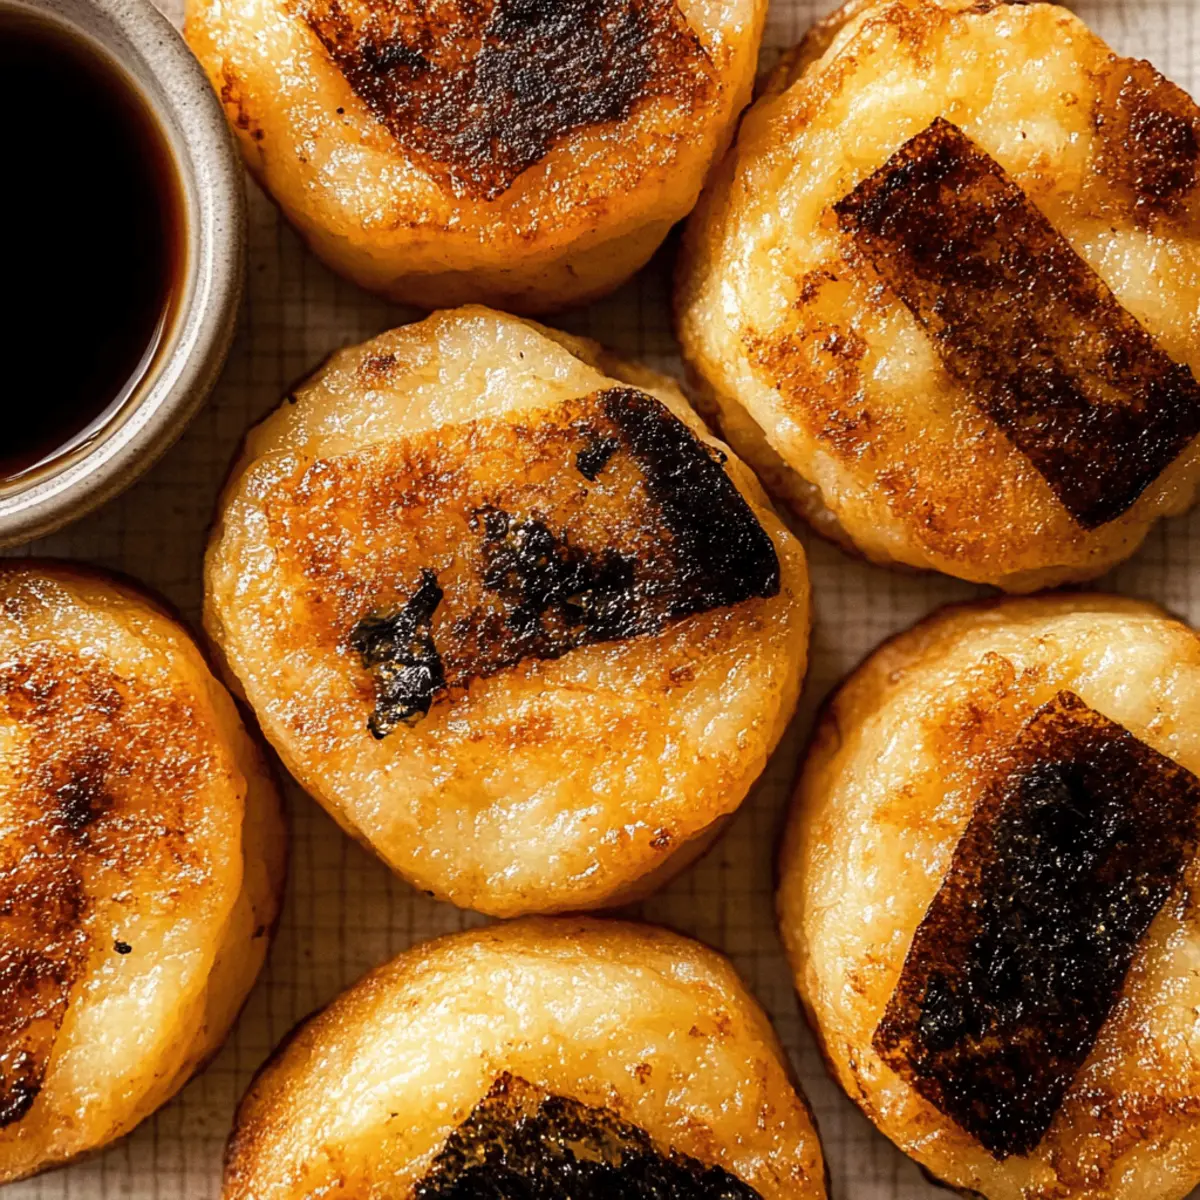
Once the mochi are golden and crispy, remove them from the oil and drain on paper towels. For a delightful twist, dip each mochi into the warm sauce and wrap with a slice of nori for a burst of umami flavor. Serve your homemade easy potato mochi warm, and enjoy the satisfying contrast of textures with every bite!
What to Serve with Easy Potato Mochi
Experience the delightful melding of flavors and textures when you build a complete meal around your beautiful potato mochi.
-
Miso-Glazed Tofu: The deep umami flavor of miso complements the chewiness of the mochi perfectly. It’s a protein-packed option that balances your meal effortlessly.
-
Stir-Fried Vegetables: A colorful mix of bell peppers, broccoli, and snap peas adds a fresh crunch, enhancing the overall experience of warmth and satisfaction.
-
Sesame-Cucumber Salad: This refreshing, tangy salad cuts through the richness of the mochi, providing a delightful contrast that excites the palate.
-
Spicy Dipping Sauce: Elevate your mochi by serving them with a homemade spicy mayo or chili soy sauce. The heat adds an extra layer of flavor that keeps you coming back.
-
Edamame Beans: Steamed edamame sprinkled with sea salt offers a delightful finger food side, creating both a texture and nutritional balance.
-
Sweet Soy Sauce Drizzle: For a delightful twist, drizzle some sweet soy sauce over the mochi before serving. It enhances the flavors with a sweet depth and glossy finish.
Indulging in these delightful pairings will transform your potato mochi into a comforting, flavorful meal that’s sure to impress!
Potato Mochi: Creative Twists Await!
Feel free to unleash your culinary creativity and customize this delectable potato mochi recipe with exciting variations that tickle your taste buds!
-
Sweet Fillings: Add red bean paste or chocolate chips inside the mochi for a delightful surprise! The sweetness will perfectly complement the chewy texture.
-
Savory Herbs: Mix in fresh chives or green onions into the potato base for an aromatic flavor boost. These fresh additions elevate your mochi, making each bite a burst of goodness.
-
Gluten-Free: Swap potato starch with tapioca starch to create a gluten-free version. Your mochi will still retain that delightful chewiness while accommodating dietary needs.
-
Cheesy Delight: Stuff your savory mochi with a slice of cheese before frying. The melty center will bring comfort food vibes to your snack time.
-
Colorful Spin: Experiment with purple sweet potatoes for vibrant, eye-catching mochi. This twist not only adds a pop of color but also a unique and delicious flavor profile.
-
Dipping Variations: Garnish your mochi with spicy mayo or sweet chili sauce instead of the traditional soy sauce. It brings a fiery kick and exciting zest to each bite.
-
Baked Option: For a lighter twist, bake your mochi instead of frying. Brush with a little oil and bake at 400°F (200°C) until crispy for a healthier version.
-
Mini Pancakes: Try shaping your potato mochi into thinner patties for mini pancakes. They’re perfect for dipping and make a fantastic addition to brunch alongside Savory Onion Potato.
With so many mouthwatering possibilities, you’ll find yourself making these potato mochi again and again!
How to Store and Freeze Potato Mochi
Room Temperature: Store leftover potato mochi in an airtight container at room temperature for up to 2-3 days to maintain freshness.
Fridge: If you want to keep them longer, refrigerate in an airtight container for up to 5 days. Reheat thoroughly before serving.
Freezer: Freeze cooked potato mochi by placing them in a single layer on a baking sheet until frozen, then transfer to a freezer bag for up to 2 months.
Reheating: For best results, reheat the frozen potato mochi in the oven or toaster oven at 350°F (175°C) for about 10-15 minutes, ensuring they regain their crispiness.
Expert Tips for Potato Mochi
-
Potato Type Matters: Choose starchy potatoes like Russets for the best chewiness. Waxy potatoes won’t provide the same texture.
-
Don’t Rush the Mash: Ensure potatoes are well-cooked and drained before mashing; slightly overcooked potatoes make it easier to achieve a smooth, lump-free dough.
-
Adjust Consistency: If your potato dough is too wet to shape, sprinkle in a bit more potato starch as needed. This will help create perfectly formed mochi.
-
Heat Control: Fry at medium heat to avoid burning while achieving that desirable golden-brown color. Too high heat can lead to an uneven cook.
-
Flavor Variations: Experiment with fillings like sweet red bean paste for sweet mochi or add herbs and spices to the savory version. Customize to your taste!
-
Wrap and Enjoy: Serve immediately after frying for the best texture. If you’re using nori, dip the mochi in sauce before wrapping to maximize flavor!
Make Ahead Options
These Easy Potato Mochi are perfect for meal prep enthusiasts! You can prepare the potato mixture and shape the mochi up to 24 hours in advance. Simply follow the initial steps—peel, boil, and mash the potatoes before mixing in the starch and other ingredients. Once shaped, place the mochi in a single layer on a parchment-lined plate and cover tightly with plastic wrap before refrigerating. When ready to fry, just heat your oil and proceed with the cooking instructions. This way, you can enjoy delicious homemade potato mochi with minimal effort on those busy weeknights, ensuring the flavors and textures remain just as delightful!
Easy Potato Mochi Recipe FAQs
What type of potatoes should I use for mochi?
Absolutely! For the best results, choose starchy potatoes like Russets. They provide the ideal texture and chewiness that we love in potato mochi. Waxy potatoes, on the other hand, won’t deliver the same delightful chew.
How should I store leftover potato mochi?
It’s easy! Keep leftover potato mochi in an airtight container at room temperature for up to 2-3 days. If you want to extend their life, store them in the fridge for up to 5 days. Just remember to reheat them thoroughly before serving to reclaim that delicious texture!
Can I freeze cooked potato mochi?
Very! To freeze, lay the cooked potato mochi in a single layer on a baking sheet until they are frozen solid. Then, transfer them to a freezer bag. They can stay fresh for up to 2 months in the freezer. When you’re ready to enjoy them again, simply reheat in the oven at 350°F (175°C) for about 10-15 minutes for that perfect crispiness.
What should I do if my mochi dough is too wet?
No worries! If your dough is a little sticky, just sprinkle in some extra potato starch. This will help absorb the moisture and make the dough easier to shape. A well-balanced mixture will allow you to roll it into smooth discs with ease.
Are these potato mochi safe for people with allergies?
Absolutely! This recipe is vegan and vegetarian-friendly, making it suitable for a variety of dietary preferences. Just be cautious with the optional additions, such as soy sauce, as they may contain gluten. Opt for tamari if you’re looking for a gluten-free option, and ensure that any additional fillings align with specific dietary needs.
Can I customize the flavor of the potato mochi?
Very much so! The beauty of potato mochi lies in its versatility. For savory options, consider mixing in fresh herbs or spices, or add cheese for a delightful twist. If you fancy something sweet, fillings like red bean paste or a drizzle of maple syrup work beautifully, allowing you to get creative with your snack!
Delicious Potato Mochi: Chewy Vegan Treats You’ll Love
Ingredients
Equipment
Method
- Peel and dice 2-3 starchy potatoes into roughly 1-inch cubes and place them in a large pot filled with cold water with a pinch of salt. Bring to a boil and cook for about 15 minutes until fork-tender.
- Drain the cooked potatoes using a colander and let them sit for a minute to steam off excess moisture.
- Mash the drained potatoes until completely smooth and free of lumps.
- Incorporate 1 cup of potato starch, 2 tablespoons of vegan butter, and a pinch of salt into mashed potatoes and stir until combined into a cohesive dough.
- Shape about ¼ cup of the potato mixture into a ball and flatten it into a disc about ½ inch thick. Continue shaping the remaining dough.
- In a large frying pan, heat about ½ inch of cooking oil over medium heat and test readiness by dropping in a small piece of potato mixture.
- Fry the potato mochi for 3-4 minutes on each side until golden-brown and crispy.
- While frying, mix together ¼ cup soy sauce, 2 tablespoons brown sugar, and 2 tablespoons mirin over low heat until the sugar dissolves.
- Once fried, drain mochi on paper towels, dip in the sauce, and wrap with a piece of nori, then serve warm.