

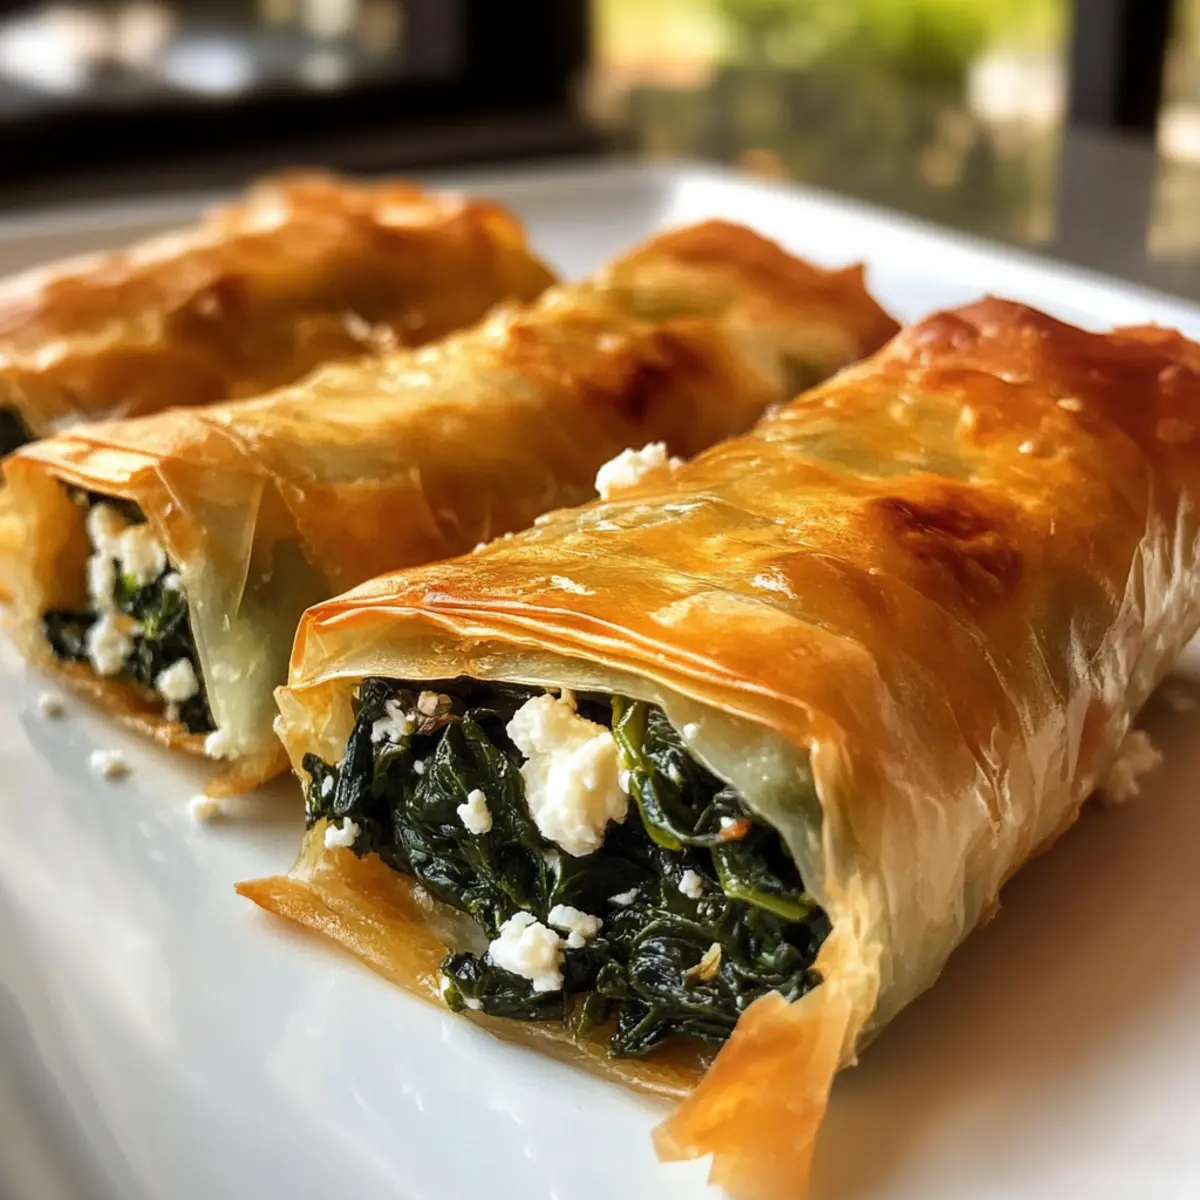
The sound of a sizzling pan filled with the rich aroma of spinach and feta instantly transports me to the heart of a bustling Greek kitchen. Today, I’m thrilled to share a delightful twist on a classic: Rice Paper Spanakopita. This quick and easy recipe swaps traditional phyllo dough for crispy rice paper, making it a gluten-free choice that’s lighter yet just as satisfying. Perfect as an appetizer, a light lunch, or a charming side dish, this version of spanakopita not only cuts down prep time but also offers a fun way to indulge in beloved Mediterranean flavors. Are you ready to take your taste buds on a delicious journey with this savory delight? Let’s dive in!
Why is Rice Paper Spanakopita Amazing?
Unexpected Crunch: This recipe replaces traditional phyllo dough with rice paper, offering a unique twist that’s both crispy and delightful.
Quick and Easy: You’re just a few steps away from enjoying this savory treat—perfect for those busy weeknights!
Gluten-Free Option: By using rice paper, you can enjoy this dish without the gluten, making it suitable for guests with dietary restrictions.
Versatile Filling: Feel free to switch out the spinach for other greens or pack in your favorite herbs for a tailored flavor experience.
Crowd-Pleasing Delight: Whether it’s a party appetizer or a cozy family lunch, you’re sure to impress with this delicious spanakopita! For additional fun, try pairing it with a refreshing cucumber-tomato salad for the perfect meal balance.
Rice Paper Spanakopita Ingredients
For the Filling
- Cooked Spinach – Provides the foundational leafy flavor; feel free to swap for any cooked greens like kale.
- Feta Cheese – Adds a creamy, tangy depth; you can substitute with goat cheese or a cream cheese-parmesan mix for a richer filling.
- Egg – Acts as a binder for your filling and gives a beautiful golden-brown finish to the outside.
For the Wrapper
- Rice Paper – The star of this dish, providing a delightful crunch; if unavailable, try using another gluten-free wrapper.
For Topping
- Sesame Seeds – Sprinkle on top for extra crunch and flavor; these can be replaced with dried oregano or za’atar for a different twist.
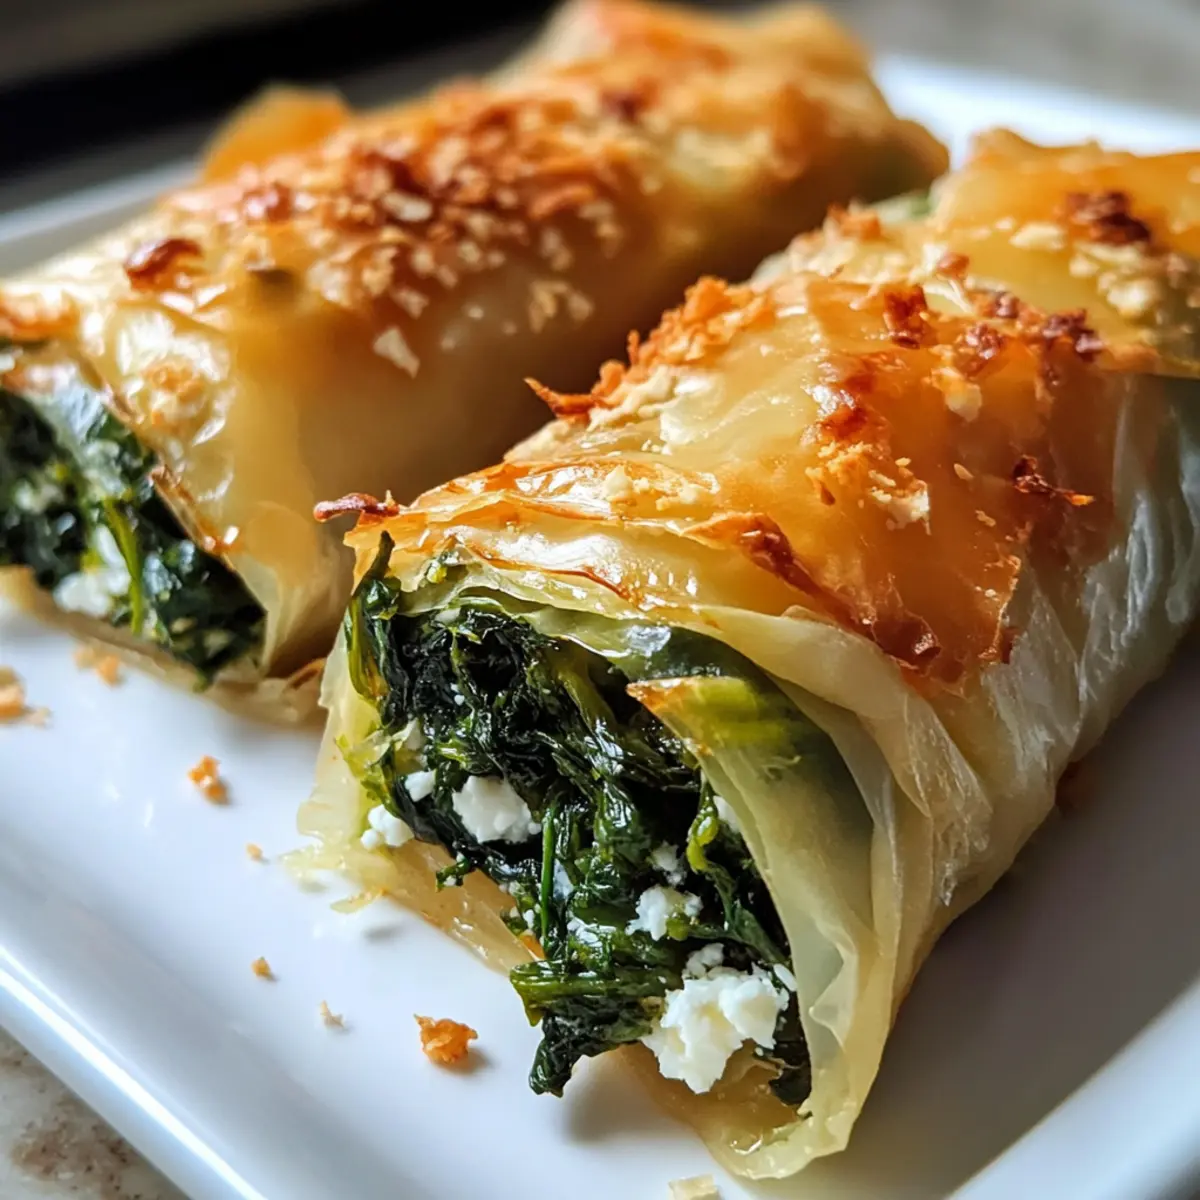
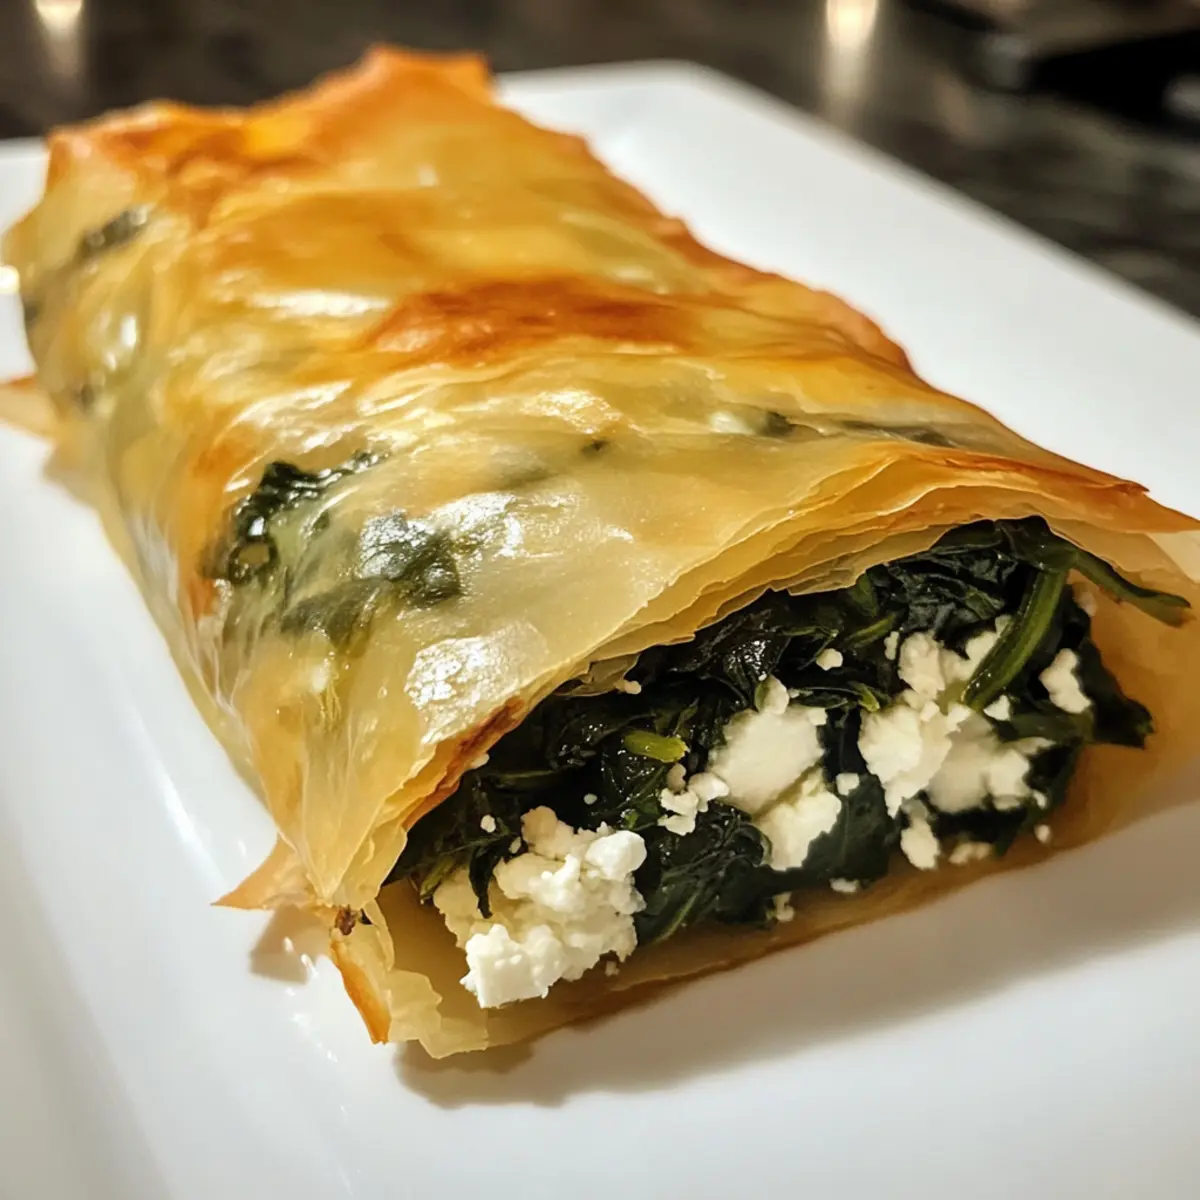
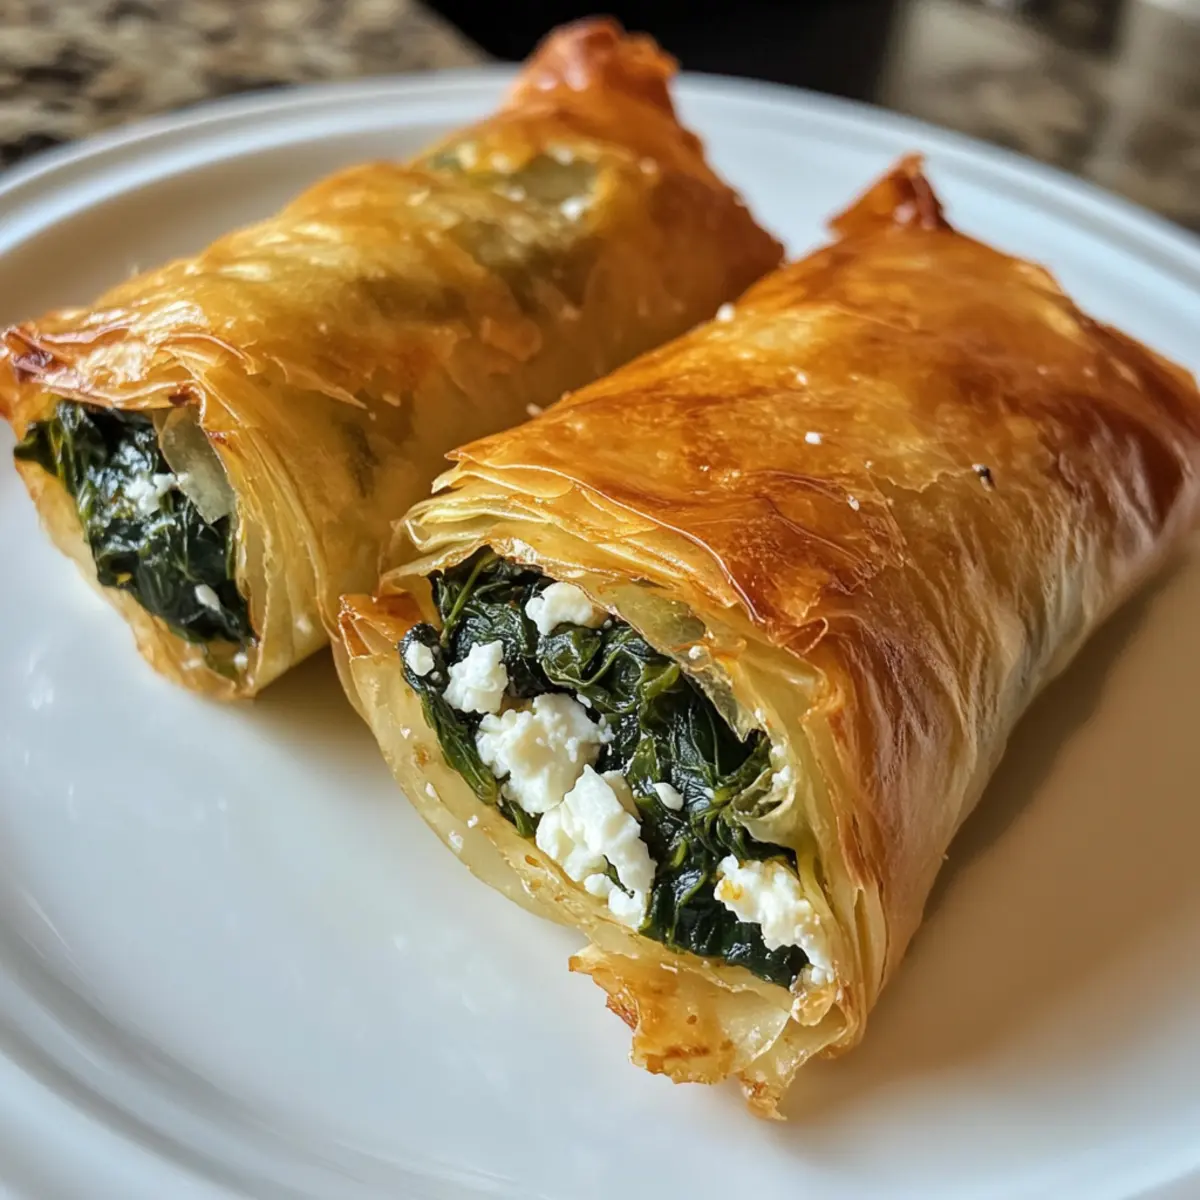
This Rice Paper Spanakopita combines simple ingredients for a light yet savory treat that’s sure to impress!
Step‑by‑Step Instructions for Rice Paper Spanakopita
Step 1: Preheat the Oven
Start by preheating your oven to 180°C (350°F). This temperature ensures that your Rice Paper Spanakopita comes out perfectly crispy and golden. As the oven warms, prepare your baking sheet by lining it with parchment paper, which will help prevent sticking and make cleanup easy.
Step 2: Prepare the Egg Wash
In a small bowl, crack one egg and beat it until smooth. This egg wash will serve two purposes: it seals the rice paper and gives the finished spanakopita a beautiful, golden sheen. Set the egg wash aside for later use while you work on the rice paper wrappers.
Step 3: Assemble the Rice Paper Wraps
Take two rice paper sheets and dip them quickly into the egg wash, allowing any excess to drip off. Overlap the sheets slightly to create a wider base for the filling. Keep them on a clean surface, ready for the delicious spinach and feta filling that awaits.
Step 4: Mix the Filling
In a bowl, combine your cooked spinach and crumbled feta cheese, mixing well to create a flavorful filling. For an added touch, you can incorporate herbs or spices if desired. Once mixed, place a generous tablespoon of the filling in the center of the rice paper, preparing to wrap it snugly.
Step 5: Roll the Spanakopita
Fold the sides of the rice paper over the filling, then carefully roll it up from the bottom to form a tight log shape. Ensure no filling spills out, pressing down gently to keep everything secure. This step is key to achieving the ideal shape for your Rice Paper Spanakopita.
Step 6: Brush and Sprinkle
Place the rolled Spanakopita on the prepared parchment-lined baking sheet. Brush the outside with more egg wash to promote browning. For an added crunch and flavor, generously sprinkle sesame seeds on top before sending it into the oven.
Step 7: Bake the Spanakopita
Place the baking sheet in your preheated oven and bake the Rice Paper Spanakopita for 30 minutes. Keep an eye on them; they should turn a lovely golden color as they cook and become crisp. This is when those delightful Mediterranean flavors start to fill your kitchen!
Step 8: Broil for Extra Crispiness
Once the baking time is up, switch your oven to grill/broil mode. Broil the spanakopita for about 5 minutes on each side. This step will enhance the crunchiness and provide a beautiful finish. Turn them carefully halfway through so both sides develop that perfect golden color.
Step 9: Serve Your Creation
Remove the Rice Paper Spanakopita from the oven and let them cool slightly on the baking sheet. Serve immediately while they’re still warm and crispy. These can be enjoyed alone or paired with a refreshing cucumber-tomato salad for a delightful meal!
Make Ahead Options
These Rice Paper Spanakopita are perfect for meal prep enthusiasts looking to save time during busy weeknights! You can assemble the spanakopita by filling and rolling them up to 24 hours in advance. To do this, simply prepare your rolls and place them in a single layer on a parchment-lined baking sheet, cover tightly with plastic wrap, and refrigerate. This helps maintain their quality and flavor. When you’re ready to enjoy your freshly baked spanakopita, bake them straight from the fridge, adding an extra 5-10 minutes to the cooking time to ensure they’re heated through and crisp. This way, you can have a delicious, homemade treat with minimal effort!
How to Store and Freeze Rice Paper Spanakopita
Fridge: Store any leftover Rice Paper Spanakopita in an airtight container for up to 2 days. Reheat in the oven or air fryer for the best texture, avoiding the microwave which may make them soggy.
Freezer: To freeze, assemble the spanakopita but do not bake. Wrap each roll tightly in plastic wrap and place them in a freezer-friendly bag for up to 2 months. Bake directly from frozen, adding 5-10 minutes to the cooking time.
Layering: If stacking in the fridge or freezer, place parchment paper between layers to prevent them from sticking together and ensure easy removal.
Reheating: For optimal crispness, always reheat in an oven or air fryer instead of the microwave. This way, you can enjoy that delicious crunch every time!
What to Serve with Crispy Rice Paper Spanakopita?
Elevate your meal experience with delightful pairings that complement the savory, crispy goodness of this spanakopita.
-
Cucumber-Tomato Salad: A refreshing combination of crunch and acidity that balances the rich flavors of the spanakopita beautifully. The coolness enhances every bite!
-
Lemony Yogurt Dip: Creamy and tangy, this dip adds moisture and zesty brightness, creating a harmonious contrast with the crunchy exterior of the rice paper.
-
Herbed Quinoa: The nutty, fluffy quinoa adds a wholesome touch, while fresh herbs infuse a bright flavor. It’s a hearty yet light side that pairs wonderfully!
-
Roasted Vegetables: Opt for seasonal veggies like zucchini, bell peppers, or asparagus. Their caramelization and natural sweetness complement the savory filling perfectly.
-
Mediterranean Olives: A small bowl of assorted olives adds a briny, savory depth. The saltiness pairs exceptionally well with the creamy feta, enhancing your culinary journey.
-
Sparkling Water with Mint: Refresh your palate with this light drink that cleanses and uplifts the flavors of your meal. It’s a simple yet elegant touch!
Indulging in any of these pairings alongside your Rice Paper Spanakopita will certainly create a feast that keeps everyone coming back for more!
Expert Tips for Rice Paper Spanakopita
- Moisture Control: Wet the rice paper quickly and avoid soaking to prevent a soggy texture. Pat cooked greens dry before mixing to ensure crispiness.
- Watch the Bake: Every oven is different! Keep an eye on your spanakopita to achieve that perfect golden-brown color without overcooking.
- Seal Properly: Ensure your rolls are tightly sealed to avoid leaks during baking. If needed, add a bit more egg wash to secure the edges.
- Serving Fresh: For the best experience, serve your Rice Paper Spanakopita immediately after baking. Reheated leftovers may lose their crunchiness.
- Flavor Your Filling: Feel free to experiment by adding herbs or spices to your filling; this makes each batch uniquely delicious and tailored to your taste!
Rice Paper Spanakopita Variations
Feel free to get creative with this savory delight—each variation adds a fresh twist to the classic flavors!
- Nutty Addition: Blend in some chopped walnuts or almonds for extra crunch and a lovely nutty flavor that complements the filling beautifully.
- Herb-Infused: Add fresh herbs like dill or parsley into the spinach and feta mixture, enhancing the Mediterranean flair with every bite.
- Spicy Kick: Incorporate crushed red pepper flakes or chopped jalapeños into the filling for a zesty twist that ignites the taste buds.
- Cheesy Medley: Mix the feta with a medley of your favorite cheeses, like mozzarella or asiago, for a richer, creamier filling that melts to perfection.
- Exotic Flavor: Try spicing up the filling with a pinch of cumin or coriander for a unique, warm flavor profile reminiscent of Middle Eastern cuisine.
- Veggie Boost: Swap in roasted peppers or artichokes for a colorful inclusion that brightens up this dish while packing in extra flavor and texture.
- Sweet Surprise: For a sweet and savory touch, add a spoonful of sun-dried tomatoes or the zest of a lemon to your spinach filling, creating a burst of enticing flavor.
- Crispy Alternative: Experiment with phyllo pastry for a more traditional take, achieving that classic flaky texture while still enjoying that filling you love.
For a delightful experience, consider pairing your Rice Paper Spanakopita with a refreshing cucumber-tomato salad or a zesty yogurt dip to balance all those wonderful flavors!
Rice Paper Spanakopita Recipe FAQs
How do I choose the right type of rice paper?
Absolutely! When selecting rice paper, look for brands that are thin and flexible, typically found in Asian grocery stores or international aisle sections. They should be clear and smooth, without dark spots or cracks, indicating freshness. For a more chewy texture, opt for thicker rice papers, but ensure they still allow for even frying or baking.
How should I store leftover Rice Paper Spanakopita?
Very simple! Store any leftovers in an airtight container in the fridge for up to 2 days. To reheat, place them in an oven set at 180°C (350°F) for about 10-15 minutes to regain their crispiness. Avoid microwaving as it tends to make them soggy!
Can I freeze Rice Paper Spanakopita?
Yes, you can! To freeze, prepare the spanakopita rolls but do not bake them. Wrap each roll tightly in plastic wrap and group them in a freezer-safe bag, lasting up to 2 months. When you’re ready to enjoy them, bake directly from frozen—just add an extra 5-10 minutes to the original baking time!
What if my rice paper is tearing while assembling?
Absolutely possible! If your rice paper is tearing, try reducing the soaking time in the egg wash. I recommend dipping it just until it’s slightly pliable rather than fully soaked, which lessens the chance of tears. If a sheet does tear, simply place the filling on it and use another piece to cover it up like a patch!
Is this recipe suitable for people with allergies?
Yes, indeed! This Rice Paper Spanakopita can be a good vegetarian option, but always check the specific brands of rice paper, feta, and any spices used, as they can contain allergens. If you have concerns about dairy, feel free to use a non-dairy cheese alternative to keep it safe for lactose-intolerant friends or family members.
Can I add different fillings to the Rice Paper Spanakopita?
Of course! This recipe is quite versatile. Feel free to mix it up by adding ingredients like cooked mushrooms, cheeses, or herbs. For example, adding garlic or dill can enhance the flavor profile beautifully. Adjust to your taste, and let the creativity flow!
Savory Rice Paper Spanakopita That Crunches with Every Bite
Ingredients
Equipment
Method
- Preheat your oven to 180°C (350°F). Prepare a baking sheet lined with parchment paper.
- In a small bowl, crack one egg and beat it until smooth to make the egg wash.
- Take two rice paper sheets, dip them into the egg wash, allowing excess to drip off, and overlap slightly.
- In a bowl, combine cooked spinach and crumbled feta cheese to create the filling.
- Place a generous tablespoon of the filling in the center of the rice paper and roll it tightly to form logs.
- Brush the outside of the rolled spanakopita with egg wash and sprinkle sesame seeds on top.
- Bake the spanakopita in the preheated oven for 30 minutes until golden and crisp.
- Switch to broil for an additional 5 minutes on each side for extra crispiness.
- Remove from the oven, cool slightly, and serve while still warm.