

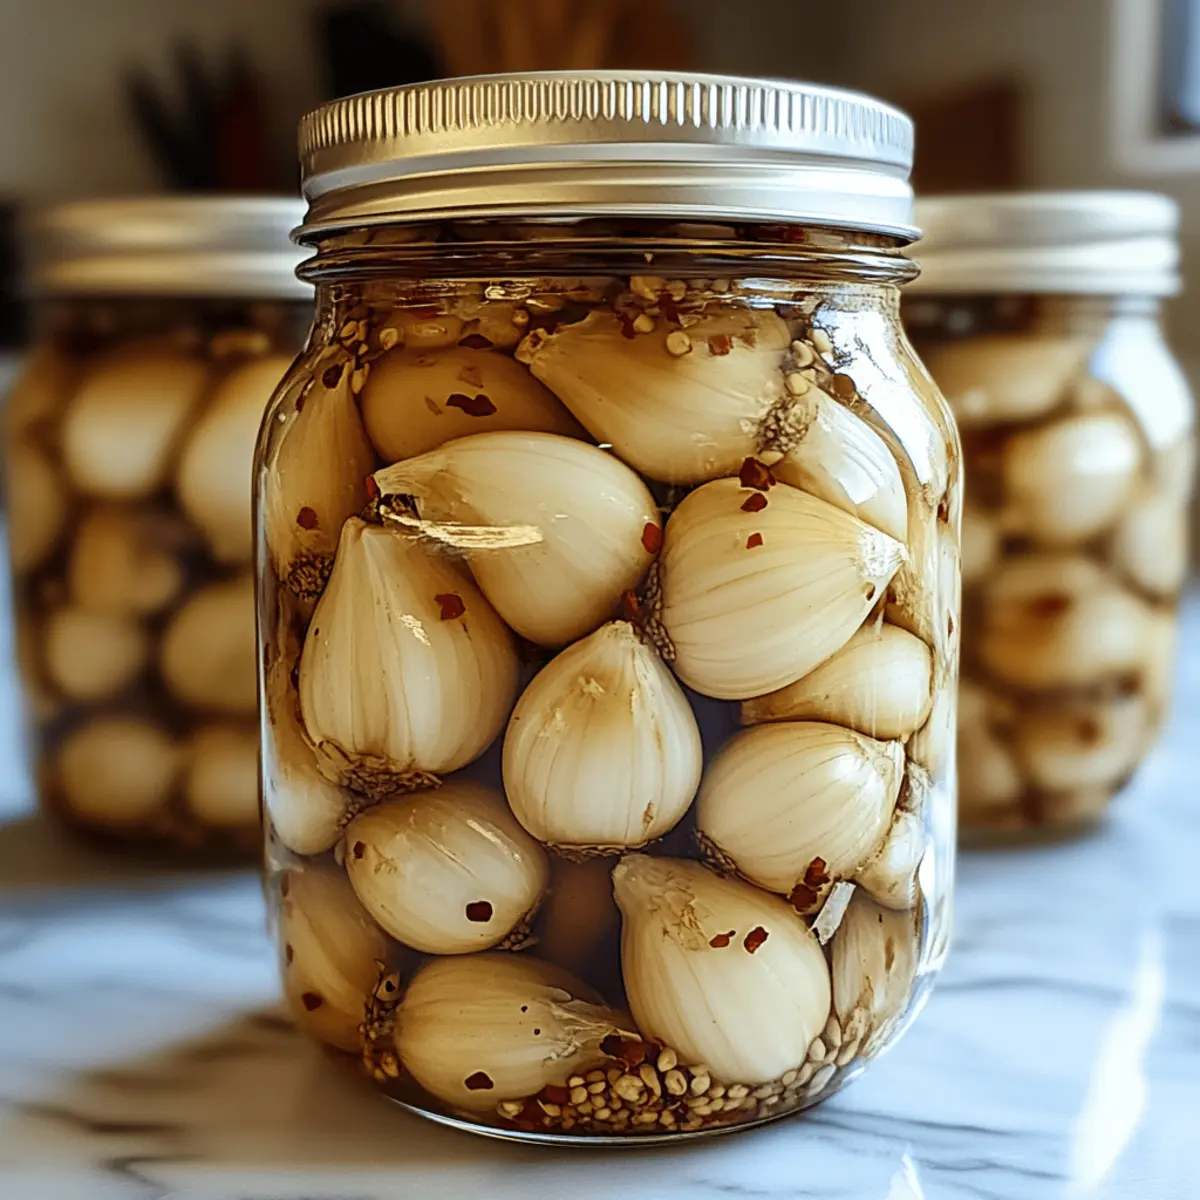
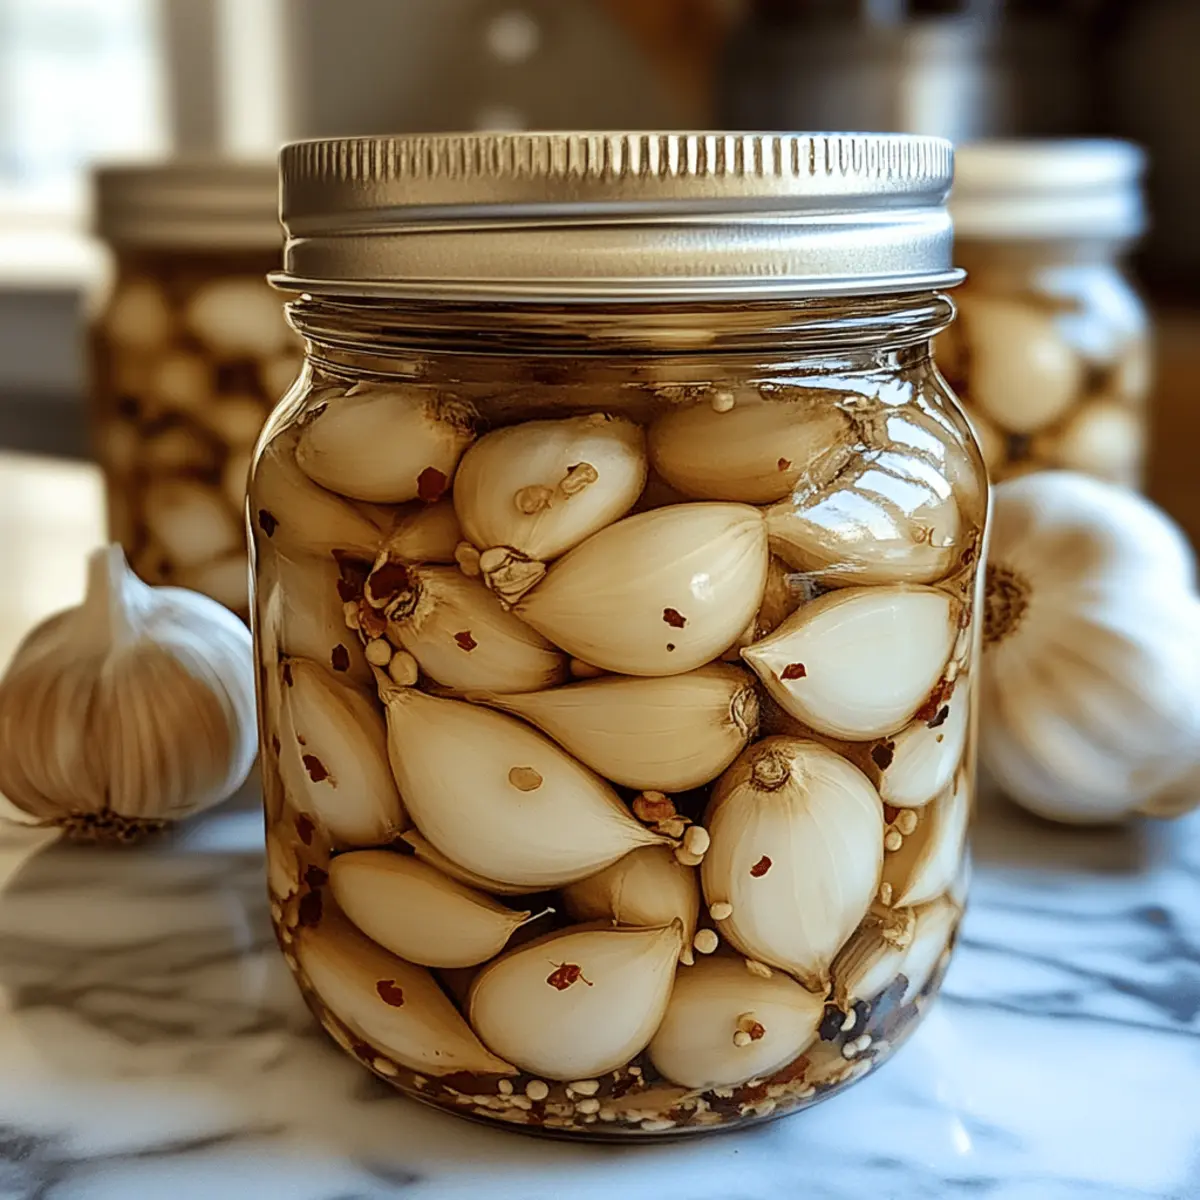
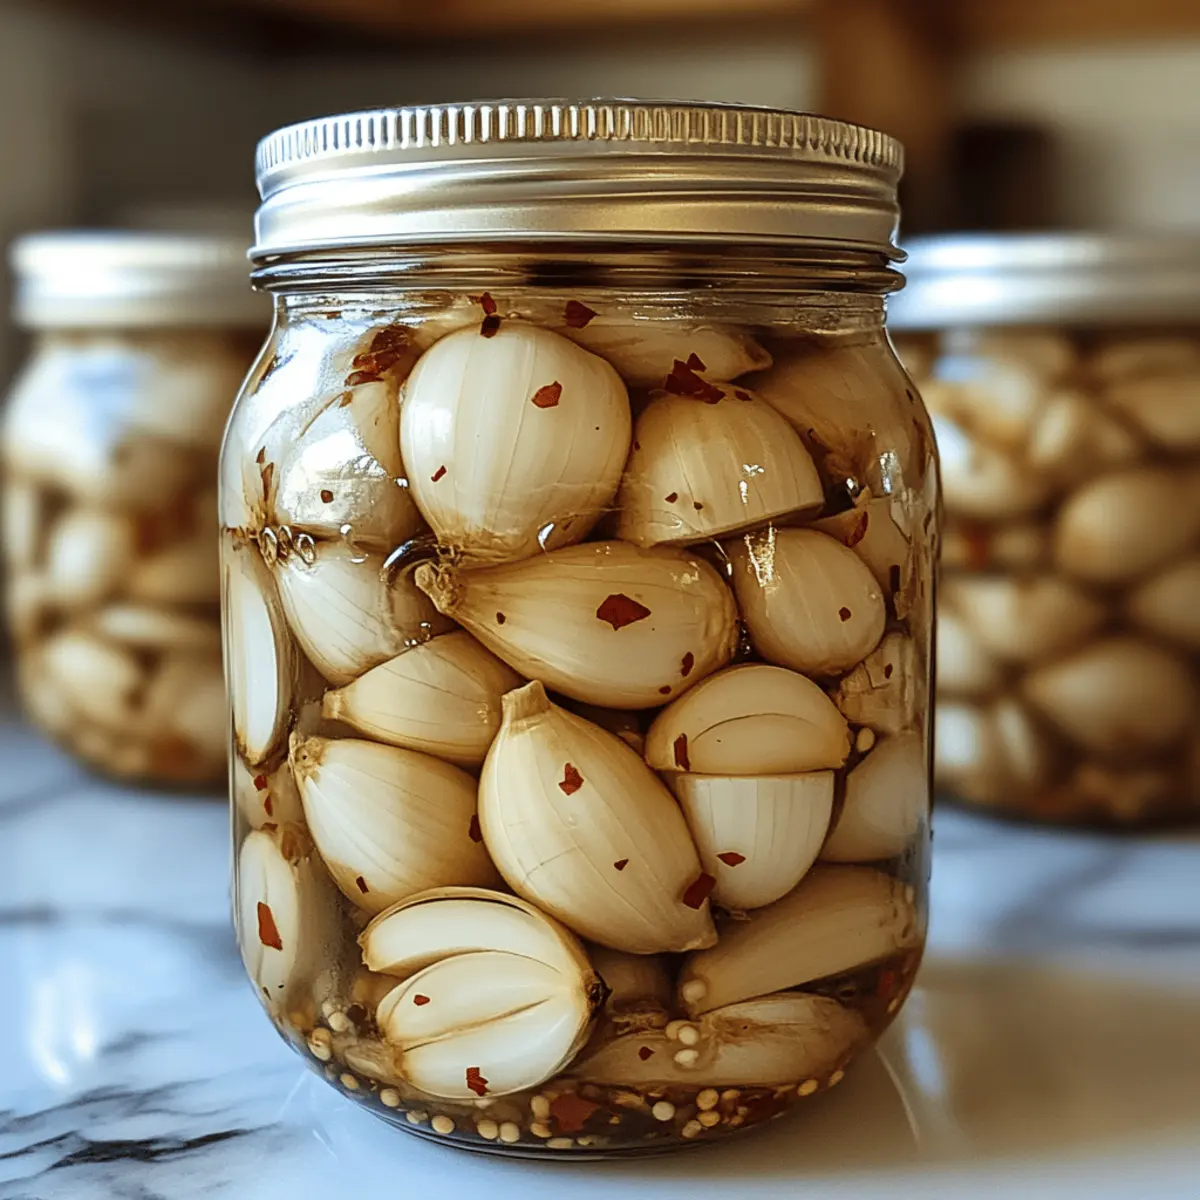
A vibrant burst of flavor awaits anyone who dares to open a jar of Spicy Pickled Garlic. Whether you’re craving a zesty kick for your next meal or simply want to elevate your snacking game, this tangy condiment delivers on both counts. Made with fresh garlic and a sprinkle of red pepper flakes, it transforms ordinary dishes into extraordinary culinary creations. Plus, it’s a brilliant way to add a health-conscious twist to your meals—as low-calorie as it is addictive. Imagine enjoying a spoonful with grilled meats or as a bold addition to a charcuterie board. Ready to discover how easy it is to craft this kick of flavor at home? Let’s get started!
Why Is Spicy Pickled Garlic a Must-Try?
Elevate your meals with this unique condiment that packs a flavorful punch, enhancing everything from sandwiches to salads. Bold heat from red pepper flakes complements the crispness of the garlic, creating a perfect balance. Easy to make, you can whip up a batch with minimal effort using just a few fresh ingredients. Long-lasting flavor means you can enjoy it for months to come, transforming ordinary meals into standout dishes. And if you’re looking for more ways to spice up your cooking, try pairing it with our Garlic Butter French Fries or deliciously savory Honey Garlic Slow creations!
Spicy Pickled Garlic Ingredients
• Get ready to create something delightful!
For the Pickling Mixture
- Garlic – Fresh, firm cloves are essential for the best flavor in your Spicy Pickled Garlic.
- Red Pepper Flakes – Adjust the amount to control the heat level; more flakes mean more spice!
- Vinegar – White vinegar or apple cider vinegar is perfect, acting as both a flavor enhancer and preservative.
- Water – Use filtered or boiled water to balance acidity and ensure a clean taste.
- Salt – Kosher or sea salt is recommended for its flavor-enhancing properties that also aid in preservation.
Storage Tips
- Sterilized Jars – Ensure your jars are properly sterilized to keep your pickled garlic fresh for an extended time.
- Sealing and Refrigeration – Keep your spicy pickled garlic sealed and refrigerated for maximum longevity and flavor.
Step‑by‑Step Instructions for Spicy Pickled Garlic
Step 1: Prepare the Garlic
Start by peeling the fresh garlic cloves, ensuring they are firm and free from blemishes. Typically, about two cups of cloves will yield enough for a couple of jars, so prepare accordingly. Once peeled, you might want to lightly smash them with the flat side of a knife to enhance the flavor and ensure they pick up the brine beautifully.
Step 2: Make the Pickling Mixture
In a medium saucepan, combine equal parts water and vinegar (approximately two cups each) along with two tablespoons of kosher salt and a teaspoon of red pepper flakes. Heat the mixture over medium-high heat, stirring until the salt dissolves. Bring it to a gentle boil for about 2-3 minutes, allowing the flavors to meld together and develop a fragrant aroma.
Step 3: Sterilize the Jars
While the pickling mixture is heating, it’s crucial to sterilize your jars to prevent spoilage of your Spicy Pickled Garlic. Place clean, glass jars and lids in a pot of boiling water for 10 minutes. Alternatively, run them through a hot cycle in the dishwasher. This ensures that your jars are ready to safely hold the garlic and brine after cooling.
Step 4: Pack the Garlic in Jars
Once your jars are sterilized, carefully remove them from the hot water using tongs. Pack the prepared garlic cloves tightly into each jar. Leave a bit of space at the top, as the brine will fill in around the cloves. This method ensures maximum flavor absorption and that each bite of garlic is infused with the spicy pickling mixture.
Step 5: Pour the Hot Brine
With the garlic packed securely in the jars, carefully pour the hot pickling mixture over the garlic, ensuring that all cloves are fully submerged. The brine should cover the garlic completely while leaving about half an inch of headspace at the top. This space is vital for the expansion that occurs as the garlic picks up the flavors and the brine cools down.
Step 6: Seal and Cool
Seal each jar tightly with its lid and allow them to cool to room temperature. This cooling phase is essential as it helps create a vacuum seal for your Spicy Pickled Garlic, ensuring longevity. You can set them aside on your kitchen counter for about 30 minutes before refrigerating them, where the flavors will deepen over time.
Step 7: Refrigerate and Wait
After your jars have cooled, place them in the refrigerator and allow the garlic to pickle for at least one week. The waiting period helps develop the bold, spicy flavors that make this condiment so unique. For an even more intense flavor, consider letting them sit for two weeks before indulging—your patience will be rewarded!
Spicy Pickled Garlic Variations & Substitutions
Customization is the heart of cooking, and this spicy condiment welcomes your personal touch to elevate its flavor profile!
- Milder Heat: Substitute red pepper flakes with whole peppercorns for a more subdued spice that still packs a punch.
- Vinegar Swap: Experiment with rice vinegar instead of white or apple cider vinegar for a gentler kick and a hint of sweetness.
- Herb Infusion: Add fresh herbs like dill or bay leaves into the jars for a delightful aromatic twist that complements the garlic beautifully.
- Garlicky Goodness: Toss in a few smashed garlic cloves alongside the whole ones for an extra burst of flavor in every bite.
- Citrus Zing: Incorporate a splash of lemon juice or lime juice to brighten up the brine, enhancing the tanginess of the pickled garlic.
- Smoky Flavor: Mix in a dash of smoked paprika or liquid smoke for a wonderfully complex, smoky essence that transforms the taste experience.
- Sweet & Spicy: Add a teaspoon of sugar to the pickling mixture for a sweet twist that balances the heat perfectly. A delightful surprise awaits!
- Herbal Kick: Infuse some herbs like thyme or oregano in the brine to create a unique flavor profile that pairs exceptionally well with roasted dishes.
Feel free to explore these delicious variations, and for more inspiring culinary creations, try our Spicy Green Pepper or the comforting Heirloom Herb Garlic recipes!
How to Store and Freeze Spicy Pickled Garlic
Fridge: Store your Spicy Pickled Garlic in the refrigerator, where it can last for several months if kept in sealed jars.
Room Temperature: Avoid storing pickled garlic at room temperature to prevent spoilage. Always keep it chilled for maximum freshness.
Freezer: For longer storage, you can freeze the pickled garlic in airtight containers. It will maintain its flavor for up to 6 months, though the texture may change slightly.
Reheating: Enjoy the pickled garlic straight from the jar cold, or let it come to room temperature before serving; no reheating is necessary.
Expert Tips for Spicy Pickled Garlic
• Sterilization Matters: Ensure your jars are properly sterilized to prevent spoilage, using boiling water or a hot dishwasher cycle.
• Adjust the Heat: Modify the amount of red pepper flakes to suit your taste level; start with less if you’re uncertain, as you can always add more.
• Flavor Depth: For a richer taste, allow the garlic to pickle for two weeks instead of one—your patience will be greatly rewarded!
• Seal it Tight: Ensure the jars are sealed well to maintain freshness. A good seal prevents air from spoiling your Spicy Pickled Garlic.
• Experiment Freely: Don’t hesitate to try different vinegars or spices; they can create delightful variations and enhance your pickling experience!
Make Ahead Options
Spicy Pickled Garlic is a fantastic recipe for busy home cooks looking to save time without sacrificing flavor! You can prepare the garlic and make the pickling mixture up to 24 hours in advance. Simply peel and pack the garlic into sterilized jars, then refrigerate them until you’re ready to pour the hot brine over them. This not only helps flavor absorption but also allows you to enjoy a quick assembly later. Store the jars in the fridge and let them pickle for at least a week before serving; the longer they sit, the better the taste! Just remember to seal tightly to maintain freshness, and you’ll have a delightful condiment at your fingertips whenever you need a spicy kick!
What to Serve with Spicy Pickled Garlic
Elevate your meals by pairing Spicy Pickled Garlic with delightful accompaniments that elevate everyday dishes into extraordinary feasts.
- Creamy Mashed Potatoes: The velvety texture of mashed potatoes complements the crunchy spiced garlic, balancing heat with creaminess.
- Grilled Chicken Skewers: These smoky skewers paired with tart pickled garlic add zing, transforming a simple dish into a gourmet delight.
- Fresh Garden Salad: Toss in some spicy pickled garlic for a punchy zing that enhances leafy greens and fresh vegetables.
- Charcuterie Board: A vibrant addition to your cheese and meat platter, spicy pickled garlic brings a zesty kick that works well with rich flavors.
For a unique twist, mix pickled garlic into hummus for an exciting dip that’s perfect for entertaining guests or enjoying during a cozy night at home.
- Beer or Cider Pairing: Sip on a crisp lager or fruity cider; their refreshing profiles counterbalance the bold flavors of the pickled garlic.
- Apricot Chutney: This sweet condiment contrasts beautifully with the spiciness, creating a flavor explosion on your taste buds.
Remember, the key to a delightful meal is combining contrasting flavors and textures, making Spicy Pickled Garlic an exciting star in your culinary adventures!

Spicy Pickled Garlic Recipe FAQs
How do I select the best garlic for this recipe?
Absolutely! For the best Spicy Pickled Garlic, choose fresh, firm cloves. Look for heads of garlic that feel heavy and are free from any dark spots or blemishes. The fresher the garlic, the more vibrant the flavor you’ll achieve in your pickling process.
How should I store the pickled garlic once it’s made?
To maintain the flavor and freshness of your Spicy Pickled Garlic, keep it in the refrigerator, sealed tightly in sterilized jars. If stored properly, it can last for several months—typically up to 4 to 6 months. Just ensure the garlic is always submerged in the brine to protect it from spoilage.
Can I freeze Spicy Pickled Garlic for later use?
Yes, you can! For longer storage, transfer the garlic into airtight containers or freezer bags. You can freeze it for up to 6 months. However, be aware that freezing may alter the texture, making the cloves slightly softer once thawed. To use, simply pop them out of the freezer and enjoy them straight from the jar or let them come to room temperature before serving!
What should I do if my pickling brine doesn’t fully cover the garlic?
If you find that the brine doesn’t fully cover the garlic, you can create additional brine by mixing equal parts water and vinegar along with a little salt, then boiling it until the salt dissolves. Pour this additional brine into the jars until the cloves are fully submerged. This step is crucial, as it ensures the garlic stays fresh and pickles properly.
Is Spicy Pickled Garlic safe for people with dietary restrictions?
Yes! Spicy Pickled Garlic is a low-calorie condiment suitable for various diets. However, do keep in mind if someone has a garlic allergy, they should avoid this recipe altogether. Additionally, if you’re concerned about sodium intake, consider reducing the salt in the brine—though it may affect preservation slightly.
How long should I wait before enjoying my pickled garlic?
To enjoy the best flavor experience, allow your Spicy Pickled Garlic to pickle for at least one week in the fridge. For a more intense flavor, waiting two weeks is beneficial, as it gives the garlic more time to absorb the flavors from the brine. Patience truly rewards you with a delectable condiment!
Spicy Pickled Garlic: Elevate Your Dishes with Bold Flavor
Ingredients
Equipment
Method
- Start by peeling the fresh garlic cloves, ensuring they are firm and free from blemishes.
- In a medium saucepan, combine water and vinegar with salt and red pepper flakes. Heat over medium-high, stirring until salt dissolves, and boil for 2-3 minutes.
- Sterilize your jars by placing them in boiling water for 10 minutes or running them through a hot dishwasher cycle.
- Pack the prepared garlic cloves tightly into each jar, leaving space at the top for brine.
- Pour the hot pickling mixture over the garlic, submerging all cloves while leaving half an inch headspace.
- Seal each jar tightly and let cool to room temperature for about 30 minutes before refrigerating.
- Refrigerate for at least one week to allow flavors to develop.