

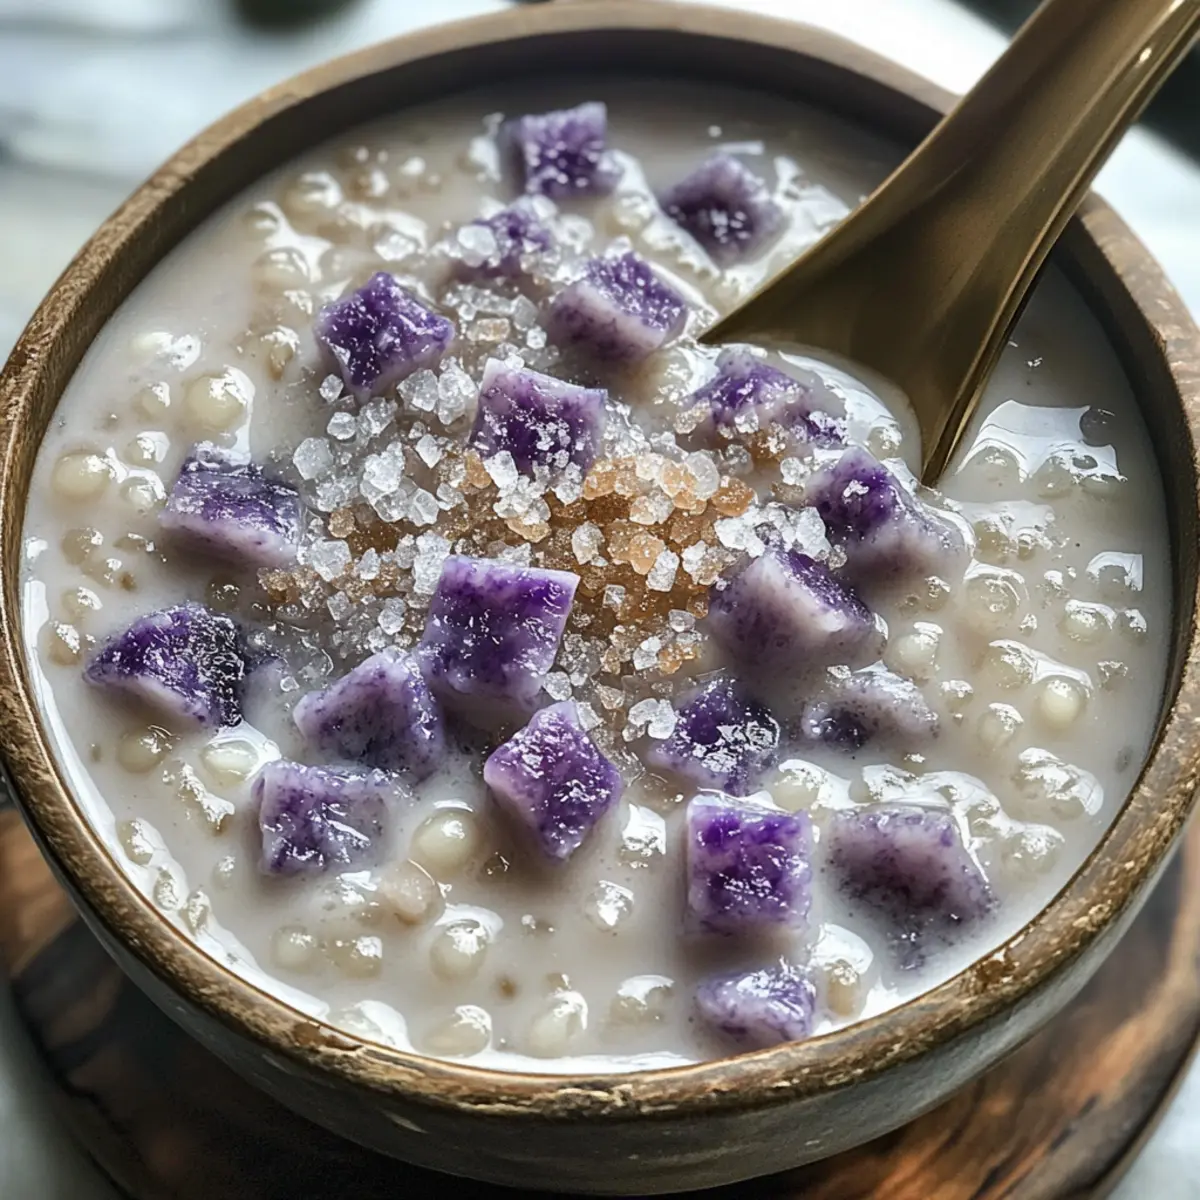
Taro Coconut Sago isn’t just any dessert; it’s a soothing escape into the world of creamy delights, where each spoonful transports you to bustling Asian night markets. With the perfect balance of earthy taro and the luscious richness of coconut milk, this gluten-free dessert becomes an instant favorite among anyone looking to elevate their homemade sweet treats. What I love most about this Taro Coconut Sago recipe is its simplicity—crafted with just five ingredients, it’s a breeze to prepare, making it an ideal choice for both special occasions and everyday cravings. Plus, you can tweak the sweetness and enjoy it warm or chilled, giving you the flexibility you need in the kitchen. What flavor twists will you explore as you whip up this comforting dish?
Why is Taro Coconut Sago a must-try?
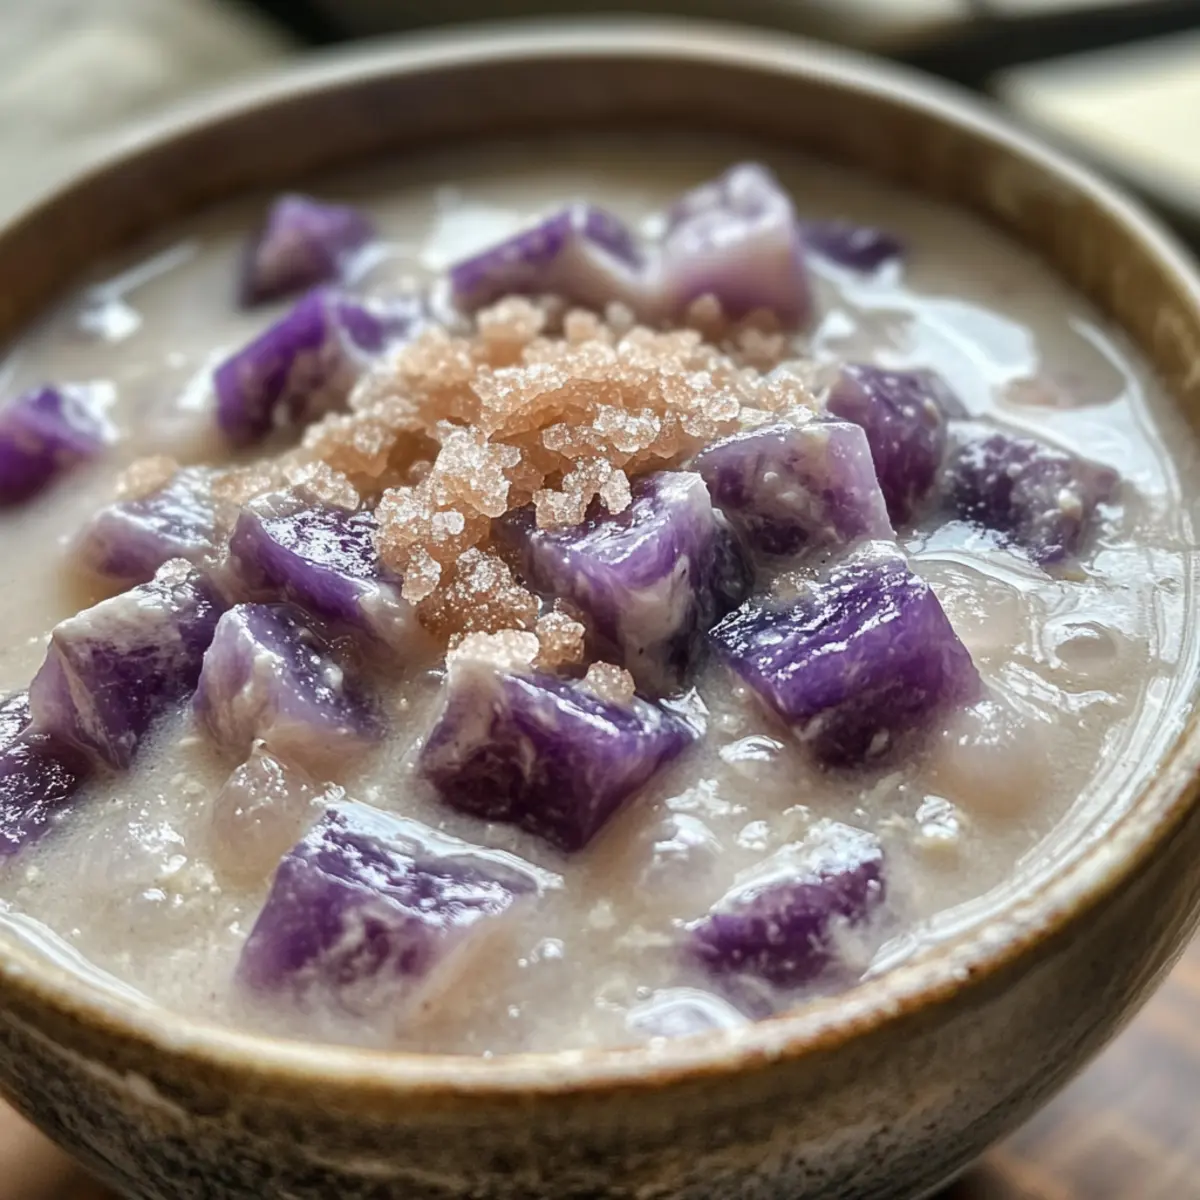
Irresistible Creaminess: The rich coconut milk paired with tender taro creates a luscious treat that melts in your mouth.
Simplicity Rule: With just five simple ingredients, anyone can make this delightful dessert without fuss.
Customizable Sweetness: Adjust the sweetness to your liking, making it perfect for every palate.
Versatile Serving: Enjoy it warm for a comforting dessert or chilled for a refreshing summer treat.
Crowd-Pleasing Favorite: Taro Coconut Sago appeals to anyone seeking a break from fast food, making it a delightful addition to any gathering. If you’re a fan of creamy desserts, you might also enjoy these Coconut Chocolate Rolls for another indulgent twist!
Taro Coconut Sago Ingredients
• Dive into the sweet world of Taro Coconut Sago with this simple ingredient list that’ll spark your culinary creativity!
For the Base
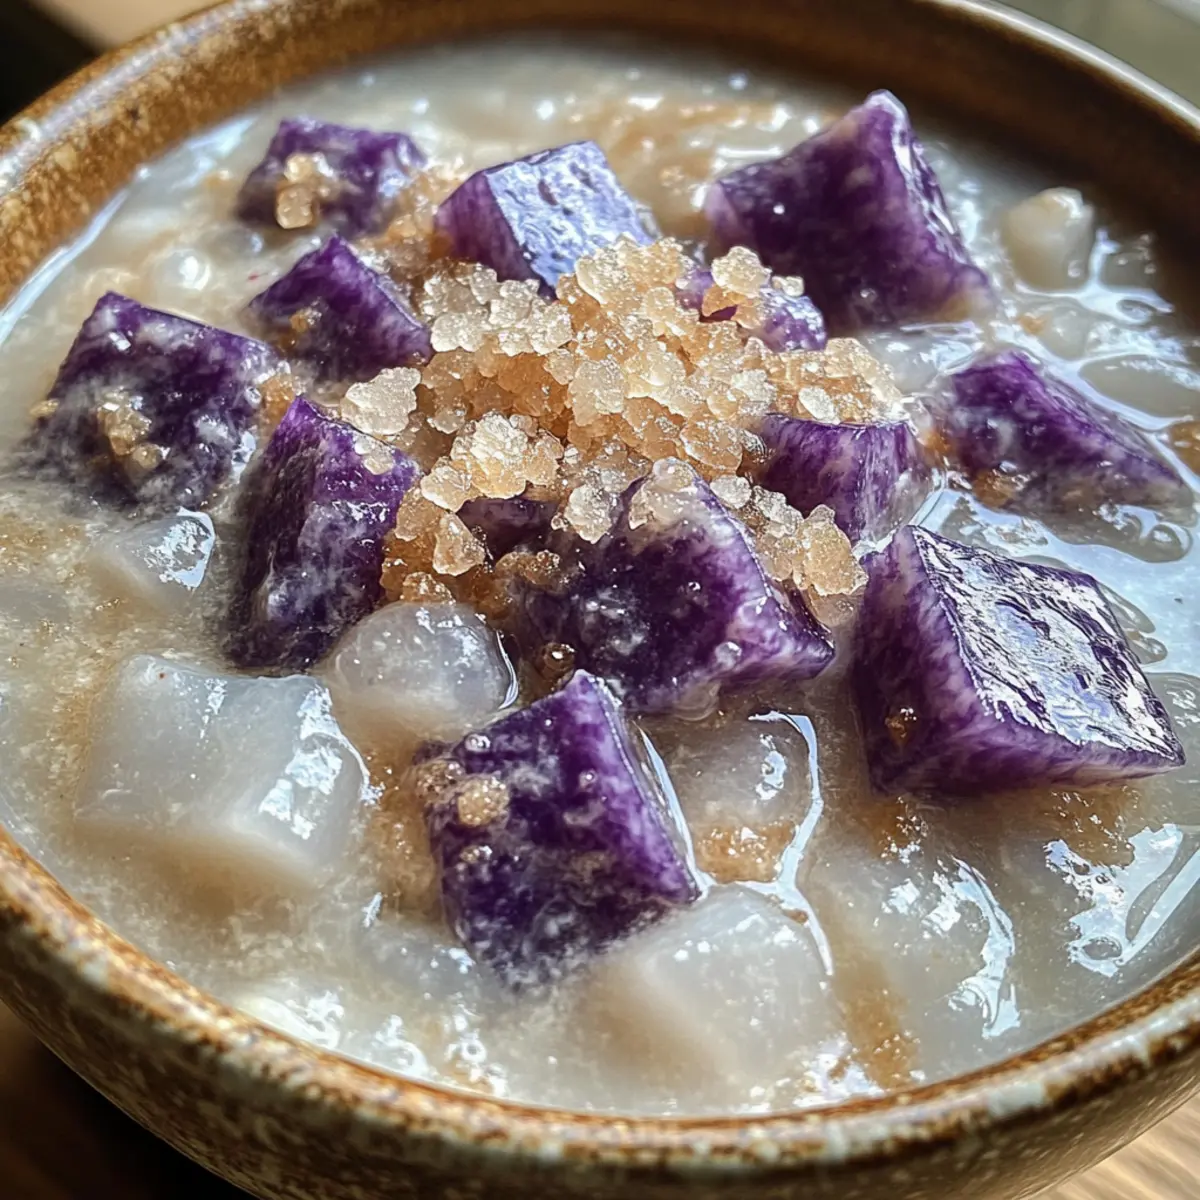
- Tapioca Pearls – Essential for that chewy texture; you can substitute with sago pearls if desired.
- Taro – Adds creaminess and an earthy sweetness; remember to peel and cube for even cooking.
- Rock Sugar – Provides a mild sweetness; feel free to substitute with regular sugar, just use less and adjust to taste.
- Coconut Milk – The star ingredient, adding a luscious creamy base that enhances the overall flavor.
- Water – Necessary for cooking the taro and tapioca pearls to perfection.
Let the flavors of Taro Coconut Sago inspire your next homemade dessert!
Step‑by‑Step Instructions for Taro Coconut Sago
Step 1: Cook Tapioca Pearls
Begin by bringing 5 cups of water to a rapid boil in a large pot. Once boiling, carefully add in the tapioca pearls and reduce the heat to simmer for about 15 minutes. You’ll know they’re ready when they turn translucent. Once done, cover the pot and let the pearls sit for an additional 10-15 minutes. Rinse them under cold water to prevent them from sticking together.
Step 2: Prepare Taro
While the tapioca pearls are cooking, peel the taro root and cut it into even-sized cubes to ensure consistent cooking. Remove any tough or dark patches on the skin. Gather your prepared taro cubes and set them aside, ready for the next step in creating your creamy Taro Coconut Sago.
Step 3: Cook Taro
In a large pot, combine the cubed taro with rock sugar and enough water to cover them fully. Bring the mixture to a boil over medium-high heat. Once boiling, reduce the heat and let it simmer for about 20 minutes or until the taro is tender and easily pierced with a fork. This step is crucial for achieving the perfect creamy texture in your Taro Coconut Sago.
Step 4: Combine Ingredients
Once the taro is cooked, stir in the coconut milk and let everything heat through for an additional 5 minutes over low heat. Make sure to mix well until the taro blends into a creamy base. Now is the perfect time to taste and adjust the sweetness if needed, enhancing the delightful flavors of your Taro Coconut Sago.
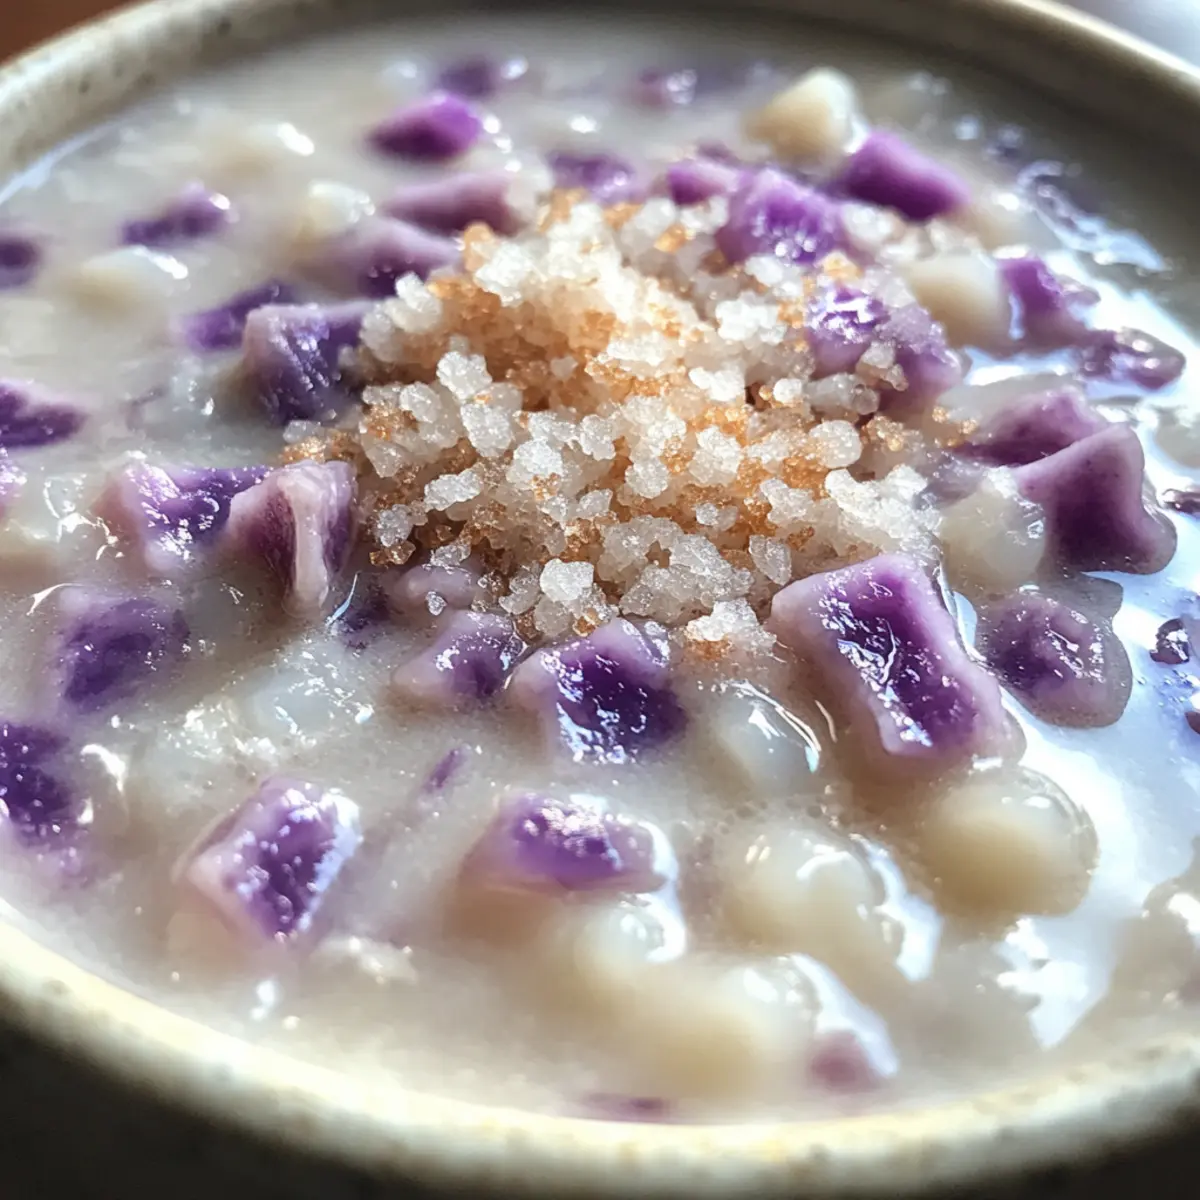
Step 5: Serve
Finally, fold the cooked tapioca pearls into the taro mixture, stirring gently to combine. You can serve your Taro Coconut Sago warm for a comforting experience or chill it overnight in the refrigerator for a refreshing dessert option. Either way, this luscious treat is bound to be a crowd-pleaser and a wonderful addition to your family’s dessert repertoire.
Taro Coconut Sago Variations & Substitutions
Feel free to explore and personalize this delightful dessert with these fun variations that elevate your Taro Coconut Sago experience!
-
Dairy-Free: Use almond or oat milk instead of coconut milk for a nutty twist without losing creaminess.
-
Fruit-Infused: Stir in shredded mango or ripe banana after cooking for a fruity explosion in every bite.
Imagine the tropical sweetness of mango dancing with the earthy taro—it’s a taste your palate will adore!
-
Sweetener Switch: Swap rock sugar for honey or agave syrup to create a unique, natural sweetness that pairs beautifully.
-
Spicy Kick: Add a dash of cinnamon or a pinch of chili powder to give your dessert an unexpected, delightful heat.
This subtle heat contrasts wonderfully with the creamy coconut and makes each bite extraordinary.
-
Thicker Texture: Simmer the mixture longer or reduce the amount of coconut milk for a richer, thicker version that sticks to your spoon.
-
Chilled Delight: Freeze the dessert in popsicle molds for a refreshing summertime treat that the entire family will love.
These popsicles make for a fun and quirky presentation during hot days!
If you’re in the mood for more tropical treats, you might also want to try Milky Coconut Cheese or indulge in those delicious Coconut Chocolate Rolls! Each twist on the classic flavors will enrich your kitchen adventures even further.
Tips for the Best Taro Coconut Sago
- Consistent Sizes: Cut your taro into uniform chunks. This ensures even cooking and a creamy texture without any hard bits.
- Stir Often: When cooking the tapioca pearls, stir occasionally to prevent sticking and achieve the perfect chewy bite in your Taro Coconut Sago.
- Taste Test: Adjust sweetness at the end of cooking. Start with a small amount of rock sugar and add more as needed to find your perfect flavor balance.
- Avoid Overcooking: Monitor the cooking time for both the taro and tapioca pearls. Overcooked ingredients can turn mushy and lose their delightful texture.
- Refrigerate Wisely: If you’re storing leftovers, keep in mind that the dessert may thicken. Add a splash of coconut milk or water when reheating to restore its creamy consistency.
How to Store and Freeze Taro Coconut Sago
Fridge: Store leftover Taro Coconut Sago in an airtight container for up to 2 days. The dessert may thicken, so add a splash of coconut milk or water when reheating to restore its creaminess.
Freezer: For longer storage, you can freeze the Taro Coconut Sago in a freezer-safe container for up to 3 months. Allow it to cool completely before freezing, and when ready to enjoy, thaw in the fridge overnight.
Reheating: To reheat, place in a saucepan over low heat, stirring gently until warmed through. Add additional coconut milk or water as needed to achieve your desired consistency.
Serving Suggestion: Enjoy your Taro Coconut Sago warm for a comforting dessert or chill it for a refreshing treat on hot days.
What to Serve with Taro Coconut Sago
Looking to create the perfect meal to accompany this creamy and delightful dessert?
- Crispy Spring Rolls: These provide a crunchy contrast to the soft texture of Taro Coconut Sago, creating a satisfying taste experience.
- Fried Banana Fritters: Their warm sweetness harmonizes beautifully with Taro Coconut Sago, making every bite an indulgent treat.
- Mango Sticky Rice: The tropical flavors of this popular dessert complement the creamy coconut milk while keeping the sweetness on theme.
- Steamed Dumplings: The savory filling adds balance to the dessert’s richness, offering a well-rounded meal for your guests.
- Green Tea: This subtly bitter beverage cuts through the creaminess of the dessert, leaving a refreshing aftertaste that enhances every spoonful.
- Coconut Sorbet: An extra burst of coconut flavor that interestingly echoes the lushness of Taro Coconut Sago while offering a cooling effect.
- Lychee Fruit Salad: A light, juicy addition that refreshes your palate and complements the dessert’s flavors with its natural sweetness.
- Black Sesame Soup: Its nutty richness ties in well, providing an additional layer of complexity alongside the sweet notes of Taro Coconut Sago.
Make Ahead Options
Taro Coconut Sago is the perfect dessert for busy weeks, allowing you to prep components ahead of time for a quick assembly later! You can cook the tapioca pearls and taro up to 24 hours in advance. Simply follow the initial cooking steps and store the pearls in water to prevent them from sticking, while the cooked taro can be refrigerated in its coconut milk mixture. When you’re ready to serve, just reheat the taro mixture on low and fold in the tapioca pearls until warmed through. This way, you preserve the dessert’s creamy texture, ensuring it remains just as delicious as when freshly made!
Taro Coconut Sago Recipe FAQs
What type of taro should I use for Taro Coconut Sago?
Absolutely! Look for medium-sized, firm taro roots with smooth skin, avoiding any that show dark spots or signs of sprouting. Fresh taro is usually lighter in weight for its size and should feel dense, which indicates optimal quality for cooking.
How can I store Taro Coconut Sago?
You can store your Taro Coconut Sago in an airtight container in the refrigerator for up to 2 days. Just keep in mind that the dessert might thicken as it cools, so feel free to add a splash of coconut milk or water to restore its creamy consistency when reheating!
Can I freeze Taro Coconut Sago?
Yes! You can freeze Taro Coconut Sago in a freezer-safe container for up to 3 months. Be sure to let it cool completely before freezing. When you’re ready to enjoy it, thaw in the refrigerator overnight. To reheat, gently warm it in a saucepan over low heat, stirring and adding coconut milk or water as needed.
What if my tapioca pearls are sticky while cooking?
Not to worry! If you find your tapioca pearls sticking together, make sure they’re stirred regularly while cooking. Also, thoroughly rinsing them under cold water after cooking can help separate any that stick together. For the best results, keep an eye on the cooking time, as overcooking can lead to clumping.
Can I make Taro Coconut Sago dairy-free?
Absolutely! The recipe is already dairy-free thanks to the coconut milk. It’s a wonderful option for anyone with dairy allergies or who prefers a plant-based diet. If you’re looking for more sweetness, you can also use natural sweeteners like agave syrup or maple syrup instead of sugar.
Is Taro Coconut Sago safe for my pets?
Taro should be avoided for pets, as it can lead to digestive issues. Always ensure to keep any leftovers securely stored away from your furry friends. If you’re preparing this dessert for yourself, rest assured others will love it, but it’s best to keep it as a human-friendly treat!
Creamy Taro Coconut Sago: A Sweet Asian Delight to Savor
Ingredients
Equipment
Method
- Bring 5 cups of water to a rapid boil in a large pot. Add the tapioca pearls and simmer for about 15 minutes until translucent. Cover and let sit for an additional 10-15 minutes, then rinse under cold water.
- Peel the taro root and cut it into even-sized cubes.
- In a pot, combine the cubed taro with rock sugar and enough water to cover them. Boil over medium-high heat, then simmer for about 20 minutes until tender.
- Stir in the coconut milk and heat through for an additional 5 minutes. Adjust sweetness if needed.
- Fold the cooked tapioca pearls into the taro mixture and serve warm or chill for a refreshing treat.