

In a cozy corner of my kitchen, the enticing scent of toasting rice filled the air, instantly transporting me to the lively streets of Japan. That’s when I realized nothing compares to the delight of Yaki Onigiri, the crispy miso grilled rice balls that bring comfort and adventure to any meal. With their satisfying crunch on the outside and fluffy interior, these little gems are more than just a snack—they’re a celebration of umami flavors. Each bite offers the perfect combination of crispy texture and savory goodness, making them an ideal choice for a quick, gluten-free treat that’ll impress guests or satisfy a late-night craving. Are you ready to embark on a tasty journey? Let’s dive into the simple steps to create your own Yaki Onigiri!
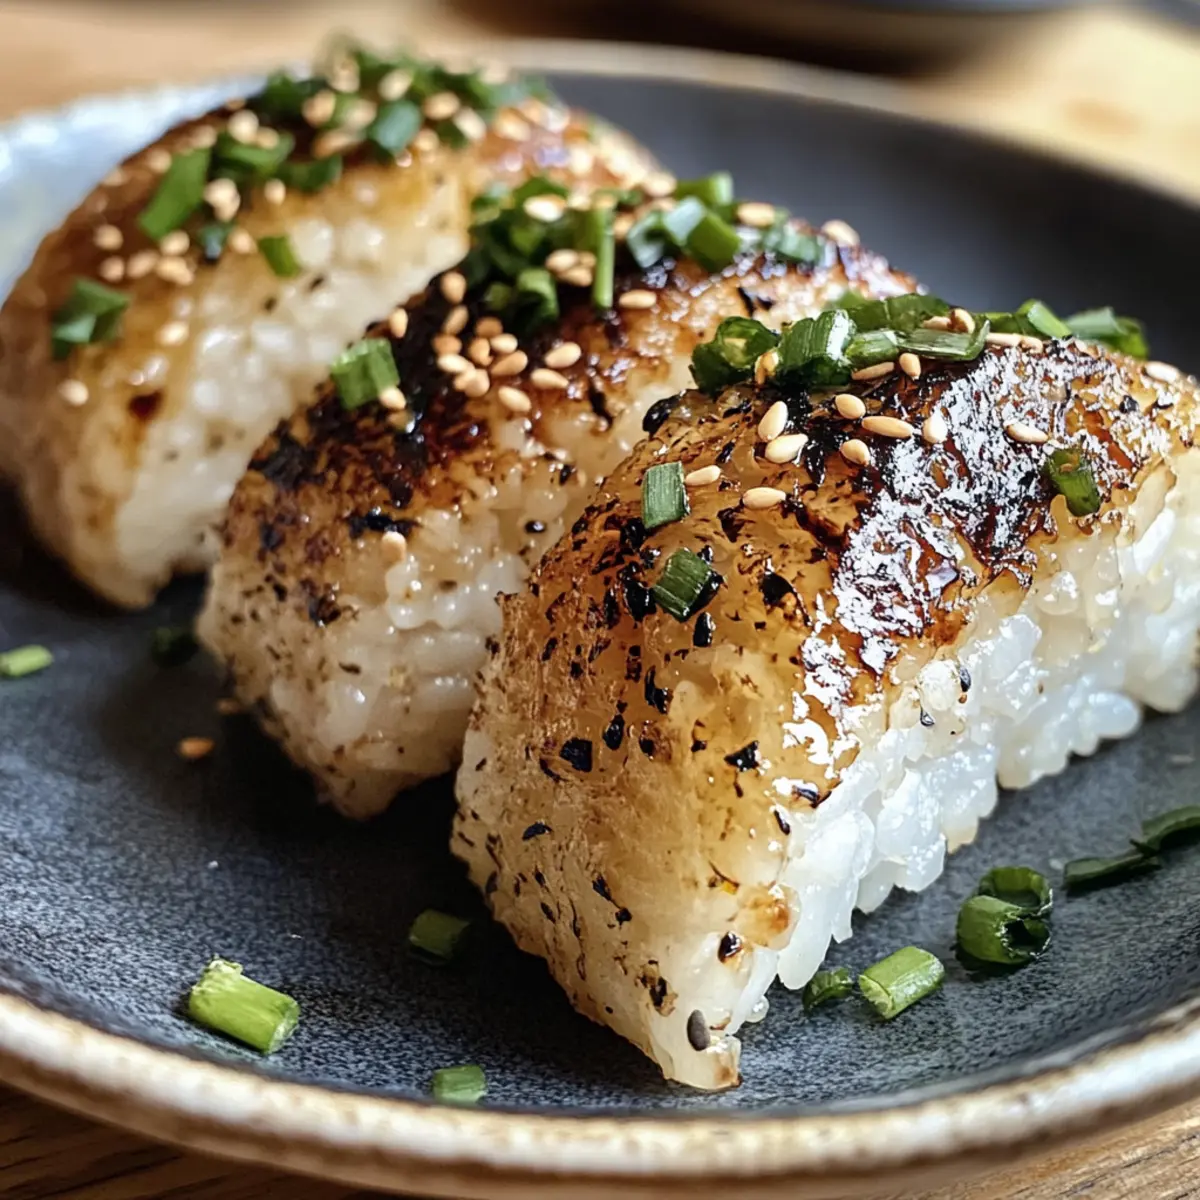
Why is Yaki Onigiri So Irresistible?
Crunchy, Delicious Texture: The crispy exterior contrasts beautifully with the fluffy interior, providing a delightful mouthfeel that keeps you coming back for more.
Umami Explosion: Each bite is packed with savory miso glaze, elevating your snacking experience and satisfying flavor cravings.
Quick and Easy Prep: Whip up this dish in no time at all, making it perfect for busy weeknights or impromptu gatherings.
Versatile Snack Option: Enjoy Yaki Onigiri as a standalone treat, or pair it with your favorite dishes—think stir-fried veggies or grilled meats for a fulfilling meal!
Crowd-Pleasing Appeal: Whether you’re entertaining guests or indulging solo, these rice balls are guaranteed to impress with their unique flavors and textures.
Take your tastebuds on a journey with Yaki Onigiri! If you’re new to Japanese cuisine, be sure to check out our guide on Japanese comfort food for more delightful dishes.
Yaki Onigiri Ingredients
• Dive into making these delectable Yaki Onigiri with the following ingredients that make every bite unforgettable!
For the Rice Balls
- Short-grain Japanese rice (2 cups) – This type is vital for stickiness; opt for Koshihikari for the best results.
- Neutral oil (1 tbsp) – Choose a high smoke point oil like avocado or grapeseed for that perfect golden crust.
For the Miso Glaze
- Miso paste (2 tbsp) – This gives your Yaki Onigiri its rich savory depth; red or Awase miso works wonderfully.
- Mirin (1 tbsp) – The sweetness enhances the glaze’s flavor and gives it a glossy finish.
- Soy sauce (1 tsp) – Boosts the umami flavor, making your rice balls even more delicious!
- Granulated sugar (1 tsp) – Aids in caramelization and ensures that glossy, glass-like texture.
For the Finish
- Nori seaweed (3 strips) – Adds flavor and serves as a charming handle for your rice balls.
- Toasted black sesame seeds (1 tsp) – Sprinkle these on for a delightful crunch and visual appeal.
- Scallion (1 stalk) – Finely sliced to garnish; it brings freshness and a pop of color to your dish.
Get ready to embrace the magical flavors of Yaki Onigiri!
Step‑by‑Step Instructions for Yaki Onigiri
Step 1: Shape the Rice
Begin by cooking 2 cups of short-grain Japanese rice according to the package instructions. Once the rice is warm and slightly sticky, wet your hands and sprinkle them with salt. Firmly compress the warm rice into three triangular shapes, ensuring sharp edges and flat surfaces for even cooking. Let the shaped rice balls rest for a few minutes while you prepare for searing.
Step 2: Initial Sear
Heat 1 tablespoon of neutral oil in a skillet over medium-high heat until shimmering, which should take about 1-2 minutes. Carefully place the rice balls into the skillet and sear them for 3-4 minutes on each side until they are golden-brown and crispy. Watch for a rich, toasted color on the outsides, signifying they’re ready for the next step.
Step 3: Glaze Application
In a small bowl, whisk together 2 tablespoons of miso paste, 1 tablespoon of mirin, 1 teaspoon of soy sauce, and 1 teaspoon of sugar until smooth. Once the rice balls are seared, brush a thick layer of the miso glaze onto the top side of each rice ball. Flip them over and continue to sear for an additional 30-60 seconds, allowing the glaze to bubble and form a glossy, deep amber finish.
Step 4: Garnish
After the miso glaze has set, remove the Yaki Onigiri from the skillet and transfer them to a serving platter. While they’re still hot, sprinkle with 1 teaspoon of toasted black sesame seeds and garnish with finely sliced scallions for a fresh touch. Finally, wrap each rice ball with a strip of nori, which adds flavor and makes handling easier, then serve immediately and enjoy!
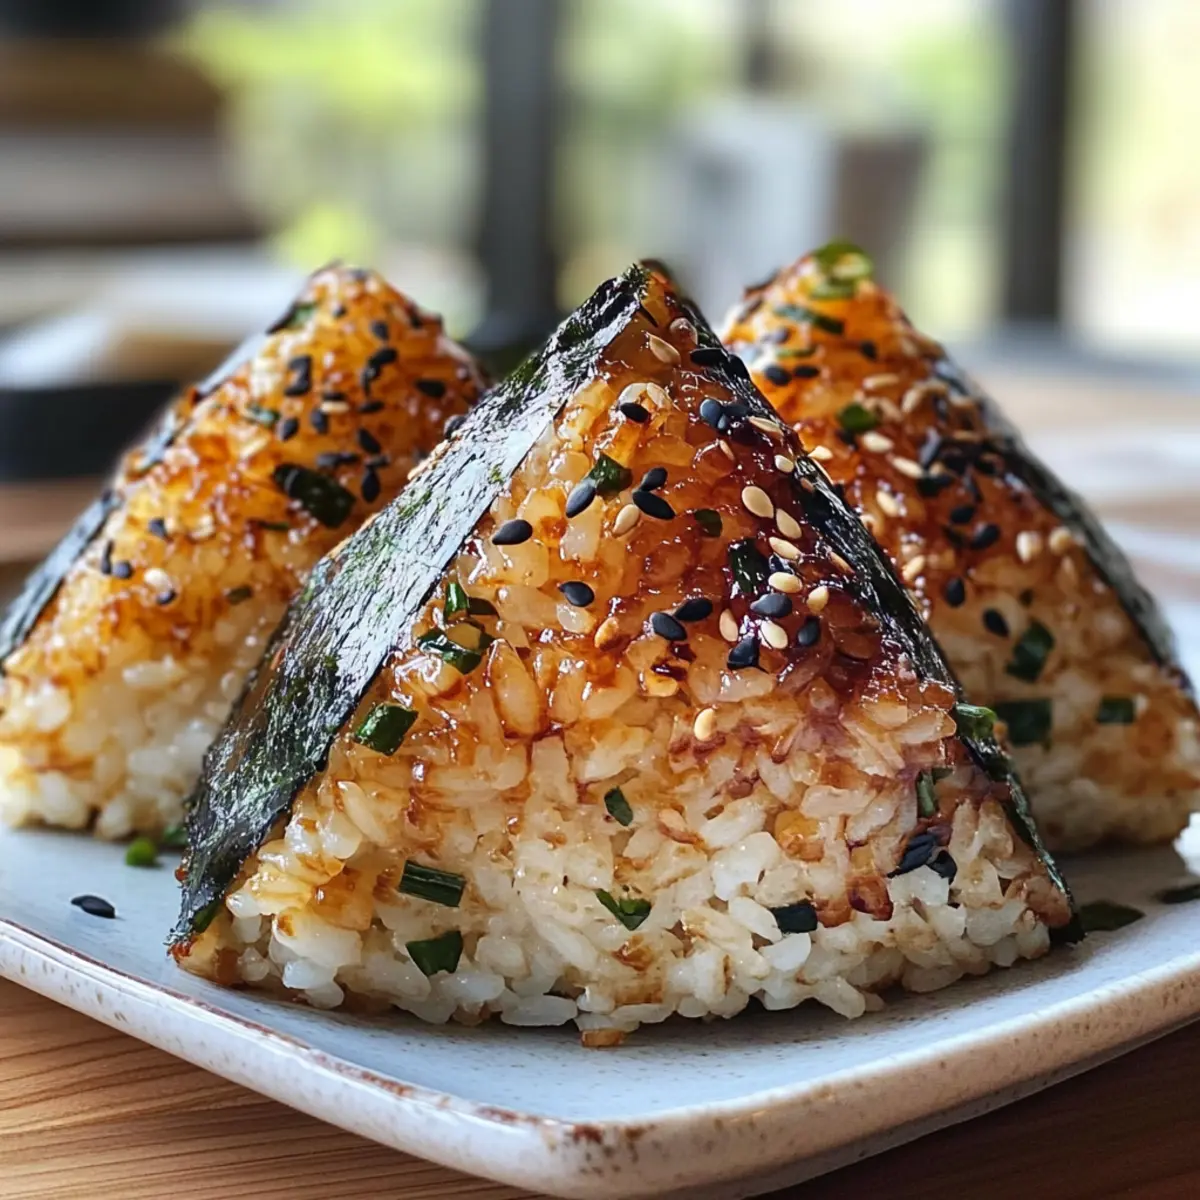
Yaki Onigiri Variations & Substitutions
Feel free to get creative and personalize your Yaki Onigiri experience with these fun twists and substitutions!
- Dairy-Free: Swap out any butter or dairy-based ingredients with coconut oil to keep that wonderful flavor intact.
- Enhanced Umami: Stir in a teaspoon of bonito flakes into the rice for an extra savory punch that highlights the Japanese essence.
- Protein-Packed: Consider filling your rice balls with cooked tuna, shredded chicken, or tofu for an added source of protein that elevates your snack.
- Vegetarian Option: Replace the miso with a combination of tahini and a splash of soy sauce for a creamy vegan alternative that still packs a flavor punch.
- Spicy Kick: Add a dab of sriracha or chili paste mixed into the glaze for some heat that enhances the savory elements of your rice balls.
- Sweet Glaze: Try incorporating a touch of honey or maple syrup into the glaze for a sweet twist that perfectly complements the salty flavor of the miso.
- Texture Twist: Mix in a handful of cooked edamame or finely chopped mushrooms into the rice for added texture and nutrition.
- Stuffed Goodness: Experiment with unexpected fillings like kimchi, cheese, or grilled vegetables, which can add depth and interest to each bite, transforming the traditional recipe.
For those looking to dive deeper into Japanese cuisine, don’t forget to explore our guide on Japanese comfort food. Enjoy making these delightful rice balls your own!
How to Store and Freeze Yaki Onigiri
Fridge: Store leftovers in an airtight container for up to 2 days. Make sure they cool completely first to maintain their crispy texture.
Freezer: For longer storage, freeze Yaki Onigiri in a single layer on a baking sheet. Once frozen, transfer them to a zip-top bag for up to 1 month.
Reheating: Reheat frozen Yaki Onigiri directly from the freezer in a dry skillet or air fryer. This way, you’ll restore their delightful crunch without losing flavor.
Make Ahead Options
These Yaki Onigiri are perfect for busy meal prep enthusiasts! You can shape the rice balls (2 cups of short-grain Japanese rice) and store them (in an airtight container) up to 24 hours in advance in the refrigerator. To maintain their delightful texture, make sure you allow them to cool completely before sealing. When ready to enjoy, simply sear the rice balls per the instructions for 3-4 minutes on each side until golden-brown. For an added layer of flavor, brush on the miso glaze (2 tbsp miso paste, 1 tbsp mirin, 1 tsp soy sauce, and 1 tsp sugar) just before fueling those glorious crispy edges. Enjoy a quick snack or side dish that’s just as delicious as if freshly made!
Expert Tips for Yaki Onigiri
-
Warm Rice Only: Make sure to shape the rice while it’s warm; this helps with sticking and forming perfect triangles.
-
Right Oil Choice: Use a high smoke point oil like avocado or grapeseed to achieve that golden, crispy exterior without burning.
-
Avoid Early Glazing: Don’t apply the miso glaze until the rice balls are nicely seared to prevent burning and ensure the glaze has a rich, deep color.
-
Use a Suitable Pan: Opt for a cast-iron skillet or quality non-stick pan to maintain even heat distribution and achieve that perfect char on your Yaki Onigiri.
-
Firm Compress: If using an onigiri mold, make sure to compress the rice firmly for a better shape retention; this will enhance the final texture after frying.
What to Serve with Yaki Onigiri
Elevate your Yaki Onigiri experience with these delightful pairings that will take your meal to the next level.
-
Stir-Fried Vegetables: These colorful veggies add a crisp, refreshing balance to the savory rice balls. Toss them in soy sauce for an extra umami kick.
-
Grilled Chicken Skewers: Juicy, marinated chicken skewers pair wonderfully with the miso glaze of Yaki Onigiri, enhancing your meal with smoky flavors.
-
Cucumber Salad: A light, tangy cucumber salad offers a refreshing crunch that contrasts beautifully with the crispy rice balls, creating a well-rounded plate.
-
Tofu Satay: Marinated, grilled tofu skewers provide a protein-packed companion, and their savory-sweet glaze complements the rice balls perfectly.
-
Green Tea: Sipping on a warm cup of green tea enhances the umami experience of Yaki Onigiri, making it a soothing beverage choice.
-
Miso Soup: This classic Japanese soup adds a warm, comforting element to your meal, harmonizing with the flavors of the miso glaze used in the rice balls.
-
Edamame: Steamed edamame pods are a simple yet satisfying side, offering a slight saltiness that balances the dish’s flavors beautifully.
-
Pickled Vegetables: A medley of pickled veggies provides a tangy bite, cutting through the richness of the rice balls for a delightful contrast.
-
Fruit Dessert: Finish off with a light fruit dessert, like mochi ice cream or fresh fruit skewers, to cleanse the palate and leave you refreshed.
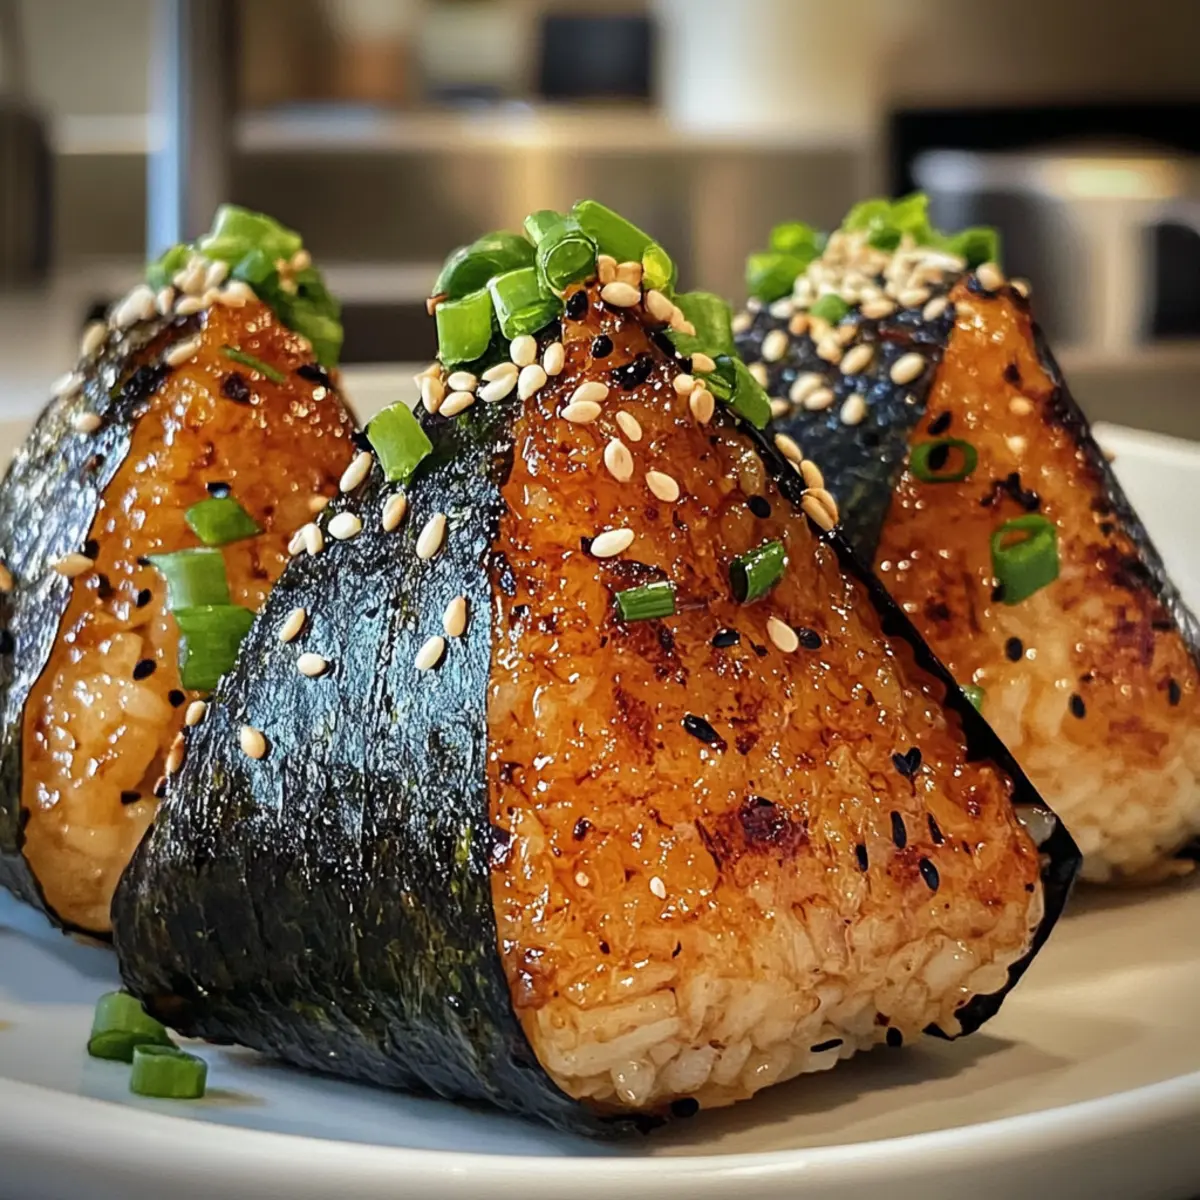
Yaki Onigiri Recipe FAQs
What kind of rice is best for Yaki Onigiri?
Absolutely! For the best Yaki Onigiri, use short-grain Japanese rice, such as Koshihikari. Its high starch content ensures the rice sticks together perfectly, making it easy to shape into those enticing triangles.
How should I store leftover Yaki Onigiri?
Leftovers can be stored in an airtight container in the fridge for up to 2 days. Make sure they cool completely before sealing to maintain their crispy texture, and be ready for a tasty snack when you’re craving something special!
Can I freeze Yaki Onigiri?
Very! To freeze Yaki Onigiri, lay them out in a single layer on a baking sheet and freeze until solid. Then, transfer to a zip-top bag and store in the freezer for up to 1 month. When ready to enjoy, reheat directly from the freezer in a dry skillet or air fryer to restore their delightful crunch.
What if my Yaki Onigiri is falling apart?
If your rice balls are falling apart, this might be due to not enough starch in the rice or not compressing them well enough. Ensure you’re using short-grain Japanese rice and mold them firmly into triangular shapes while the rice is still warm. If using a mold, press down strongly to achieve better shape retention.
Are Yaki Onigiri suitable for gluten-free diets?
Yes, indeed! Yaki Onigiri can be made gluten-free by using gluten-free soy sauce or tamari in the miso glaze. Just double-check your miso paste as well, since some brands may contain gluten. Enjoy this delicious snack without worry!
Can pets eat Yaki Onigiri?
While a small piece of rice itself is safe for pets, be cautious with the seasoning. The miso, soy sauce, and added flavors are not ideal for dogs or cats. It’s best to serve plain rice balls to your furry friends or skip the seasonings altogether for a simple treat!
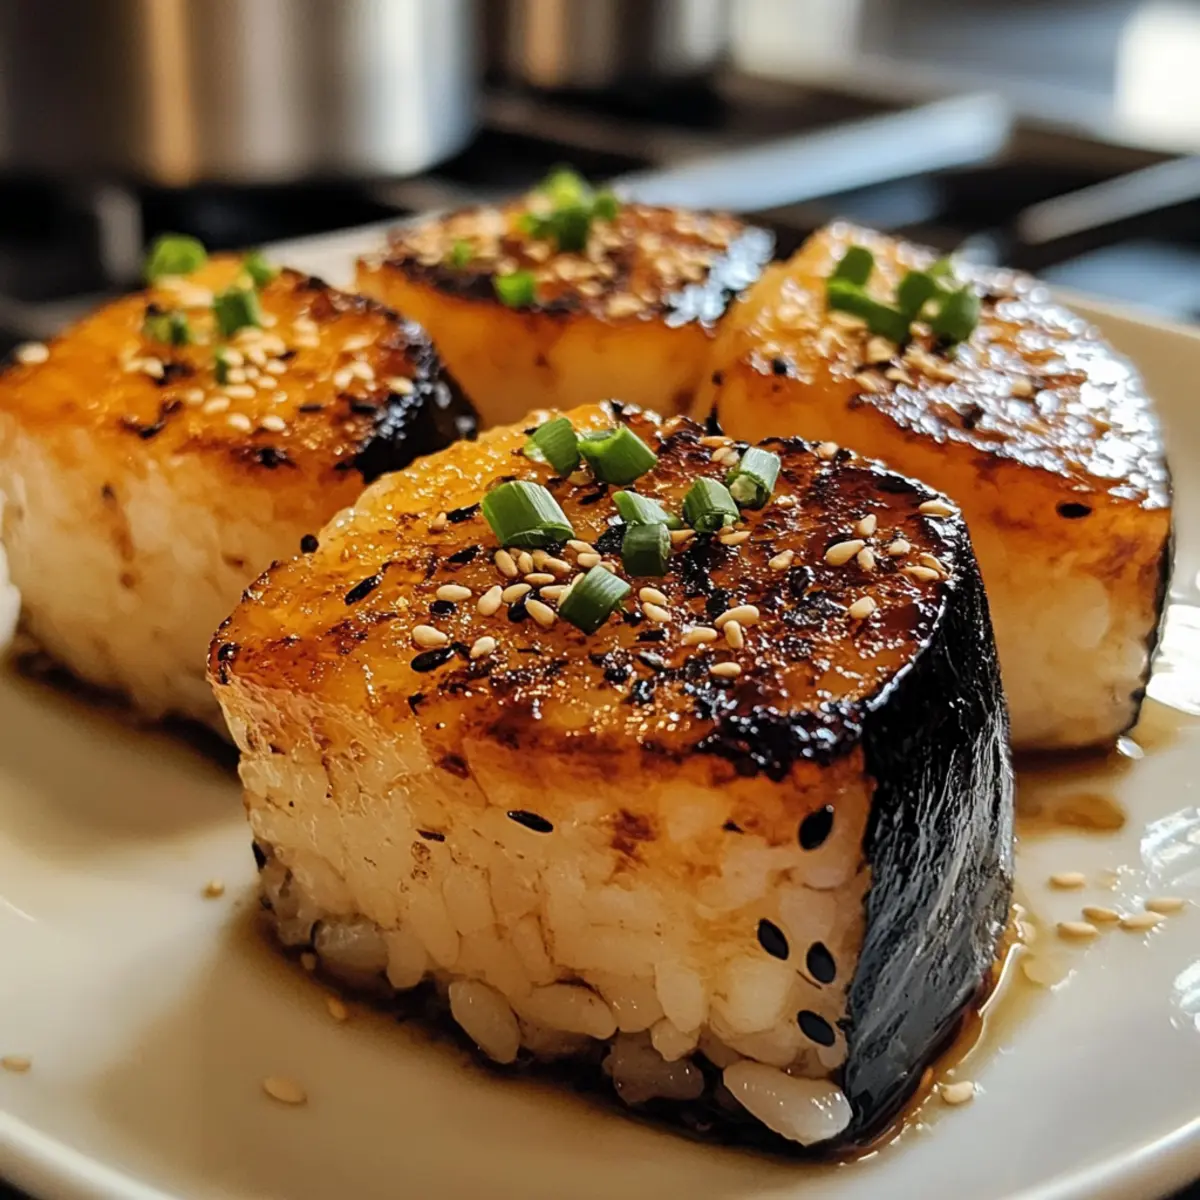
Crispy Yaki Onigiri: Savory Miso Rice Balls You'll Love
Ingredients
Equipment
Method
- Begin by cooking 2 cups of short-grain Japanese rice according to the package instructions. Once warm and sticky, wet your hands and sprinkle with salt. Form three triangular shapes and let rest for a few minutes.
- Heat 1 tablespoon of neutral oil in a skillet over medium-high heat until shimmering. Carefully place the rice balls into the skillet and sear for 3-4 minutes on each side until golden-brown and crispy.
- Whisk together 2 tablespoons of miso paste, 1 tablespoon of mirin, 1 teaspoon of soy sauce, and 1 teaspoon of sugar until smooth. Brush the glaze onto the top side of each rice ball, sear for an additional 30-60 seconds.
- Remove the Yaki Onigiri from the skillet, sprinkle with 1 teaspoon of toasted black sesame seeds and garnish with scallions. Wrap each with a nori strip and serve immediately.