

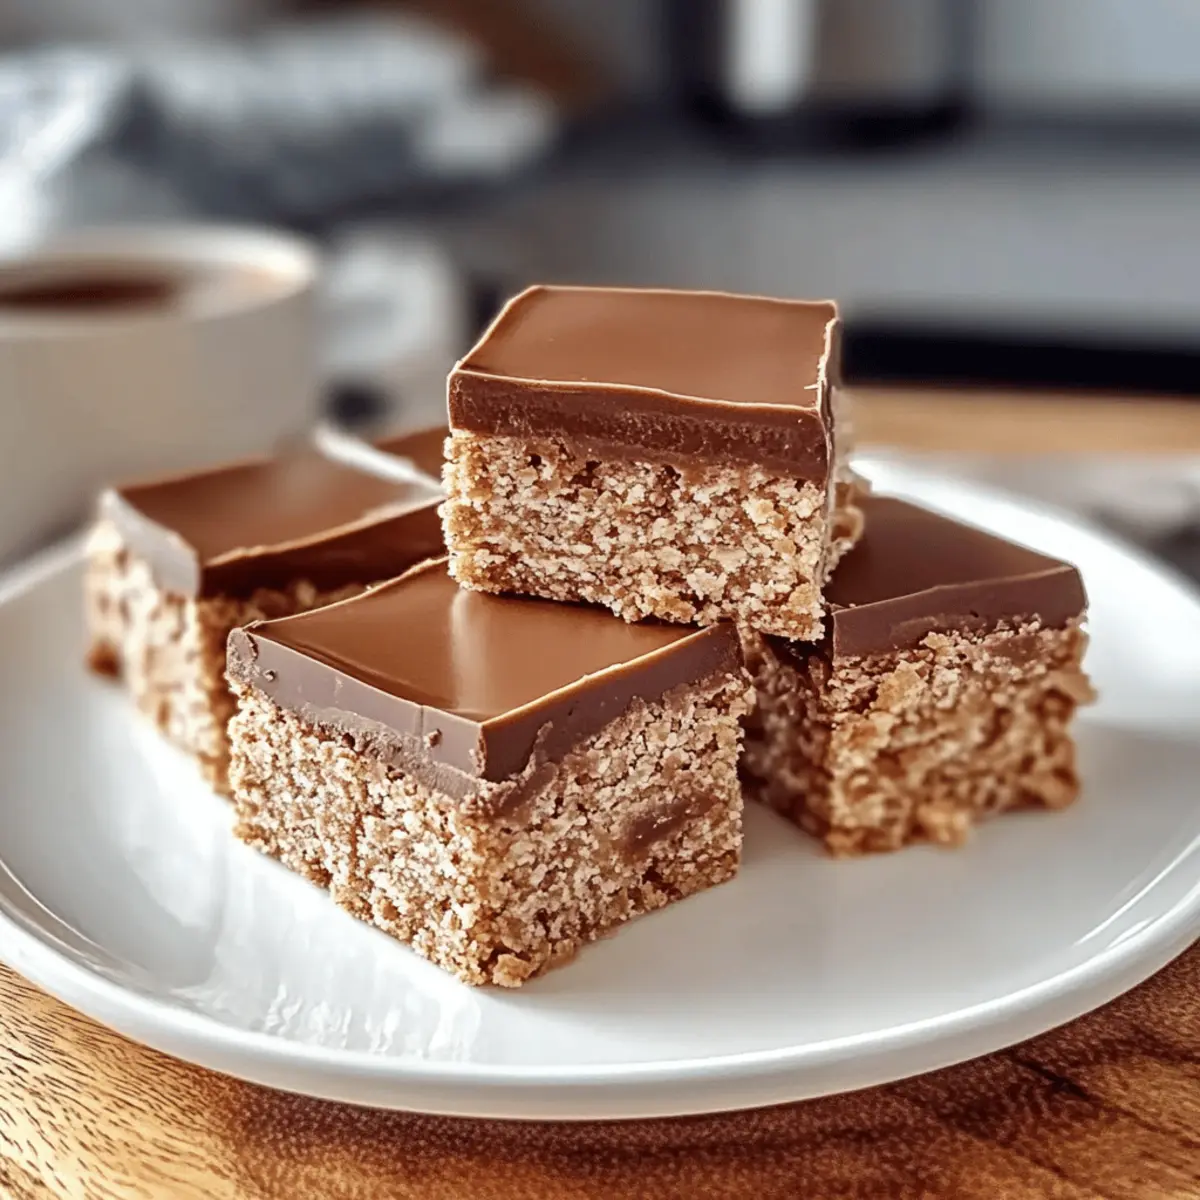
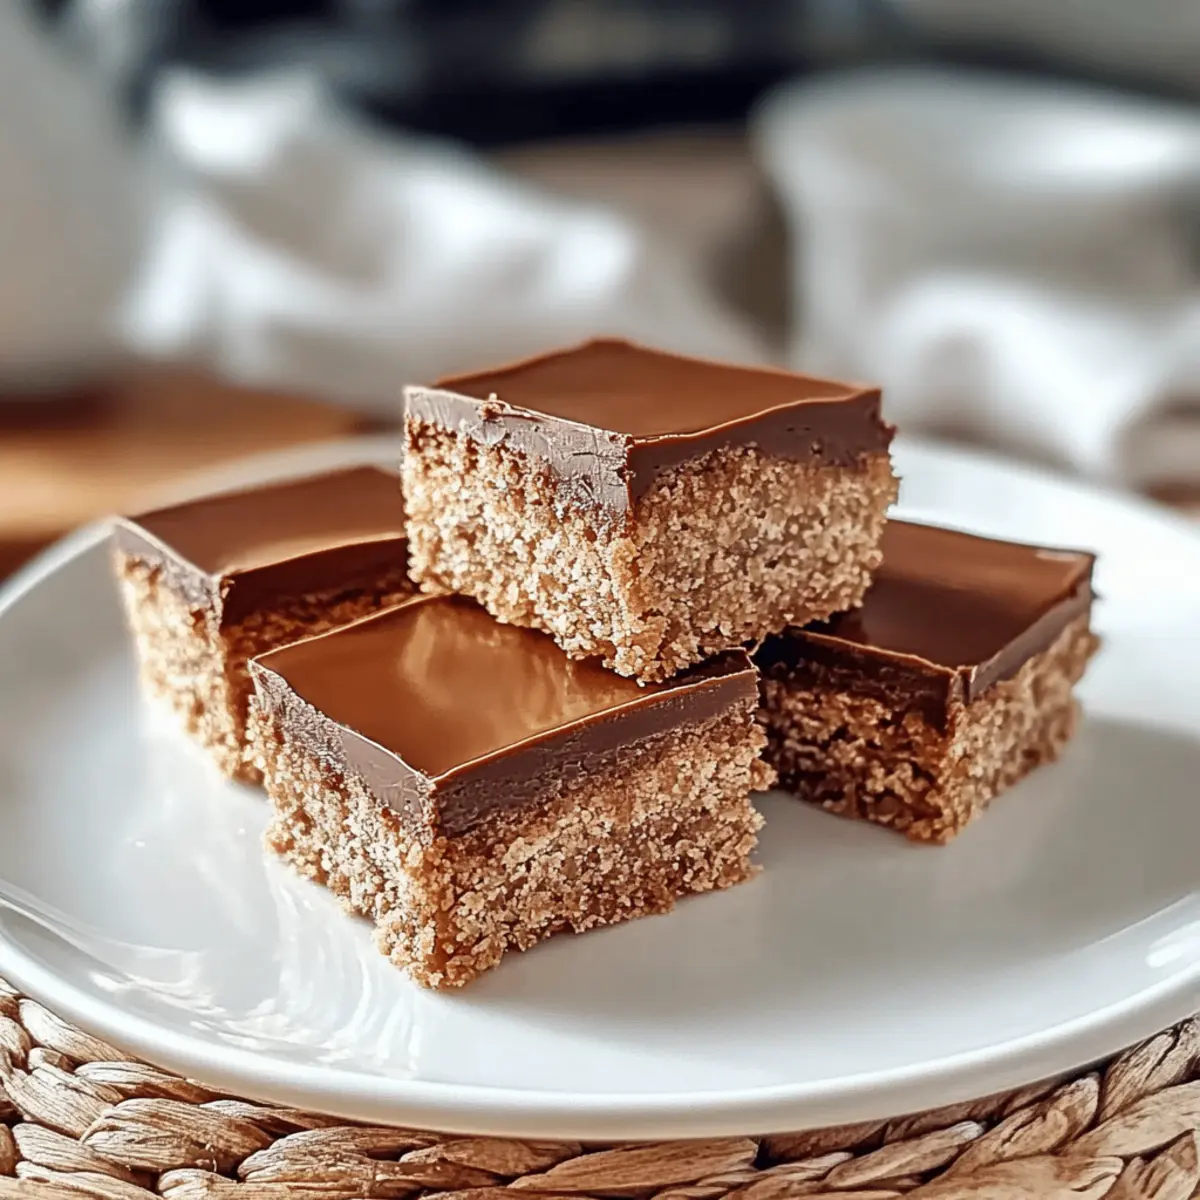
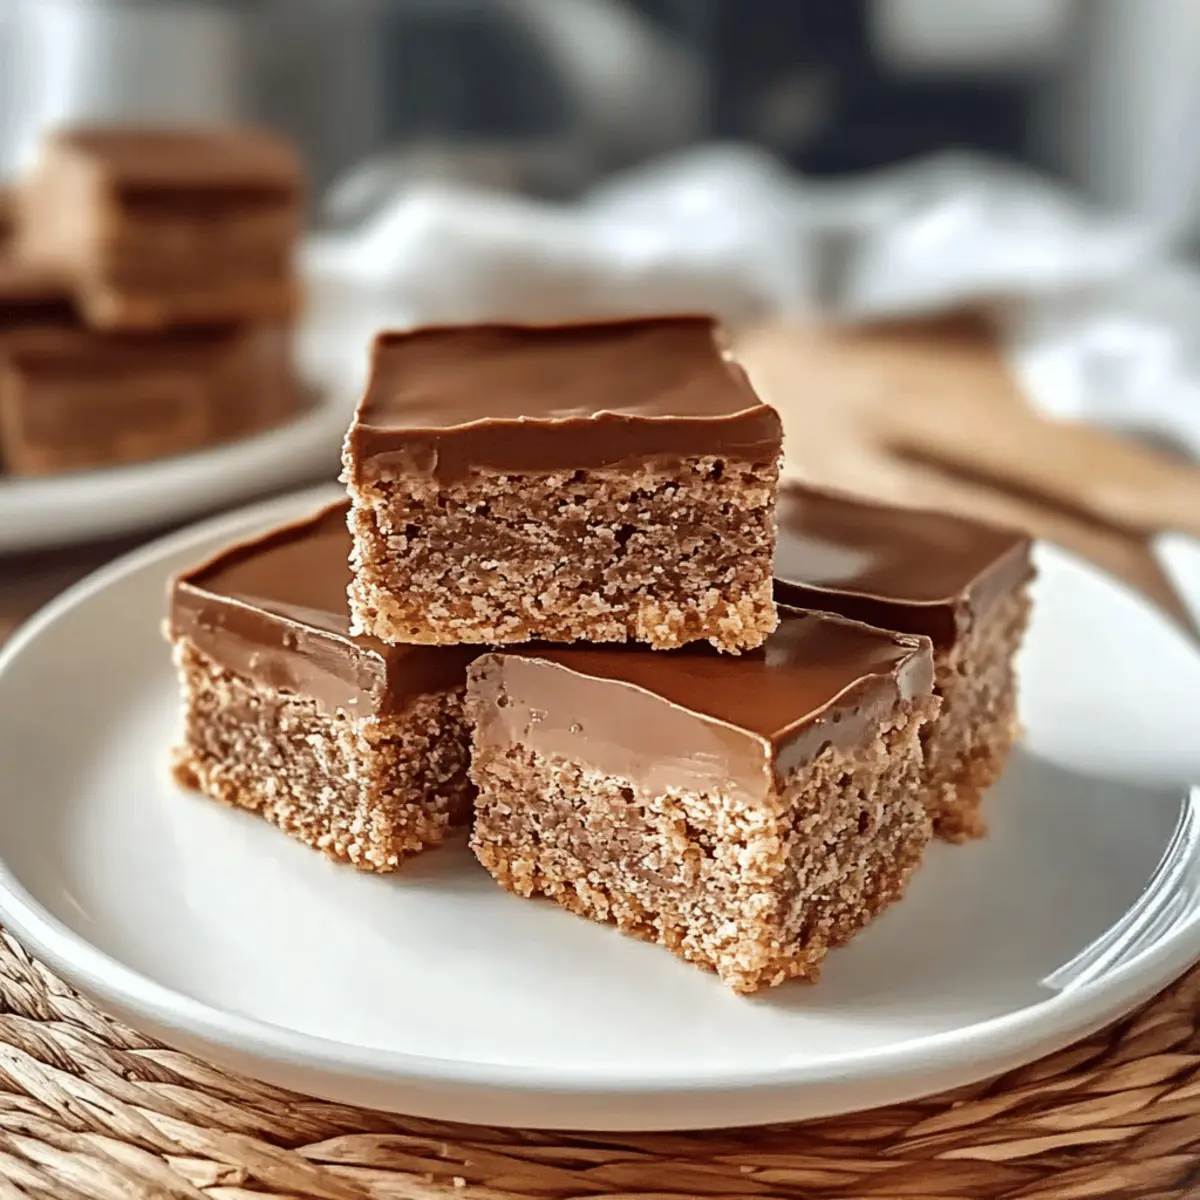
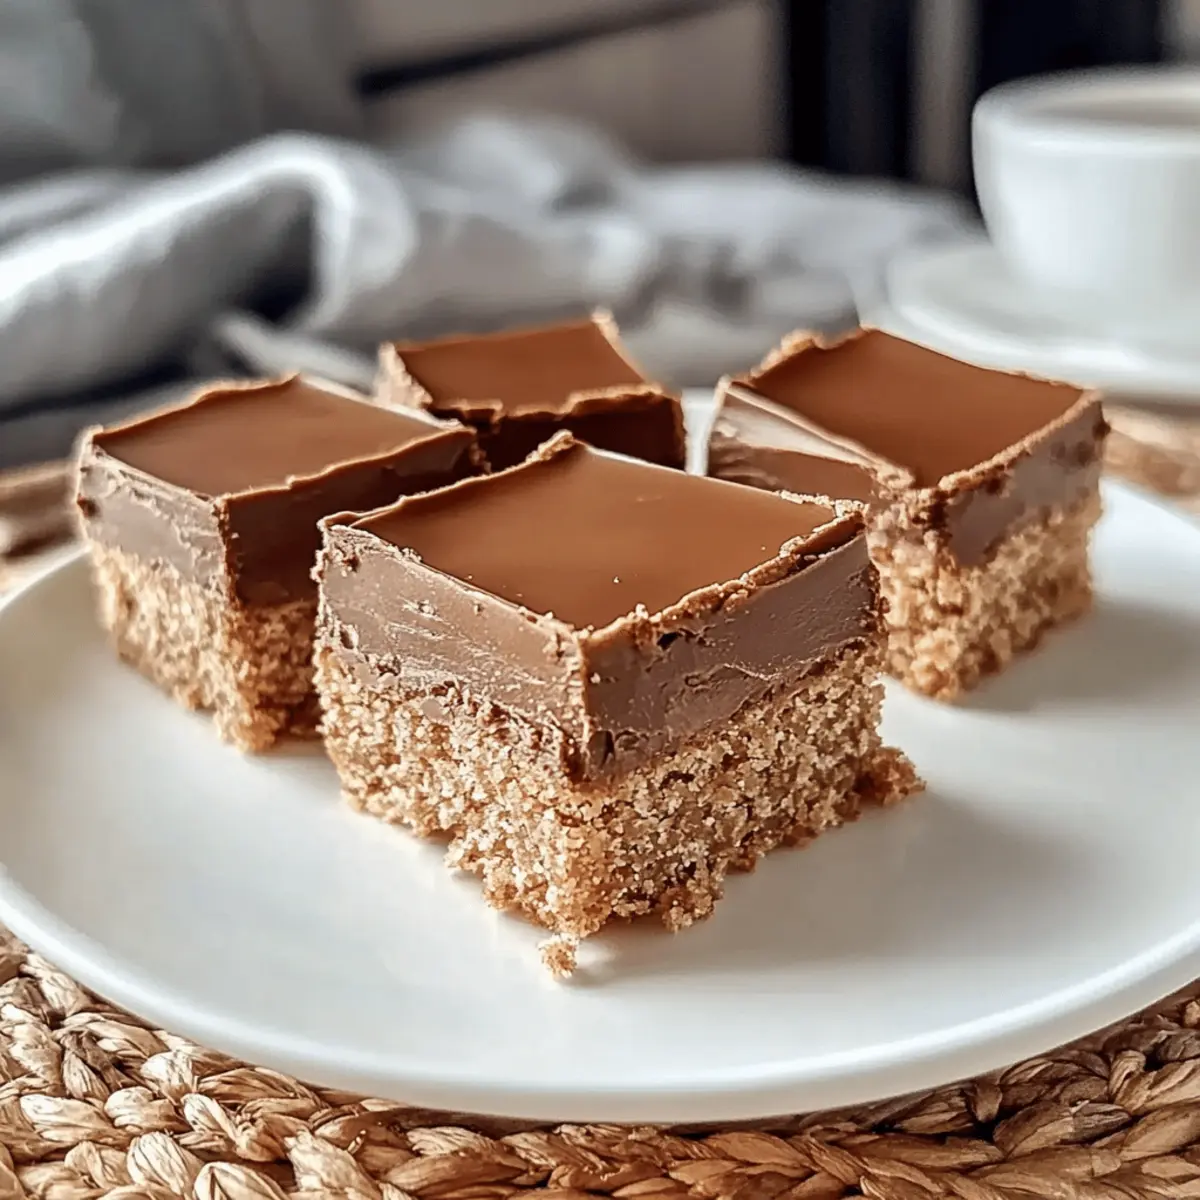
A wave of nostalgia washed over me as I recalled the sweet afternoons spent with friends, coffee in hand, sharing laughter and stories. Those moments remind me of my absolute favorite treat: the No-Bake Coffee Slice. This dessert is all about ease and indulgence—it comes together in just 25 minutes, and there’s no oven required! With a rich biscuit base topped with creamy chocolate icing, this slice is a true crowd-pleaser that you can easily customize to suit any dietary needs. Whether you’re planning a cozy gathering or just need a quick pick-me-up, this Coffee Slice No Bake Bliss is the perfect solution to satisfy your cravings. Want to whip up this delightful treat that pairs so perfectly with your afternoon coffee? Let’s dive in!
Why is this No-Bake Coffee Slice irresistible?
Effortless Preparation: Whip up this stunning dessert in just 25 minutes! No oven required, making it perfect for busy days.
Customizable Delight: Whether you prefer it gluten-free or dairy-free, you can easily make adjustments to fit your dietary needs.
Decadent Layers: The cleverly combining crumbly biscuit base with rich chocolate icing ensures a delectable flavor experience.
Crowd-Pleasing Treat: Perfect for sharing at gatherings or cozy afternoons, this slice is guaranteed to impress friends and family.
Versatile Options: Take it a step further by adding nuts, zesty citrus, or even chocolate chips for extra sweetness! Check out my other recipes like Grandmas Homemade Bake for more fun variations!
Coffee Slice No Bake Bliss Ingredients
For the Base
- Arnott’s Marie biscuits – Essential for building that crumbly structure; swap in Digestive or rich tea biscuits if preferred.
- Instant coffee granules – Infuses the slice with delightful coffee flavor; granulated coffee works in a pinch.
- Cocoa powder – Deepens the chocolate flavor that complements the coffee beautifully; no substitutes recommended.
- Light brown sugar – Adds subtle sweetness and moisture; use granulated sugar for a lighter taste if desired.
- Sweetened condensed milk – The key binder that adds a creamy sweetness; best not to substitute for optimal texture.
- Desiccated coconut – Offers texture and flavor; optional substitutions include almond meal or simply omitting it.
- Salted butter – Provides richness and contributes to the lovely texture; unsalted butter plus a pinch of salt can be used.
- Vanilla extract – Elevates the flavor profile, enhancing the overall taste; no substitutions noted.
- Boiling water – Essential for dissolving the instant coffee and sugar; keep it as is for best results.
For the Icing
- Milk chocolate – Creates a luscious topping that contrasts deliciously with the coffee base; dark chocolate can add an intense richness.
- Additional salted butter – Ensures a silky smooth icing; no substitutes for this ingredient.
Explore this Coffee Slice No Bake Bliss and enjoy the ease of preparation while indulging in its delightful flavors!
Step‑by‑Step Instructions for Coffee Slice No Bake Bliss
Step 1: Prepare the Tin
Begin by greasing a 20 x 20 cm baking tin with a little butter and lining it with parchment paper, allowing some overhang to make removal easier later. This preparation helps ensure your Coffee Slice No Bake Bliss comes out smoothly and keeps its shape nicely.
Step 2: Crush Biscuits
Next, using a food processor or a rolling pin, crush the Arnott’s Marie biscuits into fine crumbs. This should take about 1-2 minutes, and the texture should be similar to sand. The finer the crumbs, the better the base will hold together in your delicious dessert.
Step 3: Mix Coffee Mixture
In a medium bowl, combine the instant coffee granules, cocoa powder, and light brown sugar. Carefully pour in the boiling water and stir for about 1 minute until the mixture is completely smooth and well incorporated, transforming it into a lovely coffee blend that adds depth to your slice.
Step 4: Combine Base Ingredients
In a large mixing bowl, combine the crushed biscuits, sweetened condensed milk, desiccated coconut, melted butter, and vanilla extract. Pour in the smooth coffee mixture you created earlier. Mix them well with a spatula for about 2-3 minutes, ensuring an even distribution of flavors throughout your Coffee Slice No Bake Bliss.
Step 5: Press into Tin
Transfer the crumbly mixture into the prepared tin and use your hands or the back of a spoon to firmly press it down. Aim for a compact and even layer, smoothing the top for a polished look. This step is crucial for creating a stably layered base that will hold your slice together once it sets.
Step 6: Make Icing
In a microwave-safe bowl, combine the milk chocolate and additional salted butter. Microwave in intervals of 20 seconds, stirring in between until you achieve a smooth and glossy icing consistency. This process should take about 1-2 minutes; be careful not to overheat it to avoid burning the chocolate.
Step 7: Ice the Slice
Once the icing is ready, pour it evenly over the cooled base in the tin, using a spatula to spread it out smoothly. Ensure the icing covers all corners and edges for an appealing look. The glossy finish of the chocolate will beautifully contrast with the coffee-flavored base of your Coffee Slice No Bake Bliss.
Step 8: Chill
Finally, place the tin in the refrigerator for at least 2 hours, allowing the Coffee Slice No Bake Bliss to set completely. After chilling, the slice will firm up, making it easier to cut into squares. Patience is key, so resist the urge to rush this step for optimal texture!
Make Ahead Options
These No-Bake Coffee Slice treats are perfect for meal prep enthusiasts! You can prepare the base up to 24 hours in advance by crushing the biscuits and mixing the ingredients, then store it in an airtight container in the refrigerator. The chocolate icing can also be made ahead and stored for up to 3 days to maintain its smooth consistency. Simply reheat it gently in the microwave if needed before icing the slice. When you’re ready to serve, assemble the layers by pressing the base into the tin and pouring over the chocolate icing. You’ll enjoy delicious results with minimal effort, making this Coffee Slice No Bake Bliss a reliable choice for busy weeknights or unexpected guests!
How to Store and Freeze Coffee Slice No Bake Bliss
Fridge: Store the Coffee Slice No Bake Bliss in an airtight container for up to 5-7 days. This keeps it fresh and ready for a delightful pick-me-up anytime!
Freezer: For longer storage, you can freeze the slices for up to 2 months. Wrap individual pieces in plastic wrap and then place them in a freezer-safe container.
Thawing: When ready to enjoy, simply remove the desired amount from the freezer and let them thaw in the fridge for a few hours before serving.
Serving Tip: Best enjoyed chilled alongside your favorite cup of coffee or tea, bringing a taste of bliss to any occasion!
Coffee Slice No Bake Bliss: Customization Ideas
Embrace your creativity and personalize this delightful dessert to suit your taste and needs!
-
Dairy-Free: Substitute sweetened condensed milk with coconut or almond milk cream for a creamy, dairy-free alternative. This will still provide that luscious texture without compromising on taste.
-
Nutty Texture: Incorporate finely chopped nuts like walnuts or macadamias into the base for added crunch. This nutty addition enhances both flavor and texture, making each bite even more satisfying.
-
Sweetener Swap: Use maple syrup or agave syrup instead of light brown sugar for a unique sweetness. This swap not only diversifies the flavor but can cater to those preferring natural sweeteners.
-
Gluten-Free: Opt for gluten-free biscuits to create a suitable version for those with gluten sensitivities. This substitution ensures everyone can enjoy the Coffee Slice No Bake Bliss without worry.
-
Extra Chocolate: Stir in chocolate chips for an extra layer of chocolaty goodness. You might find this indulgent addition turns your slice into an even more irresistible delight!
-
Zesty Twist: Add orange or lemon zest for a refreshing hint of citrus that beautifully balances the rich coffee and chocolate flavors. This bright addition can elevate your slice to a whole new level!
-
High Fiber: Replace half of the desiccated coconut with oat flakes for added texture and fiber. This alteration not only enhances the nutrition but keeps it hearty.
As you explore these variations, consider pairing your Coffee Slice No Bake Bliss with a cup of your favorite brew or a refreshing glass of iced coffee for the ultimate treat! And for more exciting recipes to round out your dessert lineup, check out Savor Comforting Bake for cozy meals or Heavenly No Bake Cake for another delightful dessert option!
Expert Tips for Coffee Slice No Bake Bliss
- Crush Fine: Ensure the biscuits are finely crushed; larger chunks can lead to a crumbly base that falls apart.
- Let It Chill: Allow at least 2 hours of chilling for the best texture; skipping this can result in a soft slice.
- Melt Gradually: When melting chocolate, do so in intervals to achieve a smooth consistency without burning.
- Prep Your Tin: Properly grease and line the tin for easy removal; if it’s stuck, run warm water around the outside to loosen.
- Adjust Coffee Strength: Feel free to modify the instant coffee quantity to match your taste preferences for the perfect Coffee Slice No Bake Bliss!
What to Serve with Coffee Slice No Bake Bliss
Elevate your coffee break or sweet gathering with delightful pairings that complement the layers of flavor in this rich dessert.
- Fresh Berries: The tartness of strawberries or raspberries cuts through the richness, adding a refreshing contrast to each slice.
- Vanilla Ice Cream: A scoop of creamy vanilla ice cream brings a delightful chill that balances the warmth of coffee flavors beautifully.
- Rich Espresso: Serve alongside a strong espresso to enhance the coffee notes in the slice and create a luxurious adult treat.
- Chocolate Dipped Fruit: Offer pieces of fruit dipped in chocolate for a whimsical touch that complements the coffee and chocolate combination perfectly.
- Coconut Whipped Cream: Light and airy, this whipped cream adds a sweet, tropical twist that pairs wonderfully with the coconut in the base.
- Mocha Cold Brew: For a refreshing drink, a mocha cold brew melds chocolate and coffee flavors in a cool format, ideal for warm afternoons.
- Lemon Tart: The zesty kick of a lemon tart can provide a bright and tangy contrast that cuts through the dessert’s sweetness.
- Nutty Biscotti: Crisp and crunchy, biscotti with nuts make for a delightful dipper that enhances the coffee experience of the entire treat.
Coffee Slice No Bake Bliss Recipe FAQs
What type of biscuits should I use for the base?
Absolutely use Arnott’s Marie biscuits for the best structure! If you prefer, Digestive or rich tea biscuits make great substitutes and can still give you that lovely crumbly base.
How should I store the Coffee Slice No Bake Bliss?
Great question! To keep it fresh, store the Coffee Slice No Bake Bliss in an airtight container in the fridge for up to 5-7 days. This way, you’ll always have a little indulgence ready at hand.
Can I freeze the Coffee Slice No Bake Bliss?
Yes, you can freeze it for up to 2 months! Simply wrap individual slices in plastic wrap, then place them in a freezer-safe container. When you’re ready to enjoy, thaw in the fridge for a few hours and indulge in its delightful flavors!
What if my Coffee Slice turns out too soft?
No worries! If your slice is too soft, it could be due to not chilling it long enough or using too much liquid. Ensure you’re letting it chill for at least 2 hours, and if you need a denser slice next time, consider adding a bit more crushed biscuit to the base mixture.
Are there any dietary considerations for this recipe?
Very much so! You can easily make this Coffee Slice No Bake Bliss gluten-free by using gluten-free biscuits. Additionally, for a dairy-free option, substitute sweetened condensed milk with coconut or almond milk cream. Adjust according to your dietary needs to enjoy this tasty treat!
Coffee Slice No Bake Bliss: Your New Favorite Dessert Treat
Ingredients
Equipment
Method
- Begin by greasing a 20 x 20 cm baking tin with a little butter and lining it with parchment paper.
- Using a food processor or a rolling pin, crush the Arnott's Marie biscuits into fine crumbs.
- In a medium bowl, combine the instant coffee granules, cocoa powder, and light brown sugar. Pour in the boiling water and stir until smooth.
- In a large mixing bowl, combine the crushed biscuits, sweetened condensed milk, desiccated coconut, melted butter, and vanilla extract. Add the coffee mixture and mix well.
- Transfer the mixture into the prepared tin and press it down firmly to create an even layer.
- In a microwave-safe bowl, combine the milk chocolate and additional salted butter. Microwave in intervals, stirring until smooth.
- Pour the icing over the cooled base and spread it evenly.
- Place the tin in the refrigerator for at least 2 hours to set completely.