

As the aroma of melted cheese and spicy jalapeños wafts through the kitchen, my heart skips a beat—this is what comfort food is all about! Making Jalapeño Cheddar Tuna Melts has become my go-to solution when I crave something delicious yet quick. With just 10 minutes of prep time, these protein-rich delights are perfect for a post-workout treat or a satisfying snack on a busy afternoon. The beauty of this recipe lies in its versatility; you can easily switch up the ingredients to match your taste. Whether you’re enjoying them solo or sharing with friends, these melts will surely become a household favorite. Ready to dive into this cheesy goodness? Let’s get started!
Why are Jalapeño Cheddar Tuna Melts amazing?
Quick and Easy: You’ll whip up these delights in under 10 minutes, making them a perfect choice for busy weeknights or post-workout hunger.
Protein-Packed: Canned tuna and cheddar cheese provide a hearty dose of protein to fuel your day.
Customizable Goodness: Whether you prefer extra spice or a mild flavor, you can easily adjust the jalapeños and cheese to fit your palate.
Crowd-Pleasing Flavor: The creamy tuna filling meets gooey cheese for a melt that’s bound to impress friends and family alike, just like our popular Tuna Potato Pancakes.
Versatile Options: Swap in different breads or cheeses for a new twist every time you make this recipe—endless possibilities await!
Jalapeño Cheddar Tuna Melt Ingredients
For the Tuna Filling
- Canned Tuna – This main protein source can be any brand or type; opt for low-sodium for a lighter option.
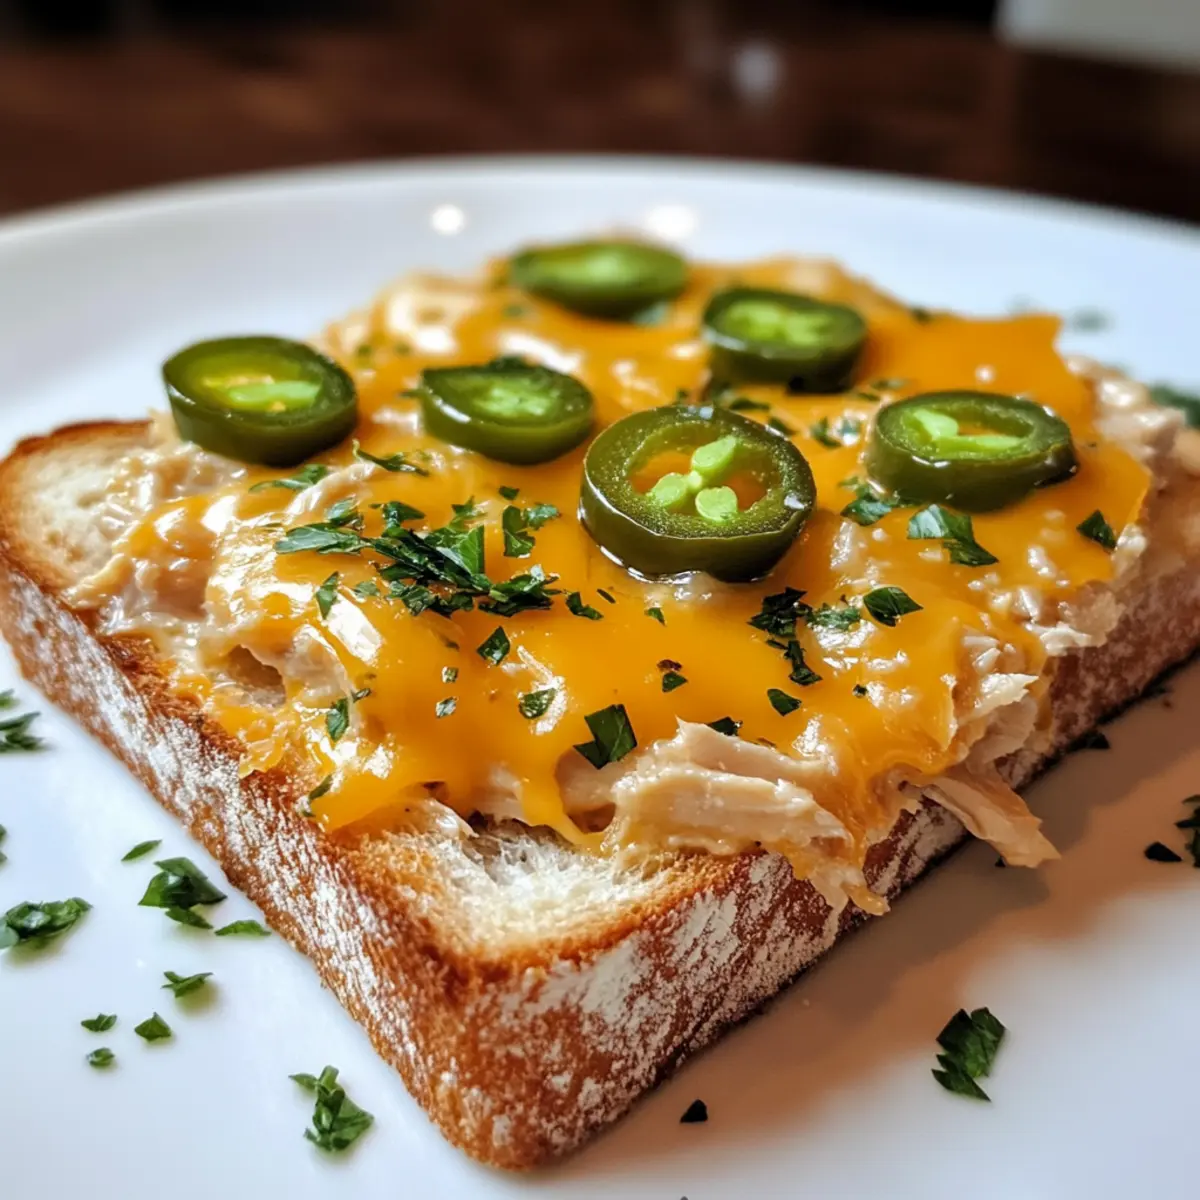
- Jalapenos – Adds spice and flavor; use fresh or pickled, adjusting quantity based on your heat preference.
- Mayonnaise – Binds the filling while adding creaminess; substitute Greek yogurt for a healthier twist.
- Celery (optional) – This adds crunch and freshness, but you can replace it with chopped bell peppers for a vibrant flavor.
For the Assembly
- Sharp Cheddar Cheese – Provides a rich, creamy element that makes this Jalapeño Cheddar Tuna Melt irresistible; substitute with mozzarella for a milder taste.
- Bread – Your chosen sturdy base; any bread that toasts well, like sourdough or bagels, works beautifully.
Feel free to explore and tweak ingredients to make this dish your own! Enjoy the delicious transformation of simple components into a delightful meal.
Step‑by‑Step Instructions for Jalapeño Cheddar Tuna Melt
Step 1: Prep the Filling
In a medium mixing bowl, combine drained canned tuna, mayonnaise, and finely chopped jalapeños. Mix thoroughly with a fork until the ingredients are well combined and creamy, which should take about 5 minutes. If you’re adding optional celery or bell peppers for crunch, fold them in gently. This scrumptious tuna filling will be the star of your Jalapeño Cheddar Tuna Melt.
Step 2: Assemble the Melts
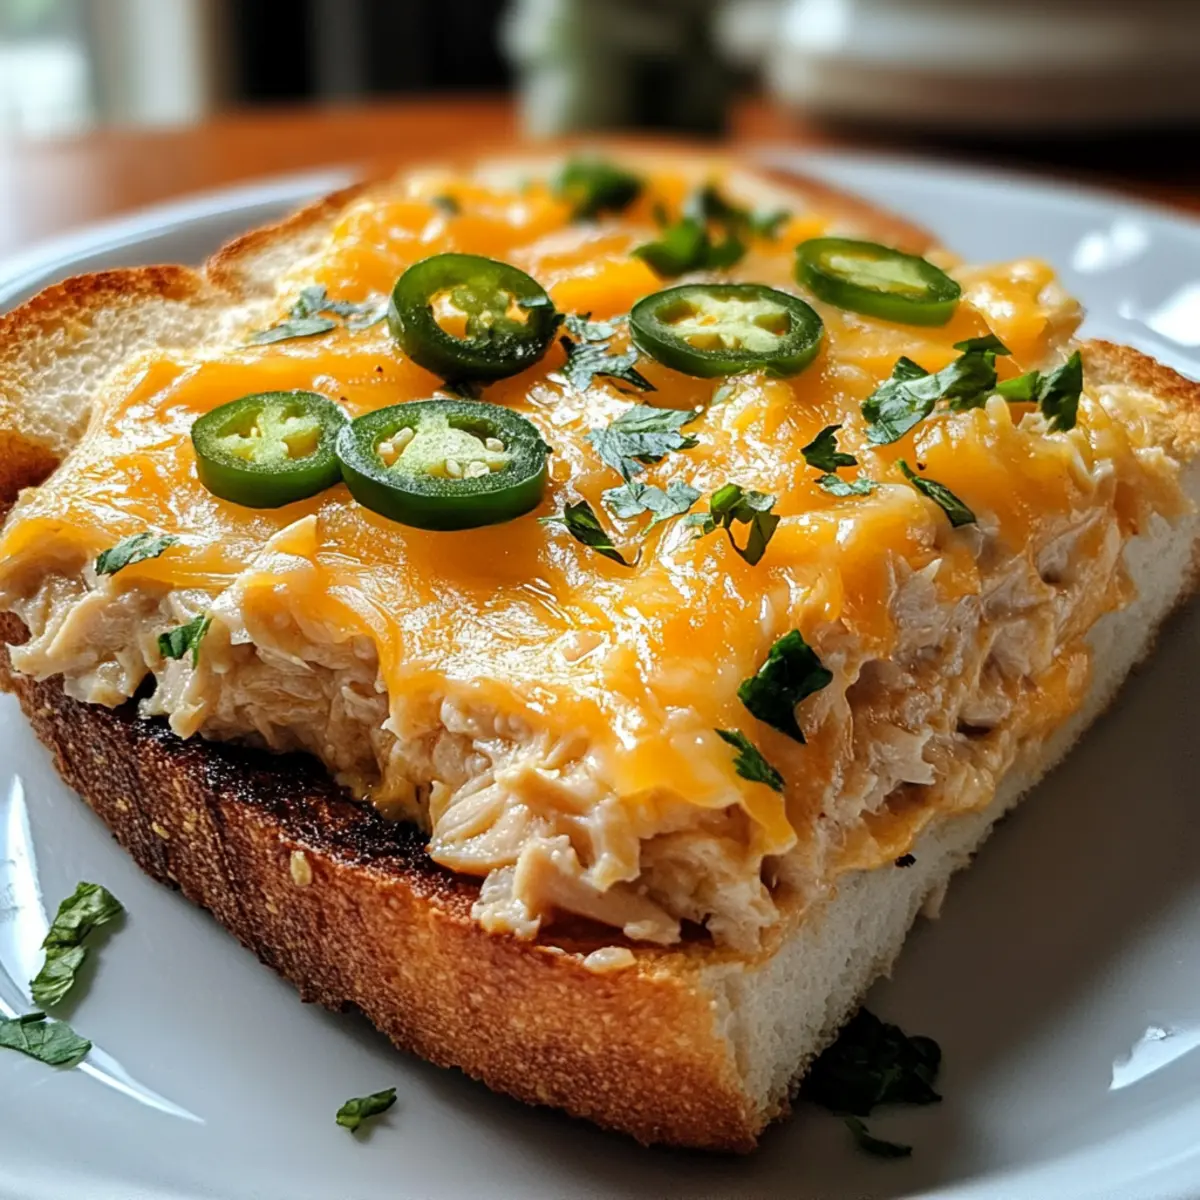
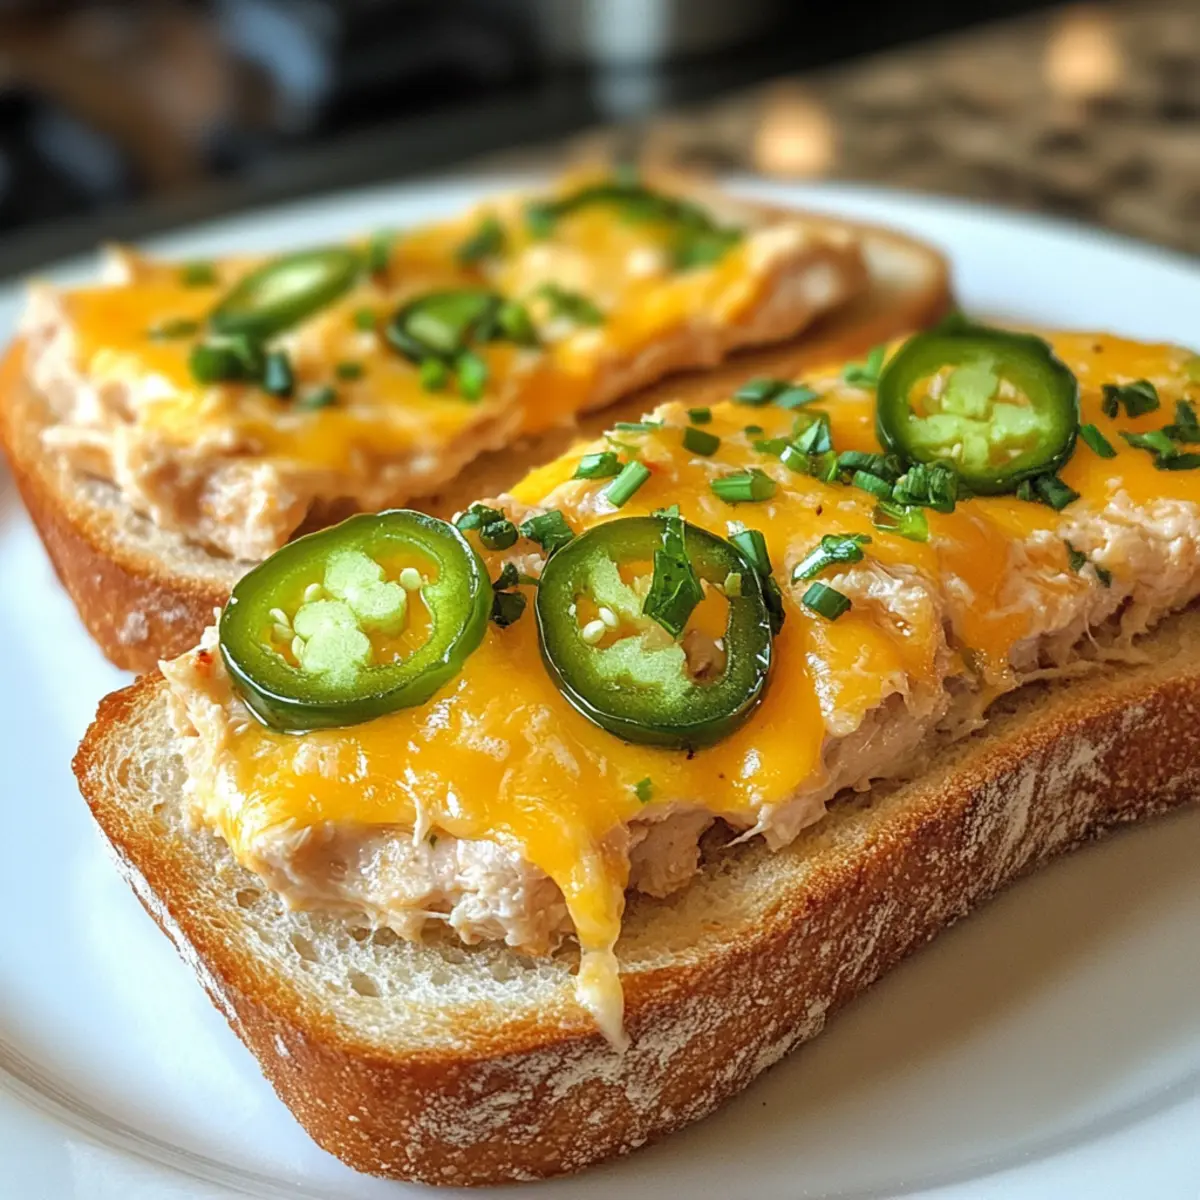
Take slices of your chosen sturdy bread and spread an even layer of the tuna filling on each slice. For an extra kick, sprinkle additional jalapeño slices on top if desired. Now, generously layer sharp cheddar cheese over the tuna filling. This melty topping will create the deliciously gooey goodness of your Jalapeño Cheddar Tuna Melt.
Step 3: Bake or Air Fry
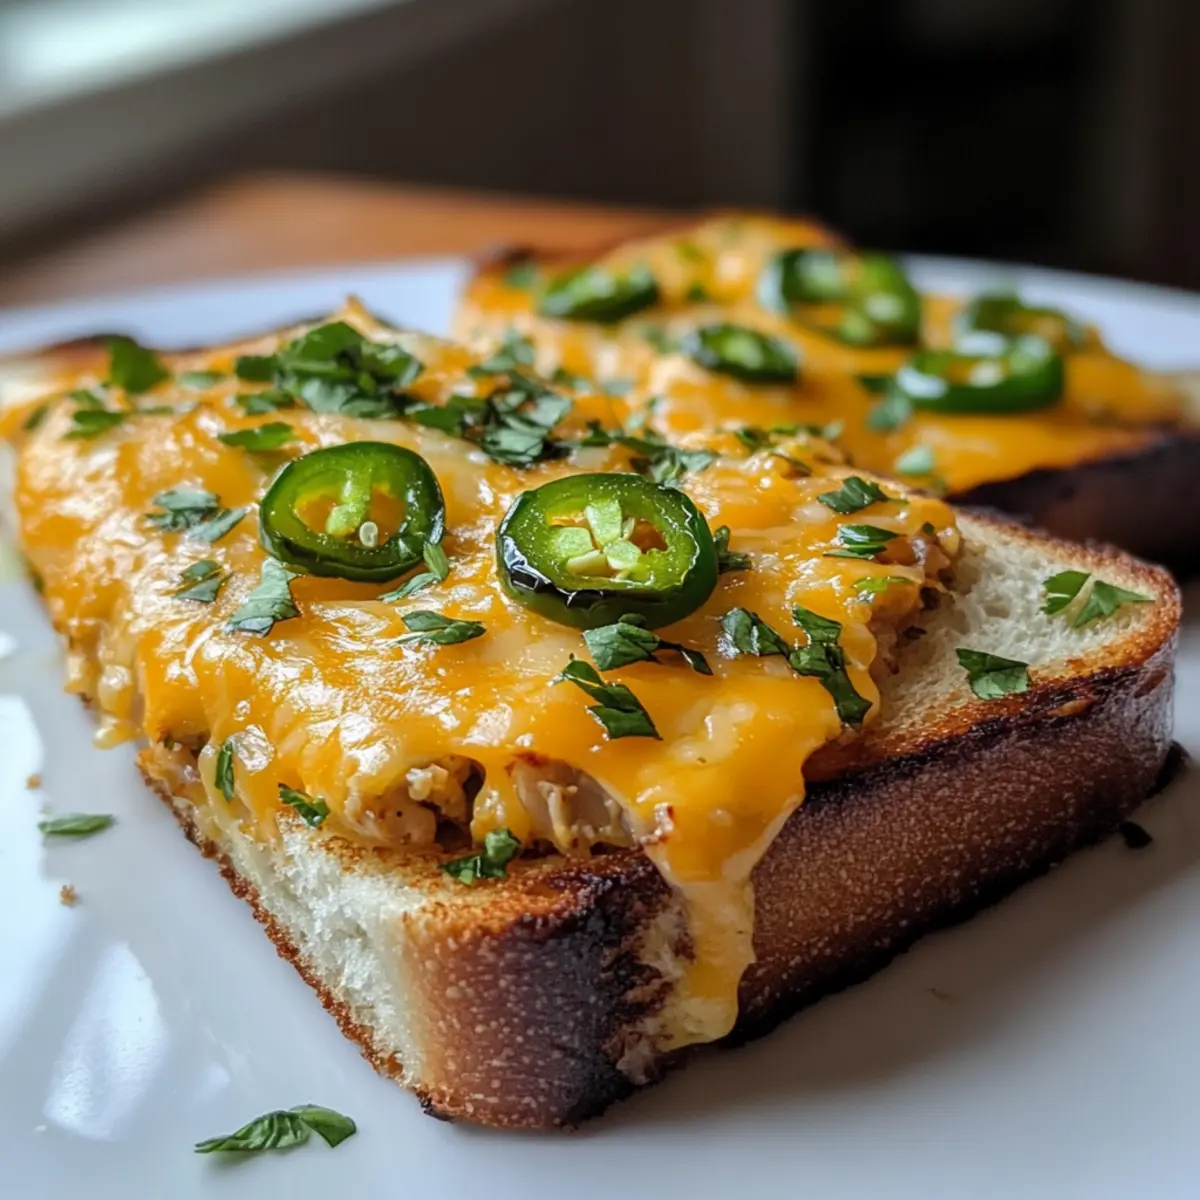
Preheat your oven or air fryer to 400°F (200°C). Arrange your assembled melts on a baking sheet or in the air fryer basket. Bake for 7-9 minutes, keeping a close eye on them; you’re looking for the bread to turn golden brown and the cheese to be bubbling. If you want a crispy, golden finish, broil them for an additional 2-3 minutes, watching carefully to prevent burning.
Step 4: Serve Warm
Once your Jalapeño Cheddar Tuna Melts are sizzling and golden, remove them from the oven or air fryer. Let them cool for a minute or two before slicing in half for perfect serving. Pair your melts with fresh veggies or crunchy potato chips for a balanced meal, and get ready to enjoy this irresistible comfort food that’s quick, satisfying, and loaded with flavor!
Make Ahead Options
These Jalapeño Cheddar Tuna Melts are perfect for meal prep enthusiasts! You can prepare the tuna filling up to 3 days in advance, storing it in an airtight container in the refrigerator. To maintain freshness and prevent the ingredients from becoming soggy, be sure to mix the mayonnaise and jalapeños thoroughly into the drained tuna and keep the filling refrigerated until you’re ready to use it. When you’re set to enjoy your melts, simply assemble the filling on your prepared bread, top with cheese, and bake or air fry them for about 7-9 minutes. You’ll achieve deliciously gooey, restaurant-quality results with minimal effort, perfect for busy weeknights!
Jalapeño Cheddar Tuna Melt Variations
Feel free to get creative with your melts and explore exciting alternatives that can bring a whole new level of flavor!
-
Cheese Swap: Replace sharp cheddar with pepper jack for an extra kick. The heat from the pepper jack complements the jalapeños beautifully.
-
Bread Variety: Use ciabatta for a rustic, chewy texture or whole grain for a healthier option. Each bread type adds its own character to your tuna melt.
-
Herb Infusion: Add fresh herbs like dill or parsley to the tuna filling for a burst of brightness. This lovely twist elevates the dish into something truly special.
-
Veggie Boost: Incorporate diced red onion or shredded carrots into the filling for added crunch and nutrition. These veggies not only enhance texture but also brighten the flavors.
-
Lettuce Wraps: For a low-carb option, serve the tuna filling on large lettuce leaves instead of bread. This fresh approach is perfect for light meals!
-
Spicy Kick: If you crave more heat, mix in a dash of hot sauce or sprinkle crushed red pepper flakes into the filling. Just be careful—you can always add more, but you can’t take it away!
-
Dipping Delight: Transform your tuna melt into a dip served with crispy crackers or fresh veggies. It’s a great way to enjoy the flavors in a fun, shareable form, reminiscent of our tasty Tuna Potato Pancakes.
-
Make-ahead Magic: Prepare a larger batch of the tuna filling to use throughout the week in various ways. It can be a topping for a salad or a base for stuffed peppers.
Each of these variations presents a delicious way to personalize your Jalapeño Cheddar Tuna Melts, ensuring that they never become boring and always feel like a special treat!
Tips for the Best Jalapeño Cheddar Tuna Melt
-
Choose Quality Tuna: Opt for high-quality canned tuna; it makes a big difference in flavor and texture for your Jalapeño Cheddar Tuna Melt.
-
Spice Adjustment: Tailor the amount of jalapeños to your spice tolerance; start with a small amount, and you can always add more!
-
Don’t Rush Baking: Ensure your oven or air fryer is fully preheated to achieve that perfect crispy bread and gooey cheese without burning.
-
Experiment with Cheese: Try different cheese combinations—pepper jack for extra kick or fontina for a creamy twist that elevates your Jalapeño Cheddar Tuna Melt.
-
Storage Tips: If making ahead, store the tuna filling tightly sealed in the fridge for up to 3 days; it’s a great time-saver for busy weeknights!
How to Store and Freeze Jalapeño Cheddar Tuna Melts
Fridge: Store leftover Jalapeño Cheddar Tuna Melts in an airtight container in the fridge for up to 3 days. Reheat in the oven or air fryer for best texture.
Freezer: If you’ve made extra melts, wrap them individually in plastic wrap and then aluminum foil, storing in the freezer for up to 2 months. Thaw overnight in the fridge before reheating.
Reheating: To bring back that crispy magic, reheat thawed melts in a preheated oven at 350°F for about 10-12 minutes, until heated through and cheese is melty.
Make-Ahead: Prepare the tuna filling in advance and store in an airtight container in the fridge for up to 3 days, making assembly quick and easy on busy nights.
What to Serve with Jalapeño Cheddar Tuna Melts?
As you savor each bite of these savory delights, consider a few harmonious companions to create a full meal experience.
- Crispy Potato Chips: The crunchiness perfectly contrasts the creamy melts, providing a satisfying texture throughout your meal.
- Fresh Garden Salad: A light, refreshing salad brightens up your plate with vibrant greens and tangy dressing, balancing richness.
- Honey Mustard Dipping Sauce: Drizzling this sweet and tangy sauce adds an appealing punch that pairs beautifully with the spiciness of the tuna melts.
- Roasted Vegetables: Seasoned roasted veggies bring earthy flavors and a nutritious touch to complement the cheesy dish.
- Coleslaw: Creamy or vinegar-based coleslaw contributes a crunchy, zesty element that elevates the dining experience.
- Ice-Cold Lemonade: Sip on a refreshing lemonade to cleanse your palate between bites—its zesty sweetness counteracts the heat from the jalapeños.
- Fruit Salad: A fruity medley of watermelon, berries, and citrus provides a refreshing, light finish that contrasts with hearty melts.
- Craft Beer: For a vibrant pairing, try an amber ale or a pale ale that harmonizes with the dish’s flavors, enhancing your tasting adventure.
Jalapeño Cheddar Tuna Melts Recipe FAQs
What’s the best way to choose jalapenos?
Absolutely! When selecting jalapenos, look for firm peppers without any dark spots or wrinkles, indicating freshness. If you prefer a milder flavor, go for lighter green, less mature jalapenos, while darker ones tend to be spicier.
How long can I store leftovers?
You can store leftover Jalapeño Cheddar Tuna Melts in an airtight container in the fridge for up to 3 days. I often reheat them in the oven or air fryer to restore that crispy, delicious texture while keeping the cheese melty!
Can I freeze tuna melts for later?
Very! To freeze, wrap each assembled Jalapeño Cheddar Tuna Melt tightly in plastic wrap, then foil, and store in the freezer for up to 2 months. When you’re ready to enjoy, thaw them overnight in the fridge, then reheat in a preheated oven at 350°F for about 10-12 minutes, until heated through and bubbly.
How can I troubleshoot soggy bread?
If you’re finding that your melts have soggy bread, it could be due to too much moisture in the filling. To avoid this, drain the canned tuna thoroughly and use just enough mayonnaise to bind without making it watery. Baking at the recommended temperature will also help achieve that crispy, toasty finish!
Are there any dietary considerations?
Absolutely! For those with allergies, ensure you’re using low-sodium tuna if salt is a concern, and substitute Greek yogurt for those avoiding mayonnaise. If serving to pets, be cautious as some ingredients like jalapenos may not be safe for them. Always check with your vet to ensure safety.
Savory Jalapeño Cheddar Tuna Melt in Under 10 Minutes
Ingredients
Equipment
Method
- Prep the Filling: In a mixing bowl, combine drained canned tuna, mayonnaise, and jalapeños. Mix until well combined and creamy.
- Assemble the Melts: Spread an even layer of the tuna filling on each slice of bread. Top with sharp cheddar cheese.
- Bake or Air Fry: Preheat to 400°F, arrange melts and bake for 7-9 minutes until golden and cheese is bubbling.
- Serve Warm: Let cool briefly, then slice in half and serve with veggies or chips.