

As I stood in my kitchen, the sweet scent of chocolate wafted through the air, cueing my excitement for the day’s baking adventure. These Festive Deviled Brownies are my go-to treat for celebrating any spring occasion, especially Easter. Using a simple box mix, I whip up a fudgy brownie base that sets the stage for a delightful surprise—a creamy, tangy filling made from cream cheese and marshmallow cream. Not only are these decadent bite-sized goodies easy to make, but they also dazzle at gatherings, leaving friends and family reaching for more. So, whether you’re hosting an Easter brunch or simply enjoying a cozy afternoon at home, these deviled brownies are sure to bring joy. Curious about how to craft these delightful treats and make your spring festivities even sweeter? Let’s dive into the recipe together!
Why are Deviled Brownies a must-try?
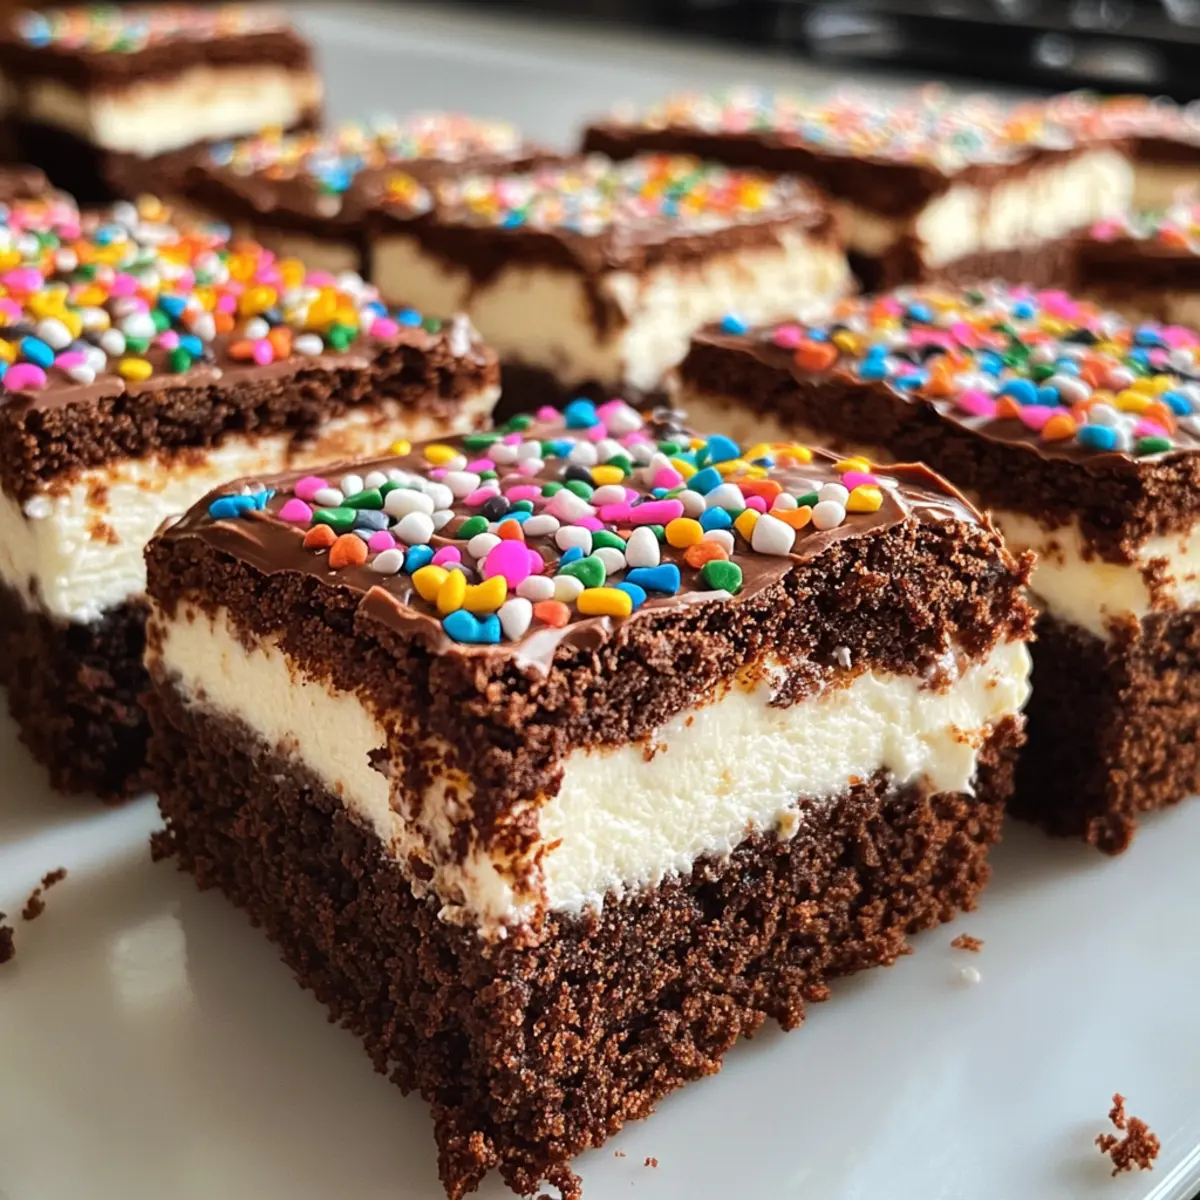
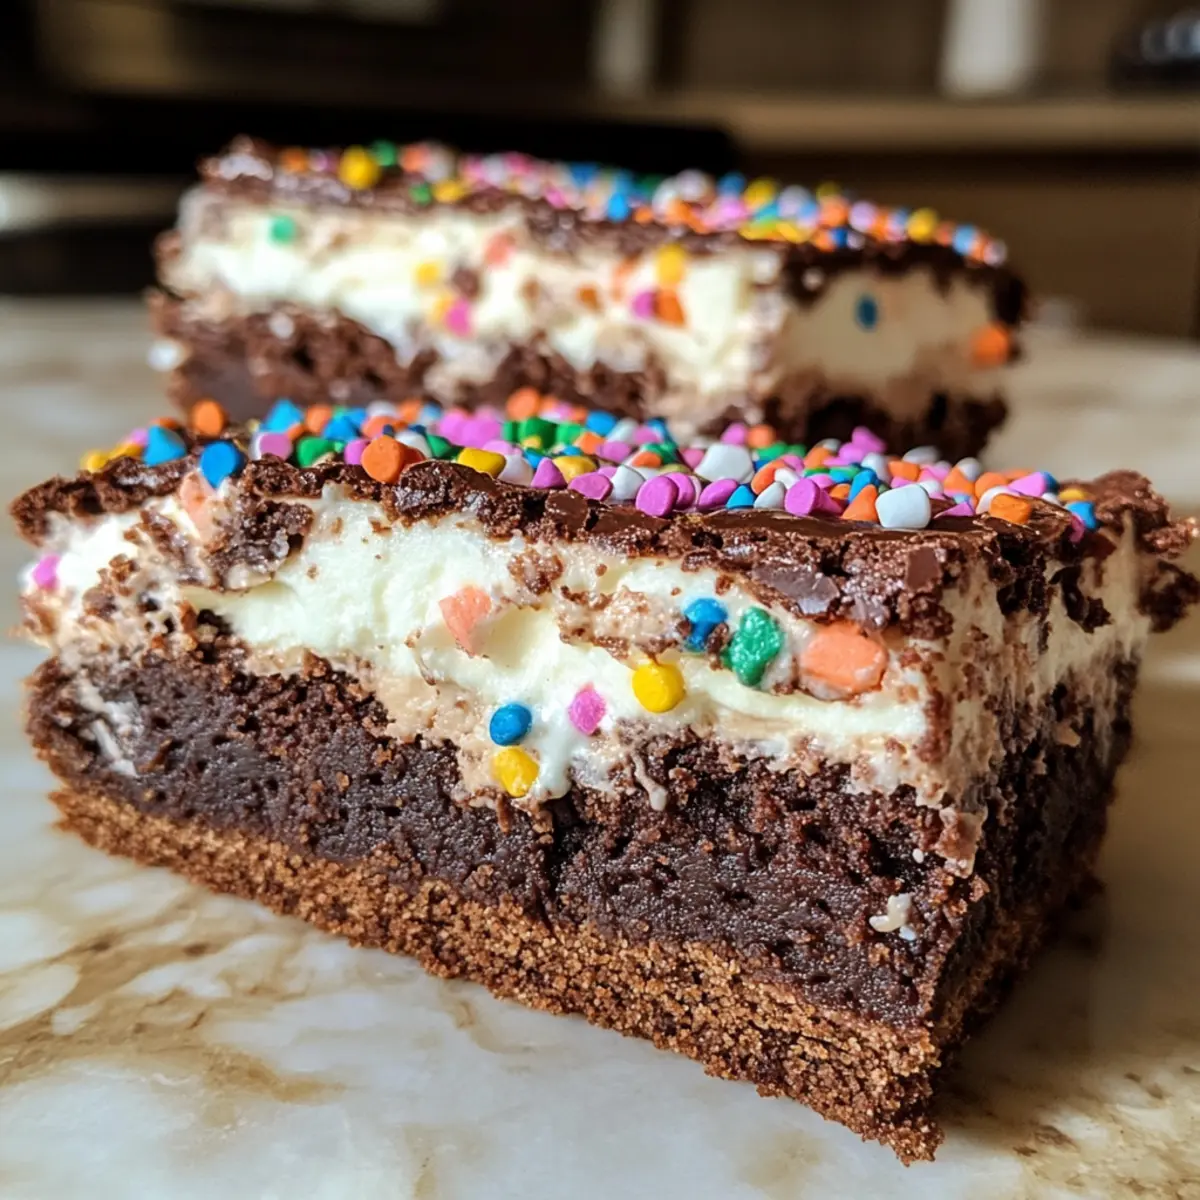
Irresistible Combination: The rich, fudgy chocolate base pairs perfectly with a creamy, tangy filling that dances on your taste buds.
Quick and Easy: With a simple box mix as your base, these treats come together in no time—perfect for busy bakers!
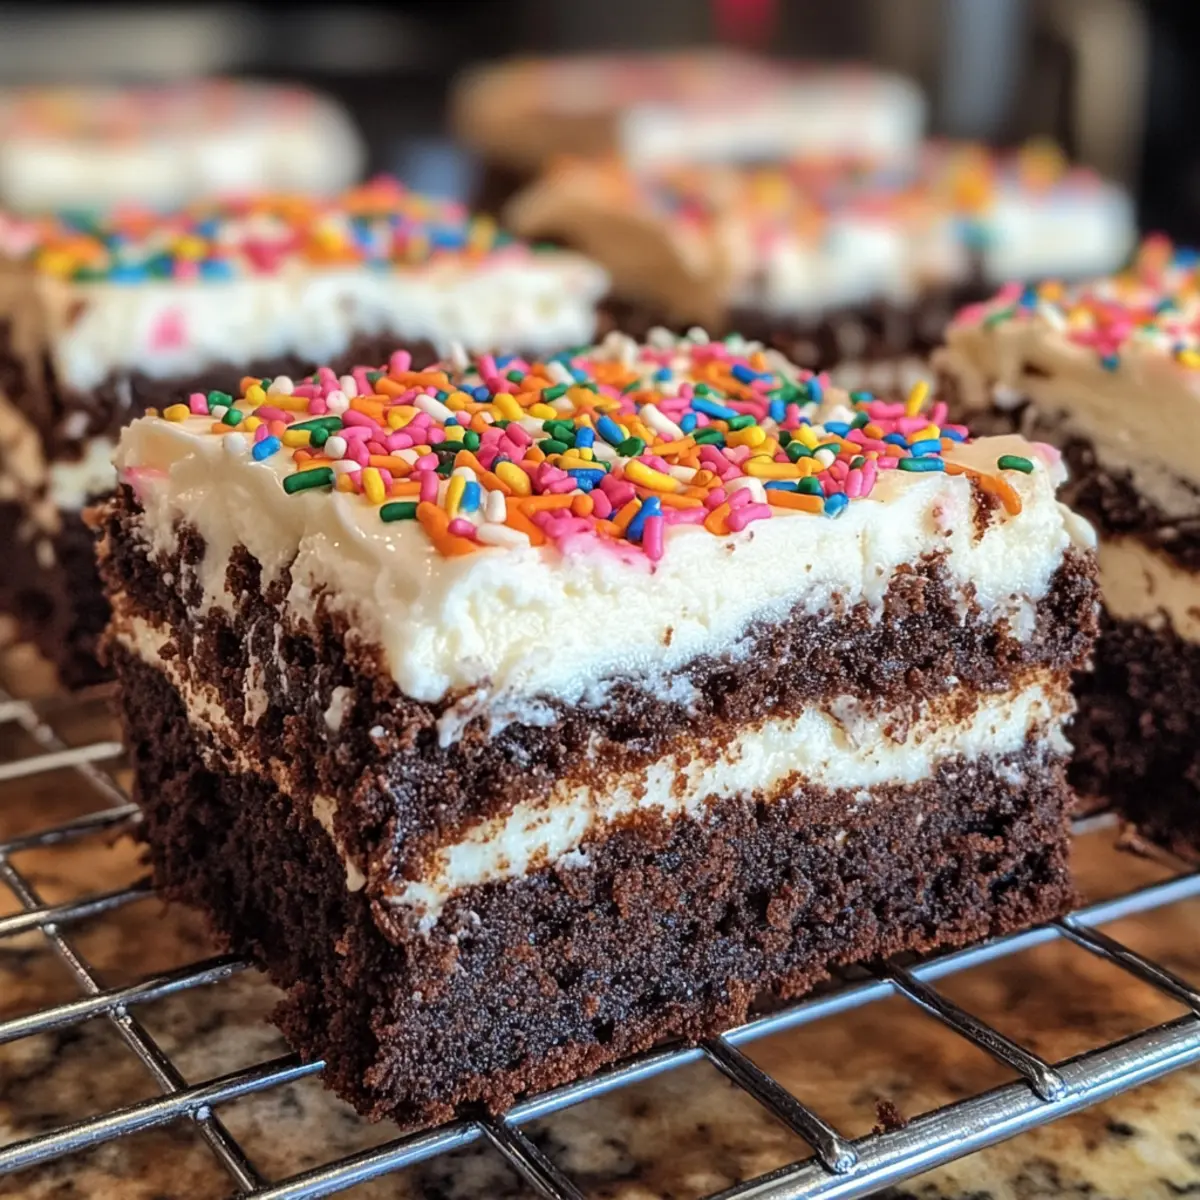
Festive Appeal: Their egg-shaped form and colorful sprinkles make them ideal for Easter celebrations and spring parties.
Versatile Enjoyment: Enjoy them fresh, or switch up the filling with peanut butter or a different frosting for a tasty twist. For more delightful variations, be sure to check out my Banana Bread Brownies which offer a unique take on classic flavors!
Crowd-Pleaser: These deviled brownies are guaranteed to impress your friends and family, quickly disappearing from the dessert table at any occasion!
Deviled Brownies Ingredients
For the Brownie Base
• Brownie Mix – Use an 18.3 oz box mix for a rich, fudgy foundation.
• Water – Helps in blending the ingredients smoothly, creating that perfect brownie texture.
• Vegetable Oil – Adds moisture and contributes to the fudgy consistency.
• Eggs – Essential for binding the ingredients together and giving structure to the brownies.
For the Creamy Filling
• Cream Cheese – Soften beforehand for a smooth, tangy filling that contrasts beautifully with the brownie base.
• Marshmallow Cream – Provides a light, fluffy texture to the filling; can be swapped with cookie butter for a different flavor.
For Decoration (Optional)
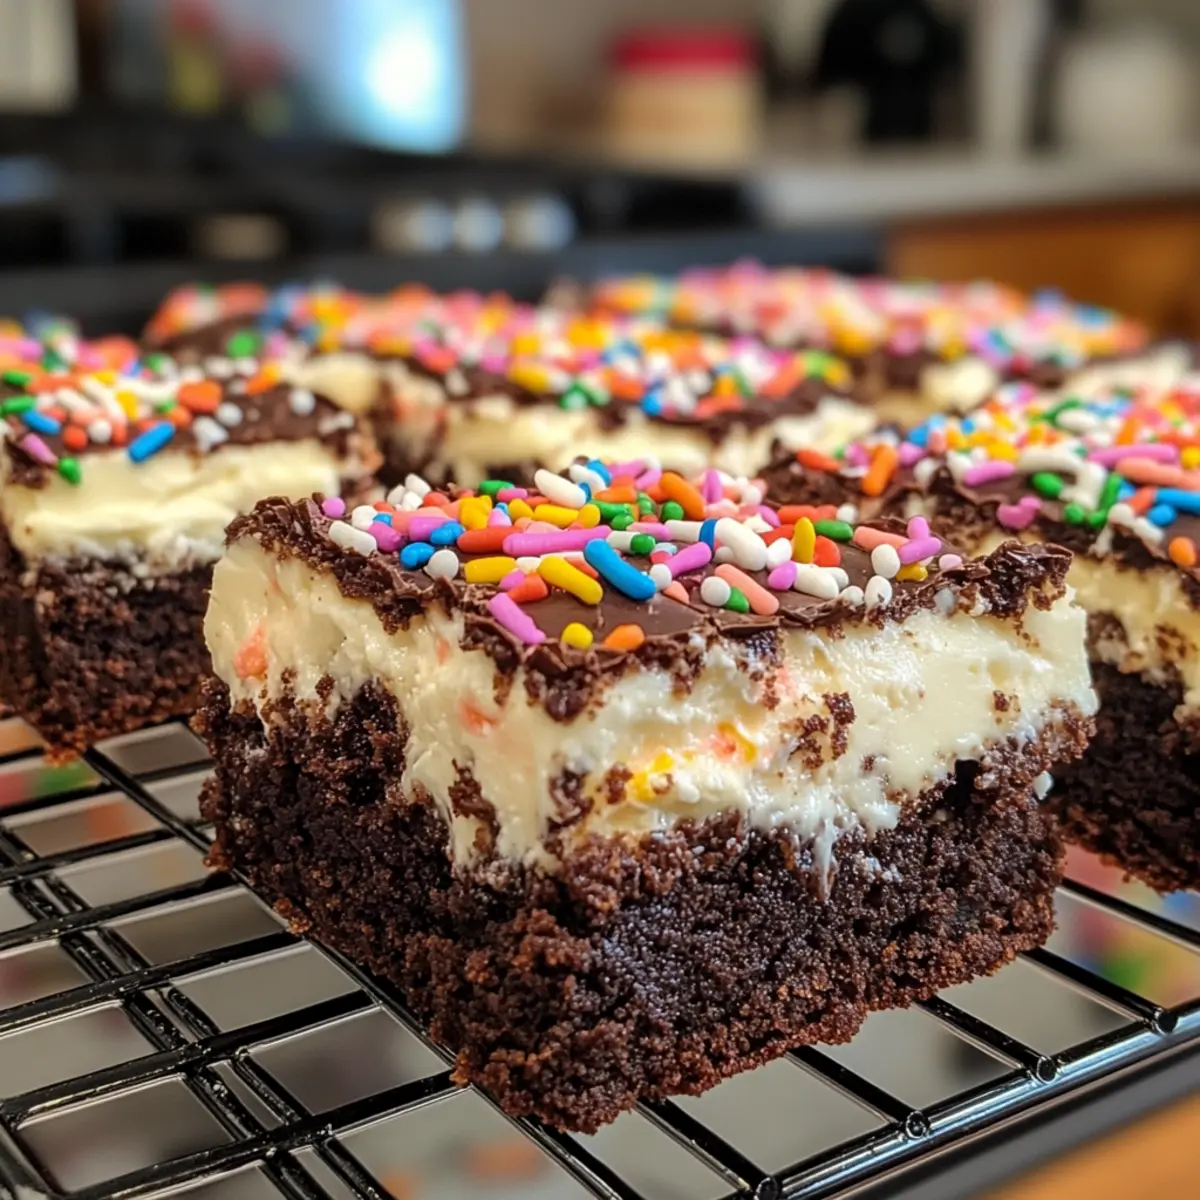
• Sprinkles – Add festive flair and delightful color; wait to sprinkle until serving to maintain their vibrancy.
These deviled brownies are not just a treat; they bring a smile to every gathering, making them a delicious addition to your spring celebrations!
Step-by-Step Instructions for Festive Deviled Brownies
Step 1: Preheat and Prepare
Begin by preheating your oven to 350°F (175°C) to ensure a perfectly baked brownie base. In a mixing bowl, prepare the brownie mix according to the package instructions, combining it thoroughly with water, vegetable oil, and eggs until smooth and well blened. This rich mixture lays the groundwork for your decadent deviled brownies.
Step 2: Grease the Molds
Lightly grease your egg-shaped silicone molds with nonstick spray to prevent sticking and ensure easy release. Take a moment to ensure every cavity is well coated as this will make the removal process smoother later. Your molds should be ready for the brownie batter, setting the stage for those delightful treats to shine.
Step 3: Fill the Molds
Using a 2-tablespoon scoop, carefully fill each cavity of the greased molds with the brownie batter. Be sure to leave a little space at the top of each mold as the batter will rise while baking. You’ll want to evenly distribute the mixture to maintain consistent baking and ensure that all your deviled brownies turn out perfectly shaped.
Step 4: Bake and Check for Doneness
Slide the filled molds into your preheated oven and bake for 24-26 minutes. Keep an eye on the brownies; they are ready when a toothpick inserted into the center comes out clean or with just a few moist crumbs clinging to it. This visual cue indicates that your fudgy brownie base is flawlessly set and ready for the next step.
Step 5: Create a Divot
Once baked, remove the molds from the oven and let them cool slightly. While they are still warm, use your finger or a small spoon to gently press down in the center of each brownie, creating a divot that will hold the luscious filling. This step is crucial for achieving that delightful balance in your festive deviled brownies.
Step 6: Cool Completely
Allow the brownies to cool completely in the molds. This cooling time helps them firm up and maintain their shape. Patience is key here! After about 15-20 minutes, you can carefully remove them from the molds, showcasing those cute egg shapes.
Step 7: Make the Creamy Filling
In a separate mixing bowl, beat the softened cream cheese and marshmallow cream together until the mixture is smooth and creamy. Using a handheld or stand mixer will make this task easier, blending the flavors together beautifully. This filling will add that delightful tang and sweetness to your deviled brownies.
Step 8: Pipe the Filling
Transfer the creamy filling into a piping bag or a plastic bag with the corner snipped off. Start filling each brownie divot with the luscious cream mixture, taking care to fill it generously but without overflowing. The contrast between the fudgy brownie and the creamy filling is what makes these deviled brownies irresistible.
Step 9: Add Final Touches
If desired, sprinkle colorful sprinkles over the filled brownies for a festive touch. This step adds a cheerful pop of color, making your deviled brownies even more inviting. Allow them to sit for a few minutes to ensure the filling stabilizes before serving.
Step 10: Chill and Serve
Place the finished deviled brownies in the refrigerator until you’re ready to serve, allowing the filling to set. Chilling will also enhance the flavors. Once it’s time to delight your guests, simply arrange them on a platter and watch them disappear at your spring celebrations!
How to Store and Freeze Deviled Brownies
Fridge: Store deviled brownies in a covered container in the refrigerator for up to 3-4 days to maintain their freshness and creamy texture.
Freezer: For longer storage, freeze the brownies in an airtight container for up to 2 months. Make sure to layer them with parchment paper to prevent sticking.
Thawing: When ready to enjoy, thaw the brownies in the fridge overnight. This helps retain their moistness and prevents any changes in texture.
Reheating: Enjoy them cold, or for a warm treat, pop them in the microwave for about 10-15 seconds; the filling can become delightfully gooey again!
Expert Tips for Deviled Brownies
- Chill the Filling: Before piping, chill the cream cheese filling to keep it stable and create a luscious cream that won’t ooze out.
- Perfect Cooling: Allow brownies to cool completely in the molds to avoid crumbling; rushing this step can lead to a messy outcome.
- Check for Doneness: Ensure you’re testing your brownies properly; toothpicks should come out clean or with a few moist crumbs, indicating a fudgy texture that is perfect for deviled brownies.
- Sprinkle Smartly: Add sprinkles just before serving to prevent color bleeding and maintain their vibrant look for your festive gatherings.
- Experiment with Fillings: Feel free to customize the filling; try flavors like peanut butter or cookie butter for a fun twist on your deviled brownies!
Deviled Brownies Variations & Substitutions
Feel free to let your creativity shine while crafting these delightful deviled brownies! Each variation will add a unique twist that caters to your taste preferences.
- Peanut Butter Filling: Substitute marshmallow cream with creamy peanut butter for a rich, nutty flavor that pairs deliciously with chocolate.
- Chocolate Cream Cheese: Replace regular cream cheese with chocolate cream cheese for an extra layer of chocolaty goodness. This adds a decadent twist!
- Dairy-Free: Use dairy-free cream cheese and a dairy-free brownie mix to make these treats suitable for vegans or lactose intolerant guests.
- Mint Chocolate: Add a few drops of peppermint extract to the filling for a refreshing minty flavor; it’s a fabulous pairing with chocolate!
- Colorful Layers: Swirl in colorful food safe dyes into the filling for a rainbow effect that will wow at spring parties. Who doesn’t love a little fun in dessert?
- Cookie Dough Center: Fill the brownie divots with cookie dough for an entirely different texture; this adds a chewy surprise in every bite.
- Spicy Kick: Add a pinch of cayenne pepper to the brownie batter for a surprising heat that balances the sweetness beautifully.
- Filling Variations: Use whipped cream or buttercream frosting instead of marshmallow cream for an even sweeter treat! Want to explore more exciting flavors? Check out my Banana Bread Brownies for another twist on a classic!
Make Ahead Options
These deviled brownies are perfect for busy home cooks looking to save time during spring celebrations! You can prepare the brownie base up to 24 hours in advance; simply bake and cool the brownies, then remove them from the molds and store them in an airtight container at room temperature. Additionally, you can make the cream cheese filling and refrigerate it for up to 3 days to enhance its flavor. Just make sure to keep the filling chilled and covered to maintain its luscious texture. When you’re ready to serve, pipe the filling into the divots and sprinkle with toppings just before placing them on the dessert table for a delightful and stress-free treat!
What to Serve with Festive Deviled Brownies
Indulging in these sweet treats is just the beginning of your spring celebration—pair them with these delightful options to elevate your gathering.
-
Vanilla Ice Cream: The creamy, cool texture of vanilla ice cream balances the rich chocolate and sweet filling perfectly, making each bite a decadent experience.
-
Fresh Berries: A medley of strawberries, blueberries, and raspberries adds a refreshing contrast with their tartness, enhancing the overall flavor party on your palate.
-
Whipped Cream: Light and airy, whipped cream adds a lovely touch of sweetness and a silky texture that complements the brownies’ fudgy richness.
-
Mint Tea: The soothing aroma and cooling flavor of mint tea provide a refreshing palate cleanser, making it a lovely drink pairing for your dessert.
-
Chocolate Dipped Strawberries: For the ultimate indulgence, serve chocolate-dipped strawberries alongside. They create an elegant presentation and deep chocolate flavor that harmonizes beautifully with the deviled brownies.
-
Lavender Lemonade: The floral notes of lavender lemonade add a unique, refreshing twist that complements the rich brownie and balances the sweetness of the filling.
-
Zesty Fruit Salad: A vibrant fruit salad with citrus and melon offers a light, zesty contrast to the brownies, ensuring that the meal feels balanced and fresh.
Enhance your dessert table and create a memorable experience by serving these mouthwatering accompaniments with your deviled brownies!
Deviled Brownies Recipe FAQs
How do I choose the right brownie mix for deviled brownies?
Absolutely! A rich, fudgy brownie mix is key for these treats. I recommend choosing an 18.3 oz box mix that specifies adding water, oil, and eggs, ensuring a moist and delicious base.
How should I store my deviled brownies?
Store your deviled brownies in a covered container in the refrigerator for up to 3-4 days. This helps maintain their freshness and the creamy texture of the filling, ensuring every bite is as delightful as the first!
Can I freeze deviled brownies for later use?
Yes, you can freeze deviled brownies! Place them in an airtight container, layering them with parchment paper to prevent sticking, and they can last up to 2 months in the freezer. When you’re ready to enjoy them, thaw in the fridge overnight and warm them in the microwave for a deliciously gooey treat.
What can I do if my brownies crumble when removing them from the molds?
Very! If your brownies crumble, it might be because they weren’t fully cooled before removing them from the molds. Allow them to cool completely in the molds for about 15-20 minutes. If you did everything right but still face issues, try greasing the molds more thoroughly next time to ensure easy release!
Are deviled brownies safe for people with allergies?
While delicious, be cautious! These deviled brownies contain common allergens like eggs and dairy (from the cream cheese). If you’re baking for someone with specific dietary needs, consider using egg replacements and dairy-free cream cheese to cater to those allergies. Always double-check ingredients and packaging for any additional allergens!
Decadent Deviled Brownies: A Creamy Easter Delight
Ingredients
Equipment
Method
- Preheat oven to 350°F (175°C) and prepare brownie mix as per package instructions.
- Grease egg-shaped silicone molds with nonstick spray.
- Fill the molds with brownie batter using a 2-tablespoon scoop.
- Bake for 24-26 minutes, check with a toothpick for doneness.
- Create a divot in the center of each brownie while warm.
- Cool brownies completely in the molds.
- Beat cream cheese and marshmallow cream together until smooth.
- Pipe the creamy filling into the divots of each brownie.
- Add colorful sprinkles if desired, then chill until ready to serve.