

“Can I really make my favorite takeout at home?” I whispered as I grabbed a bag of flour, excited yet skeptical. It turns out, the answer is a delicious yes! With my Crispy Homemade Chalupa recipe, you can bring the flavors of a fun Mexican feast right into your kitchen. This crowd-pleaser isn’t just a hit for game nights and family dinners; it’s fully customizable according to your cravings. Load up these crispy delights with zesty black beans, fresh veggies, and creamy sauces to suit every taste. Whether you want it vegetarian or loaded with all your favorite proteins, these chalupas make meal prep a breeze! Ready to uncover my secrets for creating the ultimate homemade chalupa? You won’t want to miss it!
Why Make Homemade Chalupas?
Flavorful Freedom: The beauty of this recipe lies in its customization; you can tailor the toppings and fillings to suit everyone’s taste buds.
Quick and Easy: With just a few basic ingredients and simple steps, you’ll have a delightful meal ready in no time.
Family-Friendly Fun: Involve your loved ones in assembling their own chalupas, creating a lively meal experience perfect for any occasion!
Healthier Alternative: Say goodbye to fast food without sacrificing flavor—this homemade version allows you to use fresh, quality ingredients.
For a complete meal experience, pair these chalupas with Homemade Chicken Pot or a side of Homemade Sweet Orange for a refreshing touch!
Homemade Chalupa Ingredients
• Here’s what you need to create delightful Homemade Chalupas!
For the Dough
- All-purpose flour – Provides structure to the chalupa dough; substitute with gluten-free flour for a different texture.
- Baking powder – Acts as a leavening agent, creating a light, fluffy texture that will be irresistible.
- Salt – Enhances the dough’s flavor; adjust to taste for a perfect balance.
- Melted butter – Adds richness and tenderness for a delightful dough consistency.
- Milk – Hydrates the dough for ultimate softness; use full-fat for creaminess or plant-based milk for a dairy-free option.
For Frying
- Oil for frying – Essential for cooking your chalupas until crispy and golden brown.
For the Filling
- Black beans – The main filling, providing a hearty, protein-packed option; consider seasoned canned black beans for effortless flavor.
- Lettuce – Fresh chopped lettuce adds a satisfying crunch to every bite.
- Tomatoes – Provide a burst of freshness and acid to brighten the flavors.
For Toppings
- Sour cream – Creamy topping that perfectly balances the spices and flavors of the chalupa.
- Queso sauce – Adds that cheesy, creamy goodness; swap with guacamole for a fun twist.
- Cheese (like pepper jack) – Provides a savory finish; feel free to use any cheese you love!
Each bite of your Homemade Chalupa will take you on a flavor adventure that’s sure to please all palates!
Step‑by‑Step Instructions for Homemade Chalupa
Step 1: Prepare the Dough
In a large mixing bowl, combine 3 cups of all-purpose flour, 1.5 tablespoons of baking powder, and 1 teaspoon of salt. Pour in 2 tablespoons of melted butter and 1 1/4 cups of milk. Mix until a dough forms, then knead for about 5 minutes until smooth. Cover the dough and let it rest for 10 minutes, which enhances its elasticity for rolling out into chalupa shapes.
Step 2: Shape and Fry Chalupas
Roll the rested dough into circles approximately 1/4 inch thick using a floured surface and rolling pin. In a frying pan, heat oil over medium heat until bubbly, about 350°F. Carefully place each dough circle in the hot oil, frying for 2-3 minutes per side, or until they turn golden brown and crispy. Use tongs to transfer them to a paper towel-lined plate to drain excess oil.
Step 3: Assemble Chalupas
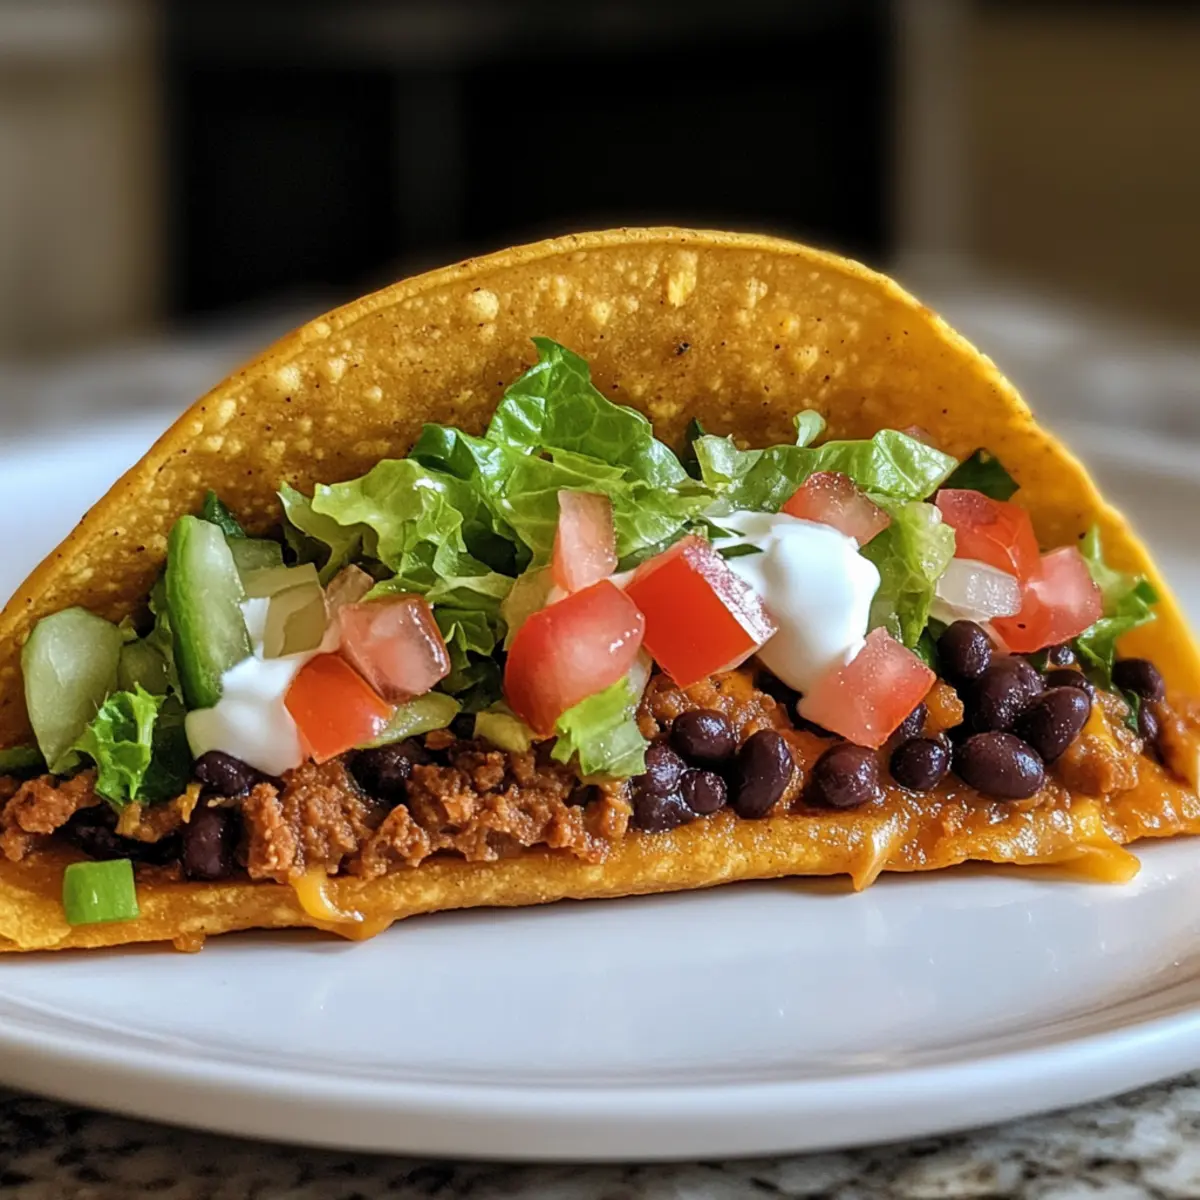
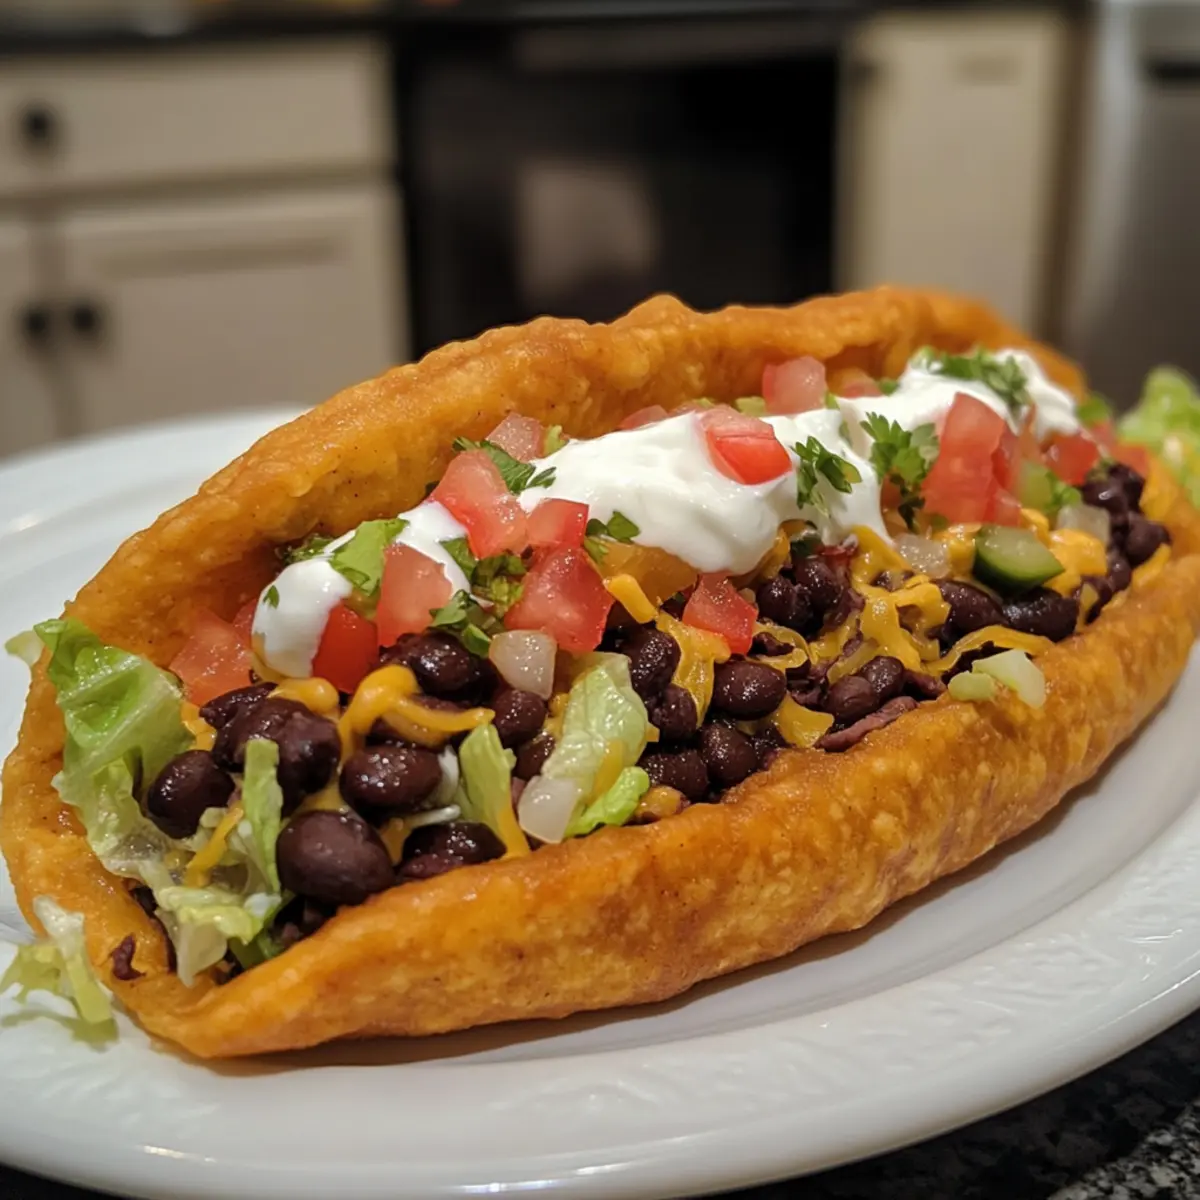
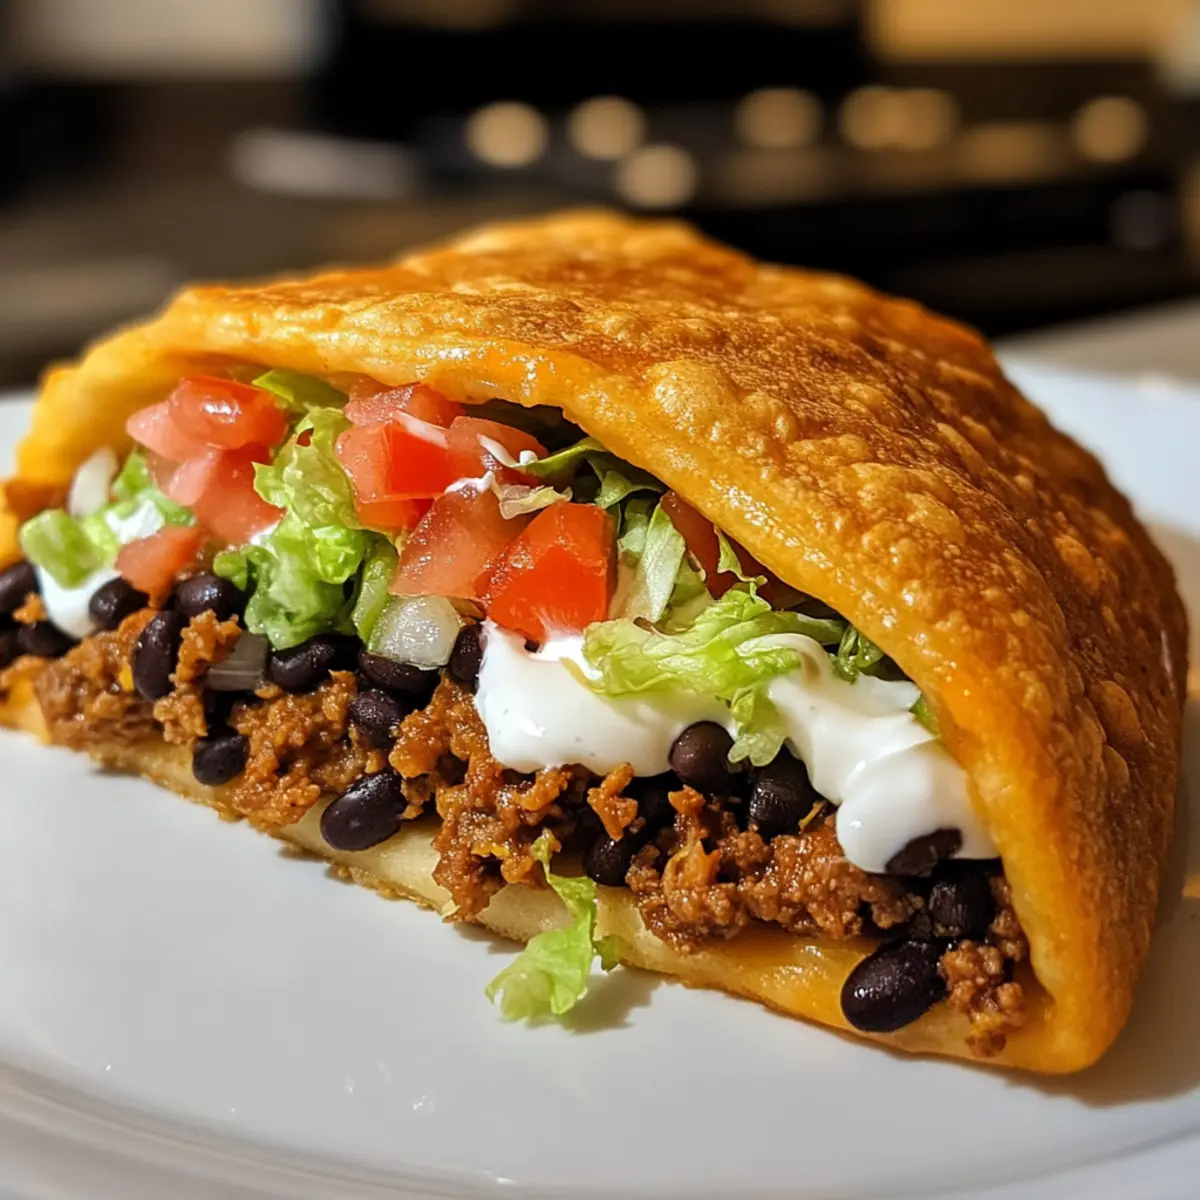
After frying, allow the chalupas to cool slightly, then start assembling your delicious Homemade Chalupa. Begin by layering each chalupa with a generous scoop of black beans as your hearty filling. Next, add fresh chopped lettuce and diced tomatoes for a crunchy and vibrant touch. Drizzle sour cream and queso sauce on top for that creamy goodness, finishing with a sprinkle of cheese for added flavor.
Step 4: Serve Immediately
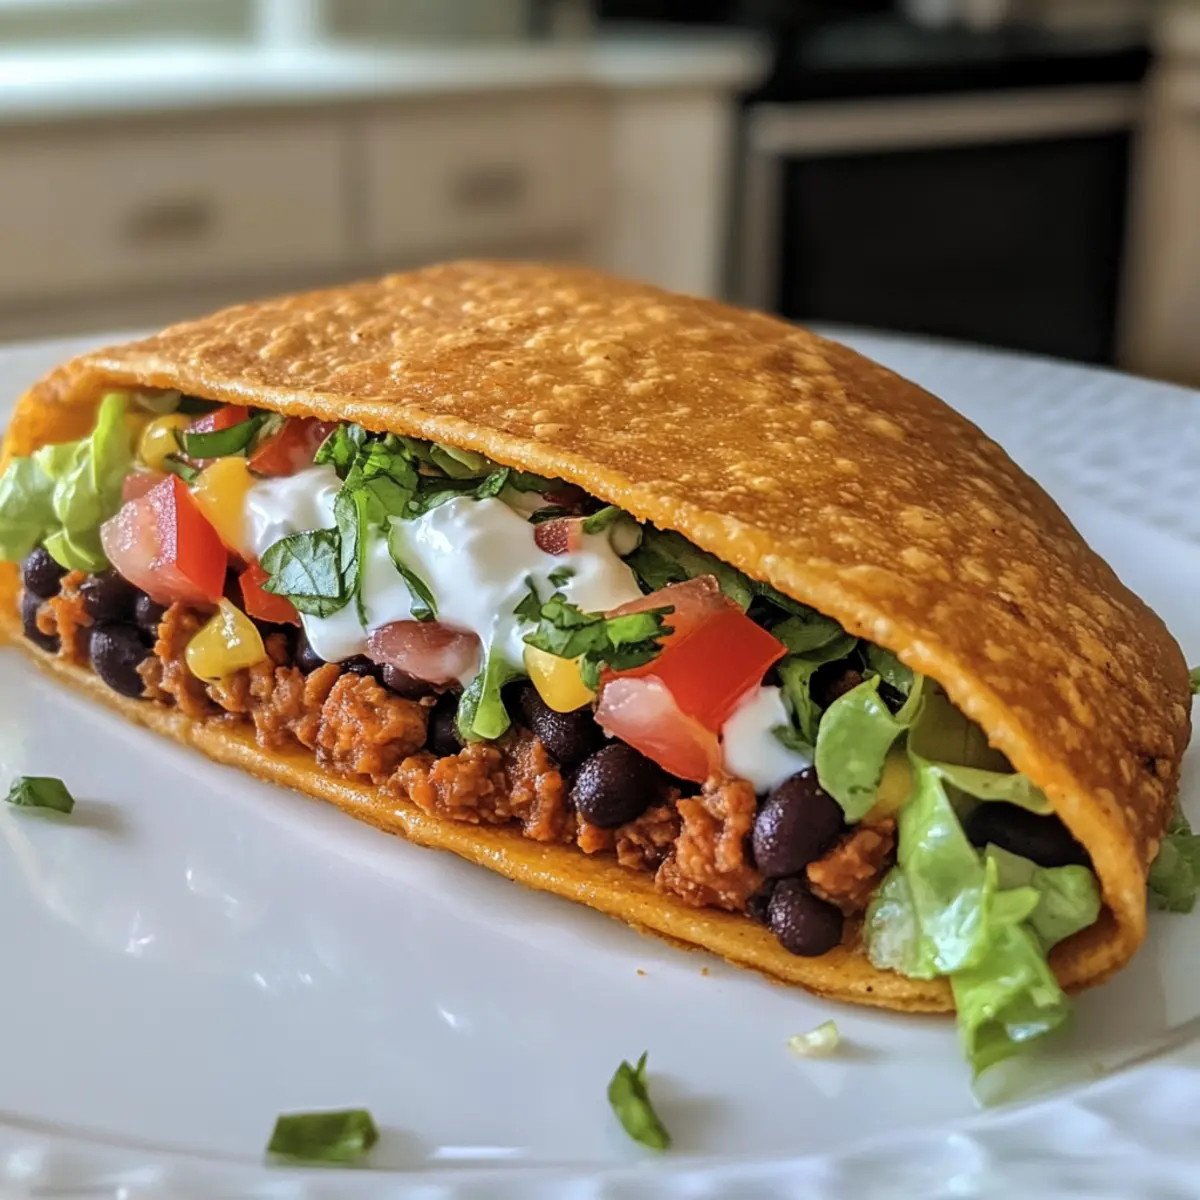
To truly enjoy your Homemade Chalupas at their best, serve them hot while the shells are crispy. Gather your loved ones around the table, and let them customize their chalupas with their favorite toppings—be it jalapeños, avocado, or even more cheese! Enjoy this flavorful twist on a classic Mexican dish right away for a delightful meal experience.
Homemade Chalupa Variations to Explore
Feel free to let your creativity shine with these exciting twists that bring a whole new dimension to your Homemade Chalupa experience!
-
Meat Lover’s Delight: Add seasoned cooked beef or chicken for a savory twist that satisfies heartier appetites. Toss in some spices to elevate the flavor!
-
Vegetarian Medley: Swap black beans with roasted veggies like zucchini, bell peppers, and corn for a colorful, nutritious filling that packs a punch. Every bite is a vibrant feast!
-
Spice it Up: Top with pickled jalapeños or drizzle some hot sauce for those who crave a bit of heat. Ignite your chalupa with that spicy kick!
-
Vegan Version: Replace sour cream with guacamole and cheese with nutritional yeast or vegan cheese for a deliciously satisfying plant-based option. No one will miss the dairy!
-
Flavor Profiles: Experiment with different sauces by swapping queso for spicy salsa or chimichurri to change your flavor landscape completely. Each sauce tells its own story!
-
Crunchy Topping: Add crispy tortilla strips or crushed tortilla chips for an extra layer of crunch that takes your chalupas to the next level. It’s all about that delightful texture!
-
Seafood Style: Try a seafood twist by using shrimp or crab salad as a filling for a refreshing coastal vibe. It’s a delicious divergence from the norm!
Discovering new combinations makes the Homemade Chalupa an infinite canvas! And while you’re experimenting, pair your chalupas with a refreshing side of Homemade Chicken Pot or a batch of Homemade Sweet Orange for a perfect meal!
Expert Tips for Homemade Chalupa
• Hot Oil: Ensure the oil is at the right temperature—around 350°F—before frying. This prevents the dough from absorbing excess oil, keeping your chalupas crispy.
• No Overcrowding: Fry in batches to maintain oil temperature. Placing too many dough circles at once can drop the temperature and result in soggy chalupas.
• Rest the Dough: Allowing the dough to rest for 10 minutes enhances its elasticity, making it easier to roll out and shape into perfect chalupas.
• Customize Wisely: While it’s tempting to overload on toppings, keep them balanced. Too many toppings can lead to soggy chalupas. Stick to a few fresh favorites.
• Leftover Storage: Store any leftover chalupas in an airtight container for up to 3 days. To maintain crispiness when reheating, pop them in the oven instead of the microwave.
Each of these tips will ensure your Homemade Chalupas turn out deliciously every time!
Storage Tips for Homemade Chalupa
Fridge: Store leftover Homemade Chalupa in an airtight container for up to 3 days to keep them fresh.
Freezer: For longer storage, freeze fried chalupas for up to 2 months. Wrap tightly in plastic wrap before placing them in a freezer bag to prevent freezer burn.
Reheating: When ready to enjoy again, reheat the chalupas in the oven at 350°F for about 10-15 minutes. This helps maintain their crispy texture.
Final Assembly: If you’ve frozen some components separately, assemble the chalupas just before serving for the best flavor experience.
What to Serve with Crispy Homemade Chalupa?
Creating the perfect meal means pairing flavors that sing together, enhancing each bite’s experience.
-
Creamy Guacamole: This smooth, zesty dip will add a delightful creaminess and is a perfect counterpart to the crunchy chalupas. It’s also a healthy option packed with good fats.
-
Mexican Street Corn Salad: A sweet and spicy corn dish, bursting with flavors of lime and cilantro that complement the savory meatiness of the chalupa filling perfectly.
-
Pico de Gallo: Fresh and vibrant, this chunky salsa showcases tomatoes, onions, and cilantro, bringing a refreshing contrast to the richness of your chalupas.
-
Cilantro Lime Rice: Fluffy rice infused with zesty lime and cilantro adds a refreshing touch. It’s a perfect base for a hearty meal, offering a satisfying texture.
-
Refried Beans: Their creamy consistency and rich flavor provide a comforting side that’s classic for any Mexican-inspired meal. Plus, they pack in extra protein!
-
Chips and Salsa: Crispy tortilla chips with a side of salsa are a fun addition, inviting everyone to snack while they prepare their chalupas. It’s like a crunchy, shareable appetizer!
-
Homemade Margaritas: Celebrate your feast with a refreshing margarita. The tartness of lime, paired with a hint of sweetness, makes for the perfect drink to wash down those flavorful bites.
-
Flan for Dessert: Finish off your meal on a sweet note with this creamy, caramel-topped custard. Its smooth texture and subtle sweetness balance the savory flavors of the chalupas beautifully.
Make Ahead Options
These Homemade Chalupas are perfect for meal prep enthusiasts! You can prepare the dough up to 24 hours in advance by mixing all your ingredients and storing it in an airtight container in the fridge. This resting time helps the flavors blend beautifully. Additionally, the fried chalupas can be made up to 3 days ahead and refrigerated; just ensure they are completely cooled before storing to maintain their crispiness. When you’re ready to serve, simply reheat the chalupas in the oven at 350°F for 10 minutes to enjoy that fresh, crispy texture again. With these make-ahead tips, you’ll have a delicious meal with minimal effort while staying true to the delightful flavors of Homemade Chalupas!
Homemade Chalupa Recipe FAQs
How do I choose ripe avocados for toppings?
Absolutely! Look for avocados that yield slightly when you press on them; this indicates ripeness. Avoid any with dark spots all over, as these can signal overripeness. If you need an avocado in a day or two, pick one that’s firm, then leave it at room temperature to ripen.
How long can I store leftover Homemade Chalupas?
Very! You can keep leftover Homemade Chalupas in an airtight container in the refrigerator for up to 3 days. However, for the best texture, I recommend reheating them in the oven rather than the microwave to retain their delightful crispiness.
Can I freeze my Homemade Chalupas?
Of course! To freeze, wrap your fried chalupas tightly in plastic wrap and place them in a freezer bag. They will last for up to 2 months. When you’re ready to enjoy them again, simply reheat in the oven at 350°F for about 10-15 minutes until they’re crispy again.
What should I do if my chalupas turn out soggy?
If your chalupas come out soggy, ensure that the oil is hot enough (around 350°F) before frying. Also, avoid overcrowding the pan, as that can drop the temperature and lead to unwanted sogginess. For a quick fix next time, fry in smaller batches and maintain the heat.
Can I make Homemade Chalupas gluten-free?
Absolutely! You can substitute the all-purpose flour with a gluten-free blend that works for baking. Just ensure that your baking powder is gluten-free as well. This way, everyone can enjoy a tasty chalupa, regardless of dietary needs!
Are there any allergy considerations for Homemade Chalupas?
Yes, keep in mind that this recipe includes dairy (milk, butter, cheese, and sour cream) which may cause issues for those with lactose intolerance. You can easily substitute with dairy-free alternatives like almond milk or non-dairy yogurt to accommodate different dietary preferences.
These Homemade Chalupa Recipe FAQs should help ensure your cooking experience is both enjoyable and successful!
Crispy Homemade Chalupa: Customize Your Flavor Adventure
Ingredients
Equipment
Method
- In a large mixing bowl, combine flour, baking powder, and salt. Add melted butter and milk. Mix until a dough forms, then knead for about 5 minutes. Cover and let it rest for 10 minutes.
- Roll the dough into circles 1/4 inch thick. Heat oil over medium heat until bubbly. Fry each dough circle for 2-3 minutes per side until golden brown. Transfer to a paper towel-lined plate.
- Layer each chalupa with black beans, chopped lettuce, and diced tomatoes. Drizzle with sour cream and queso sauce, and sprinkle with cheese.
- Serve hot while crispy. Allow loved ones to customize with their favorite toppings.