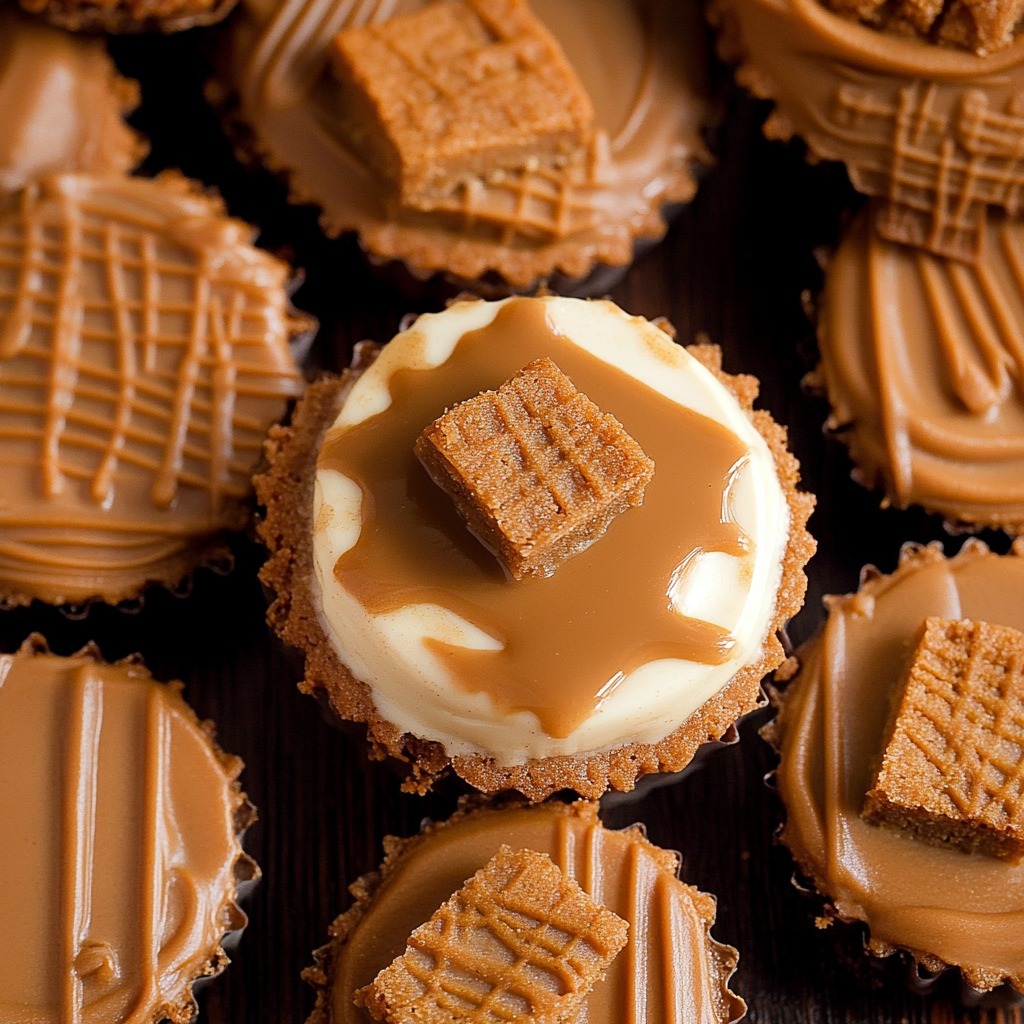
Mini Biscoff Cookie Butter Cheesecakes: The Perfect Sweet Bites

If you’re a fan of Biscoff cookies and their signature spiced flavor, these Mini Biscoff Cookie Butter Cheesecakes are the ultimate dessert. With a buttery cookie crust, creamy cheesecake filling, and a luscious swirl of cookie butter, these mini treats are perfect for any occasion. Their small size makes them ideal for sharing—or indulging guilt-free all by yourself!

Ingredients

For the Crust:

  • 4 ounces Biscoff cookies (about 12 cookies)
  • 3 tablespoons unsalted butter, melted
  • 1 teaspoon light brown sugar

For the Cheesecake Filling:

  • 12 ounces full-fat cream cheese, softened
  • 3/8 cup granulated sugar
  • 1/4 cup sour cream
  • 1 large egg plus 1 egg yolk
  • 2 teaspoons vanilla extract
  • 1/8 teaspoon salt

For the Topping:

  • 3/4 cup cookie butter, melted
  • 2 tablespoons heavy cream

Instructions

Step 1: Prepare the Crust

  1. Preheat your oven to 325°F (160°C). Line a standard muffin tin with 12 cupcake liners.
  2. Crush the Biscoff cookies into fine crumbs using a food processor or by placing them in a sealed bag and crushing them with a rolling pin.
  3. In a small bowl, mix the cookie crumbs with melted butter and brown sugar until well combined.
  4. Spoon about 1 tablespoon of the mixture into each cupcake liner and press down firmly to form the crust. Use the back of a spoon or a flat-bottomed glass for evenness.
  5. Bake the crusts for 5 minutes, then set aside to cool slightly.

Step 2: Make the Cheesecake Filling

  1. In a mixing bowl, beat the cream cheese and granulated sugar together until smooth and creamy.
  2. Add the sour cream, egg, egg yolk, vanilla extract, and salt. Mix until just combined. Avoid overmixing to prevent air bubbles.
  3. Pour the cheesecake mixture over the prepared crusts, filling each liner about three-quarters full.

Step 3: Swirl in the Cookie Butter

  1. In a small bowl, mix the melted cookie butter with heavy cream until smooth. Drop small spoonfuls of the mixture onto each cheesecake.
  2. Use a toothpick or skewer to gently swirl the cookie butter into the cheesecake batter for a marbled effect.

Step 4: Bake and Cool

  1. Bake the mini cheesecakes for 15–18 minutes, or until the centers are set but still slightly jiggly.
  2. Turn off the oven, crack the door slightly, and let the cheesecakes cool inside for 10 minutes. This prevents cracking.
  3. Remove from the oven and cool to room temperature, then refrigerate for at least 2 hours before serving.

Step 5: Garnish and Serve

  1. Once chilled, garnish the mini cheesecakes with an extra drizzle of melted cookie butter or a sprinkle of crushed Biscoff cookies for added flair. Serve and enjoy!

Conclusion

These Mini Biscoff Cookie Butter Cheesecakes are bite-sized indulgences that bring together the warm spices of Biscoff cookies with the rich creaminess of cheesecake. Whether for a party or a cozy night in, these mini desserts are guaranteed to impress with their flavor and presentation. Treat yourself to the perfect combination of sweet, creamy, and crunchy with every bite!
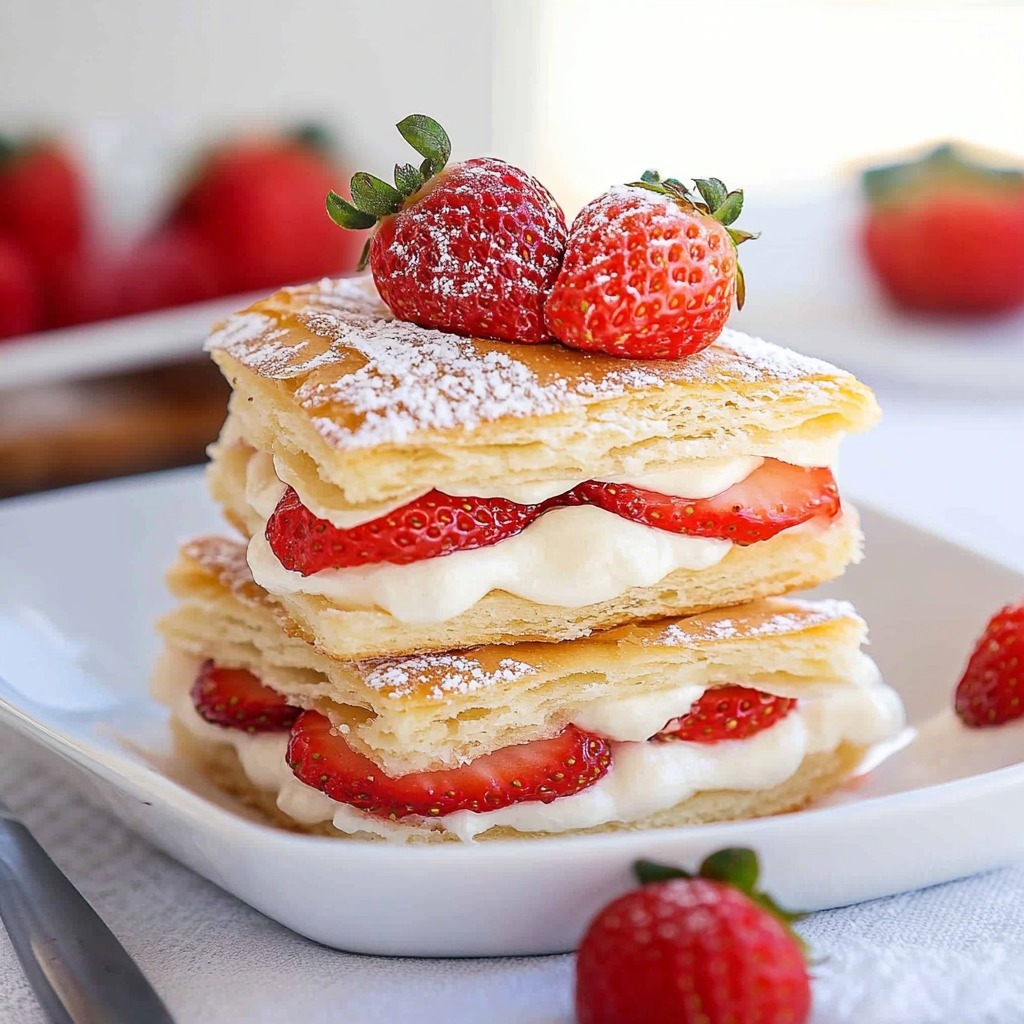
Effortless Strawberry Napoleons: A Dessert for Any Occasion

Strawberry Napoleons are the epitome of effortless elegance. This delightful dessert layers crispy puff pastry, creamy filling, and sweet strawberries for a treat that’s as easy to make as it is to enjoy. Whether you’re hosting a dinner party or just indulging in a sweet craving, these Effortless Strawberry Napoleons are the perfect way to impress without breaking a sweat.

Ingredients

For the Pastry:

  • 2 sheets frozen puff pastry, thawed
  • 1 large egg
  • 2 tablespoons water

For the Filling:

  • 2 packages cream cheese, softened
  • 2 teaspoons vanilla extract
  • 2 teaspoons whole milk
  • ¼ cup granulated sugar

For the Strawberries:

  • 2 cups fresh strawberries, hulled and sliced
  • ¾ cup strawberry preserves

For Garnish:

  • 2 tablespoons confectioners’ sugar

Instructions

Step 1: Prepare the Puff Pastry

  1. Preheat your oven to 400°F (200°C). Line a baking sheet with parchment paper.
  2. Roll out each sheet of puff pastry on a lightly floured surface to remove creases. Cut each sheet into six equal rectangles.
  3. Place the pastry rectangles on the prepared baking sheet.
  4. In a small bowl, whisk the egg with 2 tablespoons of water to create an egg wash. Brush it lightly over the pastry rectangles.
  5. Bake for 12–15 minutes, or until the pastry is golden brown and puffed. Remove from the oven and let cool completely.

Step 2: Make the Cream Filling

  1. In a mixing bowl, beat the cream cheese, granulated sugar, vanilla extract, and whole milk until smooth and creamy. Set aside.

Step 3: Prepare the Strawberries

  1. In a separate bowl, toss the sliced strawberries with the strawberry preserves until evenly coated.

Step 4: Assemble the Napoleons

  1. Slice each puff pastry rectangle in half horizontally to create a top and bottom layer.
  2. Spread a generous layer of cream cheese filling on the bottom half of each pastry rectangle.
  3. Spoon a layer of the strawberry mixture over the filling.
  4. Place the top half of the pastry rectangle over the strawberries, pressing gently.

Step 5: Garnish and Serve

  1. Dust the assembled Napoleons with confectioners’ sugar for a finishing touch.
  2. Serve immediately or refrigerate until ready to enjoy.

Conclusion

These Effortless Strawberry Napoleons are a delightful blend of crispy, creamy, and fruity flavors that will steal the show at any gathering. The combination of buttery puff pastry, luscious cream cheese filling, and fresh strawberries makes this dessert a perennial favorite. Best of all, their ease of preparation means you can enjoy gourmet-style indulgence without spending hours in the kitchen. Treat yourself and your loved ones to this delectable dessert today!

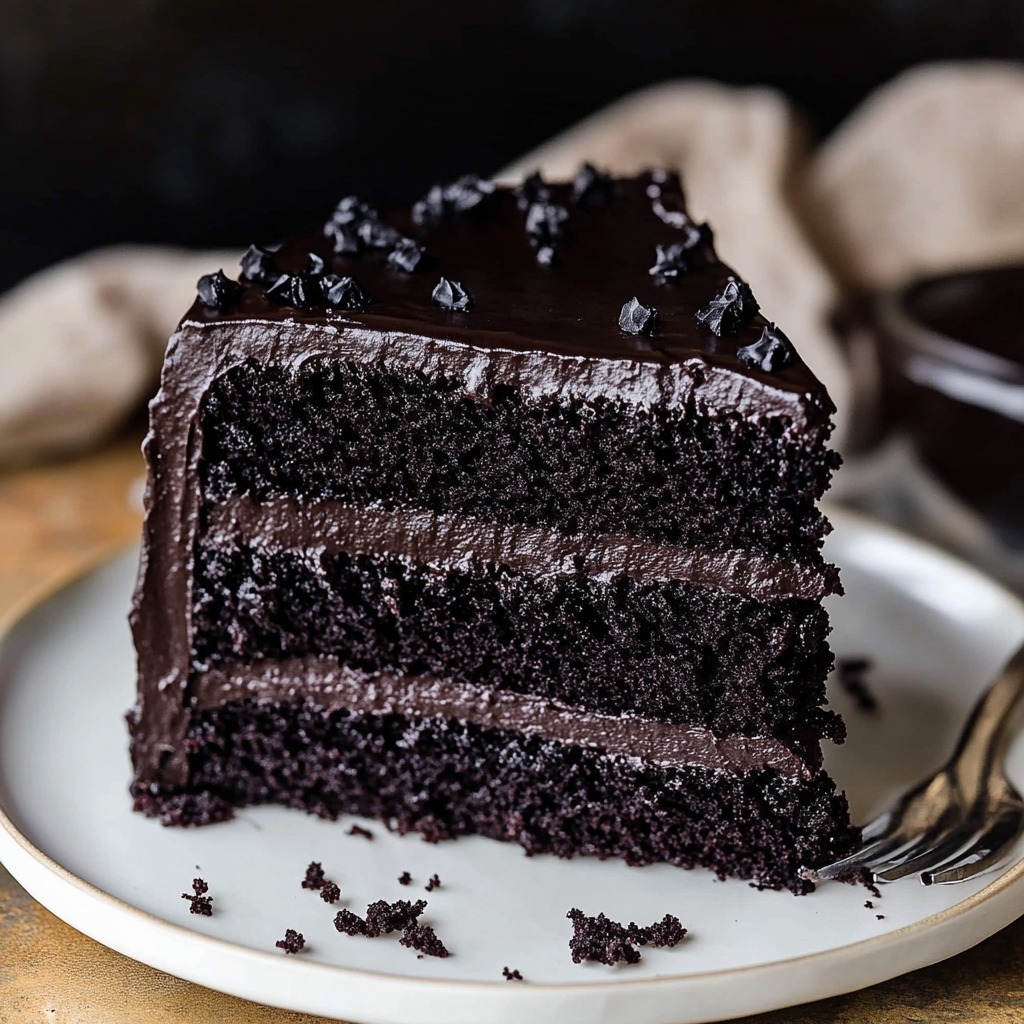
Decadent Black Velvet Cake: A Slice of Elegance

Rich, moist, and deeply chocolatey, the Black Velvet Cake is a show-stopping dessert that will elevate any occasion. With its striking dark hue and luxurious texture, this cake is a perfect blend of sophistication and comfort. Whether you’re baking for a celebration or a cozy night in, this cake is guaranteed to impress with its velvety crumb and indulgent layers.

Ingredients

For the Cake:

  • 1 ¾ cups all-purpose flour
  • 1 ½ cups black cocoa powder
  • 1 cup Dutch-processed cocoa powder
  • 3 ½ cups granulated sugar
  • 1 ¾ teaspoons fine sea salt
  • 1 teaspoon baking soda
  • ¾ cup semi-sweet chocolate chips
  • 2 large eggs
  • ½ cup canola oil
  • 1 cup buttermilk
  • ⅔ cup hot coffee (or substitute hot water)
  • 2 teaspoons vanilla extract

For the Frosting:

  • 6 tablespoons unsalted butter, softened
  • 2 cups heavy whipping cream
  • ¾ cup powdered sugar
  • 2 teaspoons vanilla extract

Instructions

Step 1: Prepare the Cake Batter

  1. Preheat your oven to 350°F (175°C). Grease and flour two 9-inch round cake pans or line them with parchment paper.
  2. In a large mixing bowl, sift together the flour, black cocoa powder, Dutch-processed cocoa powder, granulated sugar, sea salt, and baking soda. Stir to combine.
  3. In a separate bowl, whisk together the eggs, canola oil, buttermilk, hot coffee, and vanilla extract.
  4. Gradually add the wet ingredients to the dry mixture, stirring until just combined. Be careful not to overmix.
  5. Fold in the semi-sweet chocolate chips for an extra layer of decadence.

Step 2: Bake the Cake

  1. Divide the batter evenly between the prepared pans. Smooth the tops with a spatula.
  2. Bake for 30–35 minutes, or until a toothpick inserted into the center comes out clean.
  3. Remove the cakes from the oven and let them cool in the pans for 10 minutes before transferring them to a wire rack to cool completely.

Step 3: Make the Whipped Frosting

  1. In a chilled mixing bowl, beat the heavy whipping cream, softened butter, powdered sugar, and vanilla extract until stiff peaks form. Be careful not to overwhip.

Step 4: Assemble the Cake

  1. Place one cake layer on a serving plate. Spread a generous layer of whipped frosting over the top.
  2. Add the second cake layer and frost the top and sides, smoothing with an offset spatula for a clean finish.
  3. For an extra touch, garnish with chocolate shavings or a dusting of cocoa powder.

Conclusion

The Decadent Black Velvet Cake is a dessert that exudes elegance and indulgence. Its bold chocolate flavor and creamy whipped frosting create a harmonious balance that’s hard to resist. Whether you’re enjoying it as the centerpiece of a celebration or a special treat, this cake is sure to leave a lasting impression. Pair with a cup of coffee or a glass of milk for the ultimate dessert experience!

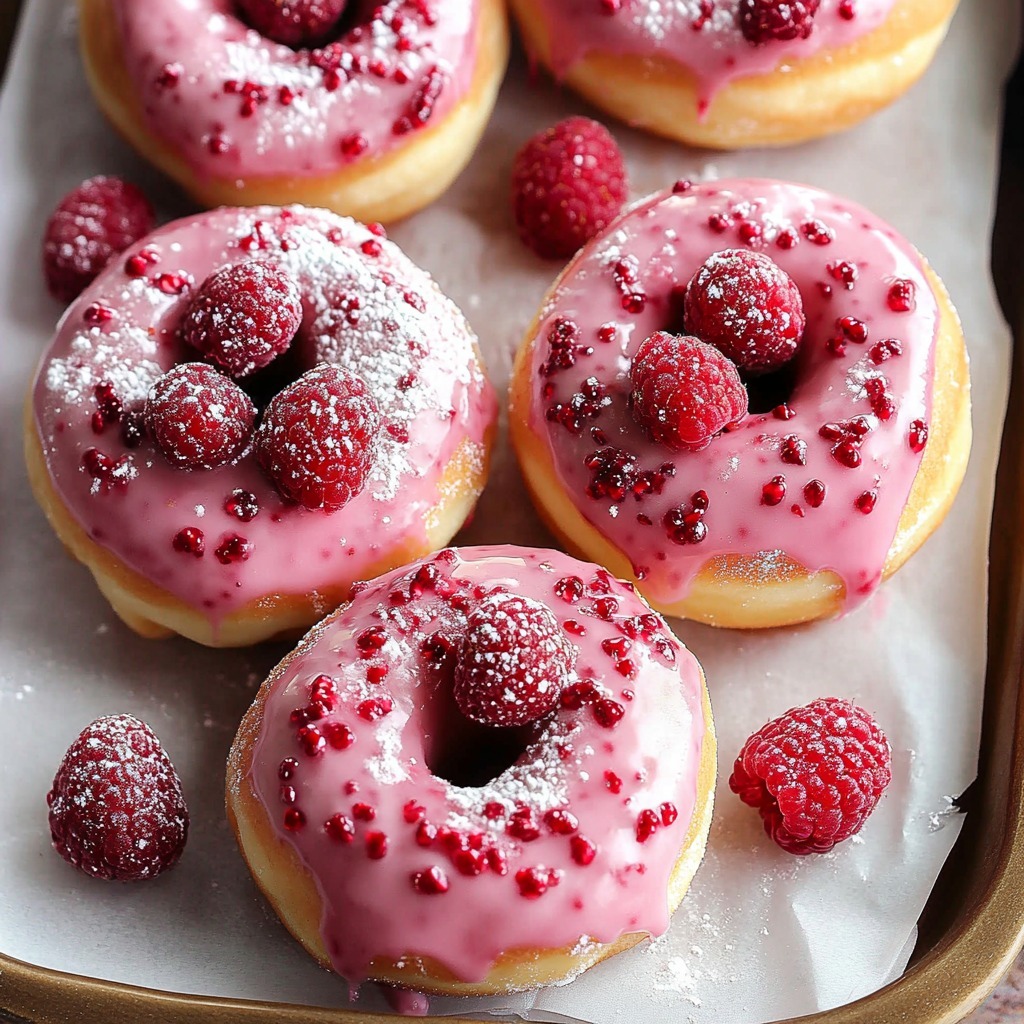
Fluffy Raspberry-Filled Baked Donuts: A Sweet Delight

Who doesn’t love the irresistible allure of a soft, fluffy donut? When paired with the tangy sweetness of raspberries, it becomes a treat that’s simply unforgettable. These Fluffy Raspberry-Filled Baked Donuts are a healthier alternative to traditional fried donuts, but they don’t skimp on flavor or indulgence. Perfect for breakfast, dessert, or a mid-day pick-me-up, these baked goodies are as easy to make as they are to eat.

Ingredients

For the Dough:

  • 3 cups all-purpose flour
  • 2 1/4 teaspoons instant yeast
  • 1/4 cup granulated sugar
  • 1/4 teaspoon salt
  • 1 large egg
  • 6 tablespoons unsalted butter, melted
  • 1 teaspoon pure vanilla extract
  • 1 1/16 cups warm water (approximately 110°F)

For the Filling and Glaze:

  • 2/3 cup raspberry jam
  • 1 tablespoon vegetable oil
  • 1 cup powdered sugar
  • 2 teaspoons water or milk (adjust for desired glaze consistency)

Instructions

Step 1: Prepare the Dough

  1. In a large mixing bowl, combine the flour, instant yeast, sugar, and salt. Stir to mix evenly.
  2. Add the egg, melted butter, vanilla extract, and warm water. Mix until the dough begins to form.
  3. Transfer the dough to a lightly floured surface and knead for 6–8 minutes, or until it becomes smooth and elastic. If using a stand mixer with a dough hook, knead for about 5 minutes on medium speed.
  4. Shape the dough into a ball and place it in a greased bowl. Cover with a clean kitchen towel and let it rise in a warm place for 1–1.5 hours, or until it doubles in size.

Step 2: Shape the Donuts

  1. Once risen, punch down the dough to release air. Roll it out to about 1/2-inch thickness on a floured surface.
  2. Use a round cookie cutter (or the rim of a glass) to cut out donut shapes. For a traditional donut look, use a smaller cutter for the center hole.
  3. Place the cut-out donuts on a parchment-lined baking sheet, leaving space between each. Cover again and let them rise for another 30 minutes.

Step 3: Bake to Perfection

  1. Preheat your oven to 375°F (190°C).
  2. Brush the tops of the donuts lightly with vegetable oil. Bake for 10–12 minutes, or until lightly golden.

Step 4: Fill and Glaze

  1. Allow the baked donuts to cool slightly. Using a piping bag with a small nozzle, inject raspberry jam into the center of each donut.
  2. In a small bowl, whisk together powdered sugar and milk or water to make the glaze. Drizzle or dip the donuts for a sweet finish.

Conclusion

These Fluffy Raspberry-Filled Baked Donuts strike the perfect balance between indulgence and wholesome comfort food. They’re easy to customize—swap raspberry jam for your favorite flavor, or add a sprinkle of crushed nuts or freeze-dried raspberries to the glaze for a bit of flair. Whether you’re hosting a brunch or simply treating yourself, these donuts are guaranteed to impress. Enjoy every bite of these homemade delights!

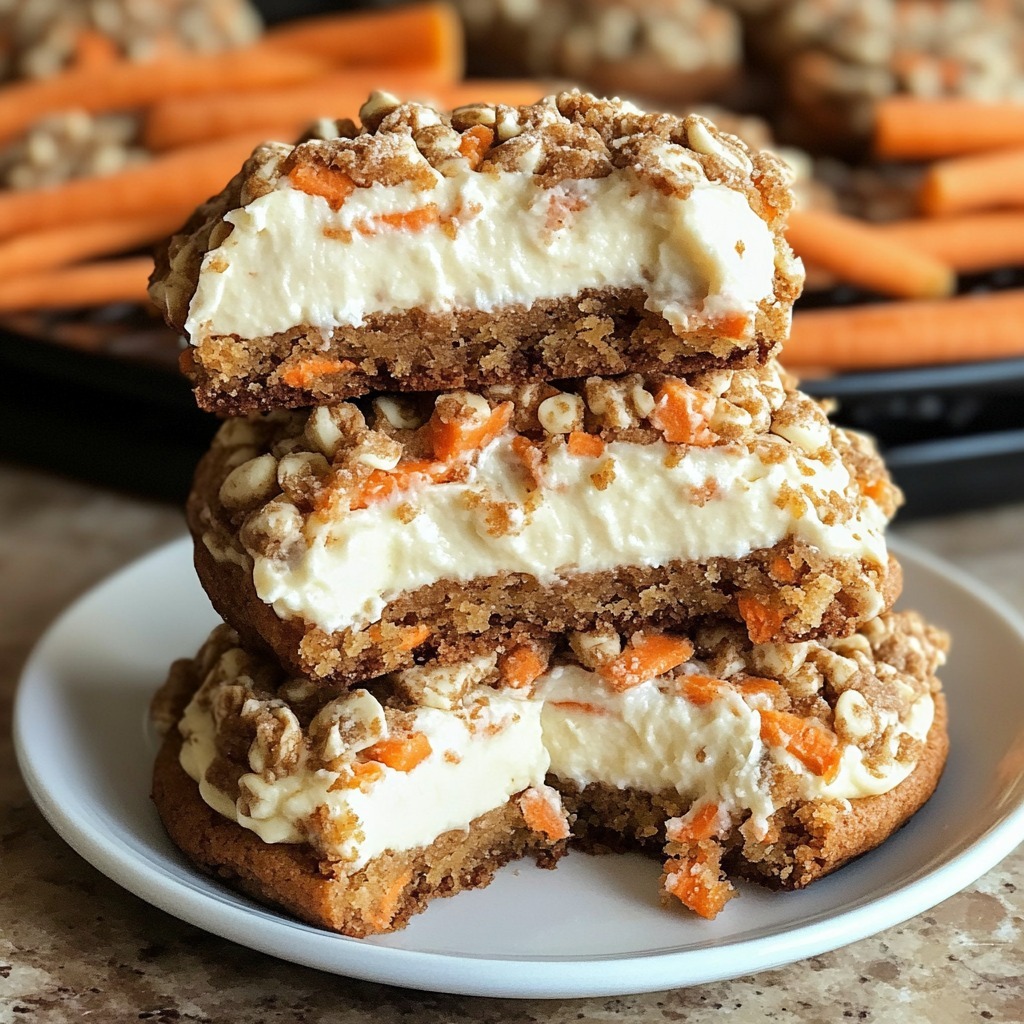
Irresistible Carrot Cake Cheesecake Cookies: A Delectable Fusion Treat

Carrot cake and cheesecake lovers, rejoice! These carrot cake cheesecake cookies bring the best of both worlds into a single, irresistible bite. With the spiced sweetness of carrot cake, the creamy tang of cheesecake, and the delightful crunch of pecans, these cookies are a must-try for any dessert enthusiast. Perfect for celebrations or everyday indulgence, they’re sure to impress your taste buds and anyone you share them with.

Ingredients

Produce

  • Carrots: 1 ½ cups, finely grated
  • Ground Ginger: ½ tsp

Refrigerated

  • Eggs: 2 large

Baking & Spices

  • All-Purpose Flour: 2 ½ cups
  • Baking Soda: 1 tsp
  • Brown Sugar (packed): 1 cup
  • Granulated Sugar: 1 cup
  • Powdered Sugar: 1 cup
  • Ground Cinnamon: 1 tsp
  • Ground Nutmeg: ½ tsp
  • Salt: ½ tsp
  • Vanilla Extract: 2 tsp
  • White Chocolate Chips: 1 cup

Nuts & Seeds

  • Pecans: 1 cup, chopped

Dairy

  • Unsalted Butter: 1 cup, softened
  • Cream Cheese: 8 oz, softened

Instructions

1. Prepare the Cookie Dough

  1. Cream the Butter and Sugars: In a large mixing bowl, beat the softened butter, brown sugar, and granulated sugar with an electric mixer until fluffy.
  2. Add the Wet Ingredients: Beat in the eggs one at a time, then add 1 tsp of vanilla extract.
  3. Incorporate Dry Ingredients: In a separate bowl, whisk together the flour, baking soda, cinnamon, nutmeg, ground ginger, and salt. Gradually add this mixture to the wet ingredients, mixing until just combined.
  4. Add the Carrots and Pecans: Fold in the grated carrots and chopped pecans.

2. Prepare the Cheesecake Filling

  1. In a medium bowl, beat the cream cheese, powdered sugar, and remaining 1 tsp of vanilla extract until smooth.

3. Assemble the Cookies

  1. Form the Dough Balls: Scoop out 1 ½ tablespoons of the cookie dough and flatten it slightly in your palm.
  2. Fill the Center: Place a small dollop (about ½ tsp) of cheesecake filling in the center of the flattened dough. Top with another flattened piece of cookie dough and seal the edges to encase the filling.
  3. Add a Sweet Finish: Press a few white chocolate chips into the top of each cookie ball.

4. Bake to Perfection

  1. Preheat your oven to 350°F (175°C) and line a baking sheet with parchment paper.
  2. Place the assembled cookies 2 inches apart on the prepared baking sheet.
  3. Bake for 12–15 minutes, or until the edges are golden brown. Allow cookies to cool on the baking sheet for 5 minutes before transferring them to a wire rack to cool completely.

5. Serve and Enjoy

  1. These cookies can be enjoyed warm or chilled, making them a versatile treat for any occasion!

Conclusion

Carrot cake cheesecake cookies are the ultimate fusion dessert, combining the warm spices and moist texture of carrot cake with the creamy decadence of cheesecake. These delightful cookies are perfect for sharing (or keeping all to yourself). Try this recipe today and bring a touch of sweetness and creativity to your dessert table!

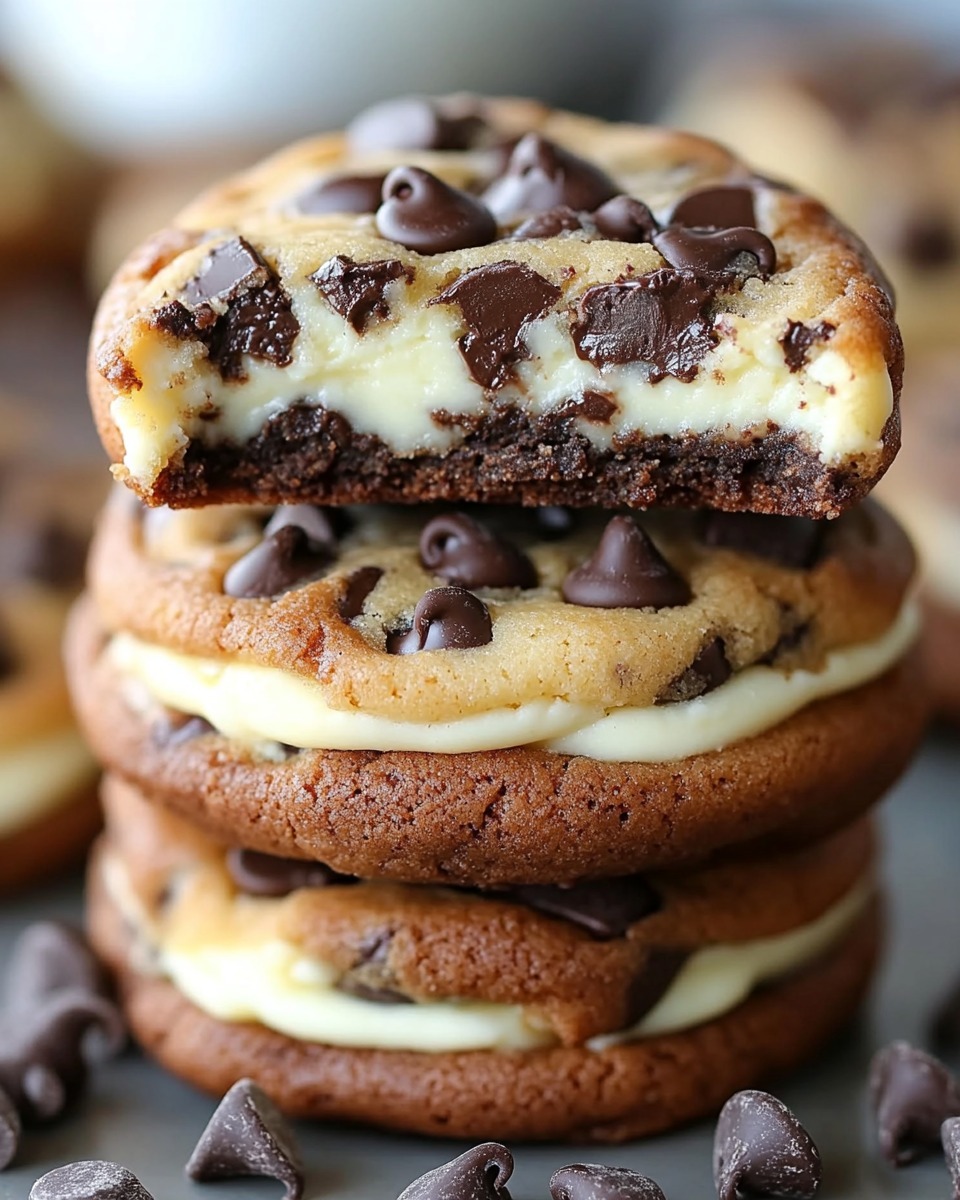
Decadent Cheesecake Cookies with Chocolate Chips: A Sweet Fusion Delight

Who says you can’t have the best of both worlds? These cheesecake cookies with chocolate chips are the perfect marriage of rich, creamy cheesecake and classic chocolate chip cookies. They’re soft, chewy, and bursting with flavor in every bite. Whether you’re baking for a special occasion or simply indulging your sweet tooth, this recipe is sure to become a household favorite!

Ingredients

  • Egg: 1 large
  • All-Purpose Flour: 1 ¼ cups
  • Baking Powder: ½ tsp
  • Granulated Sugar: 1 cup
  • Salt: ¼ tsp
  • Semi-Sweet Chocolate Chips: 1 ½ cups
  • Vanilla Extract: 1 tsp
  • Butter: ½ cup (unsalted, softened)
  • Cream Cheese: 8 oz (softened)

Instructions

1. Preheat and Prep

  1. Preheat your oven to 350°F (175°C).
  2. Line a baking sheet with parchment paper or a silicone baking mat to prevent sticking.

2. Cream the Butter, Cream Cheese, and Sugar

  1. In a large mixing bowl, combine the softened butter, cream cheese, and granulated sugar.
  2. Using an electric mixer, beat on medium speed until the mixture is smooth, fluffy, and well combined.

3. Add the Wet Ingredients

  1. Beat in the egg and vanilla extract until fully incorporated.

4. Mix the Dry Ingredients

  1. In a separate bowl, whisk together the all-purpose flour, baking powder, and salt.
  2. Gradually add the dry ingredients to the wet mixture, mixing on low speed until a soft dough forms.

5. Fold in the Chocolate Chips

  1. Using a spatula or wooden spoon, gently fold the semi-sweet chocolate chips into the dough, distributing them evenly.

6. Scoop and Shape

  1. Scoop the dough using a cookie scoop or spoon, forming small balls (about 1 ½ tablespoons each).
  2. Place the dough balls onto the prepared baking sheet, spacing them about 2 inches apart.

7. Bake to Perfection

  1. Bake in the preheated oven for 10–12 minutes, or until the edges are lightly golden. The centers will remain soft.
  2. Remove the cookies from the oven and let them cool on the baking sheet for 5 minutes before transferring them to a wire rack to cool completely.

8. Serve and Enjoy

  1. Serve these cheesecake cookies with a glass of cold milk or a warm cup of coffee for the ultimate treat!

Conclusion

These cheesecake cookies with chocolate chips are a delightful twist on two classic desserts. With their creamy texture and bursts of chocolatey goodness, they’re perfect for any time of the year. Easy to make and utterly delicious, they’re sure to impress your family and friends. Try this recipe today and savor every bite of this irresistible creation!

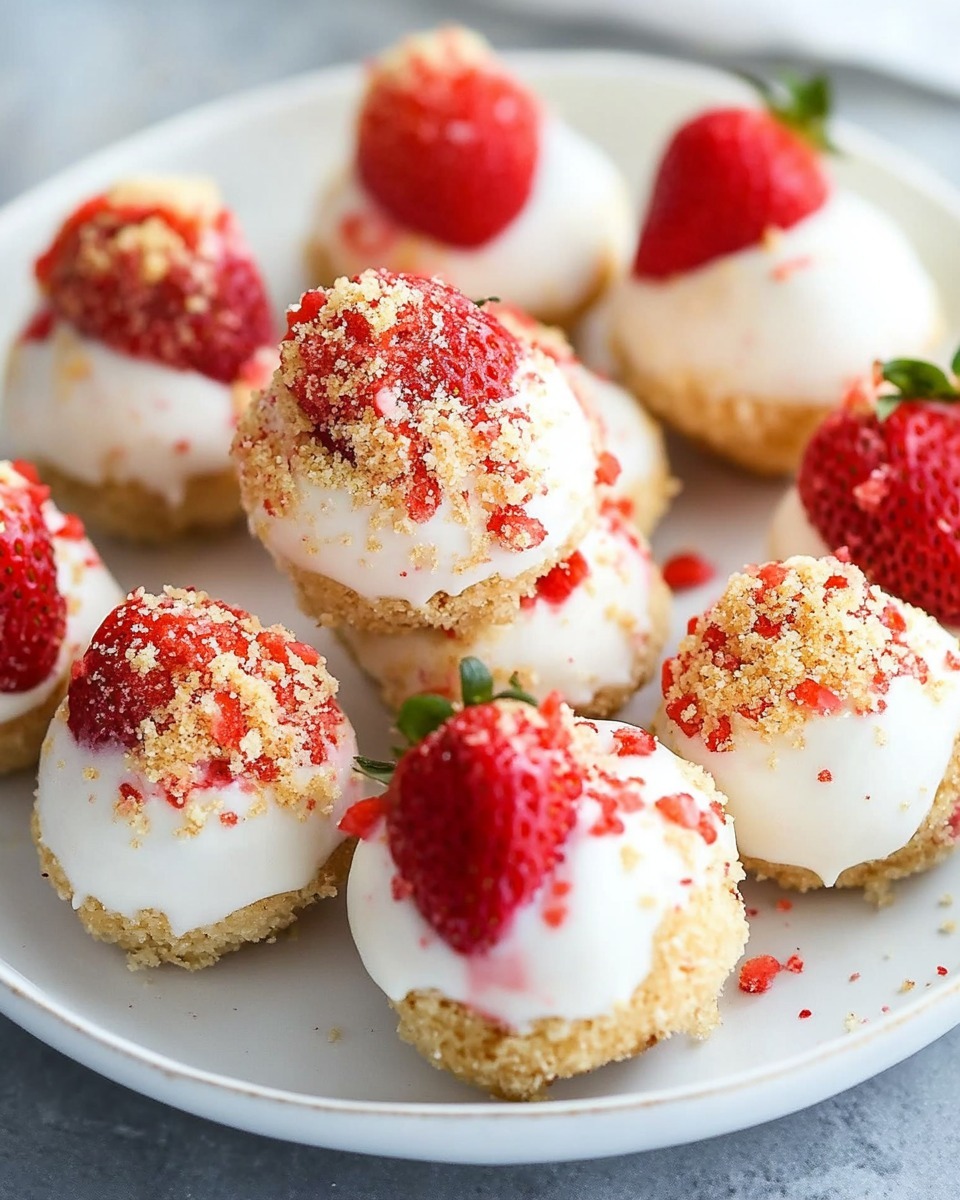
Irresistible 5-Ingredient Strawberry Shortcake Bites: A Sweet and Simple Treat

Strawberry shortcake bites are the ultimate fusion of ease and indulgence. These no-bake treats combine the essence of classic strawberry shortcake with a modern twist. Perfect for parties, afternoon snacks, or satisfying your sweet cravings, this recipe requires just five simple ingredients and a few steps to create bite-sized bliss. Let’s dive into this quick and delightful recipe!

Ingredients

  • Strawberries: 1 cup, diced into small pieces
  • Almond Flour: ¾ cup
  • White Chocolate Chips: 1 cup
  • Coconut Oil: 2 tsp
  • Graham Cracker Sheets: 1 sleeve, crushed into crumbs

Instructions

1. Prepare the Base

  1. In a mixing bowl, combine the almond flour and diced strawberries.
  2. Stir until the strawberries release some juice and form a moist, crumbly dough.

2. Shape the Bites

  1. Using a tablespoon, scoop out portions of the mixture and roll them into small balls. If the mixture feels too sticky, chill it in the fridge for 10 minutes to firm up.
  2. Place the balls on a parchment-lined tray and freeze for 15 minutes.

3. Melt the Chocolate

  1. In a microwave-safe bowl, combine the white chocolate chips and coconut oil.
  2. Microwave in 20-second intervals, stirring between each, until fully melted and smooth.

4. Coat the Bites

  1. Remove the strawberry balls from the freezer. Using a fork, dip each ball into the melted chocolate, ensuring it’s fully coated.
  2. Roll the chocolate-coated balls in the crushed graham crackers for a crunchy outer layer.

5. Set and Serve

  1. Place the coated bites back on the parchment-lined tray and chill in the fridge for 30 minutes or until the chocolate hardens.
  2. Serve chilled and enjoy!

Conclusion

These 5-ingredient strawberry shortcake bites are a simple yet indulgent treat that delivers all the charm of a classic dessert in a convenient, no-bake format. Perfect for any occasion, they’re as easy to make as they are to enjoy. Try them today and savor the delightful combination of fresh strawberries, creamy chocolate, and crunchy graham crackers!

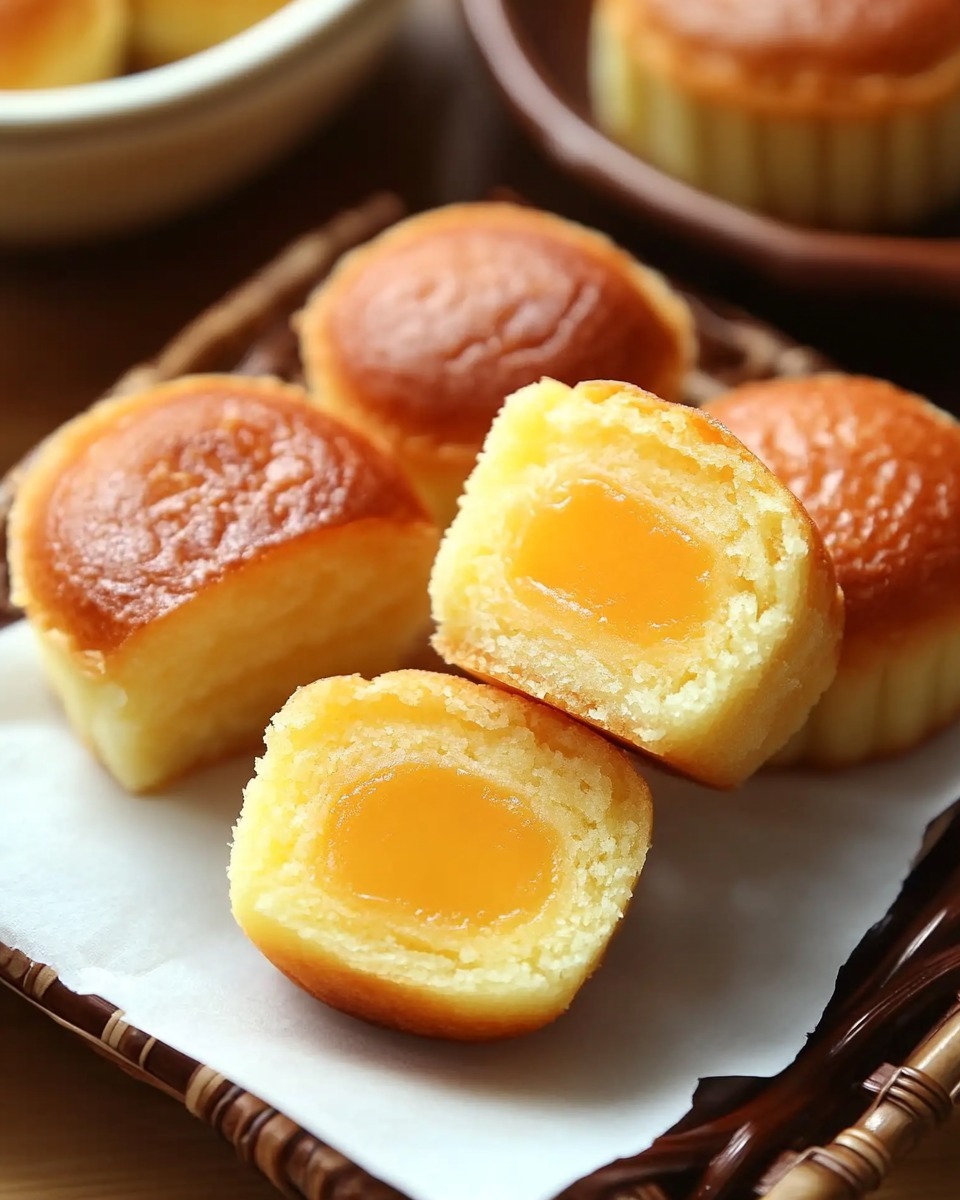
Delightfully Fluffy Chinese Egg Cake: A Sweet Treat to Brighten Your Day

Chinese egg cake, also known as “Ji Dan Gao” (鸡蛋糕), is a classic, airy dessert that has been enjoyed across generations in China. This delightful cake is known for its soft texture, subtle sweetness, and golden crust. Made with simple ingredients, it’s a versatile treat perfect for breakfast, tea time, or a light dessert. In this unique rendition, we’ll walk you through creating a perfectly fluffy Chinese egg cake that’s sure to become a family favorite.

Ingredients

  • Eggs: 2 medium-sized (preferably room temperature)
  • Cake Flour: 60 g (sifted for a smoother texture)
  • Castor Sugar: 40 g
  • Neutral Oil: 5 g (such as vegetable or canola oil)
  • Water: 1 tbsp

Instructions

1. Prepare Your Workspace

  1. Preheat your oven to 170°C (340°F). If using a traditional bamboo steamer, boil water in a large pot.
  2. Line a small cake tin or steaming container with parchment paper or lightly grease it.

2. Whisk the Eggs

  1. In a clean, dry mixing bowl, crack the eggs and add the castor sugar.
  2. Using an electric mixer, whisk the eggs and sugar on high speed until the mixture becomes pale, thick, and triples in volume. This step is crucial for achieving the cake’s fluffy texture.

3. Combine the Ingredients

  1. Gradually sift the cake flour into the egg mixture in three batches. Gently fold each batch with a spatula to maintain the airy structure.
  2. In a small bowl, mix the oil and water, then drizzle it into the batter. Fold gently until just combined. Avoid overmixing.

4. Pour and Level

  1. Pour the batter into the prepared tin, gently tapping it on the counter to remove air bubbles. Level the surface with a spatula.

5. Bake or Steam

  1. If baking, place the tin in the oven and bake for 20–25 minutes or until a skewer inserted into the center comes out clean.
  2. For steaming, place the tin in the steamer and steam on medium-high heat for 25–30 minutes.

6. Cool and Serve

  1. Once done, allow the cake to cool in the tin for 10 minutes before transferring it to a wire rack.
  2. Slice into wedges or squares and enjoy!

Conclusion

This fluffy Chinese egg cake is a testament to the beauty of simplicity. With its light texture and subtly sweet flavor, it’s a dessert that feels like a warm hug on a plate. Whether you enjoy it with a cup of tea or share it with loved ones, this recipe is sure to bring joy to your table. Happy baking!

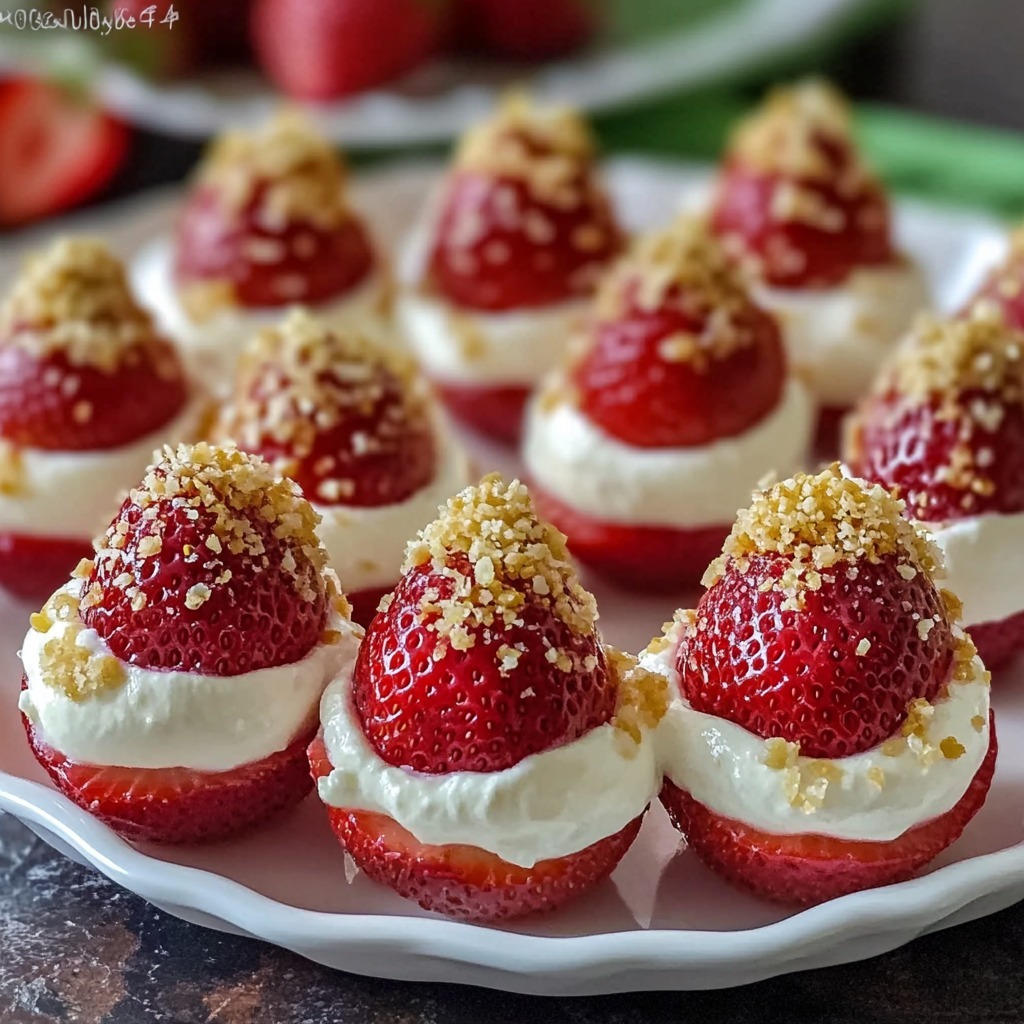
Cheesecake-Stuffed Strawberries: A Bite-Sized Delight

If you’re craving a dessert that combines the creamy richness of cheesecake with the natural sweetness of strawberries, this recipe is for you! These Cheesecake-Stuffed Strawberries are easy to prepare, visually stunning, and absolutely delicious. With their decadent filling and optional toppings like chocolate drizzle or crushed nuts, they’re the perfect treat for parties, picnics, or a quick indulgence. Let’s get started on these bite-sized delights!

Ingredients

For the Strawberries

  • 1 pint of fresh strawberries, washed and dried

For the Cheesecake Filling

  • 8 oz cream cheese, softened
  • ½ cup powdered sugar
  • 1 teaspoon vanilla extract

For the Topping

  • ¼ cup graham cracker crumbs
  • Optional: chocolate drizzle, crushed nuts, or colorful sprinkles

Instructions

1. Prepare the Strawberries

  1. Slice off the tops of the strawberries to create a flat base so they can stand upright.
  2. Using a small paring knife or a strawberry huller, carefully hollow out the centers of the strawberries to make room for the filling.

2. Make the Cheesecake Filling

  1. In a medium bowl, beat the softened cream cheese with a hand mixer or whisk until smooth and creamy.
  2. Add the powdered sugar and vanilla extract, and mix until fully incorporated and fluffy.

3. Fill the Strawberries

  1. Transfer the cheesecake filling to a piping bag fitted with a star tip (or use a zip-top bag with a corner snipped off).
  2. Pipe the filling into the hollowed strawberries, creating a decorative swirl at the top.

4. Add the Finishing Touches

  1. Sprinkle graham cracker crumbs over the filled strawberries for a classic cheesecake flair.
  2. If desired, drizzle with melted chocolate, sprinkle crushed nuts, or add colorful sprinkles for extra texture and flavor.

5. Serve and Enjoy

  1. Arrange the filled strawberries on a serving platter.
  2. Serve immediately, or refrigerate for up to 2 hours before serving.

Conclusion

These Cheesecake-Stuffed Strawberries are the perfect fusion of fresh fruit and rich cheesecake goodness. Easy to make yet elegant enough to wow your guests, they’re a versatile dessert that can be customized with your favorite toppings. Whether it’s a special occasion or a casual treat, these little bites of heaven are guaranteed to disappear quickly. Enjoy!

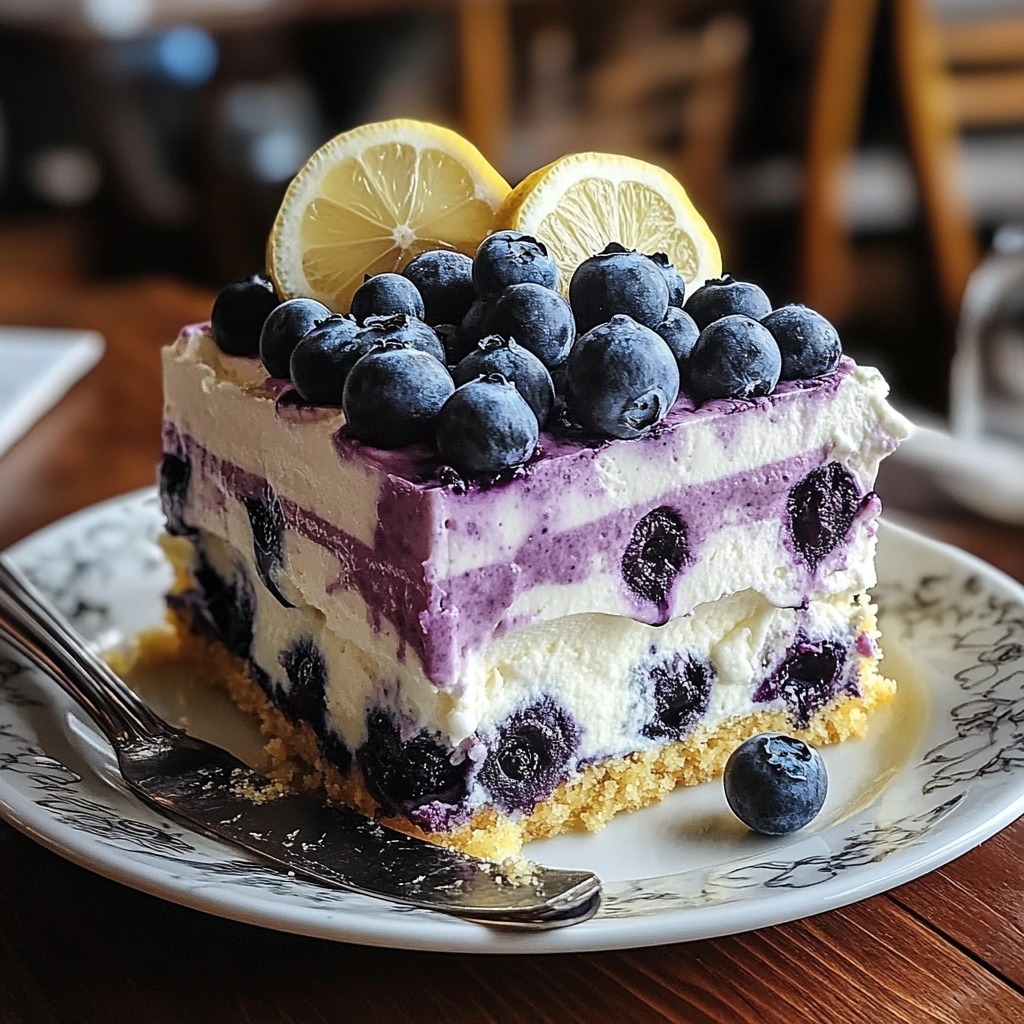
Zesty Lemon Blueberry Mousse Cake with Buttery Shortbread Crust

Brighten your day with the perfect combination of tangy lemon, sweet blueberries, and a buttery shortbread base. This Lemon Blueberry Mousse Cake is a celebration of fresh, vibrant flavors layered with creamy textures. Whether you’re entertaining guests or simply treating yourself, this elegant dessert is guaranteed to impress. Let’s dive into creating this luscious masterpiece!

Ingredients

For the Shortbread Crust:

  • ½ cup unsalted butter, softened
  • ½ cup powdered sugar
  • 1 cup all-purpose flour
  • 1 pinch of salt

For the Lemon Mousse:

  • 9/16 cup fresh lemon juice (about 2–3 lemons)
  • Zest of 2 lemons
  • ¾ cup granulated sugar
  • 1 tablespoon gelatin powder
  • 2 tablespoons water
  • 1 cup heavy cream, whipped to stiff peaks
  • 8 oz cream cheese, softened

For the Blueberry Topping:

  • 2 cups fresh blueberries
  • 2 tablespoons granulated sugar (optional, depending on sweetness of the blueberries)

Instructions

1. Prepare the Shortbread Crust

  1. Preheat your oven to 350°F (175°C).
  2. In a mixing bowl, cream together the softened butter and powdered sugar until smooth.
  3. Add the flour and salt, mixing until a soft dough forms.
  4. Press the dough evenly into the bottom of a 9-inch springform pan.
  5. Bake for 15–18 minutes, or until the edges are lightly golden. Let it cool completely before adding the mousse layer.

2. Make the Lemon Mousse

  1. In a small bowl, sprinkle the gelatin over 2 tablespoons of water. Let it bloom for about 5 minutes.
  2. In a saucepan over medium heat, combine the fresh lemon juice, lemon zest, and granulated sugar. Heat until the sugar dissolves completely. Remove from heat and stir in the bloomed gelatin until fully melted. Let this mixture cool to room temperature.
  3. In a large bowl, beat the cream cheese until smooth. Gradually mix in the cooled lemon mixture until fully combined.
  4. Gently fold in the whipped cream to create a light, airy mousse.
  5. Pour the mousse over the cooled shortbread crust, spreading it evenly. Refrigerate for at least 4 hours, or until set.

3. Prepare the Blueberry Topping

  1. In a small saucepan, heat the blueberries over medium-low heat, stirring occasionally. Add granulated sugar if the blueberries are too tart. Cook for 5–7 minutes, or until the berries begin to release their juices.
  2. Let the mixture cool to room temperature before spooning it over the chilled lemon mousse layer.

4. Assemble and Serve

  1. Once the mousse has set and the blueberry topping is cooled, carefully spread the blueberries over the top of the mousse layer.
  2. Gently release the springform pan, and transfer the cake to a serving plate.
  3. Slice and serve chilled for a refreshing, decadent dessert.

Conclusion

This Lemon Blueberry Mousse Cake brings together the best of summer’s bright flavors with a rich, creamy twist. From the buttery shortbread crust to the tangy lemon mousse and juicy blueberries, every bite is a symphony of taste and texture. Perfect for special occasions or as an indulgent treat, this dessert will leave everyone asking for seconds. Enjoy!