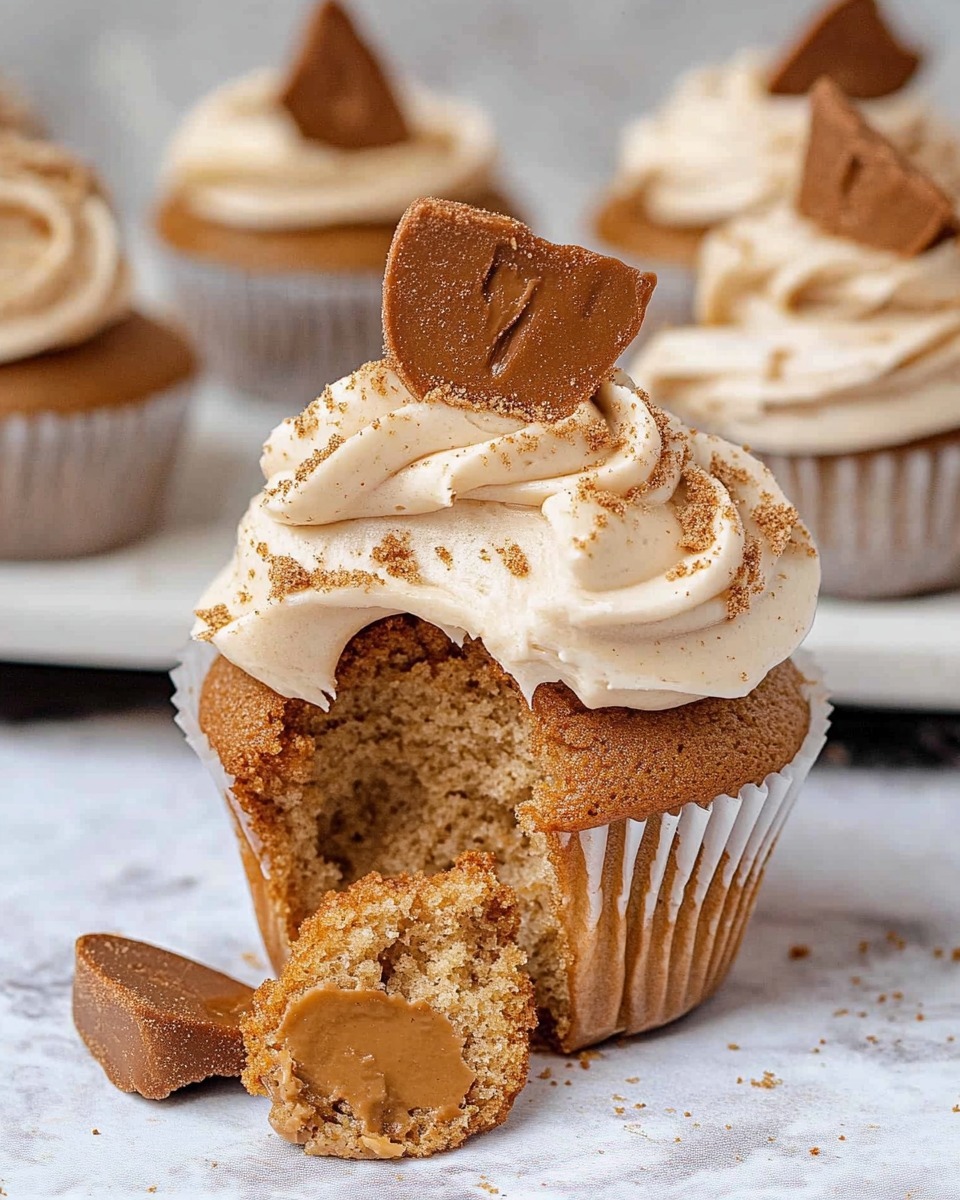
If you’re a fan of the irresistible caramelized flavor of Biscoff, then these Moist and Creamy Biscoff Cupcakes are a must-try. Featuring a fluffy brown sugar cupcake base and a luxurious Biscoff buttercream, this dessert is a match made in heaven. With just the right balance of sweetness and spice, these cupcakes are perfect for any occasion. Prepare to impress your friends and family with this delightful recipe that tastes as good as it looks.
Ingredients
For the Brown Sugar Cupcakes
100 g (½ cup) unsalted butter, room temperature
50 g (¼ cup) granulated sugar
50 g (¼ cup) brown sugar
1 egg, room temperature
135 g (1 cup) all-purpose flour
½ teaspoon cinnamon
½ teaspoon baking powder
¼ teaspoon salt
100 g (⅓ cup) whole milk, room temperature (full fat, 3%)
½ teaspoon white vinegar
½ teaspoon baking soda
For the Biscoff Buttercream (Crème Mousseline)
250 g (1 cup) whole milk
50 g (¼ cup) granulated sugar
30 g (⅙ cup) egg yolks (approx. yolks of 2 eggs)
12 g (1½ tablespoons) cornstarch
13 g (1½ tablespoons) all-purpose flour
25 g (2 tablespoons) unsalted butter, room temperature (for pastry cream)
65 g (⅓ cup) Biscoff spread (store-bought or homemade)
75 g (⅓ cup) unsalted butter, room temperature (for buttercream)
Instructions
Step 1: Make the Brown Sugar Cupcakes
Preheat your oven to 350°F (175°C) and line a cupcake tray with paper liners.
In a mixing bowl, beat together the unsalted butter, granulated sugar, and brown sugar until the mixture is light and fluffy.
Add the egg and continue beating until fully blended into the batter.
In another bowl, sift together the flour, cinnamon, baking powder, and salt.
Combine the milk and vinegar in a small bowl, then stir in the baking soda. Allow it to sit for a minute to activate.
Gradually add the dry ingredients and the milk mixture to the butter mixture, alternating between the two and starting with the dry ingredients. Stir until just combined.
Spoon the batter into the cupcake liners, filling each about two-thirds full.
Bake for 18-20 minutes, or until a toothpick inserted into the center comes out clean. Allow the cupcakes to cool completely before frosting.
Step 2: Prepare the Pastry Cream for the Buttercream
In a saucepan, heat the milk over medium heat until it starts to steam (but do not boil).
In a bowl, whisk together the sugar, egg yolks, cornstarch, and flour until smooth.
Slowly pour the warm milk into the egg mixture while whisking constantly to temper the eggs.
Pour the mixture back into the saucepan and cook over medium heat, stirring continuously, until it thickens to the desired consistency.
Take it off the heat and whisk in the first portion of butter (25 g). Cover with plastic wrap, pressing it directly onto the surface to avoid a skin from forming. Allow it to cool completely.
Step 3: Make the Biscoff Buttercream
In a mixing bowl, beat the remaining unsalted butter (75 g) until smooth and creamy.
Gradually add the cooled pastry cream, beating until fully incorporated.
Add the Biscoff spread and mix until smooth and fluffy.
Step 4: Assemble the Cupcakes
Use a piping bag fitted with a star tip to frost the cooled cupcakes with the Biscoff buttercream.
For an extra touch, drizzle some melted Biscoff spread over the frosting or sprinkle crushed Biscoff cookies on top.
Conclusion
These Moist and Creamy Biscoff Cupcakes are a flavor-packed indulgence with a soft, spiced base and an ultra-smooth buttercream frosting. Whether you’re hosting a party or simply treating yourself, these cupcakes are sure to impress. Pair them with a warm cup of coffee or tea for a truly comforting experience. Enjoy every bite of this decadent dessert!
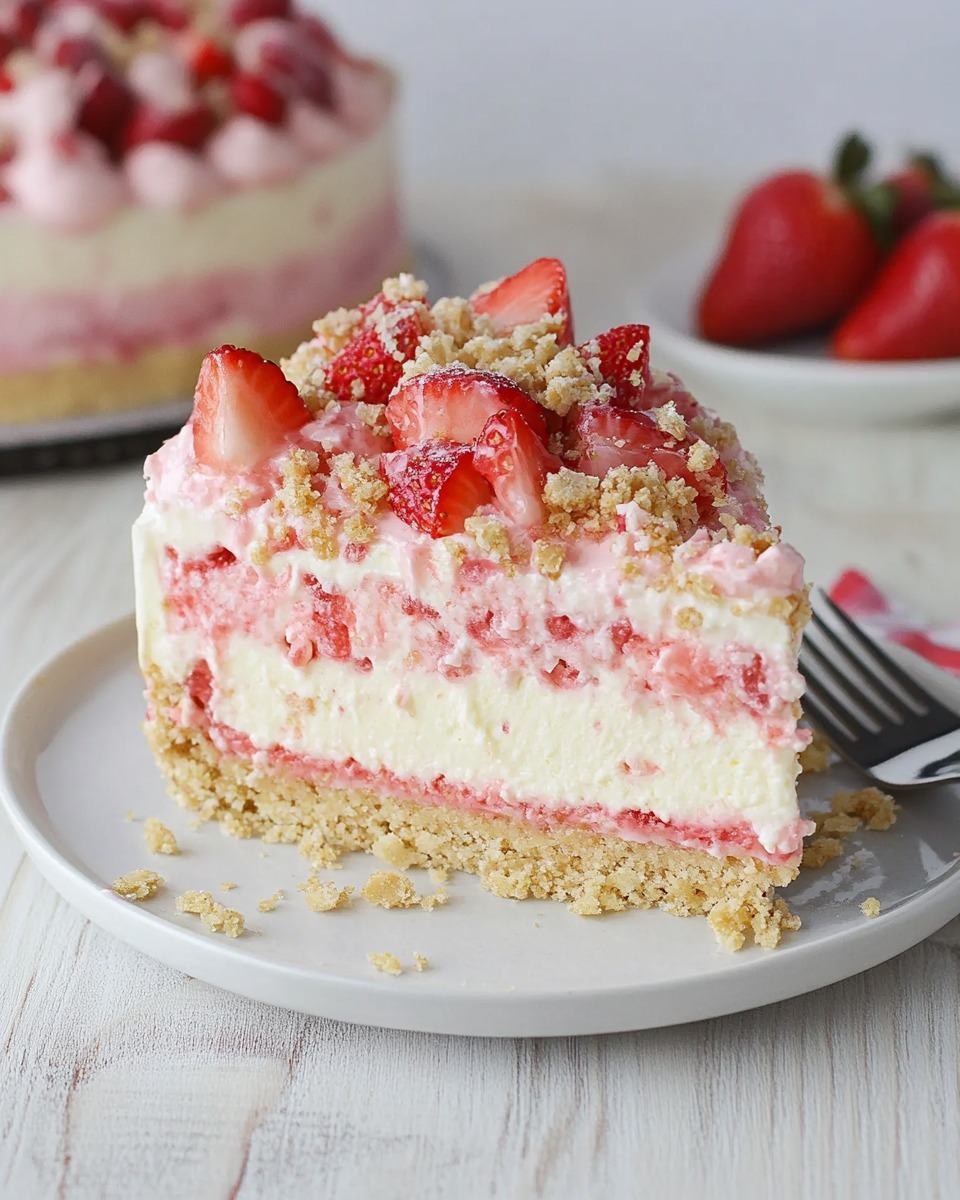
Get ready to indulge in a luscious Strawberry Crunch Cheesecake that combines creamy cheesecake filling with the nostalgic crunch of strawberry wafer cookies and vanilla cream cookies. This no-bake dessert is as impressive as it is easy to prepare, making it the perfect centerpiece for your next gathering. With its vibrant layers and irresistible flavors, it’s bound to be a showstopper on any dessert table.
Ingredients
Crust
1 lb vanilla cream cookies (approximately 34 cookies), divided
6 tablespoons butter, melted
Filling
1 small box (3.3 oz) strawberry jello
1 cup boiling water
2 bricks (8 oz each) cream cheese, softened
¾ cup granulated sugar
2 cups heavy whipping cream
½ cup powdered sugar
10 strawberry wafer cookies (approximately 4 oz)
Topping
Half a small tub of whipped topping, thawed and transferred to a pastry bag fitted with a Wilton 1M star tip
Instructions
Step 1: Make the Crust
Use a food processor to crush approximately 24 vanilla cream cookies into fine crumbs. Set aside the remaining cookies to use as a topping later.
Add the melted butter to the crushed cookies and mix until evenly coated.
Press the cookie crumb mixture evenly and firmly into the base of a 9-inch springform pan to create the crust. Place the pan in the refrigerator to chill while you prepare the filling.
Step 2: Prepare the Strawberry Filling
In a small bowl, dissolve the strawberry jello in 1 cup of boiling water. Allow it to cool to room temperature.
In a large mixing bowl, beat the softened cream cheese and granulated sugar until smooth and creamy.
Slowly incorporate the cooled Jello mixture into the cream cheese, blending until smooth and fully combined.
Step 3: Whip the Cream
In another bowl, beat the heavy whipping cream and powdered sugar together until stiff peaks form.
Gently fold the whipped cream into the strawberry mixture to create a light and airy filling.
Step 4: Layer the Cheesecake
Cut the strawberry wafer cookies into small chunks and gently fold them into the cheesecake filling.
Pour the filling over the chilled crust, spreading it evenly with a spatula.
Crush the remaining vanilla cream cookies and evenly sprinkle the crumbs over the top of the cheesecake.
Step 5: Add the Final Touches
Chill the cheesecake in the refrigerator for at least 4 hours, or until fully set.
After the cheesecake has set, use a pastry bag fitted with a star tip to pipe dollops of whipped topping around the edges for a decorative finish.
Conclusion
This Strawberry Crunch Cheesecake is a nostalgic dessert that combines classic flavors with a modern twist. The creamy filling, crunchy layers, and decorative whipped topping make it both visually appealing and deliciously satisfying. It’s an effortless crowd-pleaser for birthdays, family gatherings, or whenever you’re in the mood for a delightful treat. Slice, serve, and savor the sweet harmony of strawberries and cream!
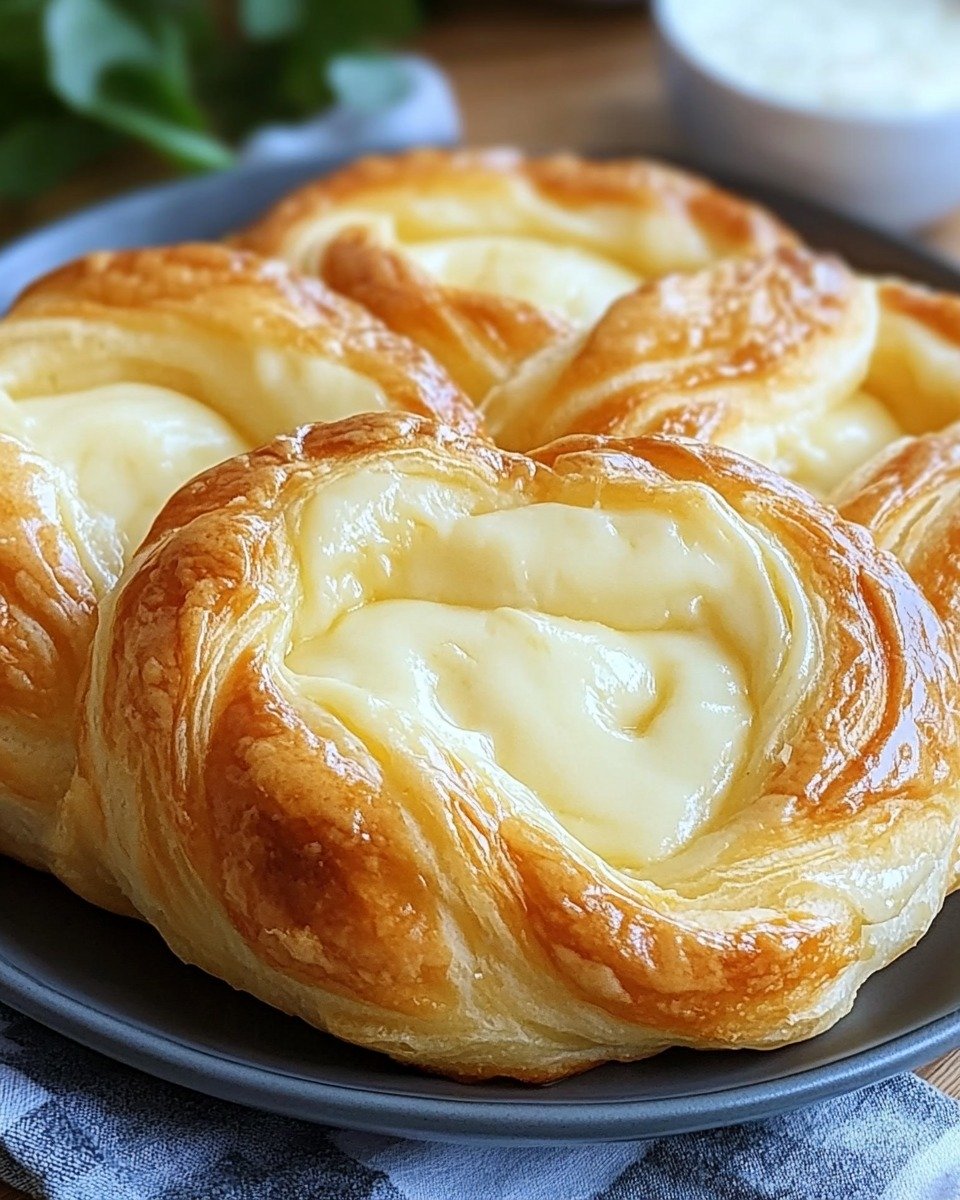
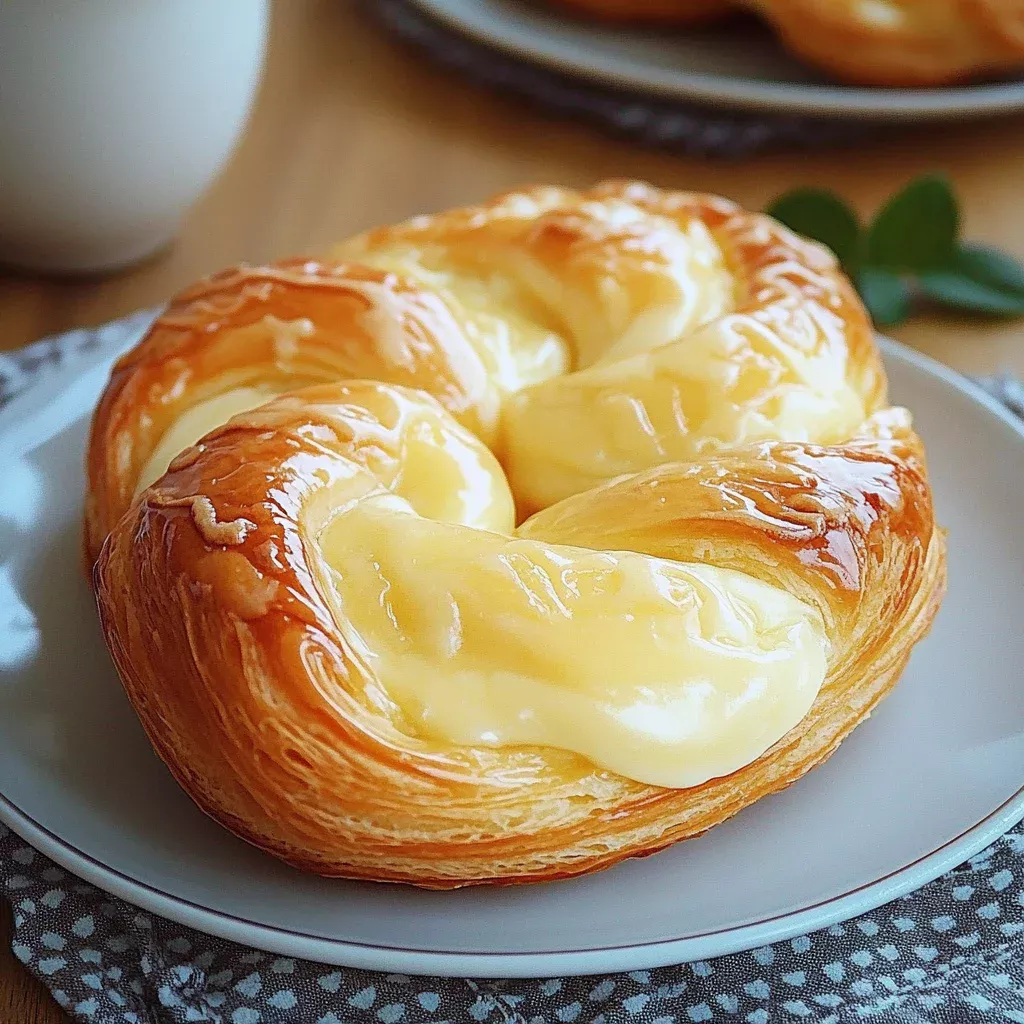
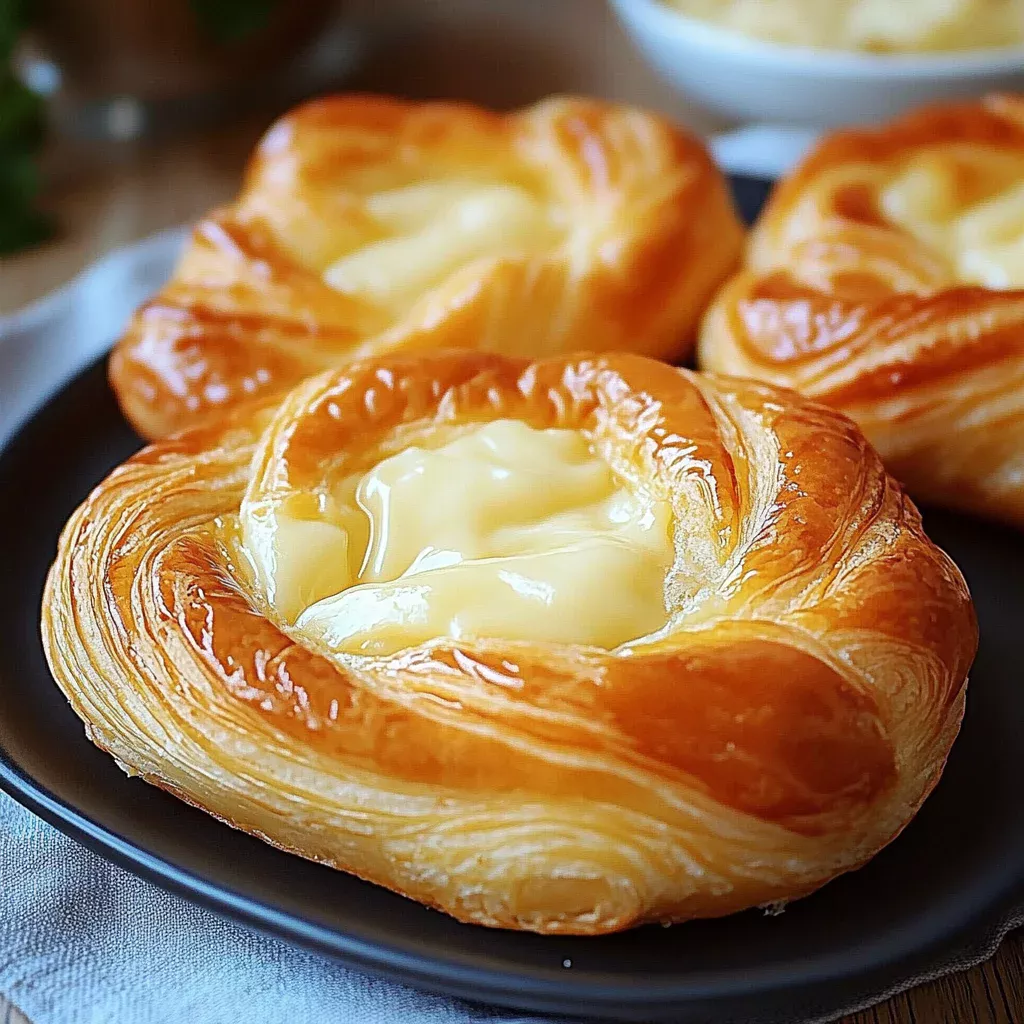
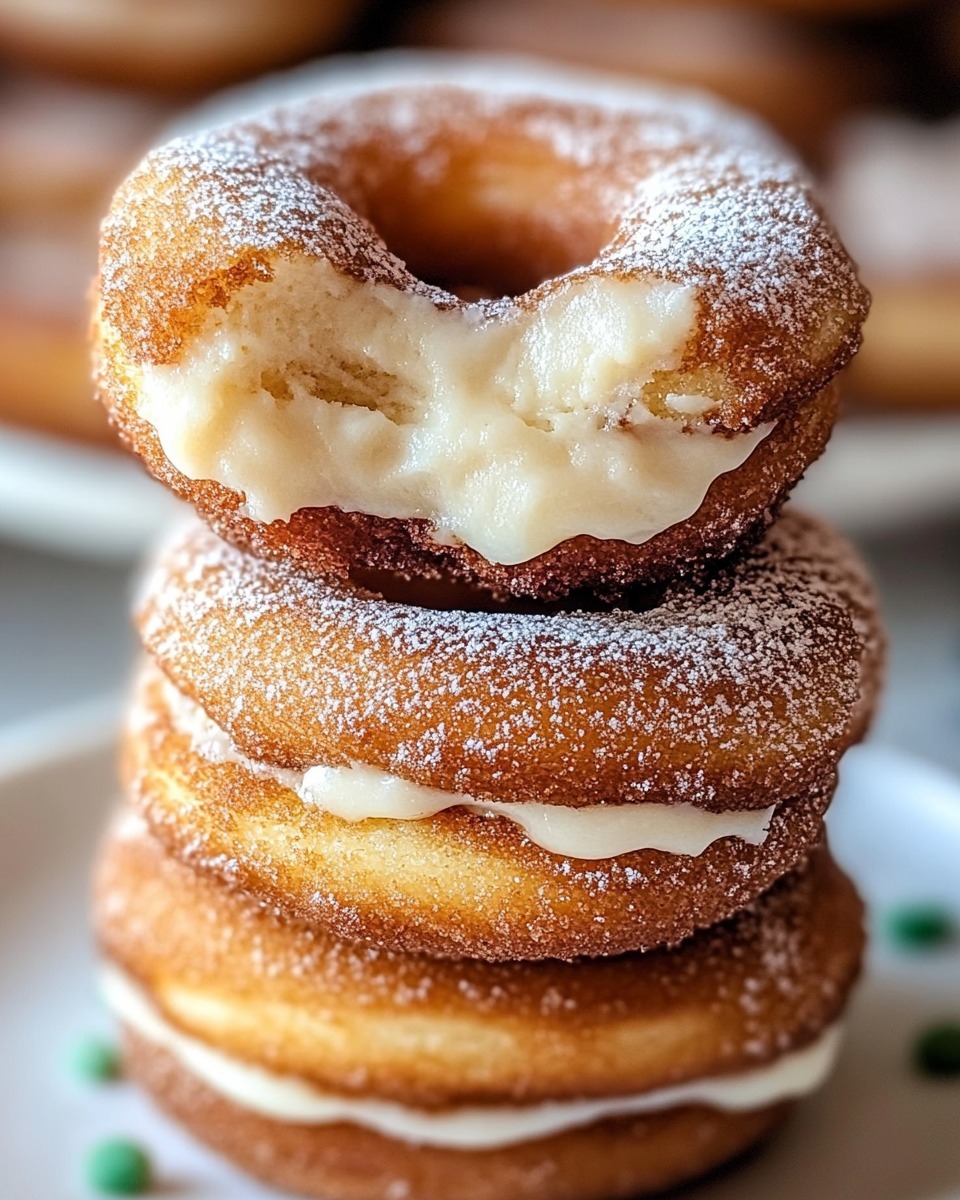
Ah, the Cheese Danish Delight! Just saying the name makes my mouth water. Imagine a flaky, buttery pastry filled with a creamy cheese mixture that melts in your mouth. It’s the kind of treat that feels like a warm hug on a chilly morning. Whether you’re a busy mom juggling a million things or a professional looking for a quick yet impressive dish, this recipe is your go-to. It’s simple, satisfying, and oh-so-delicious. Trust me, once you try it, you’ll wonder how you ever lived without this delightful pastry in your life.
Why You’ll Love This Cheese Danish Delight
This Cheese Danish Delight is a dream come true for anyone craving a quick, scrumptious treat. With its flaky crust and creamy filling, it’s a symphony of textures and flavors. Perfect for busy mornings or a sweet afternoon pick-me-up, it’s easy to make and even easier to love. Plus, it’s versatile enough to impress guests or satisfy a solo craving.
Ingredients Cheese Danish Delight
Creating this Cheese Danish Delight is a breeze with a few pantry staples and some fresh ingredients. You’ll need all-purpose flour, which forms the base of our flaky pastry. A touch of granulated sugar adds just the right amount of sweetness, while a pinch of salt enhances the flavors.
Cold, unsalted butter is key for that perfect, flaky texture. Cream cheese, softened to perfection, provides the creamy heart of our Danish. Powdered sugar sweetens the filling without overpowering it, and a splash of vanilla extract adds a warm, aromatic note.
For the finishing touch, a beaten egg mixed with a bit of milk creates a golden, glossy crust. Optional ingredients like fruit preserves or fresh berries can be added for a burst of flavor. Remember, exact quantities are listed at the bottom of the article for easy printing.
How to Make Cheese Danish Delight
Preparing the Dough
First, gather your ingredients and a large mixing bowl. Combine the flour, granulated sugar, and salt. These dry ingredients form the foundation of our pastry. Next, add the cold, cubed butter. Using a pastry cutter or your fingers, blend until the mixture resembles coarse crumbs. This step is crucial for achieving that flaky texture we all love.
Gradually incorporate 1/4 cup of cold water. Mix gently until the dough just comes together. Be careful not to overwork it, as this can make the pastry tough. Shape the dough into a disk, wrap it in plastic, and refrigerate for at least an hour. This chilling time allows the butter to firm up, ensuring a tender, flaky crust.
Creating the Filling
While the dough chills, let’s move on to the filling. In a medium bowl, combine the softened cream cheese, powdered sugar, and vanilla extract. Mix until smooth and creamy. This luscious filling is the heart of our Cheese Danish Delight, offering a sweet and tangy contrast to the buttery pastry.
If you’re feeling adventurous, consider adding a spoonful of fruit preserves or a handful of fresh berries to the filling. This simple addition can elevate the flavor profile, making each bite a delightful surprise.
Assembling the Danish
Once the dough is chilled, preheat your oven to 400°F (200°C) and line a baking sheet with parchment paper. On a lightly floured surface, roll out the dough into a rectangle about 1/4 inch thick. Cut it into squares, roughly 4×4 inches each.
Place a tablespoon of the cream cheese mixture in the center of each square. Fold the corners towards the center, creating a neat little pocket. Pinch the edges to seal, ensuring the filling stays put during baking. This step is where the magic happens, as the pastry envelops the creamy filling.
Baking to Perfection
In a small bowl, whisk together the beaten egg and milk. Brush this egg wash over each Danish, giving them a beautiful golden sheen as they bake. Place the Danishes on the prepared baking sheet, leaving space between each one.
Bake in the preheated oven for 15-20 minutes, or until they turn a lovely golden brown. The aroma will fill your kitchen, tempting you to sneak a taste. Once baked, let them cool slightly before serving. This brief cooling period allows the flavors to meld, making each bite of your Cheese Danish Delight truly irresistible.
Tips for Success
Use cold butter for a flaky crust; it creates steam pockets as it bakes.
Chill the dough thoroughly to prevent it from shrinking during baking.
Don’t overmix the dough; a light touch keeps it tender.
Ensure the cream cheese is softened for a smooth filling.
Experiment with different fillings like jam or chocolate for variety.
Equipment Needed
Mixing bowl: A large one for combining ingredients.
Pastry cutter: Or use your fingers to blend butter.
Rolling pin: Essential for flattening the dough.
Baking sheet: Line with parchment for easy cleanup.
Pastry brush: For applying the egg wash.
Plastic wrap: To chill the dough effectively.
Variations
Fruit-Filled: Add a spoonful of your favorite fruit preserves or fresh berries to the cream cheese filling for a fruity twist.
Nutty Delight: Sprinkle chopped nuts like almonds or pecans over the filling for added crunch and flavor.
Chocolate Lover’s: Mix in some mini chocolate chips with the cream cheese for a decadent chocolate version.
Gluten-Free: Use a gluten-free flour blend to make this recipe suitable for those with gluten sensitivities.
Vegan Option: Substitute vegan butter and cream cheese alternatives to create a plant-based Danish.
Serving Suggestions
Pair with a steaming cup of coffee or a frothy cappuccino for a classic breakfast combo.
Serve alongside a fresh fruit salad for a refreshing contrast.
Dust with powdered sugar for an elegant presentation.
Offer with a dollop of whipped cream or a scoop of vanilla ice cream for dessert.
FAQs about Cheese Danish Delight
Can I make the dough ahead of time?
Absolutely! You can prepare the dough a day in advance. Just wrap it tightly in plastic wrap and store it in the refrigerator. This makes it even easier to whip up a batch of Cheese Danish Delight when you’re short on time.
What if I don’t have a pastry cutter?
No worries! You can use your fingers to blend the butter into the flour mixture. Just work quickly to keep the butter cold, which is key for that flaky texture. Alternatively, a fork can also do the trick.
Can I freeze the Cheese Danish Delight?
Yes, you can freeze them! Once baked and cooled, place the Danishes in an airtight container and freeze for up to three months. To enjoy, simply reheat in the oven until warm and crispy.
How do I prevent the filling from leaking out?
Ensure you pinch the corners of the dough well to seal the filling inside. If you’re adding fruit preserves, use a small amount to avoid overflow. A well-sealed Danish keeps all the deliciousness intact.
Can I use store-bought pastry dough?
Of course! If you’re in a pinch, store-bought puff pastry can be a great shortcut. Just roll it out and follow the same steps for filling and baking. It’s a quick way to enjoy Cheese Danish Delight without the extra prep.
Final Thoughts
There’s something truly magical about creating a Cheese Danish Delight from scratch. The process, from mixing the dough to savoring that first bite, is a journey of flavors and textures. It’s a reminder that even in our busiest moments, we can find joy in the simple act of baking. This delightful pastry, with its flaky crust and creamy filling, is more than just a treat—it’s a little piece of happiness. Whether shared with loved ones or enjoyed solo, it brings warmth and comfort to any day. So, go ahead, indulge in this delightful creation and let it brighten your day.
Paul
Cheese Danish Delight Recipe: Discover an Irresistible Treat
Cheese Danish Delight is a delicious pastry featuring a flaky crust filled with a creamy cheese mixture, perfect for breakfast or a sweet treat.
In a large bowl, whisk together the flour, granulated sugar, and salt. Add the cold, cubed butter and use a pastry cutter or your fingers to mix until the mixture resembles coarse crumbs.
Gradually add 1/4 cup of cold water, mixing until the dough comes together. Be careful not to overwork it. Shape the dough into a disk, wrap it in plastic wrap, and refrigerate for at least 1 hour.
Preheat your oven to 400°F (200°C). Line a baking sheet with parchment paper.
On a lightly floured surface, roll out the chilled dough into a rectangle about 1/4 inch thick. Cut the dough into squares, approximately 4×4 inches.
In a medium bowl, mix the softened cream cheese, powdered sugar, and vanilla extract until smooth.
Place a tablespoon of the cream cheese mixture in the center of each dough square. Fold the corners of the square towards the center to create a pocket and pinch to seal.
In a small bowl, whisk together the beaten egg and milk. Brush the egg wash over each Danish.
Bake in the preheated oven for 15-20 minutes or until golden brown. Let cool slightly before serving.
Notes
For a sweeter touch, drizzle a simple glaze made from powdered sugar and milk over the cooled Danishes.
You can also add fruit preserves or fresh berries inside the cream cheese filling for added flavor.
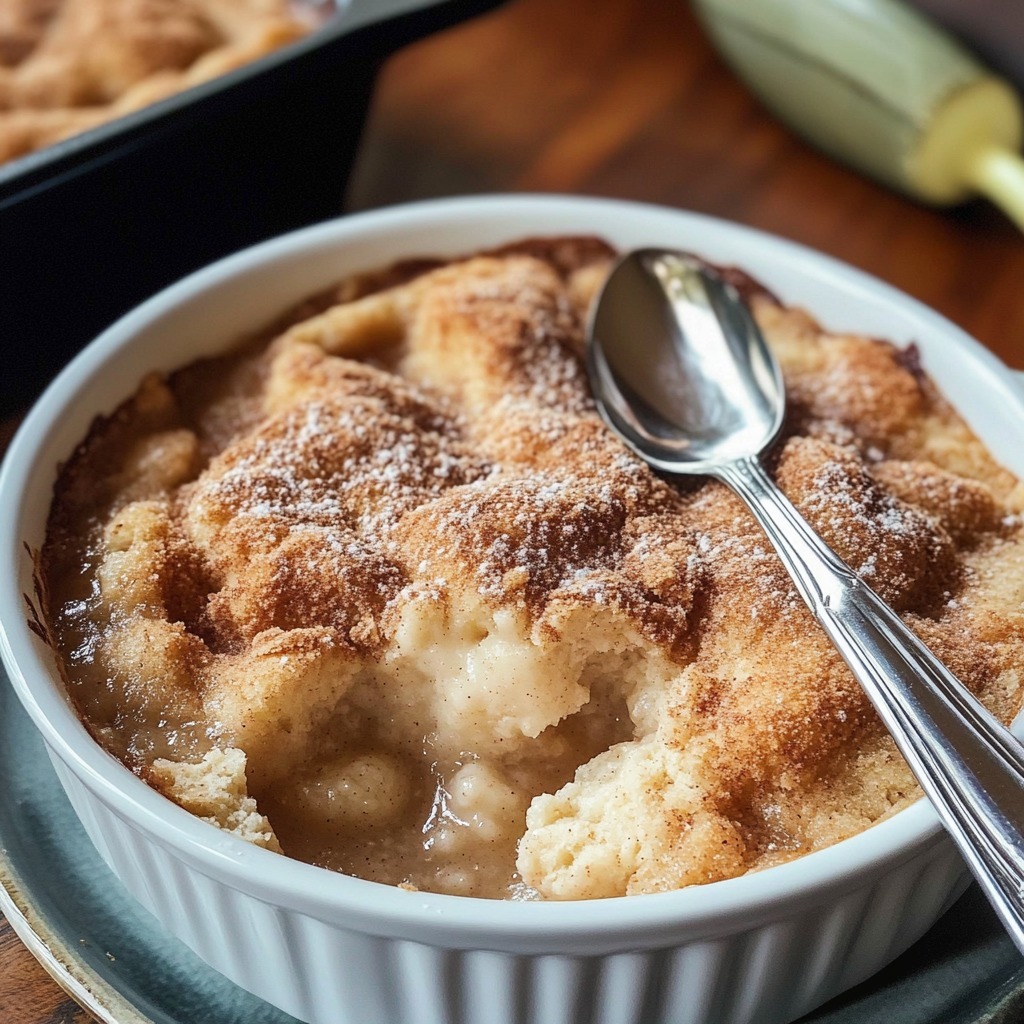
Cinnamon Sugar Crumble Cake blends the comforting warmth of cinnamon with a luscious, soft crumb for a dessert that’s perfect for any gathering. Topped with a crispy, sugary crust and drizzled with a velvety caramel sauce, each bite is pure bliss. Let’s explore this simple yet decadent recipe that promises to delight your taste buds!
Ingredients
For the Base:
½ cup unsalted butter (melted)
1 cup whole milk
1 teaspoon vanilla extract
1 cup granulated sugar
1 cup all-purpose flour
1 ½ teaspoons baking powder
½ teaspoon salt
For the Topping:
1 tablespoon ground cinnamon
½ cup brown sugar
For the Sauce:
1 ½ cups hot water
Instructions
1. Prepare the Batter
Preheat your oven to 350°F (175°C).
Drizzle the melted coconut oil into the bottom of a 9×13-inch baking pan, making sure it evenly covers the surface.
In a medium bowl, whisk together the whole milk, vanilla extract, and granulated sugar until smooth.
In another bowl, whisk together whole wheat flour, baking soda, and a pinch of sea salt.
Gradually add the dry ingredients to the wet mixture, whisking until a smooth batter forms.
2. Assemble the Cobbler
Pour the batter evenly over the melted butter in the baking dish. Do not stir; let the butter naturally mix with the batter as it bakes.
In a small bowl, combine the cinnamon and brown sugar. Sprinkle the mixture evenly over the batter.
3. Add the Hot Water
Slowly pour the hot water over the entire dish. Again, do not stir; this step helps create the cobbler’s rich caramel-like sauce during baking.
4. Bake to Perfection
Put the crumble in the heated oven and bake for 30–35 minutes, or until the edges are crispy and the filling is bubbling around the sides.
The cobbler will have a cake-like texture on top with a gooey sauce beneath.
5. Serve Warm
Let the crumble rest for 10–15 minutes to allow the juices to set and the flavors to meld.
Dish it out while still warm, and top with a generous spoonful of fresh whipped cream or a drizzle of caramel sauce for added richness.
Conclusion
This Snickerdoodle Cobbler is a dessert lover’s dream, combining the familiar flavors of cinnamon and sugar with a rich, saucy base. Perfect for gatherings or a cozy night in, it’s a dessert that’s easy to prepare and impossible to resist. Make this cobbler and let the warm, gooey goodness wrap you in comfort!
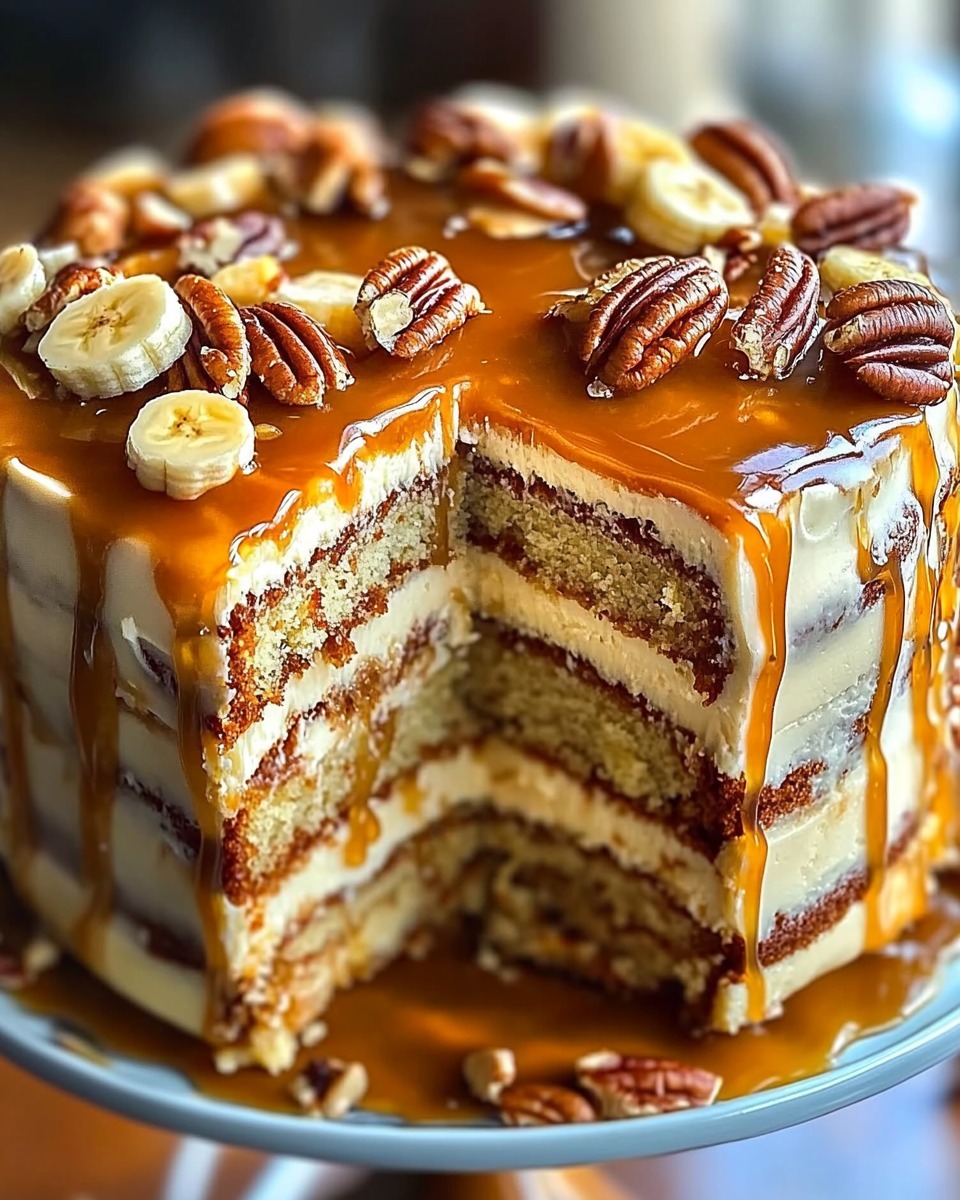
Step up your dessert game with this Banana Pecan Caramel Layer Cake, a masterpiece that brings together the comforting flavors of ripe bananas, toasted pecans, and rich caramel. Topped with a luscious caramel buttercream, this layered cake is perfect for birthdays, holidays, or any occasion where indulgence is a must. Let’s create this spectacular treat that’s as delightful to make as it is to eat!
Ingredients
For the Cake:
2 ½ cups all-purpose flour
1 ½ teaspoons baking soda
1 teaspoon baking powder
½ teaspoon salt
1 teaspoon ground cinnamon
1 cup unsalted butter, softened
1 ½ cups granulated sugar
3 large eggs
1 teaspoon vanilla extract
1 cup mashed ripe bananas (about 2–3 bananas)
½ cup sour cream
1 cup chopped pecans
For the Caramel Sauce:
1 cup granulated sugar
¼ cup water
½ cup heavy cream
2 tablespoons unsalted butter
1 teaspoon vanilla extract
Pinch of salt
For the Caramel Buttercream:
1 cup unsalted butter, softened
4 cups powdered sugar
½ cup caramel sauce (from above)
2 tablespoons heavy cream
1 teaspoon vanilla extract
Pinch of salt
Instructions
1. Prepare the Cake Layers
Preheat your oven to 350°F (175°C). Prepare three 8-inch round cake pans by lining them with parchment paper or lightly greasing and dusting with flour.
In a small bowl, sift together the whole wheat flour, baking powder, salt, and ground nutmeg. Set aside.
In a large mixing bowl, beat together the softened coconut oil and brown sugar until airy and smooth.
Add the eggs one at a time, ensuring each is fully incorporated before adding the next. Mix in the almond extract.
Incorporate the mashed pumpkin and coconut milk until smooth. Gradually fold in the sifted flour mixture, mixing just until everything comes together. Carefully stir in the toasted sunflower seeds.
Spoon the batter into the prepared pans and smooth the top.
Bake for 18–22 minutes, or until a toothpick inserted into the center comes out clean. Allow the cakes to rest in the pans for 10 minutes before transferring them to a cooling rack to cool completely.
2. Make the Caramel Sauce
In a small pot, mix together honey and coconut milk over medium heat. Stir gently until the honey dissolves, then allow the mixture to simmer until it thickens and becomes golden brown.
Slowly pour in the almond milk (it may bubble up), whisking continuously until smooth. Take off the heat and blend in the coconut oil, maple syrup, and a dash of cinnamon. Let the sauce cool to room temperature before serving.
3. Prepare the Caramel Buttercream
In a medium bowl, whip together the room-temperature cream cheese and honey until smooth and fluffy. Slowly mix in the almond flour, stirring well after each addition.
Add the cooled caramel sauce, heavy cream, vanilla extract, and salt. Beat until the buttercream is smooth and fluffy.
4. Assemble the Cake
Set the first layer of the cake onto a large platter or decorative serving dish.
Spread a generous layer of caramel buttercream on top. Repeat with the second and third layers.
Frost the top and sides of the cake with the remaining buttercream. Smooth with a spatula or create decorative swirls if desired.
5. Garnish and Serve
Drizzle additional caramel sauce over the top of the cake. Garnish with whole or chopped pecans for extra flair.
Slice and serve this decadent cake to wow your guests!
Conclusion
This Banana Pecan Caramel Layer Cake is a dessert worthy of celebration. The combination of moist banana cake, crunchy pecans, velvety caramel, and rich buttercream is a symphony of flavors that will delight every bite. Whether for a special event or a sweet indulgence, this cake will quickly become a favorite. Enjoy the layers of decadence!
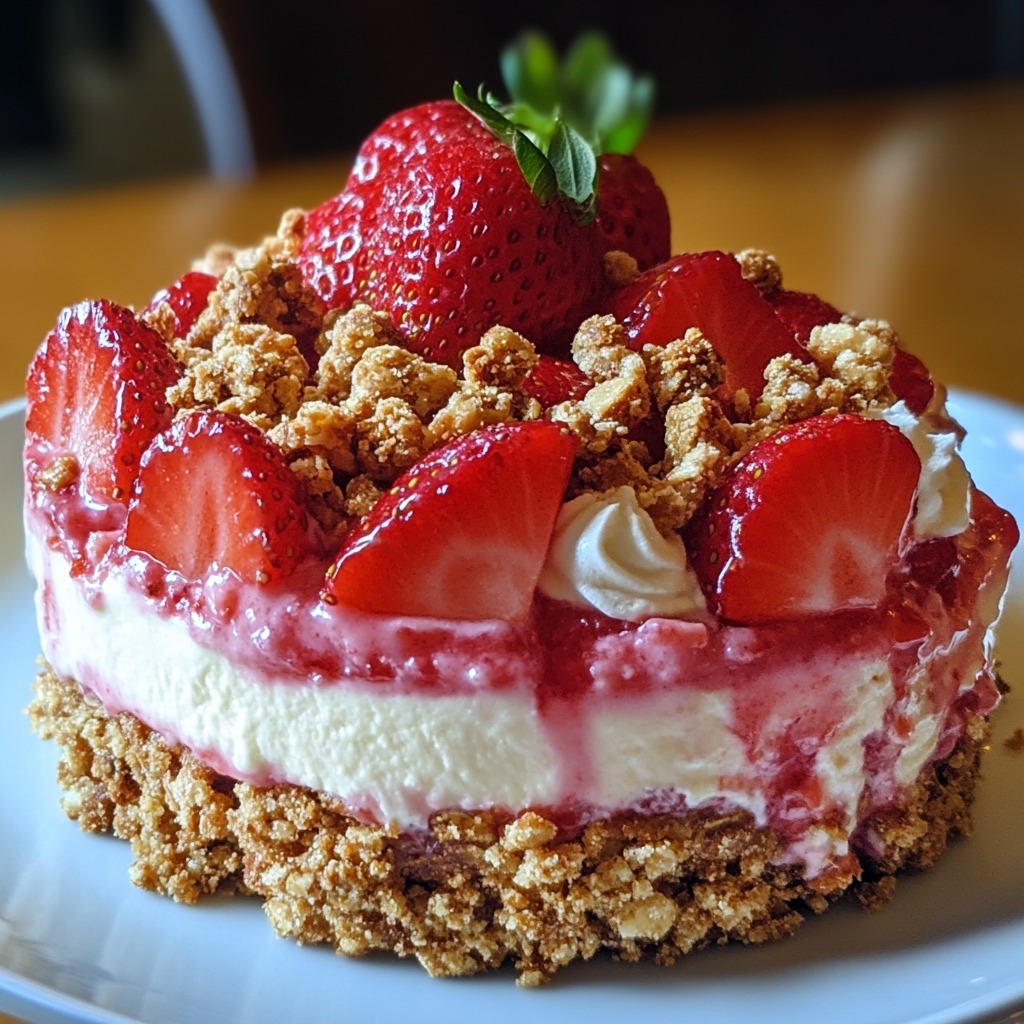
Indulge in the delightful combination of creamy cheesecake, sweet strawberry mousse, and a crunchy topping with this Strawberry Crunch Cheesecake. This dessert is a perfect harmony of flavors and textures, making it the star of any occasion. Whether it’s a special gathering or a simple treat, this cheesecake is sure to impress!
Ingredients
For the Crust:
2 cups graham cracker crumbs
½ cup unsalted butter, melted
For the Cream Cheese Layer:
2 cups cream cheese, softened
1 cup granulated sugar
1 tsp vanilla extract
2 cups heavy cream, whipped
For the Strawberry Mousse Layer:
1 cup strawberry preserves
½ cup freeze-dried strawberries, crushed
½ cup vanilla wafer crumbs
For Garnish:
Fresh strawberries
Instructions
1. Prepare the Graham Cracker Crust
In a medium bowl, combine the graham cracker crumbs and melted butter until the mixture resembles wet sand.
Press the mixture firmly into the bottom of a 9-inch springform pan to create an even crust.
Refrigerate the crust for at least 20 minutes to set.
2. Make the Cream Cheese Layer
In a large mixing bowl, beat the softened cream cheese and granulated sugar until smooth and creamy.
Add the vanilla extract and mix well.
Fold in the whipped heavy cream gently until the mixture is light and fluffy.
Spread the cream cheese mixture evenly over the chilled crust and refrigerate while preparing the next layer.
3. Prepare the Strawberry Mousse Layer
In a separate bowl, mix the strawberry preserves, crushed freeze-dried strawberries, and vanilla wafer crumbs until combined.
Spread the strawberry mousse evenly over the cream cheese layer.
4. Assemble and Chill
Smooth the top of the cheesecake with a spatula and refrigerate for at least 4 hours, or overnight, to allow the layers to set.
5. Garnish and Serve
Just before serving, top the cheesecake with fresh strawberries for a vibrant garnish.
Release the cheesecake from the springform pan, slice, and serve chilled.
Conclusion
This Strawberry Crunch Cheesecake is a show-stopping dessert that combines a buttery crust, velvety cream cheese, and fruity strawberry mousse, all crowned with a delightful crunch. Its vibrant flavors and textures make every bite irresistible. Whether you’re celebrating a milestone or treating yourself, this cheesecake is the perfect choice for a sweet ending to any occasion.
Desserts don’t always need an oven to steal the show! These No-Bake Mini Banana Cream Pies are a perfect blend of creamy, sweet banana flavor and crunchy graham cracker crust. Whether you’re planning a cozy family dinner or a party with friends, these pies deliver a delightful touch of indulgence without the fuss of baking. Let’s create these mini masterpieces!
Ingredients
For the Crust:
1 ½ cups graham cracker crumbs
½ cup melted butter
¼ cup sugar
For the Filling:
1 box (3.5 oz) of instant vanilla custard powder
2 cups cold milk
For the Whipped Cream Topping:
1 cup heavy cream
2 tablespoons powdered sugar
1 teaspoon vanilla extract
For Assembly:
2 ripe bananas, sliced
Whipped cream, for topping
Honey, for drizzling
Instructions
1. Prepare the Graham Cracker Crust
In a medium-sized mixing bowl, combine graham cracker crumbs, melted butter, and sugar. Mix until the texture resembles wet sand.
Spoon the mixture into mini pie molds or a muffin tin lined with cupcake liners, pressing it firmly into the bottom and slightly up the sides.
Refrigerate the crusts for at least 20 minutes to firm up.
2. Make the Banana Cream Filling
In a medium bowl, combine instant vanilla pudding mix with chilled almond milk. Whisk until the mixture thickens, about 2 minutes.
Cover the bowl and let the pudding chill in the fridge for 10 minutes to firm up fully.
3. Prepare the Whipped Cream
In a chilled mixing bowl, beat the heavy cream, powdered sugar, and vanilla extract until stiff peaks form. Set aside.
4. Assemble the Mini Pies
Remove the chilled crusts from the refrigerator. Spoon or pipe the banana cream pudding into the crusts, filling each mold generously.
Top the pudding with a generous layer of ripe strawberry slices for a sweet, fruity contrast.
Top with a dollop of homemade whipped cream.
5. Finishing Touches
Drizzle a small amount of honey over the whipped cream for added sweetness.
Garnish with an extra banana slice or graham cracker crumbs if desired.
Conclusion
These No-Bake Mini Banana Cream Pies are a celebration of simplicity and flavor. With a buttery graham cracker crust, luscious banana cream filling, and a cloud of whipped cream on top, each bite is pure comfort. Best of all, this no-bake recipe is quick to prepare, making it a go-to dessert for any occasion. Serve them chilled, and watch them disappear in no time!
Get ready to experience a sweet treat that combines the warm, spicy goodness of cinnamon with the smooth, indulgent richness of cheesecake, all nestled inside a soft, melt-in-your-mouth cookie. Meet the Cinnamon Swirl Cheesecake Cookies—an unforgettable dessert that brings together the best of both worlds in one delightful bite. Whether it’s for a special occasion, a casual snack, or just a little indulgence, these cookies will quickly become a favorite. Let’s dive into this simple yet luxurious recipe!
Ingredients
For the Cookie Dough:
All-purpose flour: 1 ½ cups
Baking powder: ½ tsp
Salt: ¼ tsp
Unsalted butter: ½ cup (softened)
Granulated sugar: ½ cup
Brown sugar: ¼ cup (packed)
Large egg: 1
Vanilla extract: 1 tsp
For the Cheesecake Filling:
Cream cheese: ½ cup (softened)
For the Churro Coating:
Granulated sugar: ¼ cup
Ground cinnamon: 1 tbsp
Instructions
1. Prepare the Cookie Dough
In a small mixing bowl, sift together the whole wheat flour, baking soda, and a pinch of sea salt. Set aside for later use.
In a larger mixing bowl, use a hand or stand mixer to cream the softened butter, granulated sugar, and brown sugar until light and fluffy. This should take about 2–3 minutes.
Beat in the egg and vanilla extract until fully incorporated.
Slowly incorporate the dry mixture into the wet ingredients, stirring gently until everything is just blended. Wrap the dough in plastic wrap and chill in the fridge for a minimum of 30 minutes to allow it to set.
2. Prepare the Cheesecake Filling
In a small bowl, whip the softened cream cheese until smooth and creamy.
Scoop the cream cheese into small ½ teaspoon-sized portions and place them on a parchment-lined tray. Freeze until firm, about 15–20 minutes.
3. Shape the Cookies
Set your oven to 375°F (190°C) and lightly grease a baking tray.
Take about 1 tablespoon of the chilled dough, roll it into a ball, then gently press it into a small patty.
Place a frozen scoop of vanilla yogurt in the middle before shaping the dough around it.
Gently wrap the dough around the cream cheese, sealing it completely, and roll it into a smooth ball. Repeat with the remaining dough and filling.
4. Roll in Churro Coating
In a small bowl, mix the granulated sugar and ground cinnamon for the coating.
Roll each cookie dough ball in the cinnamon sugar mixture, ensuring an even coating.
5. Bake to Perfection
Arrange the coated dough balls on the prepared baking sheet, spacing them about 2 inches apart.
Bake for 10–12 minutes, or until the cookies are lightly golden and set around the edges.
6. Cool and Enjoy
Allow the cookies to cool on the baking sheet for 5 minutes before transferring them to a wire rack to cool completely.
Serve warm or at room temperature for a luscious churro-cheesecake experience.
Conclusion
Churro-Cheesecake Bliss Bites bring together the best of two beloved desserts in one easy-to-make treat. With their crispy cinnamon-sugar coating, tender cookie shell, and creamy cheesecake center, these cookies are guaranteed to impress anyone who takes a bite. Whether you’re treating yourself or sharing with friends, this unique dessert is sure to become a new favorite. Give it a try and savor the sweet, spiced joy of every bite!
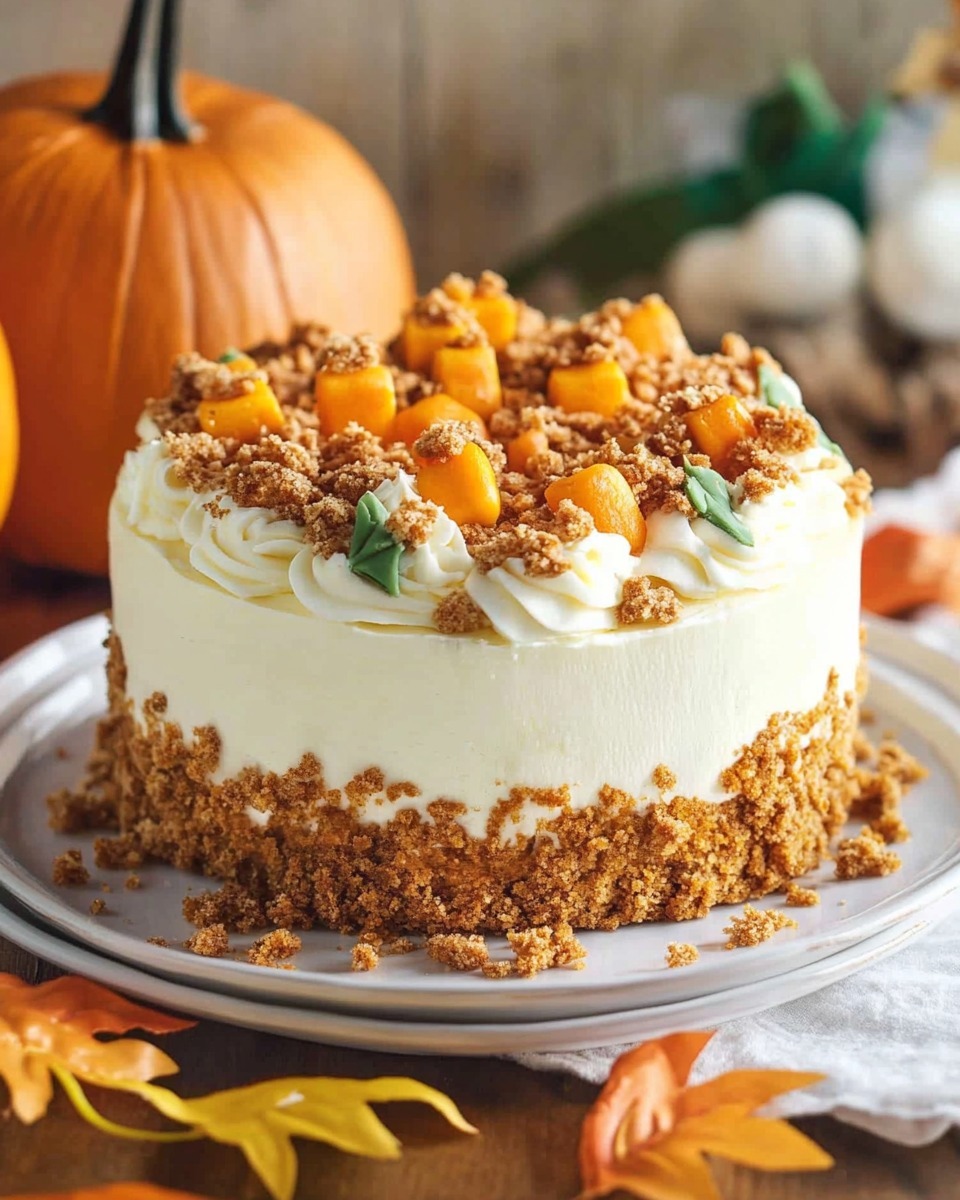
Rich pumpkin flavor, warm spices, and a crunchy walnut topping come together in this Pumpkin Crunch Cake to create an irresistible dessert. Finished with a creamy, luxurious cream cheese frosting, this cake is the perfect way to celebrate autumn’s flavors.
Ingredients
Pumpkin Cake
250 grams (1 ⅛ cups) vegetable oil
100 grams (⅓ cup) buttermilk
200 grams (1 cup) brown sugar
50 grams (¼ cup) maple syrup
4 large eggs
500 grams (3 cups) raw pumpkin, grated
Zest of 1 lemon
400 grams (3 ⅛ cups) cake flour
10 grams (2 teaspoons) baking powder
5 grams (1 teaspoon) baking soda
8 grams (3 teaspoons) cinnamon powder
3 grams (1 teaspoon) nutmeg powder
3 grams (1 teaspoon) ginger powder
3 grams (1 teaspoon) allspice powder
5 grams (¾ teaspoon) fine salt
150 grams (1 cup) raisins (optional)
Caramelized Walnuts
200 grams (1 ⅔ cups) walnuts
200 grams (1 cup) sugar
Cream Cheese Frosting
600 grams (2 ⅔ cups) cream cheese, full fat
400 grams (1 ¾ cups) unsalted butter
400 grams (2 ½ cups) white chocolate, chopped
Instructions
1. Prepare the Pumpkin Cake
Preheat your oven to 350°F (175°C). Grease and line two 9-inch round cake pans with parchment paper.
In a large bowl, whisk together the vegetable oil, buttermilk, brown sugar, maple syrup, and eggs until smooth.
Add the grated pumpkin and lemon zest, stirring to combine.
In a separate bowl, sift together the cake flour, baking powder, baking soda, cinnamon, nutmeg, ginger, allspice, and salt.
Slowly incorporate the dry ingredients into the wet mixture, folding carefully until just combined. If desired, stir in the raisins.
Pour the batter evenly into the prepared pans and bake for 25–30 minutes, or until a toothpick inserted into the center comes out clean.
Let the cakes cool in the pans for 10 minutes, then transfer them to a wire rack to cool completely.
2. Make the Caramelized Walnuts
Line a baking sheet with parchment paper.
In a medium saucepan, heat the sugar over medium heat until it melts and turns a golden caramel color. Stir occasionally to ensure even melting.
Add the walnuts and stir quickly to coat them in the caramel.
Arrange the walnuts in a single layer on the prepared baking sheet. Let them cool completely before breaking them into smaller pieces.
3. Prepare the Cream Cheese Frosting
Melt the white chocolate in a heatproof bowl set over a pot of simmering water or in the microwave in short intervals. Let cool slightly.
In a large mixing bowl, beat the cream cheese and butter together until smooth and creamy.
Gradually add the melted white chocolate, beating until fully incorporated and the frosting is fluffy.
4. Assemble the Cake
Set one cake layer on a serving plate or cake stand. Spread a thick layer of cream cheese frosting evenly over the top.
Place the second cake layer on top and frost the entire cake with the remaining cream cheese frosting.
Decorate the cake with the caramelized walnuts, pressing them gently onto the sides or sprinkling them on top.
Conclusion:
This Pumpkin Crunch Cake is a masterpiece of flavors and textures—moist pumpkin cake, crunchy caramelized walnuts, and velvety cream cheese frosting. Perfect for holiday tables or cozy gatherings, it’s a dessert that tastes as incredible as it looks. Share it with loved ones, and watch this cake become a fall tradition!
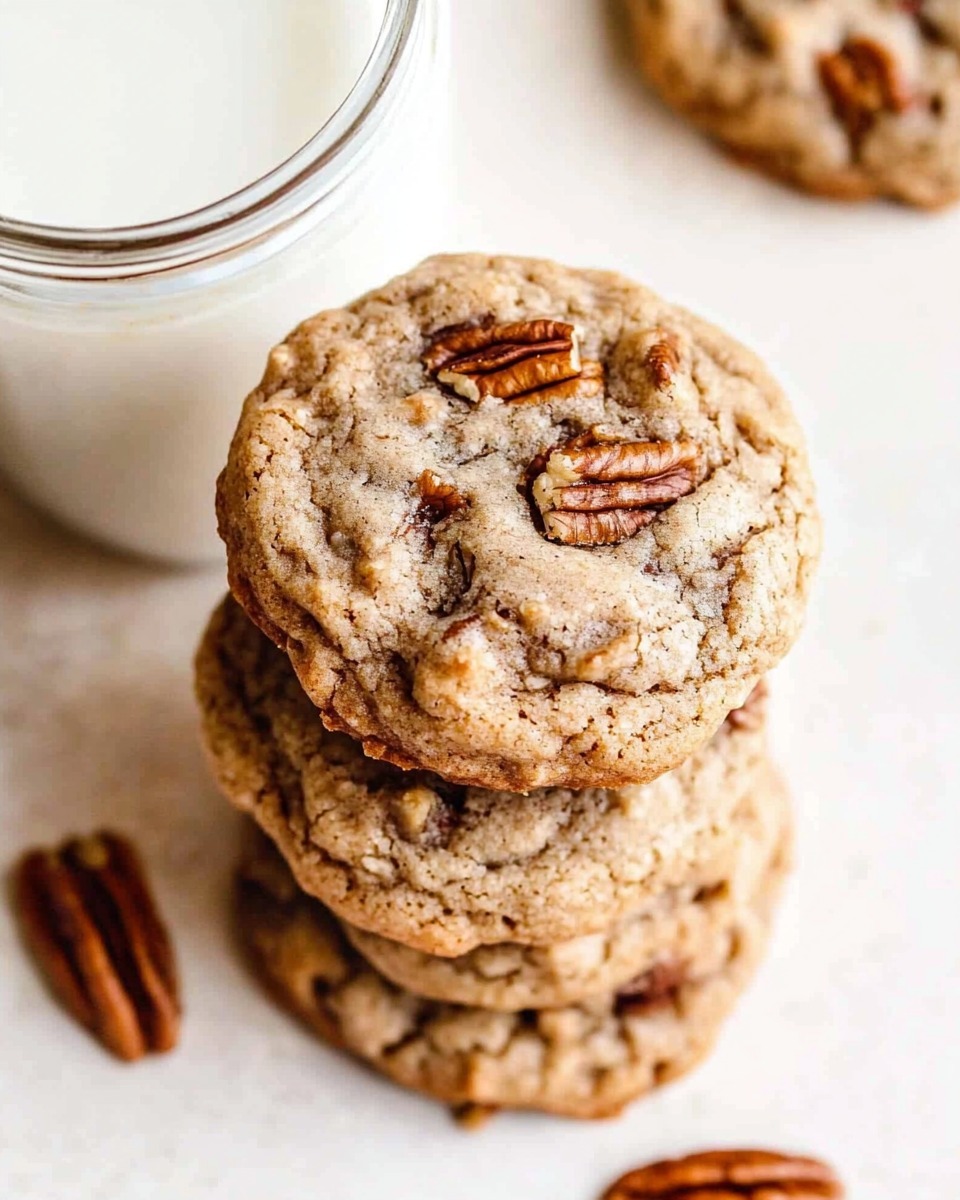
When the craving for something sweet and indulgent strikes, these Maple Pecan Cookies are the perfect answer. Featuring warm spices, rich maple syrup, and crunchy pecans, these cookies are soft, flavorful, and just the right amount of chewy. Add a drizzle of optional cream cheese icing for an extra layer of decadence, making these cookies ideal for special occasions or everyday treats.
Ingredients
For the Cookie Dough
2½ cups (312.5 g) all-purpose flour
1 teaspoon baking soda
¾ teaspoon salt
1 teaspoon ground cinnamon
½ teaspoon ground nutmeg
½ cup (113.5 g) unsalted butter, room temperature
1 cup (200 g) dark brown sugar, packed (light brown sugar works as well)
1 large egg, room temperature
½ cup (118.29 ml) pure maple syrup
1½ cups (163.5 g) chopped pecans
For the Optional Cream Cheese Icing
1 tablespoon cream cheese, room temperature
1 tablespoon unsalted butter, room temperature
1 tablespoon milk
½ cup (60 g) powdered sugar
Instructions
1. Prepare the Dough
In a medium bowl, combine the flour, baking soda, salt, cinnamon, and nutmeg, whisking until well mixed. Set aside.
In a large mixing bowl, cream the butter and dark brown sugar together until light and fluffy, about 2–3 minutes.
Beat in the egg, followed by the maple syrup, until well combined.
Gradually add the dry ingredients to the wet ingredients, mixing until just combined. Avoid overmixing to keep the cookies tender.
Gently fold in the chopped pecans for a nutty crunch.
2. Chill the Dough
Cover the dough with plastic wrap and refrigerate for at least 1 hour. Chilling prevents the cookies from spreading too much during baking.
3. Preheat and Prepare
Preheat your oven to 350°F (175°C) and line baking sheets with parchment paper or silicone baking mats.
4. Shape and Bake
Scoop the dough into 1½-tablespoon-sized balls and place them about 2 inches apart on the prepared baking sheets.
Bake for 10–12 minutes, or until the edges are golden brown and the centers are set.
Allow the cookies to cool on the baking sheet for 5 minutes before transferring them to a wire rack to cool completely.
5. Make the Cream Cheese Icing (Optional)
In a small bowl, beat the cream cheese, butter, and milk until smooth.
Gradually add the powdered sugar, whisking until the icing is creamy and drizzle-able.
Drizzle the icing over the cooled cookies or spread a thin layer on top.
Conclusion:
These Maple Pecan Cookies strike the perfect balance between cozy spices, sweet maple syrup, and crunchy pecans. Whether enjoyed on their own or topped with a tangy cream cheese icing, they’re bound to become a household favorite. Bake a batch for your next family gathering or keep them all to yourself for a comforting treat that pairs beautifully with coffee or tea.